I recently noticed some jelly-like blob soaking in the shop sink. What? It prompted a discussion with, Tom, one of our model makers, about making a mold for models. I grabbed the camera, took some pictures, and wrote the process down in a notebook. Here’s what I came up with:

Choosing the object you want to make a mold of, you determine where you want the “mold line” to go. This is the seam that will need to be disguised after the molding takes place. Using clay, you make the mold line on the object, then place it into a well sealed custom box and pour rubber up to the mold line and let set. After that half dries you peel off the dried rubber and reposition the object in the box in order to pour rubber on the other half. You peel the hardened rubber off the other half and now you have two rubber pieces that fit together with the cavity in between them representing the object you want to mold.

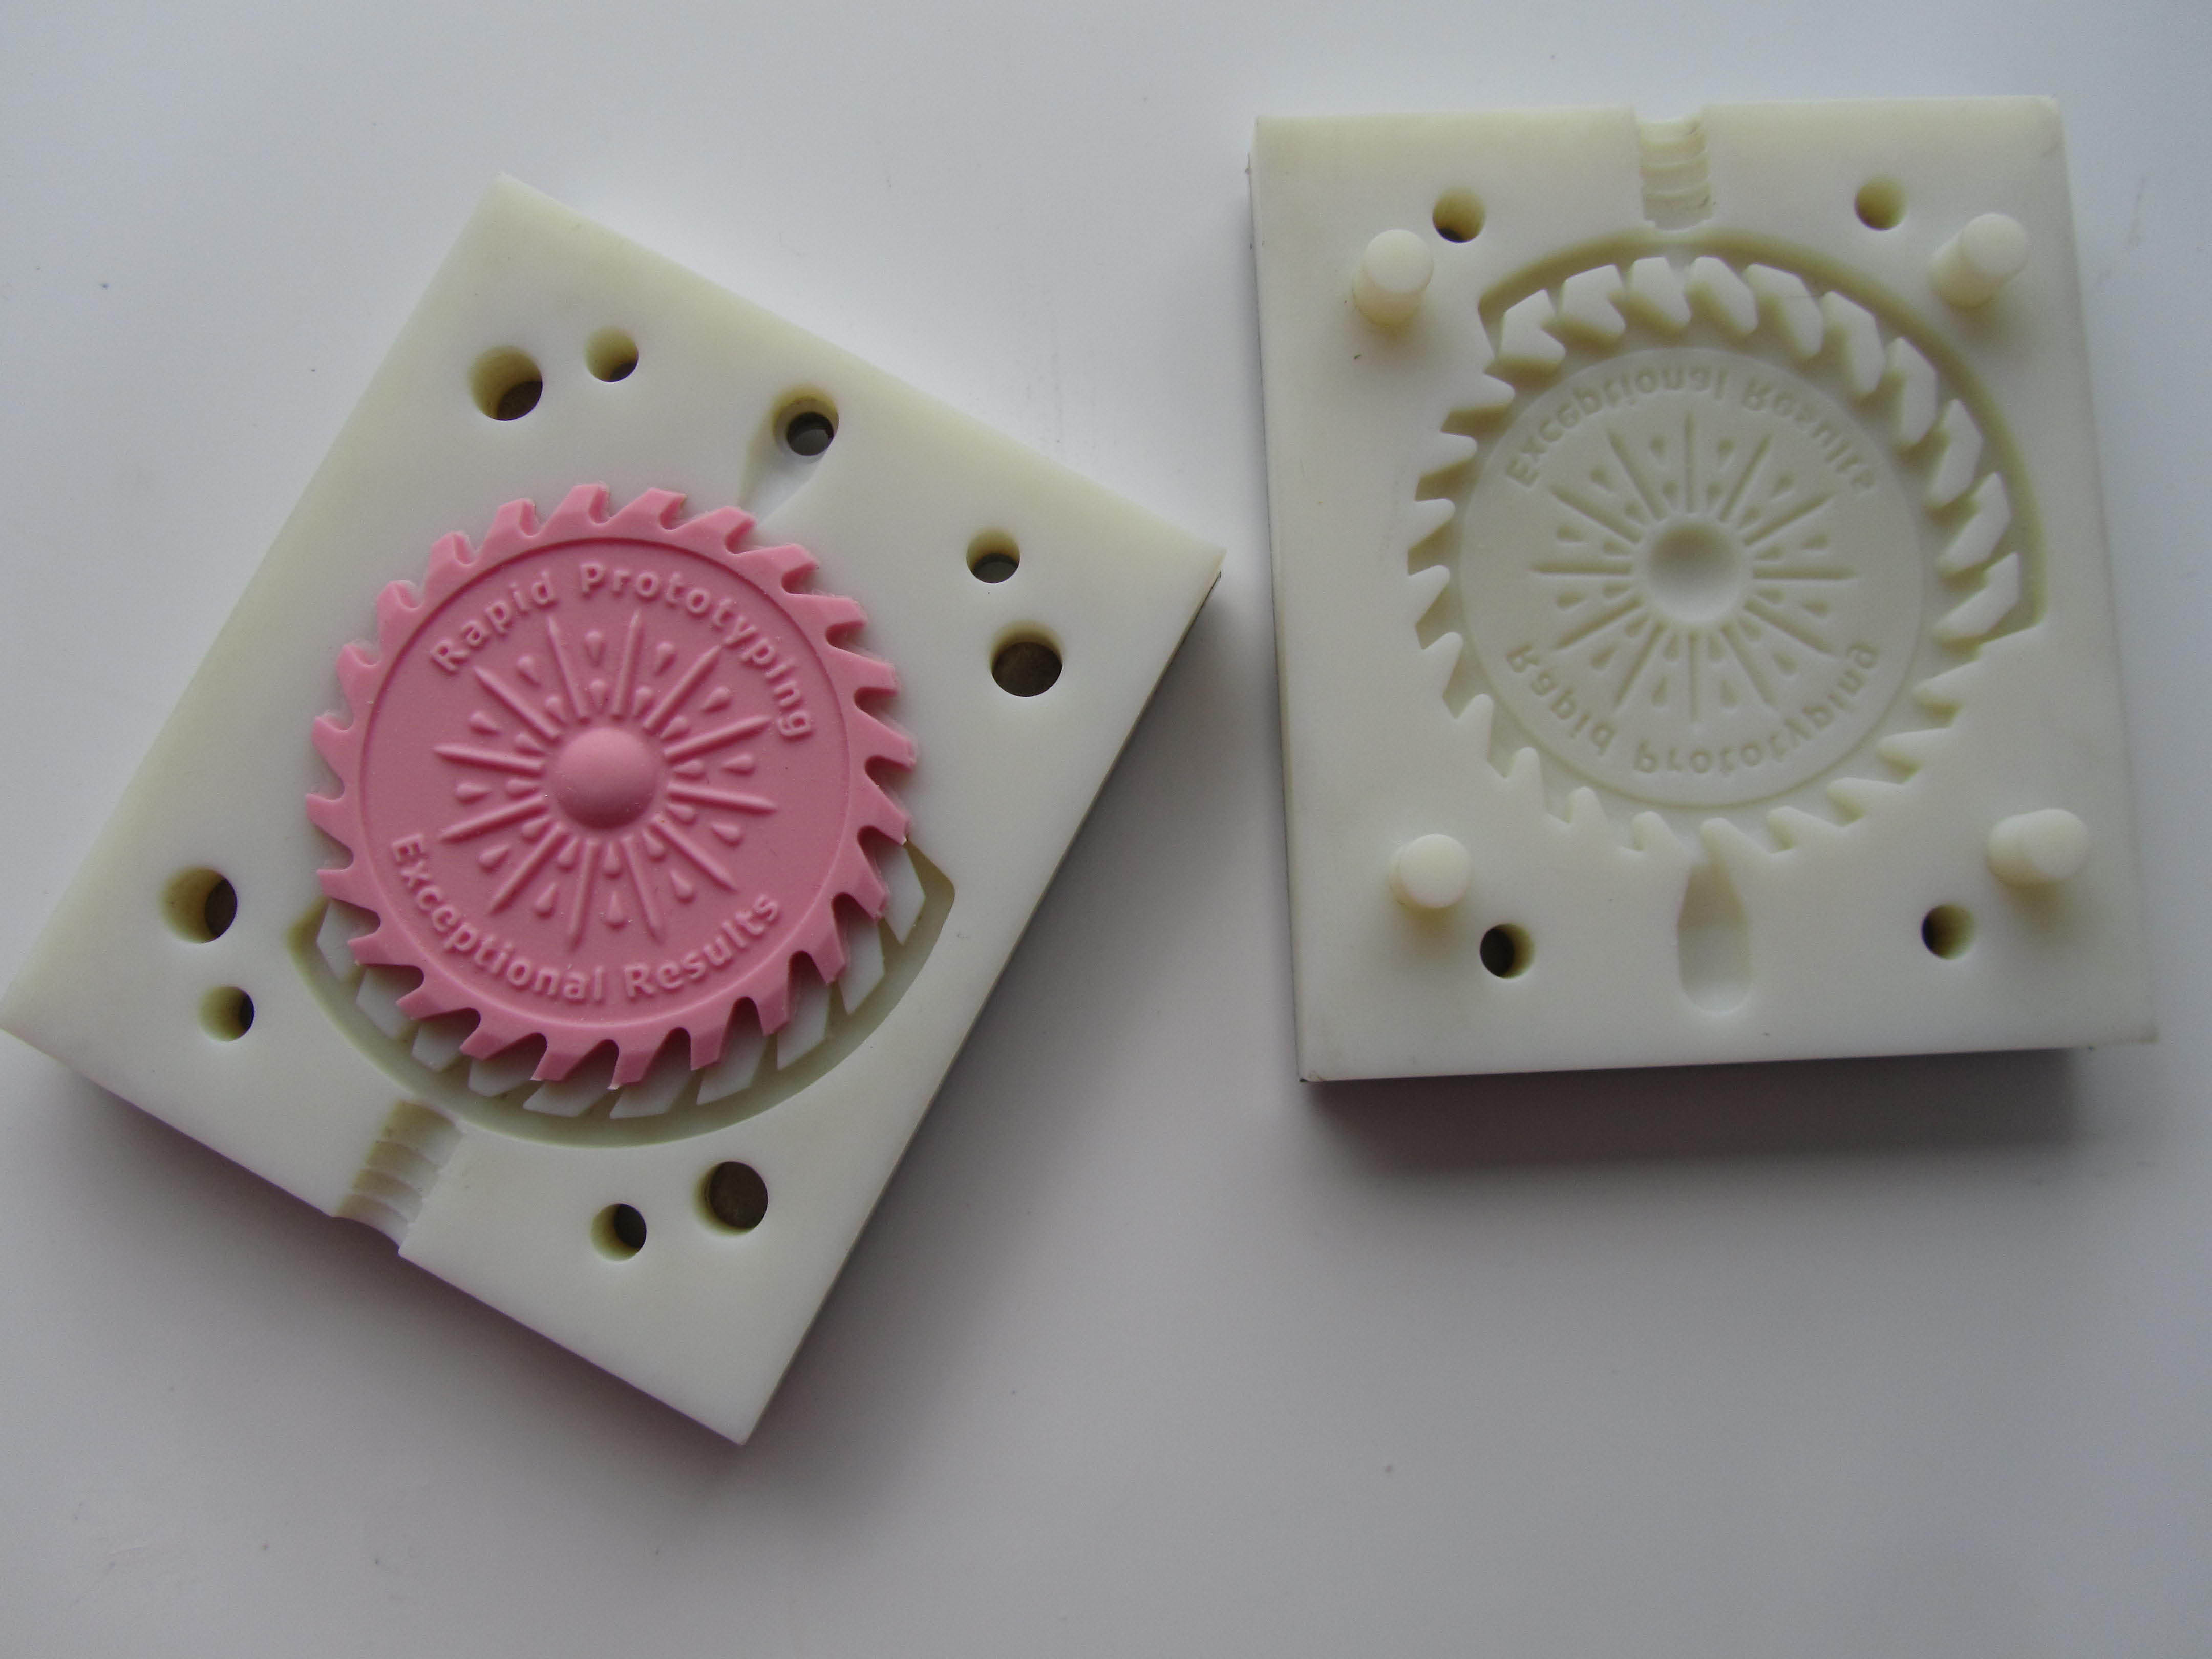
The rubber mold is sprayed with mold release and again placed in a special box to keep it rigid, the two halves forming a whole. An opening, called a gate hole, is created where the resin will be poured in. Air holes are made in the rubber mold as well, where hoses or straws will be poked through to allow air bubbles to escape during the hardening process.

Resin is mixed with hardener and then poured through the gate hole via a tube. The box is then placed in a pressure chamber to compact and press the resin into all of the nooks and crannies of the cavity. When the resin has hardened, the box is opened, the rubber mold peeled off and the molded part is then rinsed off in the sink. After that the mold lines are smoothed over and the molded part is ready to be primed and painted.