Category Archives: Model Making Profession

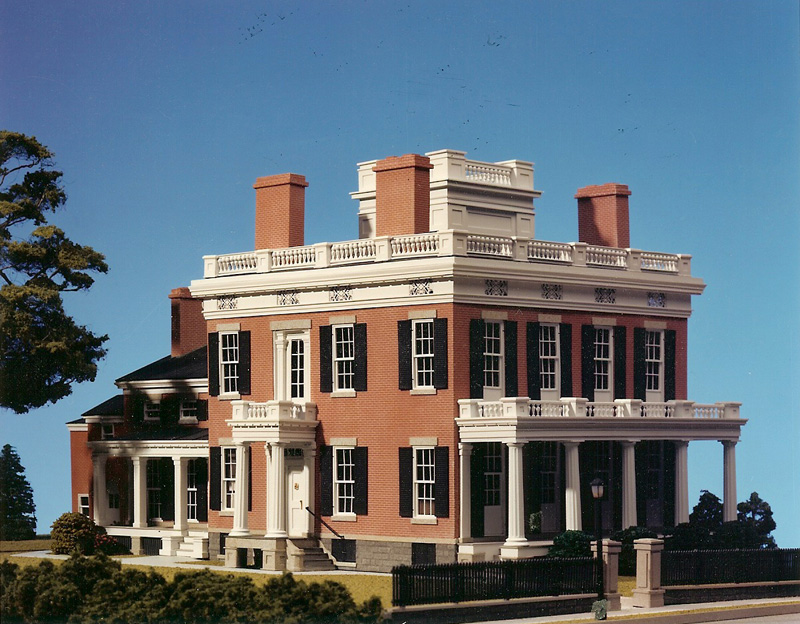
Architectural Model Helps Preserve a Bit of History

Back in the 1980’s, our model makers were looking for an architectural model project to add to their portfolio, as well as a marketing tool. They looked around the community for an historic, architecturally elegant building that could be made into an impressive scale model.
The Landmark Society of Western NY gave a list of ten buildings it wanted to see immortalized in an architectural model. The Hoyt-Potter House in Cornhill was one of the top suggestions. Originally built in 1840 for the Hoyt family, then sold to the Potter’s of Western Union notoriety, this Greek Revival had fallen into deep disrepair over the years. The current owner wanted to mow over what was left of the foundation and build a parking lot in its place, but the City would not allow it.
Model Maker Scott Andrews studied the only known photograph of the house, visited the site and researched additional information on the house. From his research and measurements, an architectural model was constructed in 4 -6 weeks. It was presented to the Landmark Society for their temporary use and professional pictures were taken of it. The community began to take notice of this piece of Rochester history. The model itself generated interest, as well as the B&W photographs of the model which fooled many people into thinking they were looking at the real thing back in its heyday.
Developer Ben Kendig took note of the model photographs and became interested in the rehabilitation of the dilapidated house. The city did as well, and took possession of the home and sold the house to Ben for a dollar. Mr. Kendig turned to our model makers to find out where the building plans were as they were needed for his architect. He was a bit surprised to find out that the model makers had gone off of one photograph and their own measurements. There were no plans!
Our model makers were then hired to go back to the site and take additional measurements of what was left of the original structure to assist in the rennovations. After taking these measurements and doing further research they drew up trim drawings and other architectural details that were used by the architects in the redesign.
The Landmark Society sent photos to Albany of the rebuilt house and won a grant to buy the property from Ben Kendig. The Hoyt-Potter House is now the permanent home of the Landmark Society of Western NY.
Is a 3D Printer Like Having an Extra Model Maker?

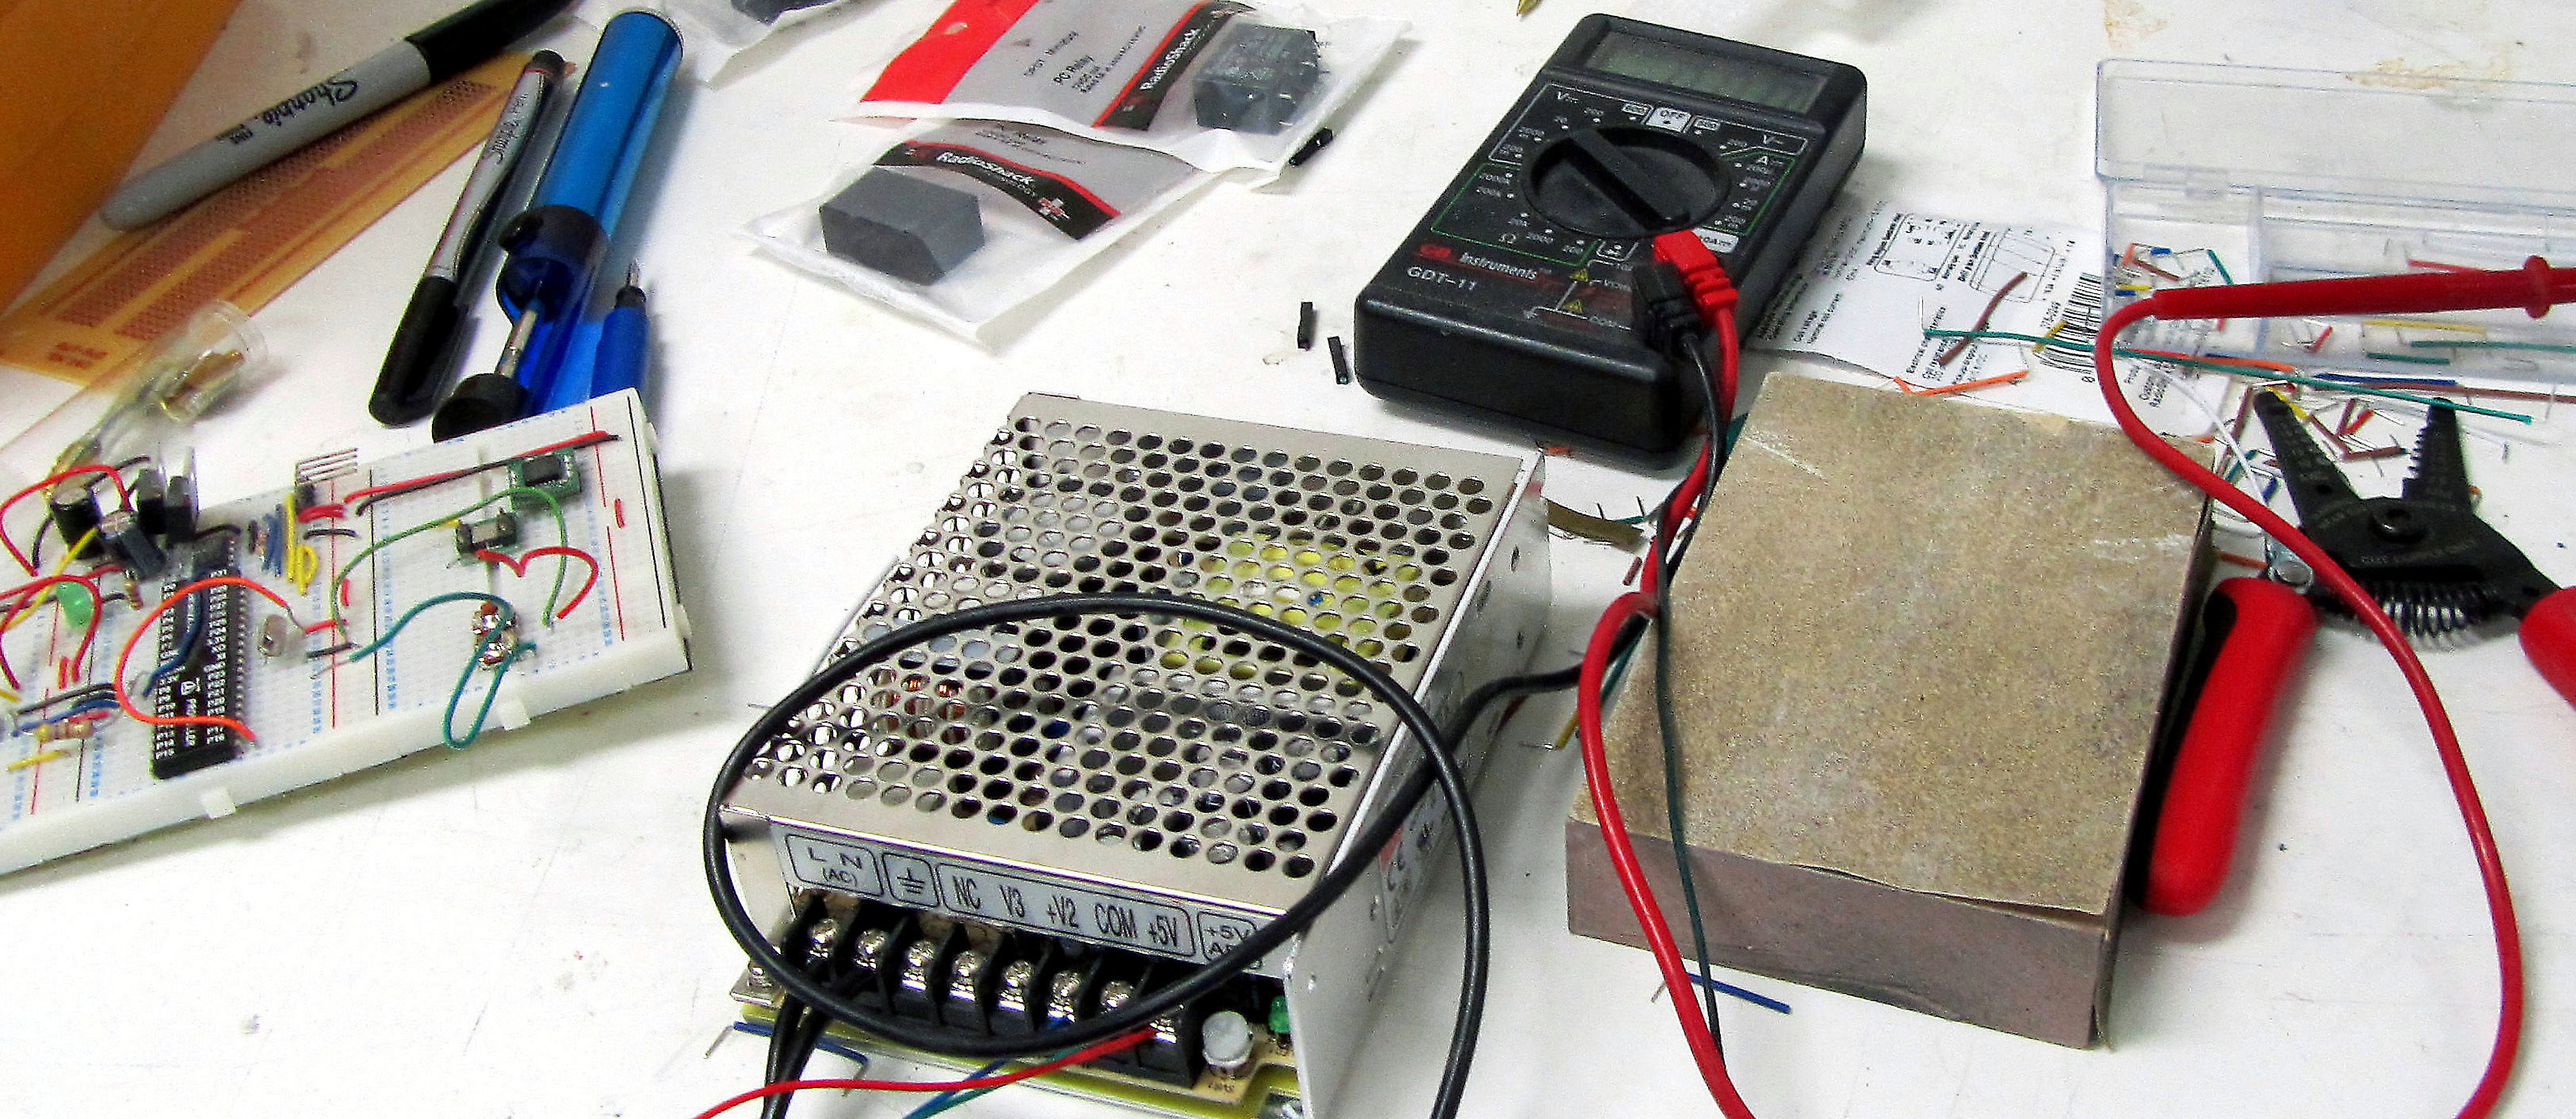
The model maker team here at KiwiMill is definitely pleased with the addition of our newest Objet 3D printer. While we jokingly refer to it as our extra employee – it is quite a miraculous technology – it’s worth noting the support systems needed to make it run, as well as its inherent limitations.
First comes the training necessary to operate, clean and maintain the printer itself. An initial inservice with the sales tech after purchase is a good starting point. Ongoing tech support provided by the manufacturer keeps things running smoothly in the long-term.
Material to run the 3D printer is a regular investment as well. The resin itself is expensive, and to a lesser degree, the support material used to print each item. The resin is the actual plastic that a part is made out of, the support material is what fills in the empty spaces in the design as it prints layer by layer on the tray.
The human labor involved in 3D printing is perhaps the most interesting aspect of this particular fabrication technique. Three dimensional printers can give the impression that they take the place of a model maker. After all, they are touted as machines capable of growing parts overnight, sometimes even whole models. How true is this exactly?
Traditionally model makers have sat at work benches, or run machinery, cutting, carving and shaping materials to the specifications needed for a model part. This method is considered subtractive – the model maker must extract from a whole piece of material the parts necessary to assemble the model. This certainly takes time and a considerable amount of skill, rightfully earning the model maker’s status of master crafts person.
Innovations in the field of model making have introduced automated machines that will do the extracting for you. CNC (computer numerical control) machines guide a router, lathe or mill to carve out parts automatically. Three dimensional drawings have been programmed into the machine by a computer, to provide coordinates for the subtracting device. X and Y coordinates guide the machine back and forth and the Z coordinate tells the machine what up and down motions to make, thus creating a 3 dimensional part.
The 3D printer works a bit differently; it takes a 3D drawing and prints it out in 2D layers. What the model maker must first do is take a CAD engineered drawing from the client and make it “water tight”. This means that all lines in the drawing need to be connected, or closed off. If only a 2D drawing is available, the mode maker must be able to draw it up in 3D. If only the original object exists, with no drawing, it can be scanned and made into a 3D drawing.


Why does the printer need a 3D drawings when ultimately it will be printing it in 2D? How the 3D printer works is that it takes a 3D drawing from any drafting program and slices it into 2D cross-sections, printing each slice out, layer by layer and stacking them up into a three-dimensional object. The unique aspect of this method is that it is additive, not subtractive. The part is built up out of nothing, not extracted from an existing piece of material.

Afer the original 3D draft has been prepared by the model maker and sent to the printer, it is true that the machine then grows the parts itself. This is the magical aspect of the process. A model maker can go home for the night while a part is being created. However, once the part is removed from the printer, it is not exactly ready to use. This is where additional labor is necessary to clean the part.

Support material is the substance that takes the place of empty space in a 3D object, where it is needed to hold up the design as it builds upward. It acts as scaffolding for the object being printed. A layer of support material is laid down on the print tray as well, as a foundation, before any part of the actual object starts printing.
When an object is removed from the 3D printer, it is this support material that needs to be cleaned off the part. Depending on the shape or design of a part, it is the removal of support material that takes the majority of labor in the 3D printing process. Water jet spraying, chemical soaking, scraping and digging out support material from intricate pieces takes time and effort. Sometimes there is so much support material covering a part, that it needs to be extracted out of it as if it were a piece of gold embedded in rock. Thus making 3D printing a bit of a subtractive method as well!

Once the part is cleaned, it needs to be primed, painted, and usually assembled with other parts to make a whole model. We don’t often – if ever – print a model in its entirety. The over all complexity and sophistication of most of our scale models demands greater levels of detail. They are nice supplemental parts to have, and free our model makers up to add the human artistry that gives our models their custom look.

A 3D printer does not replace a model maker, as fun as it is to joke around with the notion. The added technology requires our model makers to be better trained in 3D drafting: drawing, reading and fixing 3D computer files. It ‘s another fabrication choice, and hones the critical thinking skills that determine what parts will be printed, CNC machined, hand-built or crafted in yet another method. This blend of artistry, engineering and technology is making the model making field such an exciting place to be right now.
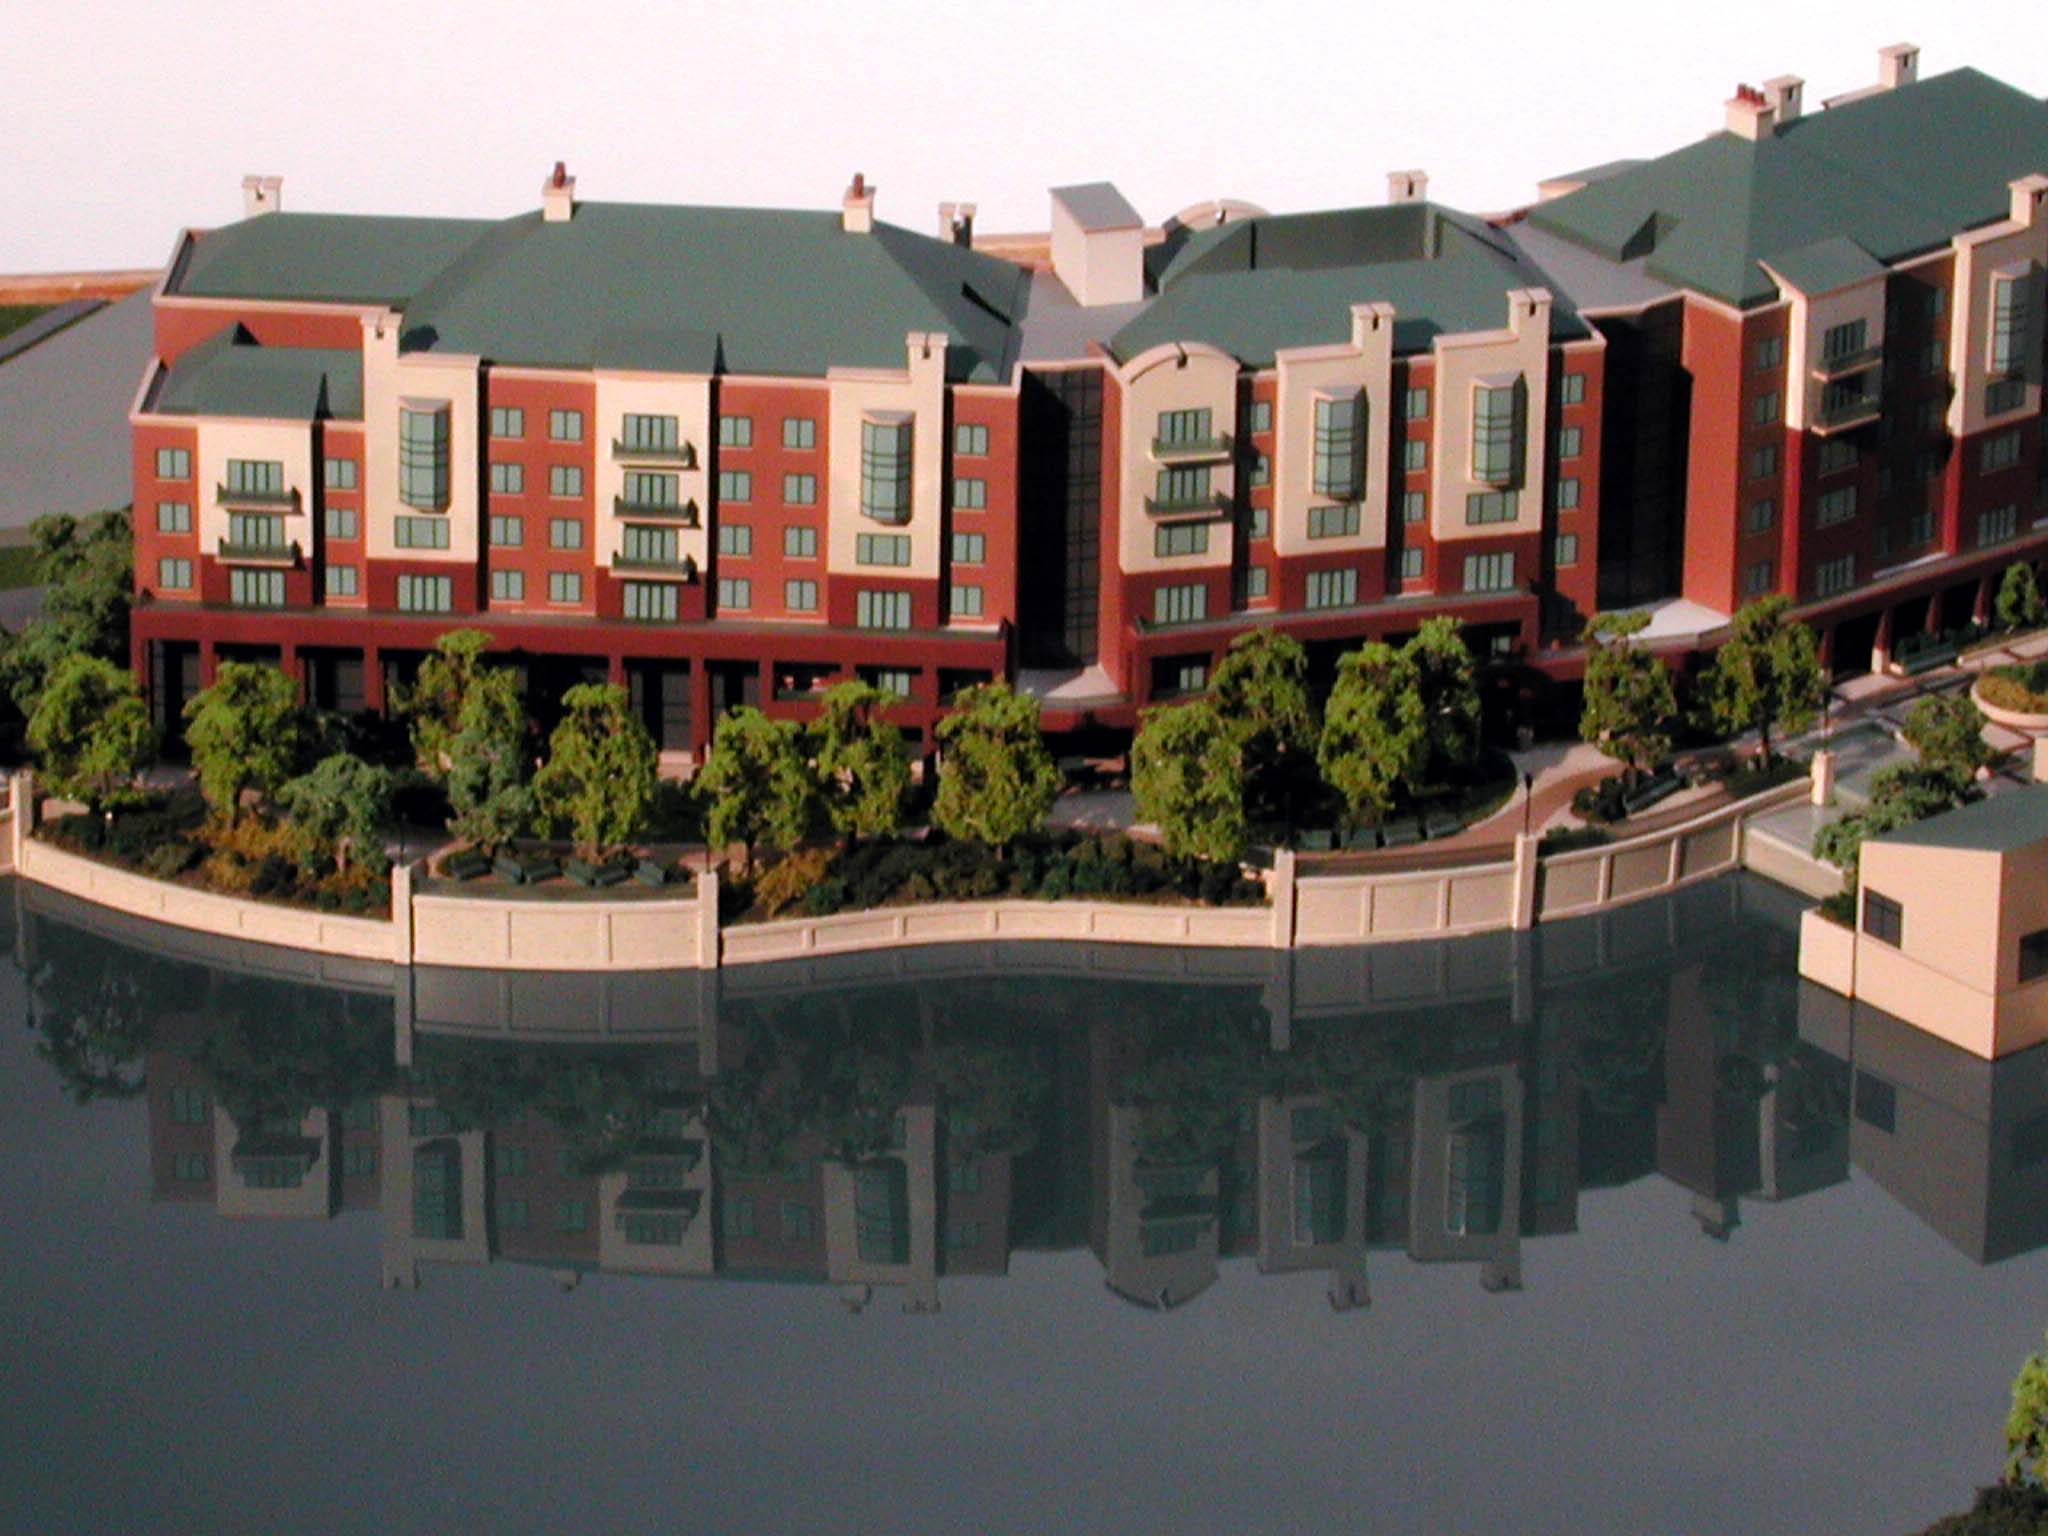
Architectural Models Communicate.

Architecture is probably the most frequently modeled item other than modes of transportation (trains, planes, boats and vehicles). Most people have encountered a scale model of a building, house, interior space or community at some point in their lives. Virtual 3D walk-throughs of structures are available with new technology, but nothing has replaced the usefulness, the appeal and the impact of a physical representation.

Architectural models, like most scale representations, are used as a communication tool. A quality scale model should deliver a highly effective message. The key to an outstanding architectural model, and satisfied clients, is first understanding the purpose the model is going to serve. What do you want your model to say? What will it be used for? Architectural models are used for a variety of circumstances including:
- Fundraising
- Sales
- Evaluating a design
- Permit / Application approval
- Planning and development
- Display
- Education / Training
There are sub-categories within these architectural model uses, as well as overlapping purposes. It’s up to the professional model maker to extract from the client the essence of what needs to be communicated with the project. This helps drive the type of architectural model that will be built, along with what scale to use.
Types of architectural models vary just as their purposes do:
There are simple massing models where monochrome cubes or blocks might be used to represent buildings, emphasizing placement of structures and their context. Detail level on models of this type is typically minimal to accentuate the physical space in relationship to its surroundings.

Site models depict buildings and the areas around them, such as roads, parking lots, landscaping and cars.


Architectural models used for display are often very detailed and include such things as lush landscaping, lighting, and other highly realistic features. A museum quality architectural model is expected to last generations, be made of the finest available materials and represent a master model maker’s most meticulous work.

Interior models show exactly that – what’s inside a space. They may involve lift off roofs or side cut aways for viewing. They might have very detailed furniture, finishes and miniaturized accessories, or be a simple design that emphasizes lay out and flow of rooms.


Urban models typically depict larger areas, whether it be city blocks, part of a town or a whole community. Detail can vary greatly on these as well and is usually determined by the scale that was chosen for the project.
Landscape architecture models emphasise the trees, plantings, grasses as well as any structures, bodies of water and unique terrain features that might be included in the area depicted.

Architectural dioramas attempt to tell a story visually. They include all the elements necessary to represent a place or moment in time. They may not be completely to scale, but depict objects in the background purposefully smaller in order to give the illusion of depth or distance.


Topographic models show the elevations, shapes and features of a particular land surface.

There are other types of architectural models but the importance lies in matching the purpose of the model with its design.
Similarly, scale is chosen by determining what the model needs to convey. Two main questions need to be answered when determining the scale of an architectural model. How much area needs to be covered and how much detail needs to be shown?
When a large area is being depicted, such as a site map, the scale is usually smaller. This way more area can be displayed without the over all dimensions of the model becoming too unwieldy. Detail level may be lower, in part because things are less visible at a smaller scale.
If only one building is being depicted, the scale is usually larger. Detail on a larger scale model is much more noticeable and will have a greater visual impact.


When a model maker communicates well with a client, and exhibits superior model making skills, the resulting architectural model conveys the message that was intended. This is the outcome both model maker and customer strive for.

Non-Disclosure Agreements in Model Making

Often times in the model making business we are asked to sign a Non Disclosure Agreement (NDA) with a client. NDA’s are legal agreements that give protection and reassurance that the information exchanged during a model build will not be shared, or disclosed, with a third-party. The document is usually initiated, or provided by the client (although we have our own generic version we offer) and is often the first step in the quote solicitation process.
Detailed diagrams, CAD drawings, measurements, blue prints, photographs, descriptions and other data are being given to our model makers in order to facilitate the fabrication of a highly accurate and realistic replication of a product or idea. It is important that our clients feel certain that the exchange of information be used for the sole purpose of providing a quality model that meets or exceeds their specific requirements.
Non-disclosure agreements, sometimes referred to as confidentiality agreements, can cover a wide variety of items that are to be kept confidential and may include such things as customer lists, business practices and financial information, along with the more typical documents that are shared with model shops in order to complete a scale model project. The document also specifies the disclosure period to be covered, the length of time the agreement is binding and the exclusions to what needs to be kept confidential. Exclusions usually refer to information that is publicly available and that which has been obtained through other sources.
Another common portion of an NDA is the need to exercise reasonable efforts to keep the shared information secure and to limit its exposure only to those people who need to know it in order to complete the job.
The reasons for NDA’s are as varied as the terms covered in their pages. An obvious circumstance is when we make a prototype of someone’s patented idea. Often we suggest the NDA ourselves with inventors, knowing that this is an important first step in the process of discussing their innovation.
Frequently our model shop deals with military clients who require additional levels of security. ITAR is a group of government regulations pertaining to defense-related information, services and material. For national security purposes ITAR controlled projects cannot be shared with non-U.S. citizens. Sometimes the engineering information of the project is ITAR controlled, but the end product is not, which means we can share, for instance, a picture of the finished model on our website.
Beyond NDA’s and ITAR controlled projects, there are clients who simply ask us not to share the finished model or the fabrication process on our website, blog or other promotional materials. Often it is simply a matter of timing. Some client wants to keep a new product private until it is officially unveiled at a particular sales event. Another example would be a prop or scale model that we have provided for an exhibit firm, where the design rights reside with them.
In lieu of a formal agreement, KiwiMill has a general policy of not sharing a finished product until it has been shipped and received by our client. Also, if the model is to be unveiled at a trade show, or introduced at a particular sales event, we wait until that event has passed before we publicly post it. While many clients welcome the publicity, and understand the need for self-promotion, we understand that there are a myriad of reasons we may be asked not to divulge finished work.
A Model Maker’s Approach To Mechanization In Models

Recently I took a few minutes to ask one of our model makers about his approach to building scale models. I was particularly interested in models that require mechanics – movement or lighting. Our resident engineer, Dean, seemed like a good candidate for my questions.
Like many of his fellow model makers, Dean starts with an image in his head of the finished model, focusing particularly on placement of seams. He then visually breaks apart the model at these seam lines, and begins concentrating on each individual part that makes up the model. How will he construct each part? What materials will he use to build the part, and with what equipment?
After Dean breaks down the model into parts, he will make a list of materials and fixtures needed for fabrication. He might even draw up a specific part in 3D using Solid Works, and have it printed out full-scale so he can assemble it over top the drawing.
When it comes to models with moving parts, Dean prefers to design the housing that goes around the mechanics first. Creating the structure which frames the mechanical parts helps Dean understand how he will lay out the inner workings.
Motion in a model can take on many forms. Dean determines whether the movement needs to be circular, linear or lever-like, at what speed and whether it needs to be continuous or intermittent. He then chooses the mechanics that will most accurately produce that movement. Will it be pulleys, actuators, motors or gears?
Sometimes the mechanics can closely mimic the original object that is being modelled. This means that the model will be run the same way, albeit in a miniaturized fashion. Most times the motion needs to be represented in a unique way that the model maker must figure out, design and implement.
Off-the-shelf mechanical parts will be ordered in the size and design required for the model project, though usually modifications are necessary. Adaptations need to be fabricated and added on to the stock mechanical parts. Safety is always an issue when working with mechanics, particularly when they are altered in some way. Knowledge of the properties of the mechanical devices and careful placement of the power supply is necessary.
Electrical engineering may come into play with particular special effects in scale models. Lighting or movement can be controlled by switch or circuit board. Dean might be tasked with programming lights or motion to occur at specific times and in a specific order. In these instances he uses a 2D wiring diagram to program the circuit board, which then guides the micro controllers to perform specific actions.
When it comes time to test the motion or lighting of a scale model, Dean is 95% sure it will do what it is supposed to do. Still, there may be some trouble shooting involved at this stage, or minor tweaking. The model’s mechanics will be run for several hours continuously to confirm the integrity of the design. Only then is Dean satisfied that the model is going to perform as expected for his clients.

Meet Our KiwiMill Model Making Team
Recently we took the time to track down our amazing KiwiMill staff, take their pictures and write a little something about each of them. It’s a peek behind the men and women who live scale models every day.
Derek will tell you “I do stuff”. He’s being a tad modest. HTML code. Electro-mechanics. CAD drawing. Reverse engineering. IT stuff. He’s one of those people who doesn’t need to read directions on how to do something. He just does it. Is it any wonder that he’s the most sought after person at KiwiMill?
He also gives us our Long Term Vision. All while owning a second company and playing with his sons’ Legos®

Mike is our Industrial Designer. He understands how things function and has a keen eye for visual aesthetics. He’s a professor, and it shows in his patient ability to share his knowledge with others. An expert 3D designer, head of our 3D printing department, and lead developer at kiwiseed, Mike can take an idea from concept to reality with ease and style.
He’ll find the time to show you pictures of his adorable twin babies, too – just ask.

Joe has a degree in model making and has spent the last 20 years honing his skills in the field. His exacting precision, dedicated focus and ability to finish a job under duress make him indispensable. Ample knowledge of the various machines & tools of the trade give him breadth, but when it comes to creating and casting molds, this is the man to turn to.
He also makes the best lunch buddy in the shop, hand’s down.

Scott manages production, while remaining immersed in model construction itself. He brings an artist’s sensibility to the more technical aspects of model making, blending the ability to think in 3D with an intuitive feel for shape, form & texture. The resulting projects that leave the shop under his guidance have that elusive “something” that master model makers strive for: realistic detail that captures the essence of the subject matter.
If you come here to visit Scott, be sure to bring up politics. It’s his second favorite subject after model making.

Pam is awesome! Quite often, we give her a rough idea of what we want to see done and she figures out how to make it happen.
Not only does she make all the content for our outstanding website, she keeps our blog and Facebook pages updated with all of the excitement that goes on throughout the day at KiwiMill.
Checkout the blog she has made and you’ll see why we can’t do what we do without her. Everything there has been written, produced and directed exclusively by her.

Packing and Shipping Scale Models

Model making companies need to put a good deal of thought into the process of packing and shipping scale models. Custom models come in all shapes and sizes and degrees of inherent durability, based on the materials and methods of construction that are used. No one packing practice will work with all models. Each pack up job becomes a custom design and build in its own right.
Models travel great distances within the USA and internationally, to get to their clients upon completion. Some are shipped through dedicated carriers while others are sent via the major 3 shipping companies. In addition, many models need to be transported to a variety of trade shows throughout their life expectancy. Thus the shipping container must be reusable and extremely durable.

Packing and shipping scale models is a consideration that often comes into play early on in the fabrication stages of a project. A stationary display model may be engineered in a significantly different way than a model that must travel from trade show to trade show, and be packed and unpacked numerous times. Thus the shipping needs of the model sometimes drive the design, rather than the reverse.
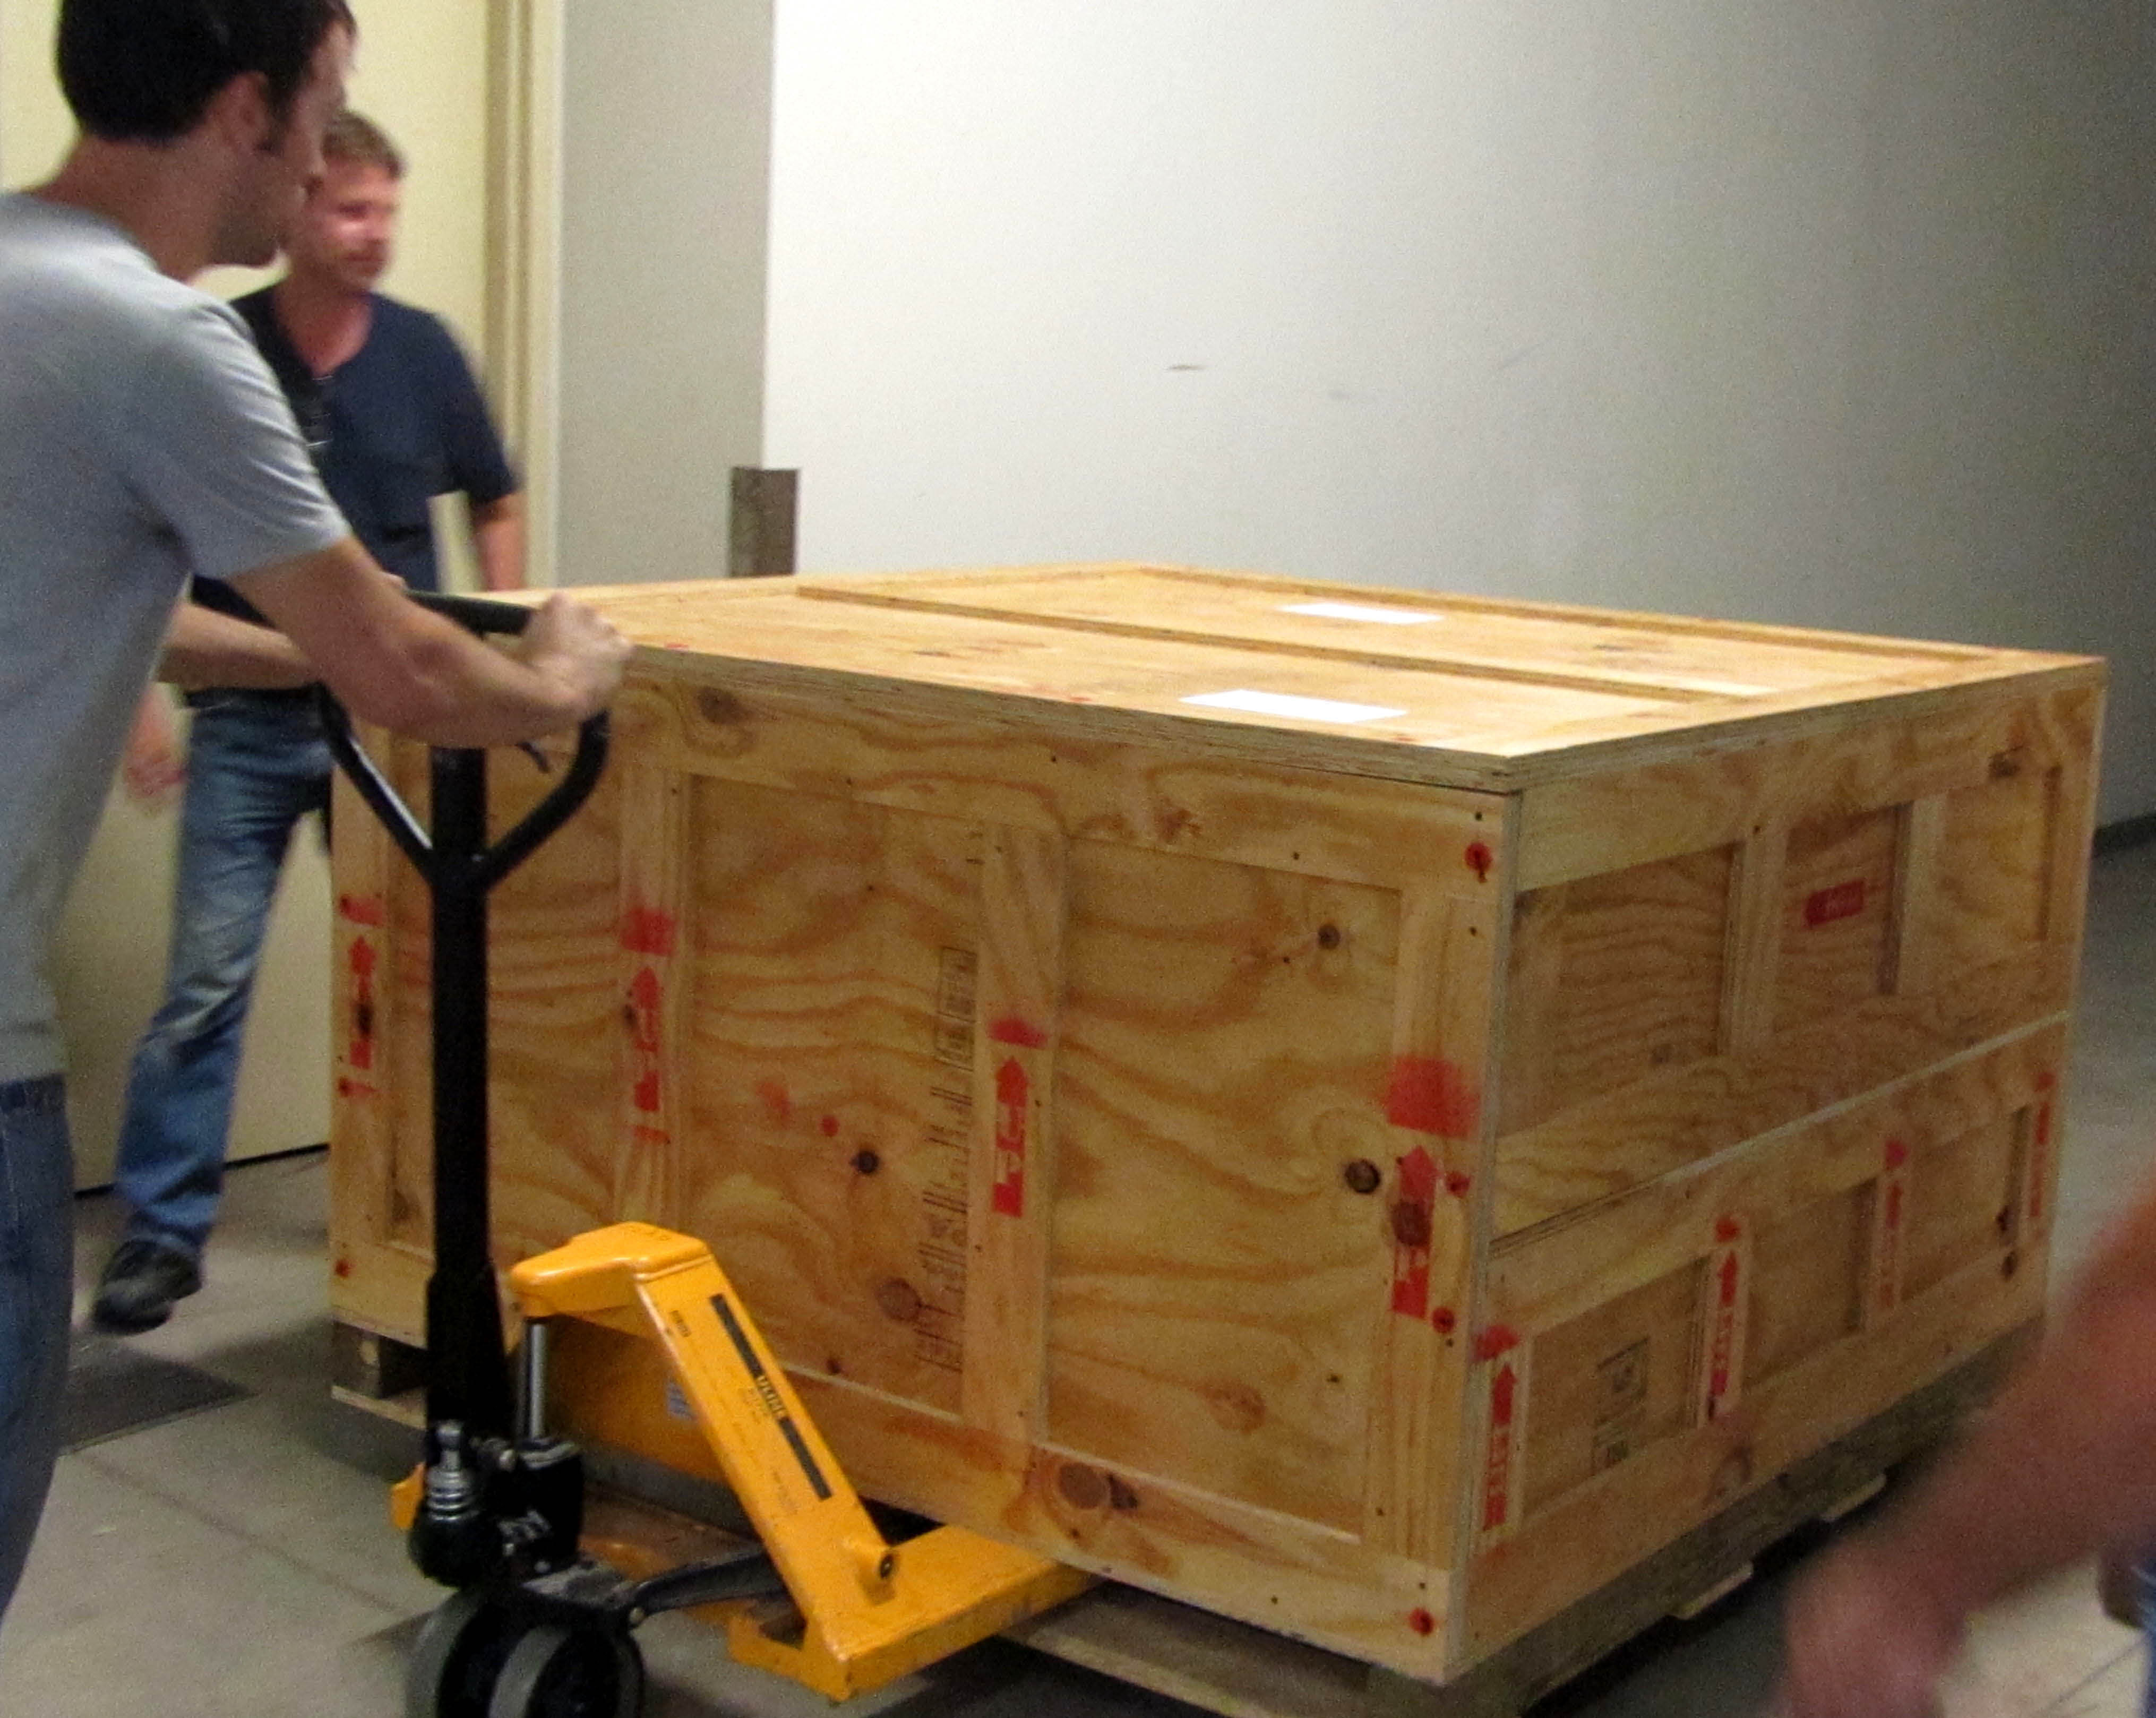
Here at KiwiMill, we utilize a variety of packing cases to ship models. If the model is for trade show use, or needs to travel repeatedly for sales meetings, generally a hard shell container is used. Brands like Pelican, Gator or SKB offer a hard plastic case with handles and hinges, with wheels in some cases, and may even be water proof. They come in a variety of sizes, from brief case size, to one large enough to house a 7′ tall model we recently shipped.
The interiors of the hard shell cases come with foam lining, or will accommodate foam inserts that are purchased separately. In either case, our model makers then custom sculpt the foam “beds” for the model or model parts to rest in.

Large, intricate models that do not need a hard shell case, or do not fit in one, require a custom crate build. These wooden crates are built here in the shop and each one is as unique as the custom model going into it. Some crates have shelving to slide a model into. This works well for models with flat bases, such as a traditional site model.

Curvier models, or those with no base, need to be suspended by way of built-in scaffolding in the crate.

All of the crates require custom foam inserts or foam covered blocks to act as buffer points wherever the model comes into contact with a surface, as well as to prevent shifting in transit. Foam is also used for slotting in smaller model parts that need to be assembled upon arrival. Straps may also be required to secure a model in place inside the crate.

Directions are often written into the crate design. Where ever possible, our model makers try to make the packing procedure very clear, indicating what direction to place a model part and in what location. This assures that a variety of handlers can pack and un-pack the model correctly as it travels from venue to venue.

Smaller models that need to make it to a single location may be packed with the use of foam, bubble wrap and double boxing with peanuts. These can be carefully placed in a cardboard box and sent via UPS.

When it comes to choosing a shipping method, some models are given a dedicated driving service. They arrive at our loading dock, are packed by us, and driven to the client with no transfers in between. This method is costly, but offers the security of knowing the model will be handled minimally and arrive at its destination intact. This is an important consideration for some of our clients and may be recommended by our model makers for an extremely delicate and intricate project.

Regardless of which packing and shipping method chosen, it is important that model makers strive to develop the best method for getting each model to the client without damage. Much thought and engineering goes into the design of our shipping containers and the methods used to secure the models inside. There is no point in fabricating high quality products without the packing process to go with it.
Interesting URLS for packing methods used with airplane and ship model builders:
http://www.swannysmodels.com/Packaging.html (packing an airplane model)
http://www.largescaleplanes.com/articles/SparesBox/packing/packing.php (packing a larger plane model)
http://www.modelshipmaster.com/about/shipping.htm (packing a ship model)
http://www.modelusawarships.com/oursppapr.html (packing a ship model)
http://www.dogfighter.com/Custom-Aircraft-Models/shipping.html (illustration of double box packing method)
New Fabrication Choices for Model Makers

With the addition of 3D printer technology, new in-house model fabrication options are available to model makers. Decisions need to be made about what fabrication method is best for building each model part. What parts should be printed, molded, CNC milled/laser cut, or created by hand? The use of all available technologies in the correct circumstances makes for an efficient, bustling shop, and quality model production. That’s the goal. Not to replace craftsmanship with machines, or to unnecessarily complicate the model building process with flashy new equipment.
Factors that need to be considered when determining fabrication method include; time, cost, accuracy of part, material being used, model type/usage,and the information available on the item being built.
The time constraints of any given project are a major consideration when determining what fabrication method to use to create a model, or its parts. Deadlines are often very tight and sometimes the initial decision to bid on a project will be influenced by how quickly it is needed and whether or not available fabrication methods (and resources) will get the model done on time. An automated machine like a CNC mill or laser may actually take longer to produce a part than hand building, but will use up less human resources in the process. How much available time needs to be balanced with the number of model makers assigned to the project and the length of time each part will take to be made using a particular method of construction.
Costs are often closely tied into time when determining what fabrication methods will be chosen. Time means money, and the amount of labour put into the job is a large part of any model price. Machines can make up for some of the costs in human labour, provided the money is there to buy and run the machine in the first place. Material costs for particular machines, such as the resin needed in a 3D printer, need to be taken into consideration as well.
Model makers need to determine how accurate a part needs to be on the model when deciding fabrication methods. Computer-programmed machining is more consistent and precise than hand building a part. This may or may not be a consideration in a given project. Sometimes a model is an artistic representation of an object, and extreme fidelity to the original design is unnecessary and unwanted.
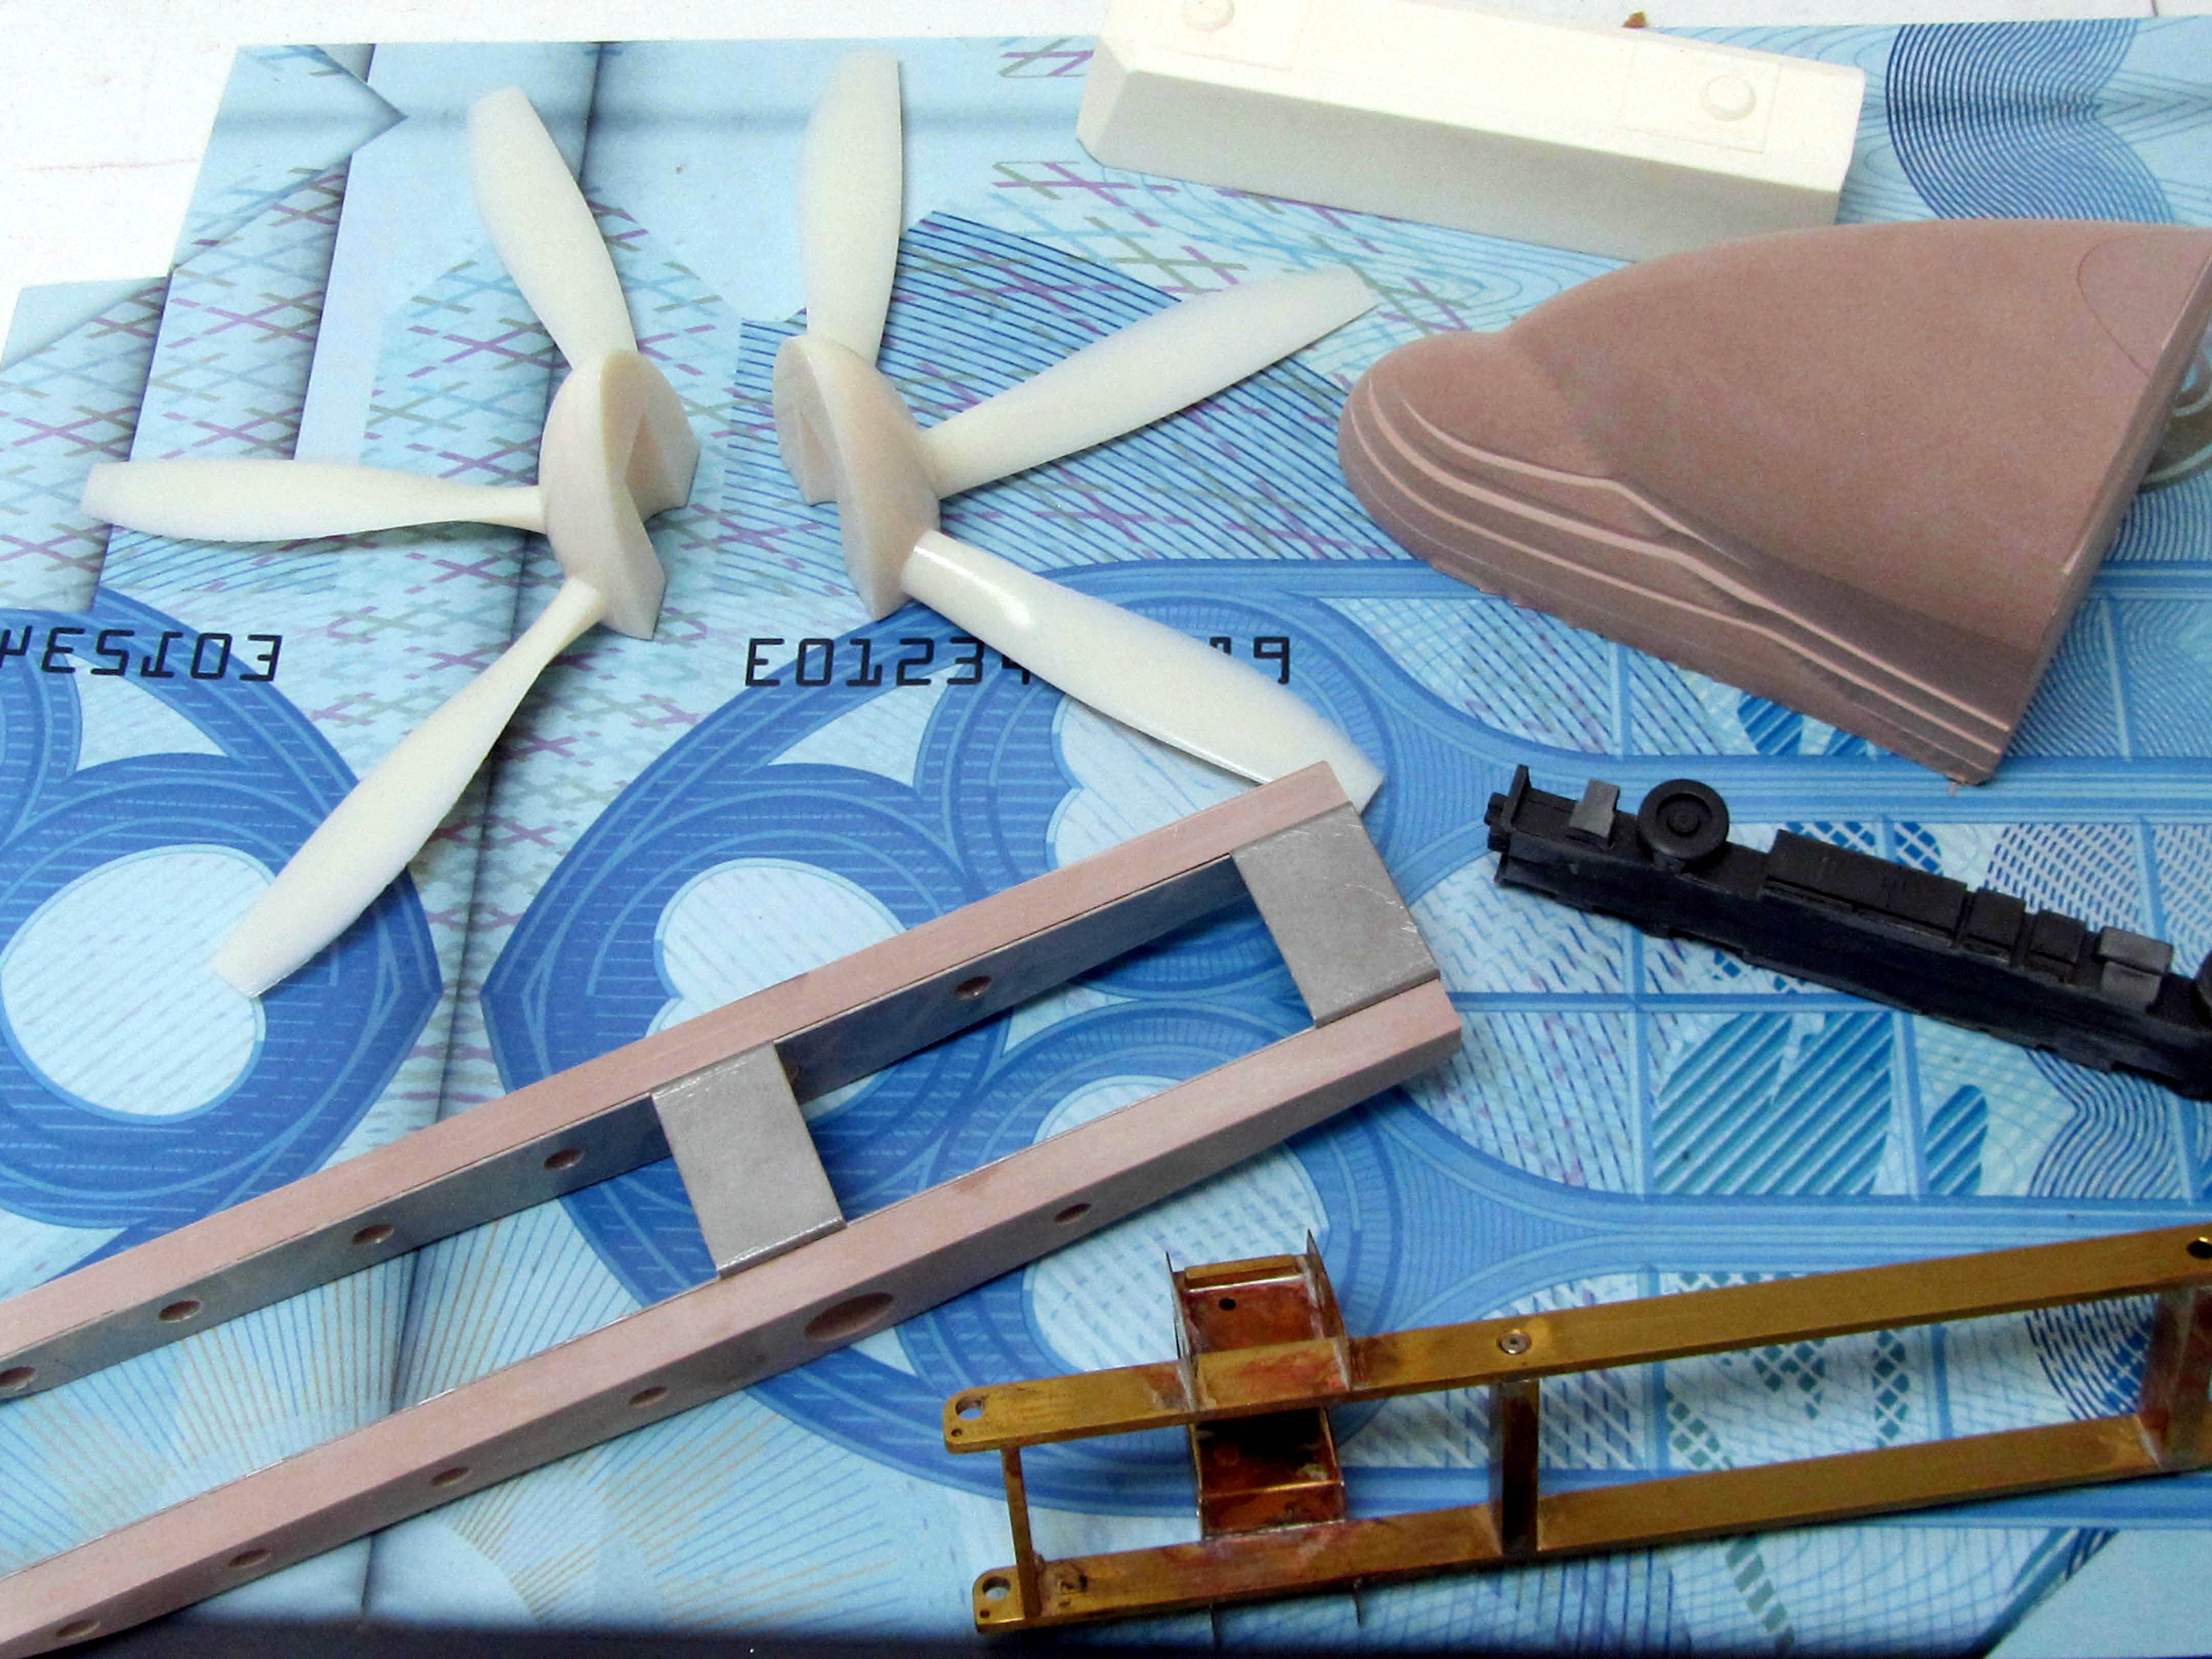
The kind of material being used in the model will help drive the fabrication method. A 3D printer uses resin. A CNC mill can carve plastic, foam, steel, brass, wood or machinist board. A hand-made part can be rendered out of just about any material available to the model maker. Usually the type of model determines the material being used, and is determined by the model maker, but occasionally the client will have a particular material request as well.
The type of model needed is one of the overriding factors when deciding on fabrication methods. What shape, size and quantity the model will be, as well as its purpose – display, trade show, instruction, sales or prototyping – influence the type of material used to create the model, as well as fabrication choices.
Depending on its shape, a model might be made through a subtractive method of taking away material such as a CNC mill, while other shapes are more suited for an additive method of “growing” a part on a 3D printer. A milled part on the CNC machine needs to be flat on the bottom, no shape can be created underneath the part. This is not a problem with the 3D printer. A completely flat part with an intricate design can be cut on a CNC laser.
The over all scale, or size, of the model may rule out certain fabrication methods. Large parts need to be able to fit on the particular machine being utilized. The quantity of models required influences the construction. Multiple models of the same object can be well suited for mold making. A master model part is made and molded, then multiples are cast from the mold. Automated (CNC) machines in general are helpful for multiples due to their consistency over a hand-built part.
Intended model use will help establish what construction methods are used as well. If a model is going to be moved around frequently, such as trade show use, durability and strength become important factors. This will affect materials used, fabrication, and even assembly methods to ensure a model that will stand up to repeated transport and handling. While a display model permanently housed in a protective glass case can be made of more delicate materials and finer fabrication methods, such as hand-building.
Finally, the information available to build the model will help ascertain the best fabrication method to use. If 3D files are available of the item to be built, that will lend itself better to CNC or 3D printing processes. If the model maker has only a picture or photograph to go by, it will likely be more efficient to build the model by hand, using a well-trained eye, than to try to draw the parts first in a computer program.
A well equipped model shop with a full complement of fabrication methods makes a model maker’s job more effective. Multiple factors are taken into consideration when determining which construction methods to use on any given project. Time constraints, costs, accuracy required, materials used, type of model, and information available about the item to be built all can influence this decision. Many of these factors are intertwined. Ultimately it is a model maker’s job to assess these options early on in the project and plan fabrication methods accordingly.
Mistakes in Model Making
 Model making involves as much pre-planning as possible for each project to avoid mistakes later on. First, by determining exactly what the client’s needs are and determining the model’s over-all purpose. Where will it be used, how often and with what desired impact? Then, by brainstorming ideas for the construction – materials and fabrication methods – model makers determine the best way to go about the actual build. Data about the model is also collected from the client and/or researched, including dimensions, structural details, colors and textures, in order to completely understand what is to be built.
All of this pre-work is designed to minimize problems further along in the model making process. Misinterpreting a client’s expectations can be a disappointing and expensive realization further into the project. Using the wrong materials for a part of the model can threaten its structural integrity. Utilizing a particularly complex fabrication process might cause the project to run over its deadline. Not clarifying conflicting measurements on a drawing might result in a less than accurate replica. Even something as simple as a slightly off paint color can derail a project during the important crunch time before a due date.
No matter how much careful planning takes place up front in a model build, there is always the possibility of mistakes along the way. Model makers don’t necessarily expect them, but they do plan for them and are trained at quickly fixing problems on the fly. Trouble shooting skills are essential in the profession.
Sometimes changes are made by the client during the project. Something on the model needs to be fixed because new information is replacing the original data. This might mean a return to the 3D drawing stage to redesign a part, or simply the integration of a new file sent by the client.
Other times, inconsistencies in materials can make for mistakes in the modeling process. Model makers are prepared for the occasional odd performance of resin, plastic or paint.
More commonly there will be a mistake in fabrication. A model maker spends a good deal of time on the actual build – molding, sawing, drilling, routing, welding, cutting, gluing, painting, sanding or milling. Even the most experienced model maker will occasionally mess up during one of these processes.
Fixing mistakes and making adjustments are part of the model making routine, and generally do not get in the way of a project’s successful completion. Model makers put a lot of effort in the planning stages to avoid costly mistakes later on. However, being gifted with their hands, as well as analytic thinkers, they are well prepared for the challenge of when things do go wrong.
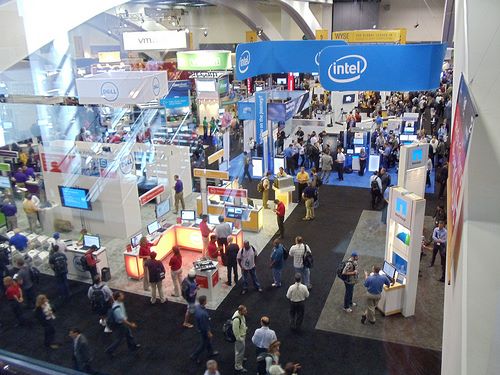
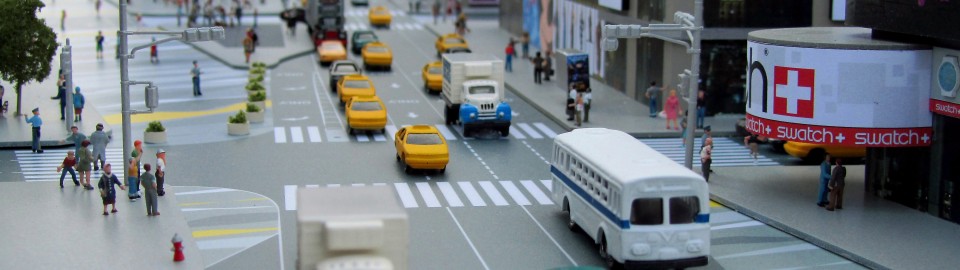
Trade Show Season 2012

The 2012 Trade Show Season is in full swing. Trade shows offer a unique opportunity to generate new leads, launch a new product design and strengthen relationships with existing clients. It’s not too late to plan new ways of meeting these goals by bringing more prospects in to your booth, and creating excitement about what you have to offer once they are there.
More industries are turning to scale model makers to build the center piece for their trade show booth. There are numerous reasons for turning to custom models to sell products. The actual item may be too cumbersome, over-sized, tiny or delicate to display at multiple trade shows. It might lack the visual impact that is called for in the highly charged atmosphere of trade show exhibitors. Emphasizing particular product features may be necessary to stand out from the competition.
While in recent years various multi media has been added to showcase a product’s potential, nothing quite matches the impact that a 3D replica provides. Prospects want to see and touch the product. They want to walk around it and view it from various angles; examine up close how it functions. Custom scale models give a tangible understanding of what is being offered in a format that everyone can easily understand.
Utilizing the newest techniques, model makers can add features that help a product sell itself. Cut away designs, LED lighting, clear bodies that show interior components all add interest and perspective that allow the product to tell its own story. A working model can even show a product in action. Using electronics, the model can be made to function like the real thing. These special features make for an extra engaging display, making it easier for the sales team to demonstrate the product’s advantages.
A scale model display, complimented by multi media ( pictures,music, animation or videos) makes for a powerful impact. Trade Show participation is a big investment that needs to pay off in terms of exposure and ultimately, sales. It makes sense to use the most powerful tools possible to attract and focus potential clients on your product in a way that leaves a lasting impression.
photo credit: EDubya
Young Person’s Visit to the Model Shop

As a visitor, you never know what to expect when you’re planning to enter a model shop facility. My first visit to KiwiMill I had no clue what to be ready for. I predicted there would be a couple of machines around, surrounded by workers wearing goggles sawing away at pieces of wood. Maybe you imagine an assembly line of drone-like workers painfully going through the motions of a day’s work. What I saw was much different from what I expected.
I attended one of the group meetings, where the crew discussed things like job offers, budget, deadline, and the tools that might be required for future jobs. Even though you might not understand all the words that these model makers use during meetings, you can see that they get down to every last detail, and that it’s fundamental for this crew to go over every detail, because they know that it’s all important.
I got to participate in packing up some of the models that the crew had created. Wrapping things in bubble wrap, gluing foam into boxes, and then taping them up doesn’t seem like a very hard job to do. Even though it may not be, you can see that the crew puts effort into making even their packages look presentable for their customers.
Every model maker is different: All model makers specialize in something. Something that they are the best at. Don’t get me wrong, that doesn’t mean that they can’t do things that others can do, because they can. It just means that when there’s a job that focuses on a specific specialty, the boss will call on the expert to help by teaching others.
Overall, I learned a lot of things about model makers. I learned about their business world. I learned that they are very precise with their work, and do everything in their power to please their customers.
From what I’ve seen I think that all model making companies could take some tips from KiwiMill.
– Sam Symes, age 13.

Production Processes for Multiple Scale Models
Custom scale models are often one time only builds. Model makers are given an object, picture or design, they draw up the parts in 3D and set about constructing the item. Whether the finished product ends up in a museum, sales office, board room or trade show booth, it is often a one-of-a-kind model that won’t be repeated.
Occasionally, though, a model shop is given as assignment to make multiple scale models of the same design. Sometimes these are requested all at once, and other times a model shop will repeat models on an as-needed basis.
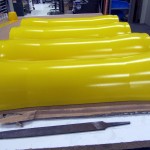
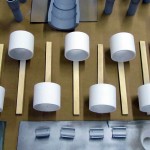
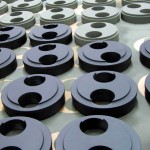
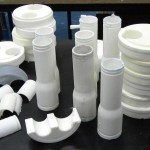
It is these types of projects that turn the model shop into a temporary production facility of sorts. A systematic approach is developed to create multiple parts in an efficient, orderly fashion. Using fabrication techniques such as casting, CNC milling, 3D printing and lasering, multiples of the same part are created.
When it comes time to assemble parts for duplicate models, jigs are designed. A jig is a tool used to control the location or motion of another tool. The jig’s primary purpose is to provide repeatability, consistency and efficiency.
Creating multiple scale models of the same object requires certain upfront approaches that would be unnecessary for a one-time build. Duplicate models are still custom-built, but fabrication techniques and production processes are controlled and streamlined in order to create a consistent product, over and over, in a reasonable time-frame.

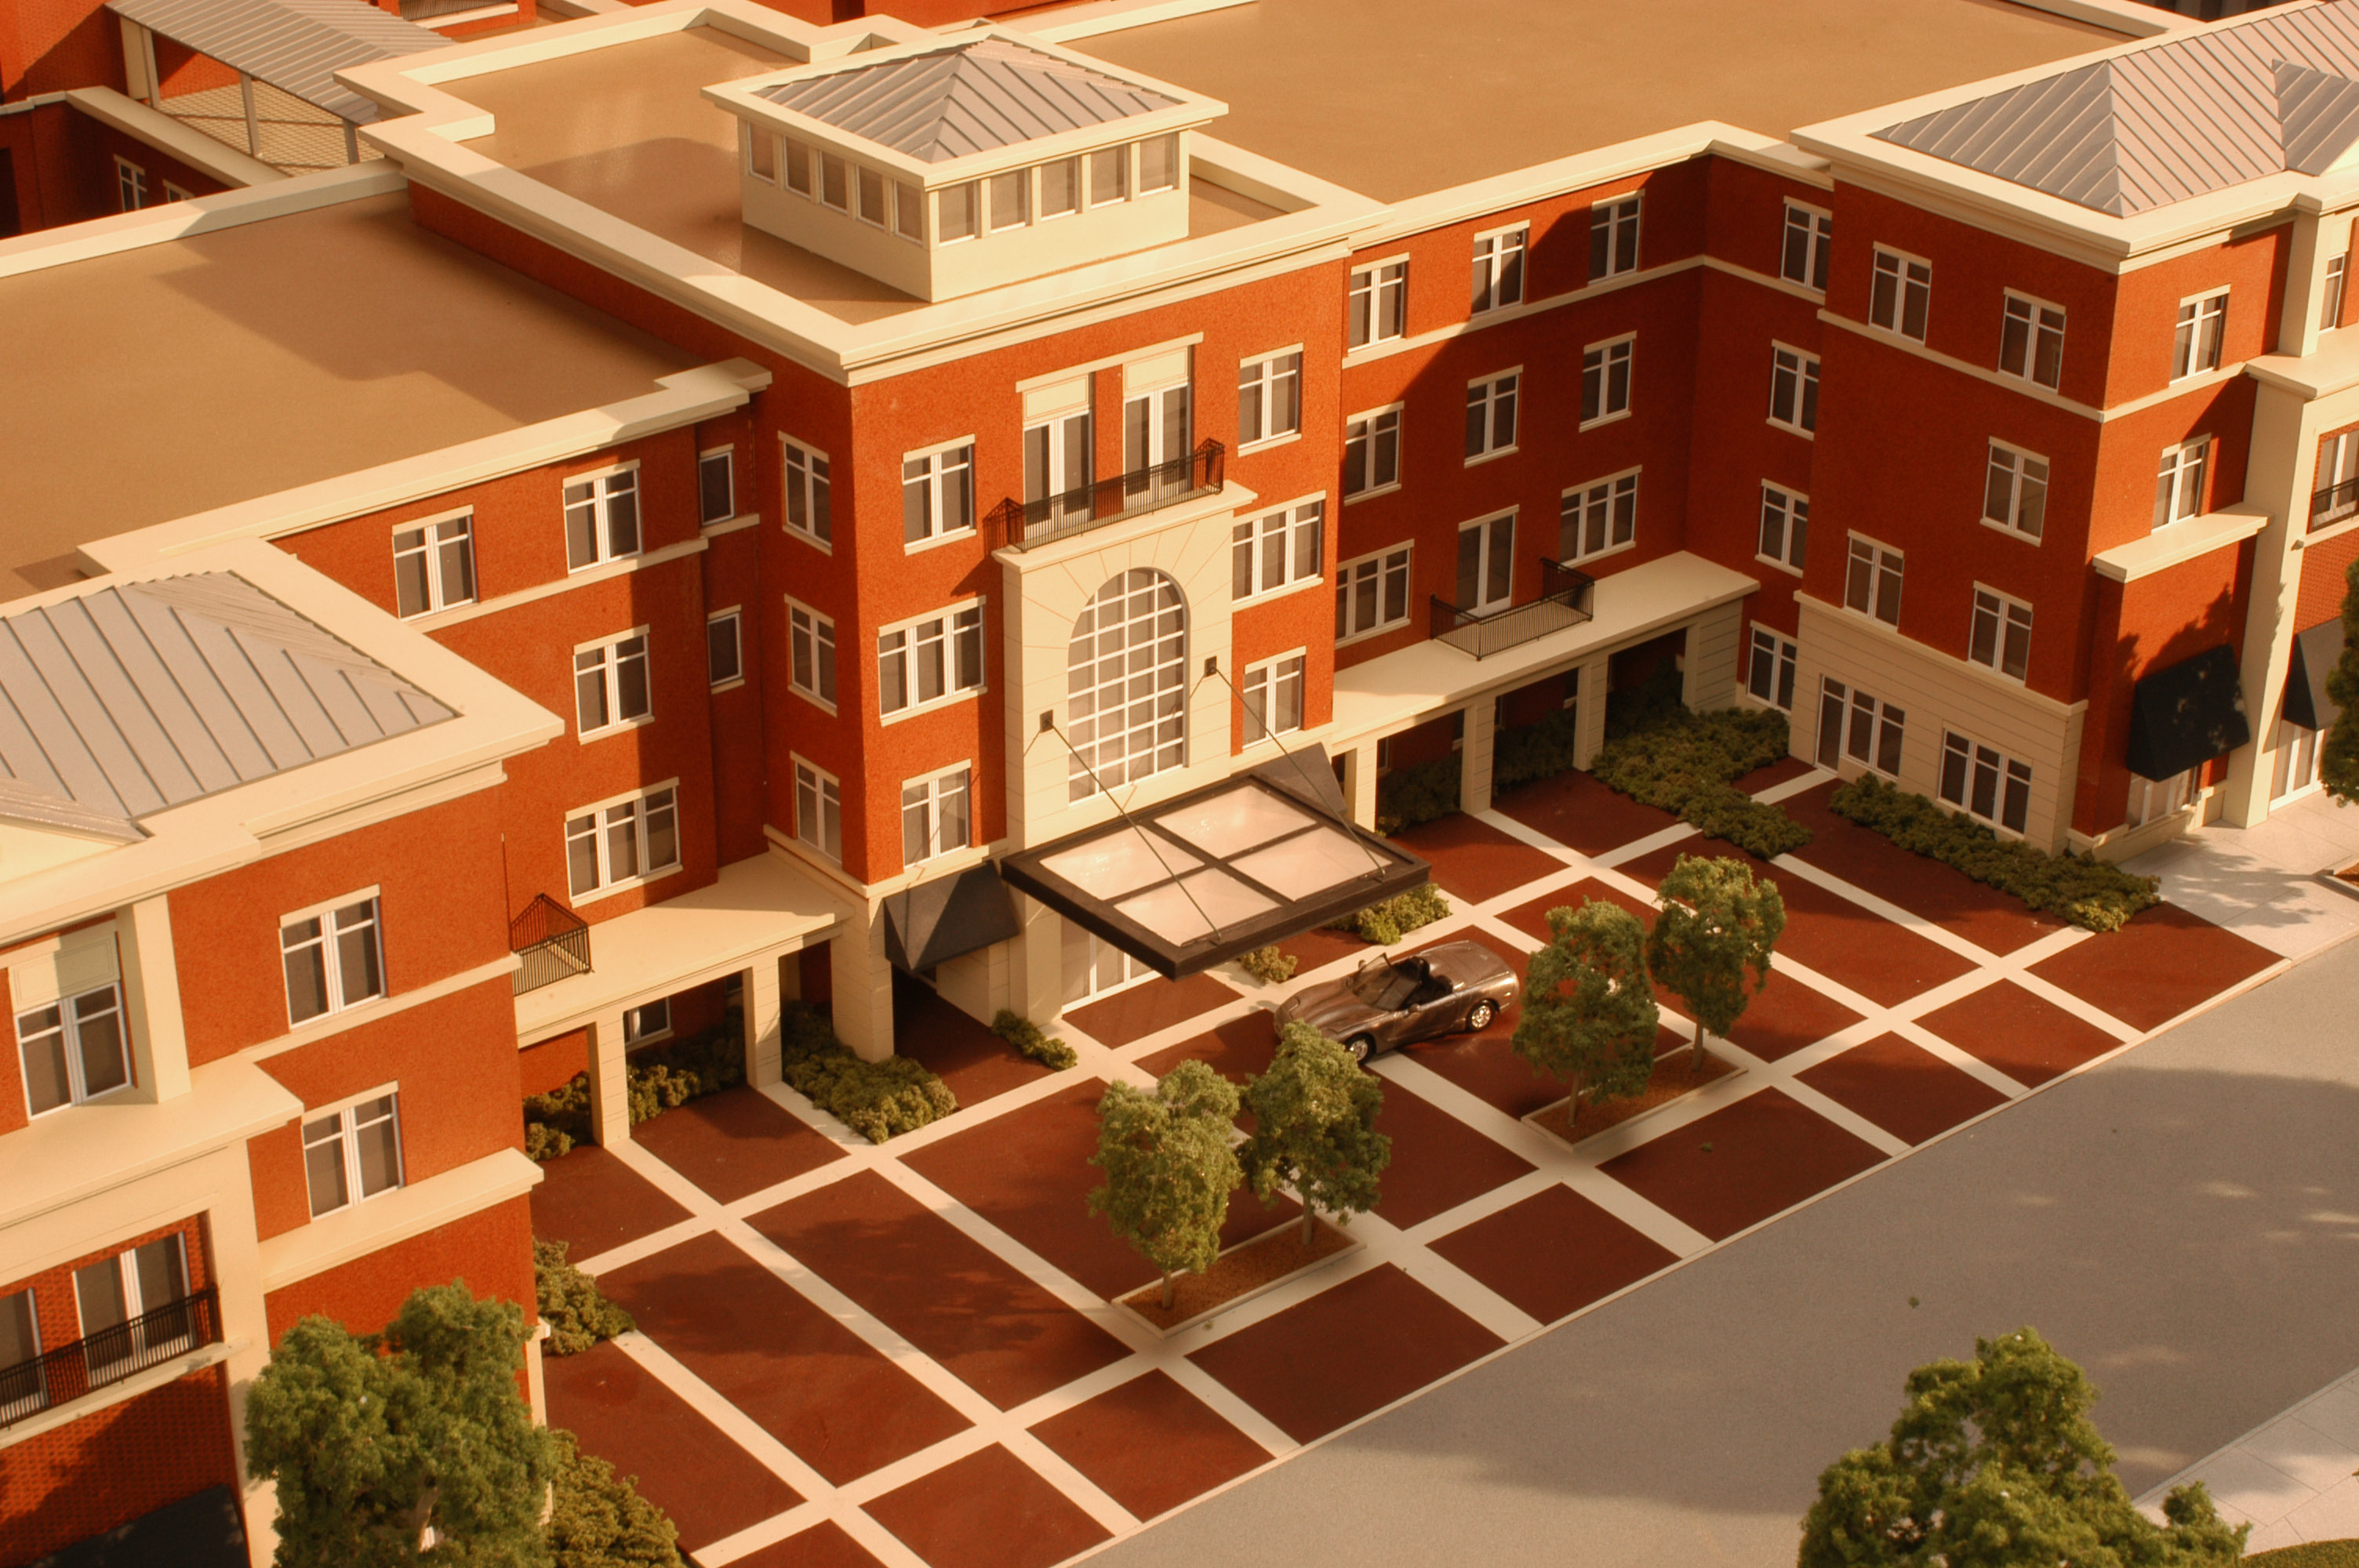
Architecture Is a Beautiful Thing.

Most people can get excited about architectural models. Breathtakingly huge skyscrapers lit from the interior, intricately detailed cottages with lift-off roofs, or lushly landscaped commercial developments capture attention. These types of models can be true works of art.
Besides being beautiful to look at, architectural models play an important role in society in general and development specifically. They are used to approve plans, raise funds, marketing and sales, as well as showcasing exceptional or historically significant design.
There are as many different types of architectural models as there are approaches to building one. Simple mass designs, in one solid color (usually white), semi-detailed studies with medium levels of texture, color and intricacy, all the way to museum quality finely detailed marketing models with landscaping as important as the architecture. The type of architectural model is ultimately dictated by its use in the business world, along with budgetary concerns of the client.
KiwiMill works closely with architects and developers to produce highly accurate, one-of-a-kind, finely crafted simulations of design in a time-frame that meets the needs of our clients.
What’s a Prototype Model?

It may seem oddly counter-intuitive, but often the quickest, least expensive way to make a new product is to first make something else – a prototype model.
A prototype model is a special type of model that engineers or designers use to test a product’s properties and function. Prototypes allow engineers to explore design alternatives, test theories and confirm performance all prior to starting production.
Early on in the creation of a new product, a series of prototypes might be designed, fabricated and tested, progressively refining the final iteration. It’s assumed that the initial prototype will have many changes made to it as feedback is given.
The prototype model is a learning tool above all else. Different types of prototypes serve different purposes, and provide specific answers to design questions.
Some prototypes are for proof of concept – they don’t attempt to simulate the finished product in any way. Other prototypes replicate the size, look or feel of the product using simple materials and are meant to be studied but not put to repeated use. Some are constructed out of sturdier materials and are expected to be withstand rigorous human interaction during the testing phase. Some prototypes are meant for visual fidelity only. They copy flawlessly the visual appearance of the product for use in photo shoots or executive review. A fully functional, or working prototype would simulate the final product to the highest degree, or fidelity. This prototype would be for a final check before production began.
So why bother having a prototype instead of the real product? Simply put, a prototype will save time and money in the long run. Prototypes show potential investors or users an idea of what the product looks like in the earliest stages of development. Less expensive materials and manufacturing processes, along with simpler details and engineering, allow for more design options to be tested using prototypes before committing to the production stage. Identifying problems with design early on saves money. Having users test different designs during the development cycle gives critical feedback that will likely result in a more marketable final product.
It’s cost-effective to make use of prototypes during the design process, and it need not slow the actual time down between the initial idea and it’s arrival on the market. It can in fact speed that process up.