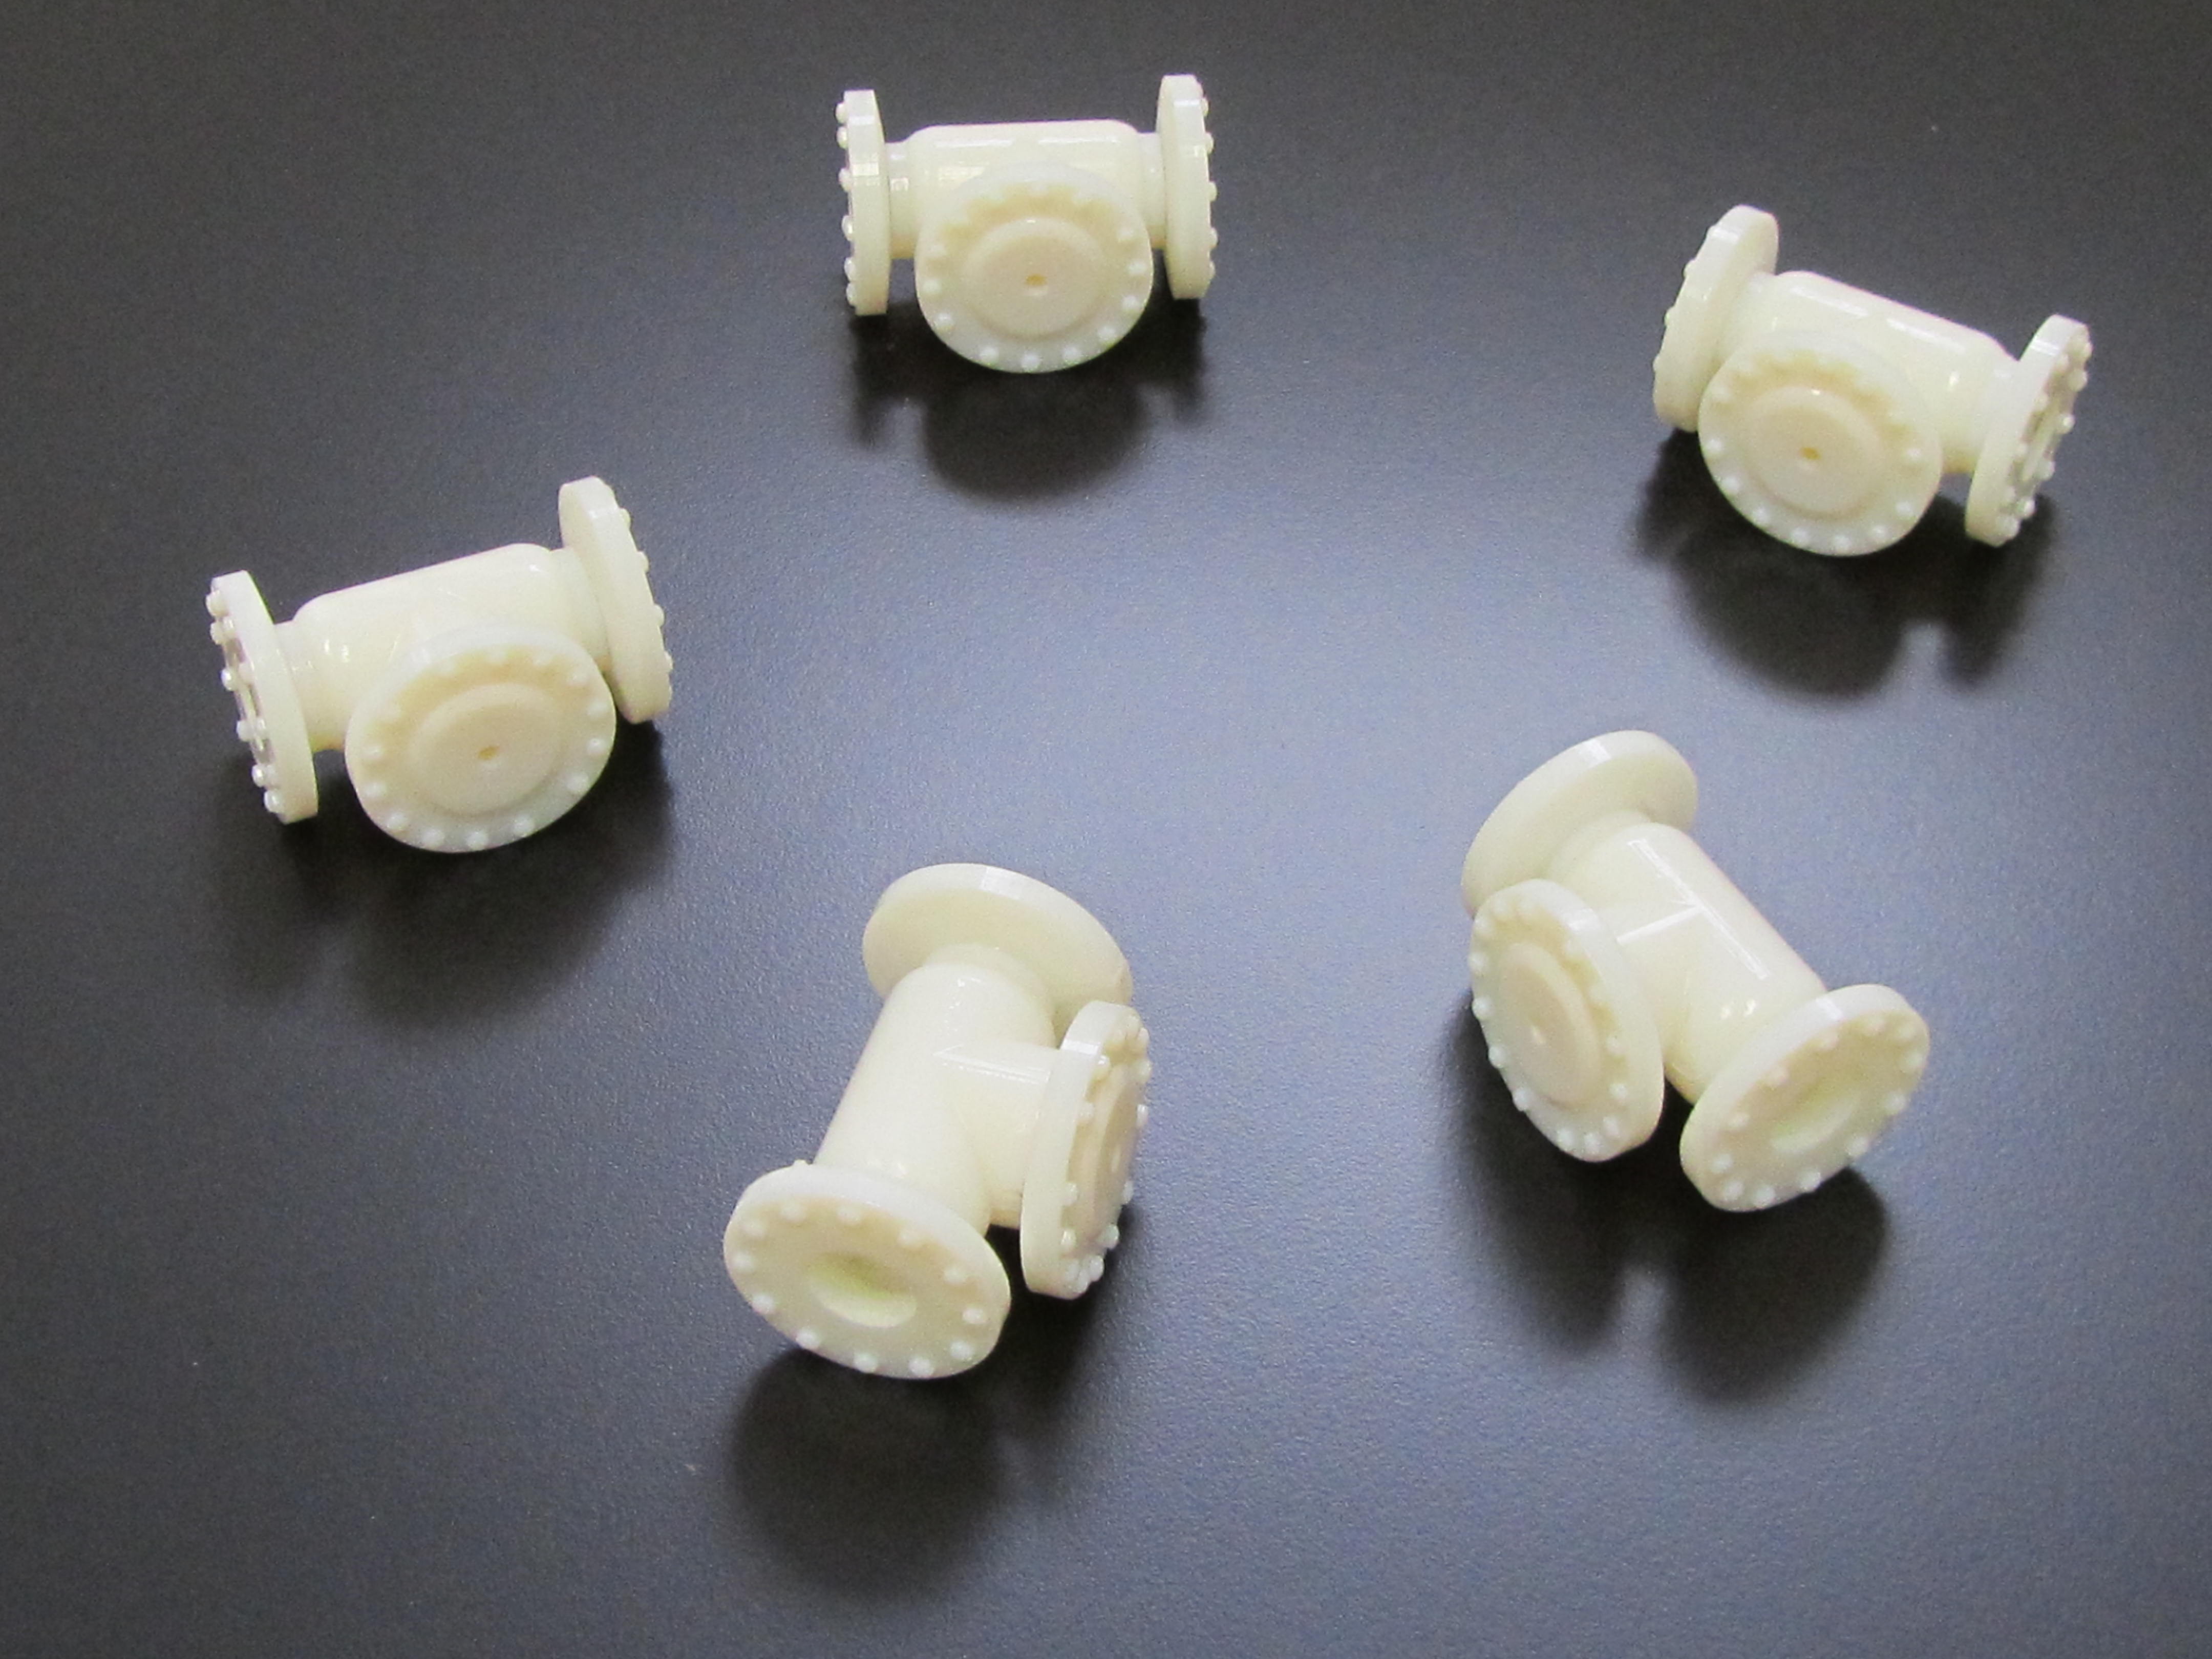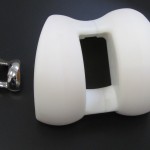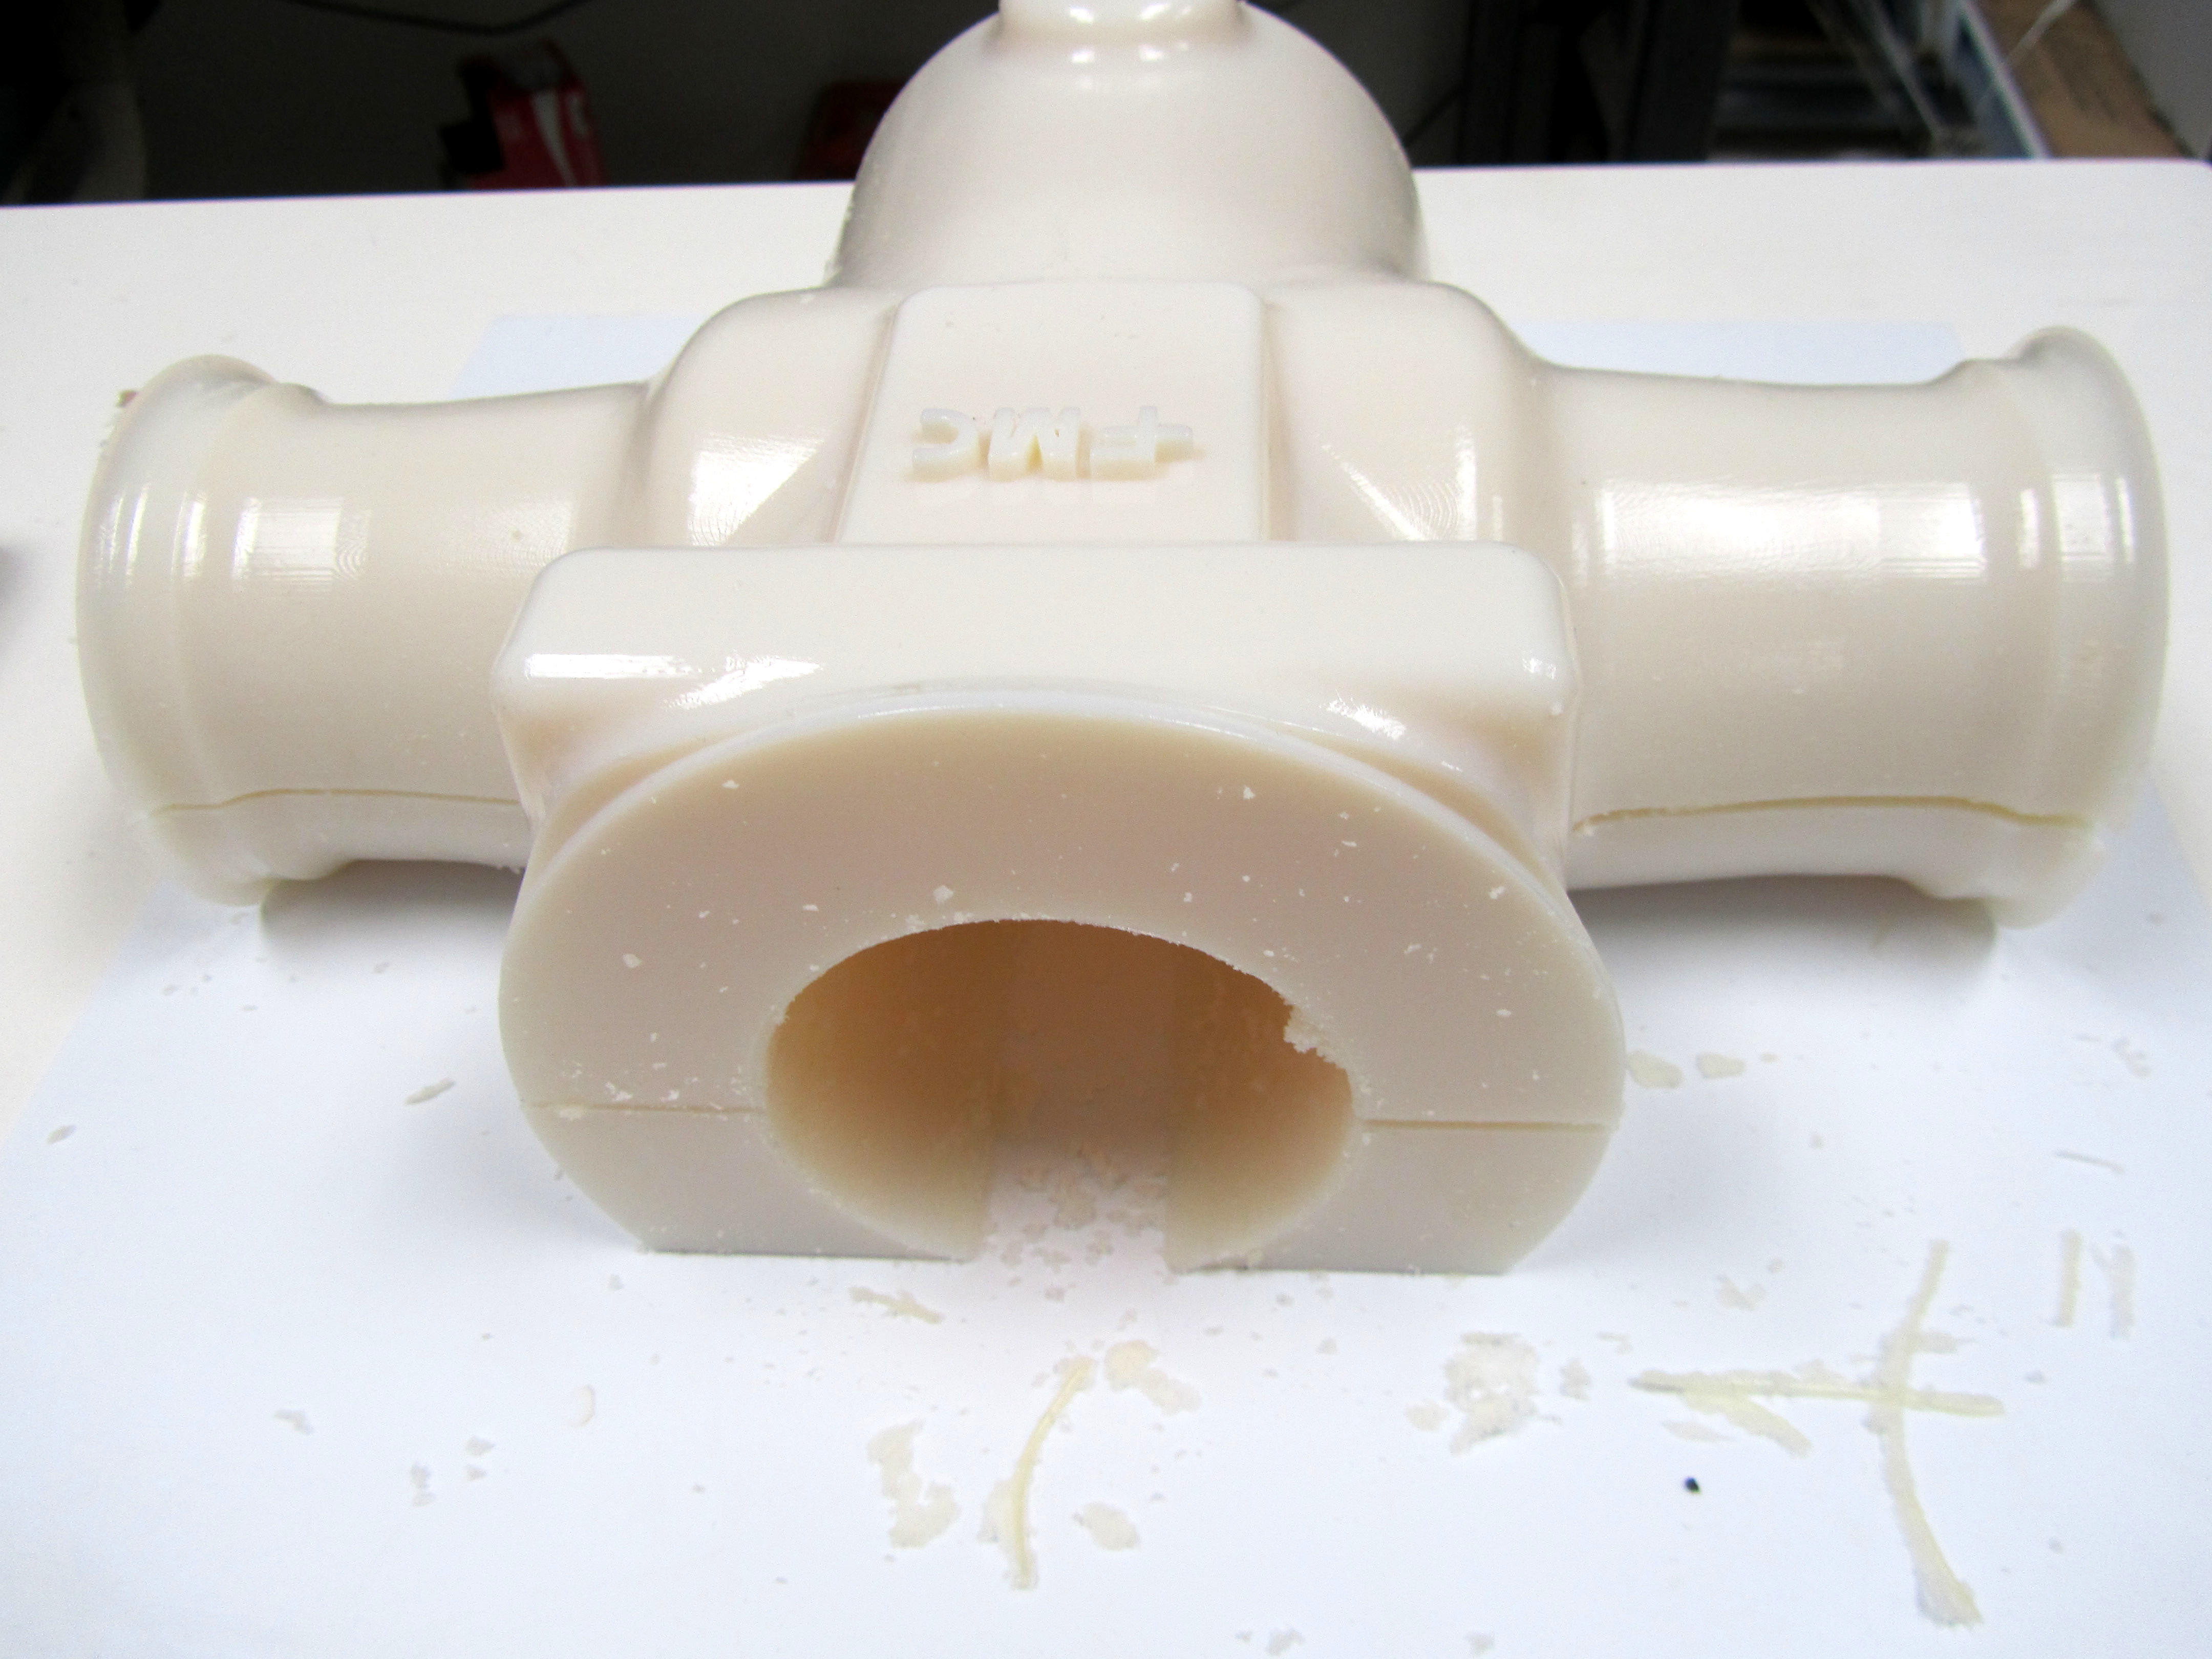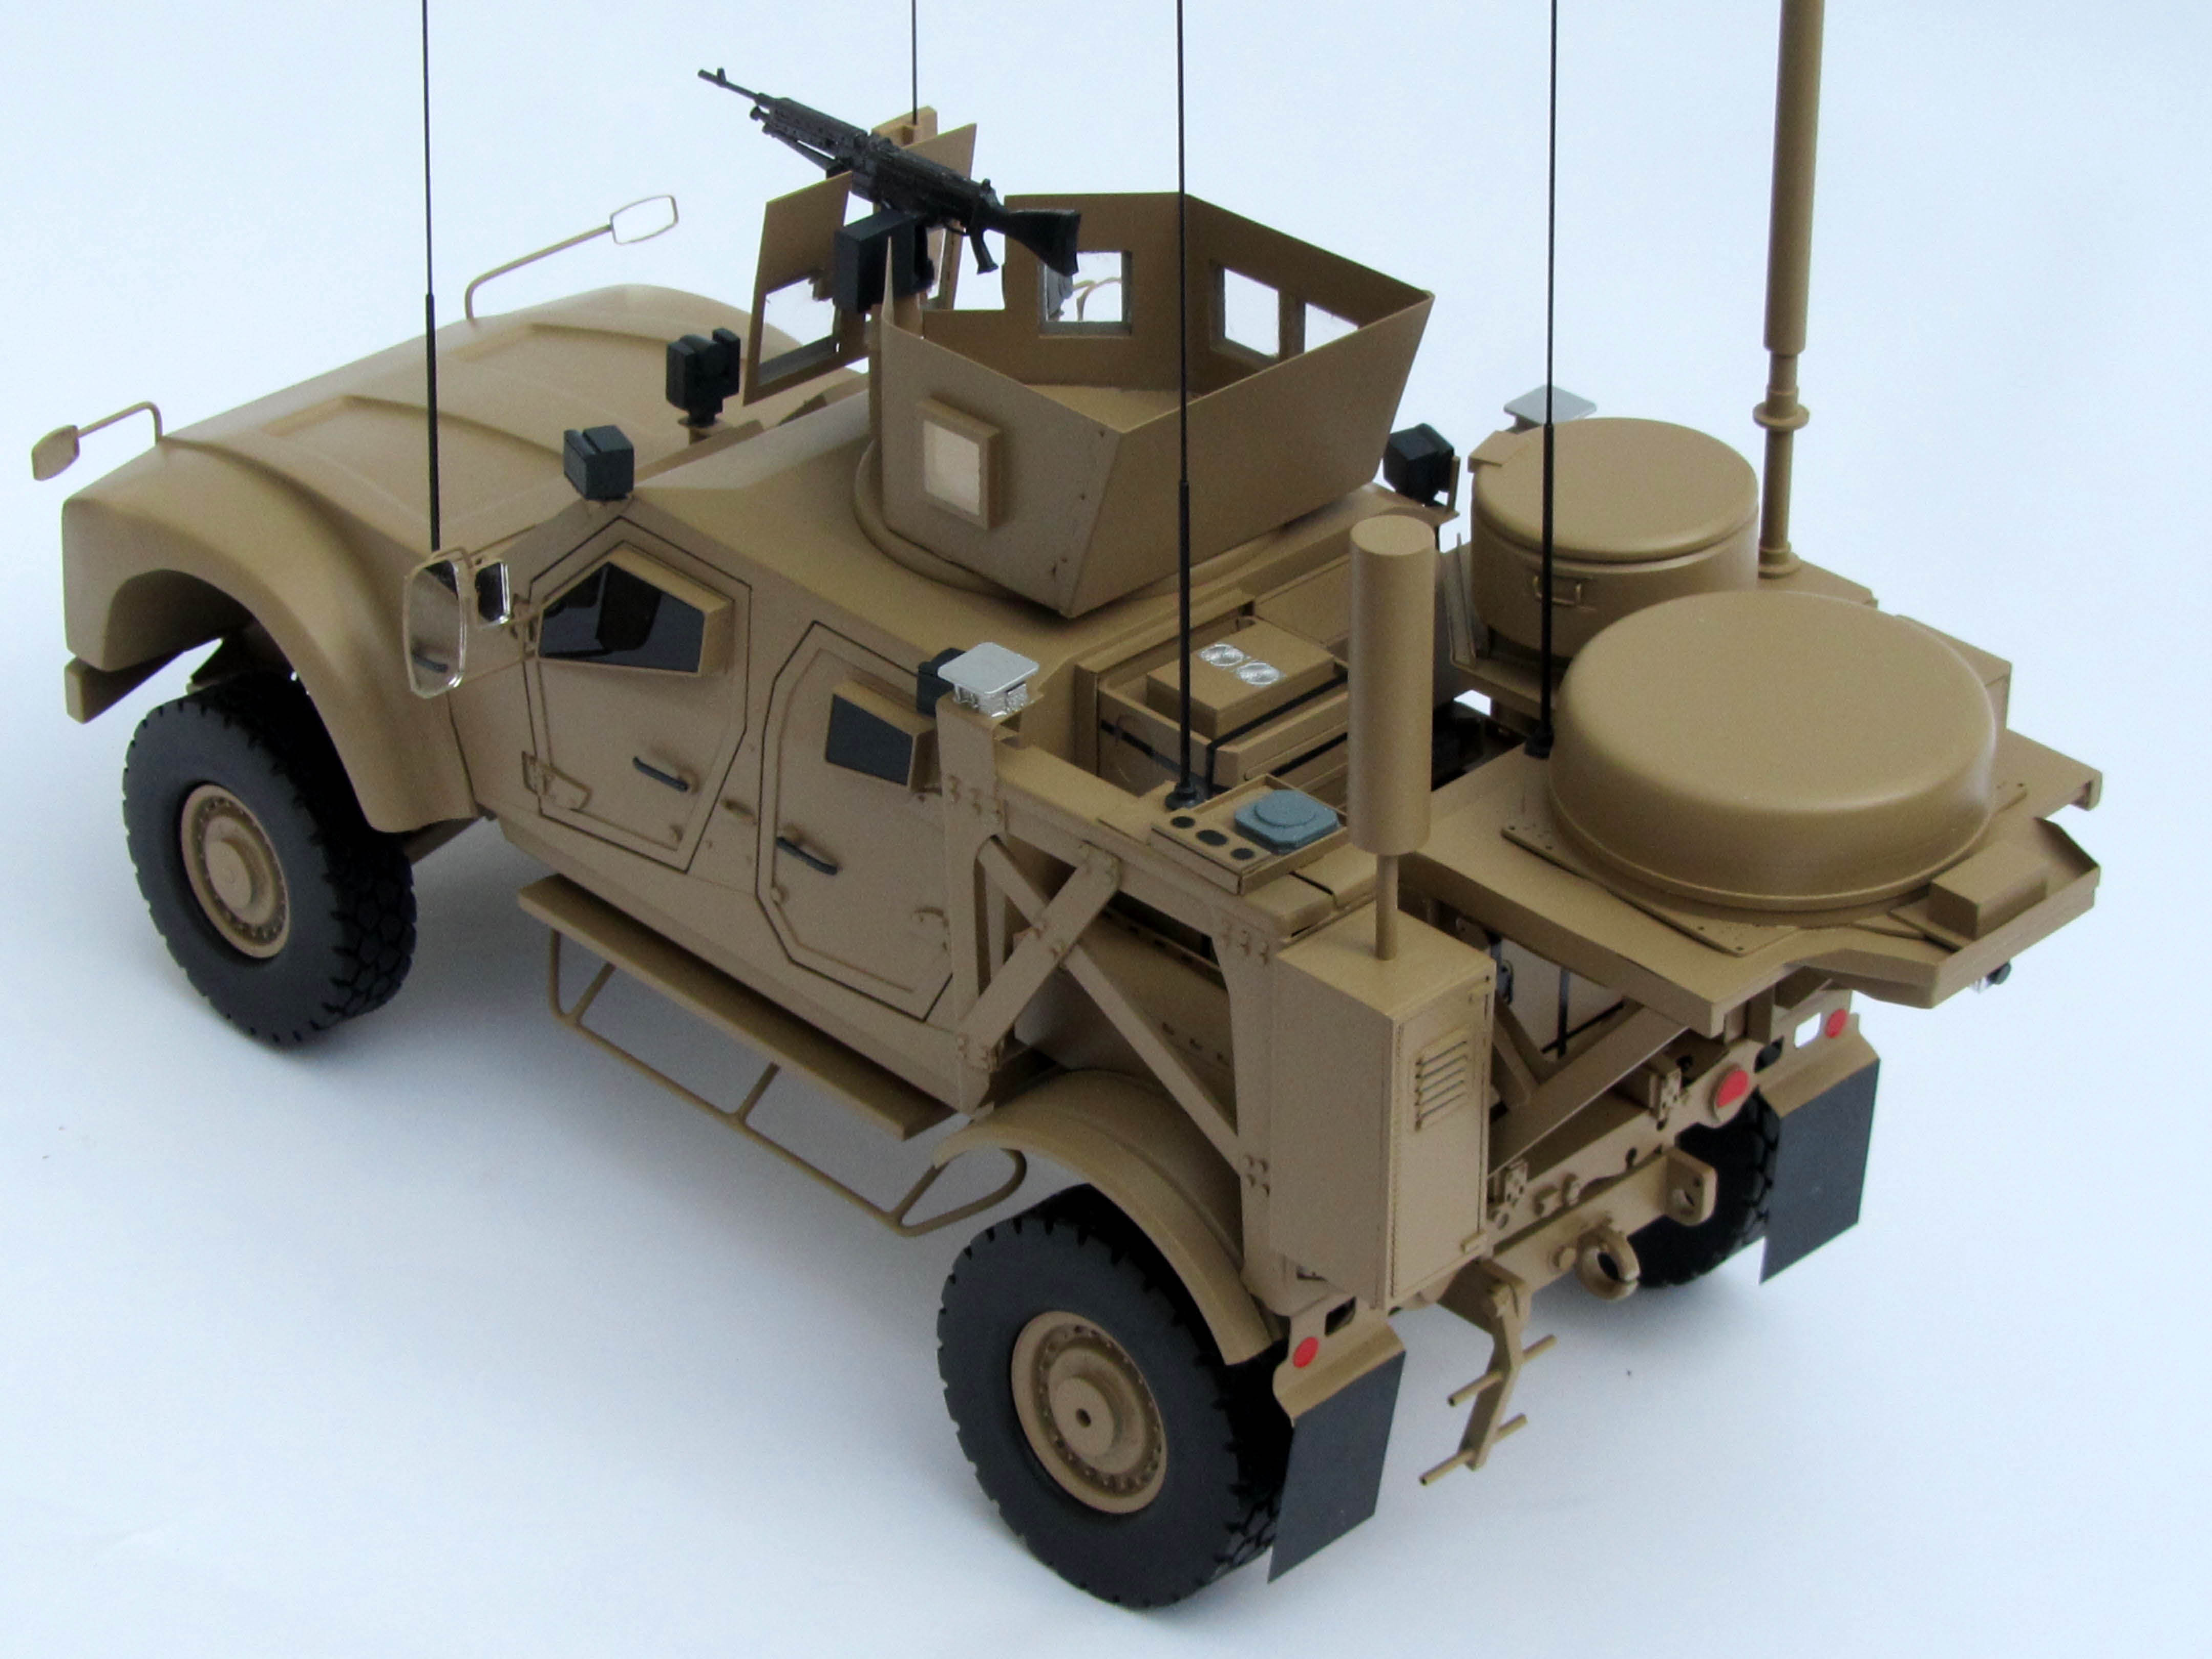
The model maker team here at KiwiMill is definitely pleased with the addition of our newest Objet 3D printer. While we jokingly refer to it as our extra employee – it is quite a miraculous technology – it’s worth noting the support systems needed to make it run, as well as its inherent limitations.
First comes the training necessary to operate, clean and maintain the printer itself. An initial inservice with the sales tech after purchase is a good starting point. Ongoing tech support provided by the manufacturer keeps things running smoothly in the long-term.
Material to run the 3D printer is a regular investment as well. The resin itself is expensive, and to a lesser degree, the support material used to print each item. The resin is the actual plastic that a part is made out of, the support material is what fills in the empty spaces in the design as it prints layer by layer on the tray.
The human labor involved in 3D printing is perhaps the most interesting aspect of this particular fabrication technique. Three dimensional printers can give the impression that they take the place of a model maker. After all, they are touted as machines capable of growing parts overnight, sometimes even whole models. How true is this exactly?
Traditionally model makers have sat at work benches, or run machinery, cutting, carving and shaping materials to the specifications needed for a model part. This method is considered subtractive – the model maker must extract from a whole piece of material the parts necessary to assemble the model. This certainly takes time and a considerable amount of skill, rightfully earning the model maker’s status of master crafts person.
Innovations in the field of model making have introduced automated machines that will do the extracting for you. CNC (computer numerical control) machines guide a router, lathe or mill to carve out parts automatically. Three dimensional drawings have been programmed into the machine by a computer, to provide coordinates for the subtracting device. X and Y coordinates guide the machine back and forth and the Z coordinate tells the machine what up and down motions to make, thus creating a 3 dimensional part.
The 3D printer works a bit differently; it takes a 3D drawing and prints it out in 2D layers. What the model maker must first do is take a CAD engineered drawing from the client and make it “water tight”. This means that all lines in the drawing need to be connected, or closed off. If only a 2D drawing is available, the mode maker must be able to draw it up in 3D. If only the original object exists, with no drawing, it can be scanned and made into a 3D drawing.
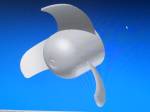
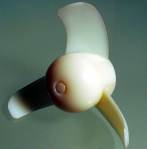
Why does the printer need a 3D drawings when ultimately it will be printing it in 2D? How the 3D printer works is that it takes a 3D drawing from any drafting program and slices it into 2D cross-sections, printing each slice out, layer by layer and stacking them up into a three-dimensional object. The unique aspect of this method is that it is additive, not subtractive. The part is built up out of nothing, not extracted from an existing piece of material.

Afer the original 3D draft has been prepared by the model maker and sent to the printer, it is true that the machine then grows the parts itself. This is the magical aspect of the process. A model maker can go home for the night while a part is being created. However, once the part is removed from the printer, it is not exactly ready to use. This is where additional labor is necessary to clean the part.

Support material is the substance that takes the place of empty space in a 3D object, where it is needed to hold up the design as it builds upward. It acts as scaffolding for the object being printed. A layer of support material is laid down on the print tray as well, as a foundation, before any part of the actual object starts printing.
When an object is removed from the 3D printer, it is this support material that needs to be cleaned off the part. Depending on the shape or design of a part, it is the removal of support material that takes the majority of labor in the 3D printing process. Water jet spraying, chemical soaking, scraping and digging out support material from intricate pieces takes time and effort. Sometimes there is so much support material covering a part, that it needs to be extracted out of it as if it were a piece of gold embedded in rock. Thus making 3D printing a bit of a subtractive method as well!

Once the part is cleaned, it needs to be primed, painted, and usually assembled with other parts to make a whole model. We don’t often – if ever – print a model in its entirety. The over all complexity and sophistication of most of our scale models demands greater levels of detail. They are nice supplemental parts to have, and free our model makers up to add the human artistry that gives our models their custom look.

A 3D printer does not replace a model maker, as fun as it is to joke around with the notion. The added technology requires our model makers to be better trained in 3D drafting: drawing, reading and fixing 3D computer files. It ‘s another fabrication choice, and hones the critical thinking skills that determine what parts will be printed, CNC machined, hand-built or crafted in yet another method. This blend of artistry, engineering and technology is making the model making field such an exciting place to be right now.
