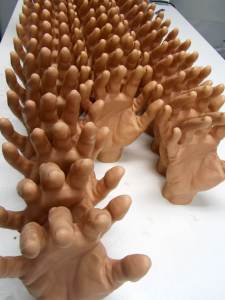
Model Maker Joe recently shared the process by which he created a total of 300 model hands for a client in the medical field:
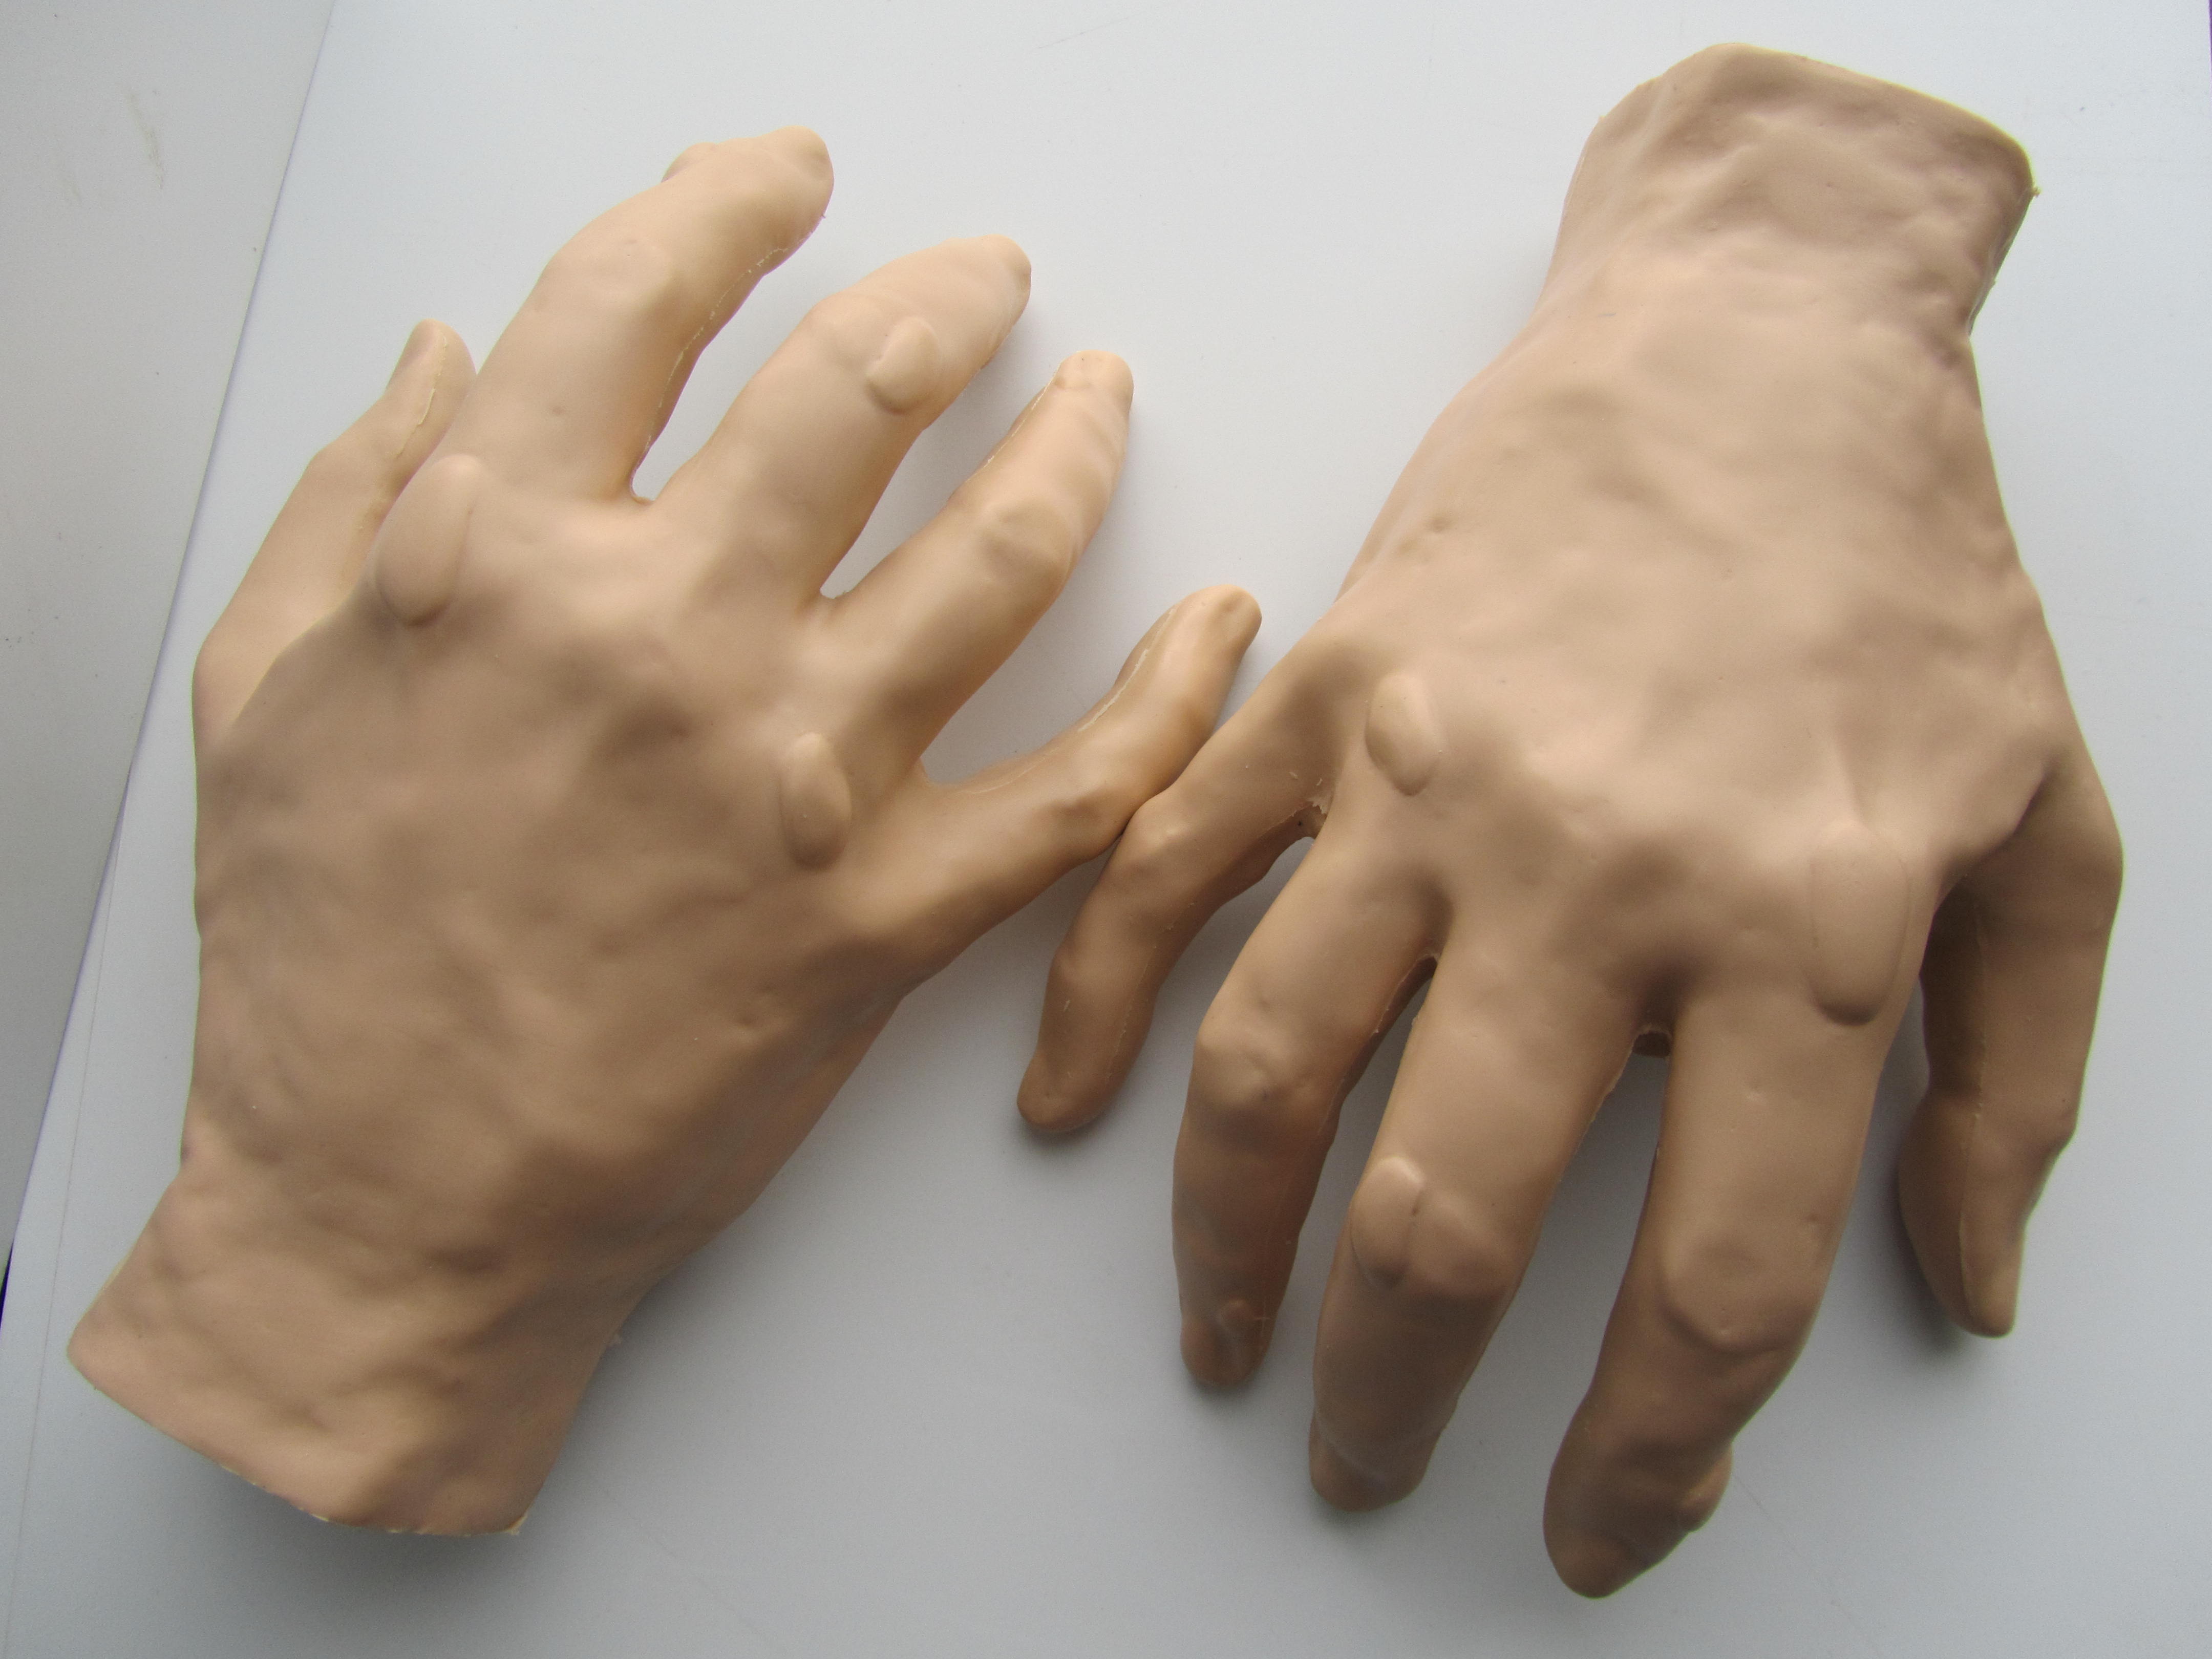
We had a customer contact us with the need of a class room training aid to use in a practical exercise, measuring gout build-up on a hand. I was initially tasked the job to produce 100 realistic hands with gout build-up at designated locations, using particular dimensions for the bumps.
First we set out choosing a hand model. Then I brushed on a platinum-cure silicone rubber (hardness: 10A, tear strength 102 ply, 1000% elongation at break to guarantee a stretchy, nearly untearable glove) over the model’s hand in thin (this rubber is very thick and traps bubbles) layers.

After achieving a desirable thickness, I shelled the mold with plaster cloth while still on the model’s hand. I made this exo-shell in two halves (palm and back) so that I could pull the mold out.

After the plaster cloth was dry it was time to separate the two halves of the shell and release the model’s hand from the silicone glove.

The next thing for me to do was pour a master by putting the glove original in its shell and banding the two halves together. After putting the unit in a standing base (resting on its finger tips, wrist up), I poured a polyurethane casting plastic (hardness: 70D, tear strength 3000 ply, 7.5% elongation at break) with some black tint and put it under pressure.

When the plastic was cured, I peeled the mold back to reveal the master. It revealed many small nodules around the finger tips and palm (most likely do to sweat) that I cleaned off. After the master was cleaned up a bit, another member of the team built up specific (height, width, length) gout swells out of Bondo, per the customer’s request, at particular locations on the hand.

After the art work was done I repeated the same steps above to make three working molds, but this time the polyurethane plastic was tinted with a flesh color.

We shipped the client an initial quantity of 20, and upon their review, found the hands too hard and life-like for their studies. We needed to re-tool and come up with a new game plan – a softer plastic or a fast curing rubber.
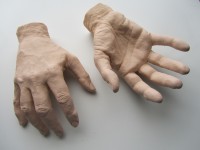
I came up with the idea of a two part silicone mold. A hand cast out of a softer material might not hold up to being pulled out of a glove mold and the cast piece would have to be fully cured (no short cuts).
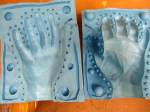
Meanwhile another team member was preparing a new master cast by brushing some blackened polyurethane plastic over one of the previous working casts, to even out the skin texture. After that cured, he fine-tuned the gout buildup back to customer specifications and tolerances.
When he was done, I built three two-part molds (fingertips down, wrist up) and begin production casting of my next 80 pieces. This time I used a polyurethane casting plastic (hardness: 80A/30D, tear strength 2264 ply, 233% elongation at break) with the same flesh tint.

This plastic had a 90 minute demold time, but with the two-part design I was able to turn the mold (pull the product and pour the next piece) in 60 minutes. These pieces came out of the mold with no flash and very little seam line.

The customer was very impressed and the molded hands did what they needed to do. The client ordered 200 more castings.

