Tag Archives: working model

Making Interactive & Moving Models

Interactive features on models help to draw customers to your booth, add excitement to a museum display, and can transform a model from a boring static display to the main focus of your booth or gallery. Kids and adults alike love creating the action or turning on lights in a museum diorama, or causing water flow with the flick of a switch. A trade show display model can be brought to life by adding lights, water, moving parts, or even a miniature TV.

In this post, I’ll detail some of the interactive and moving features KiwiMill has added to the various models we have made recently.

TV in a Model
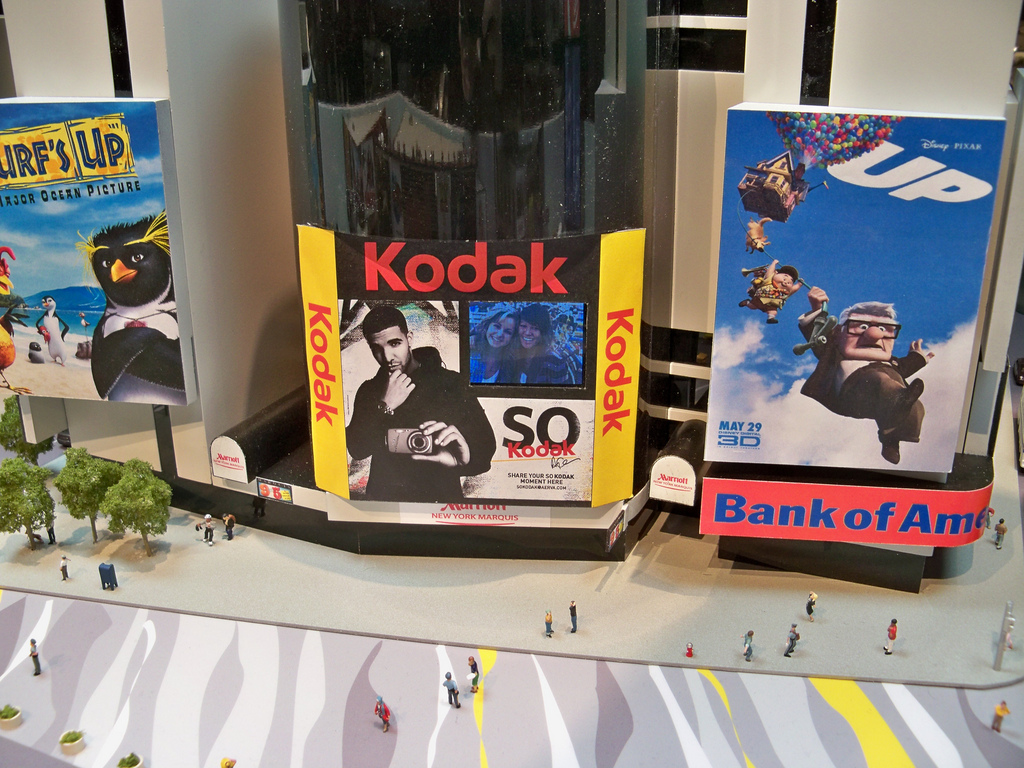
Miniature TV embedded into a Times Square Model
A trade show company came to us with ideas on how to add excitement to their trade show booth. The models were for CES, which is a consumer event, so first  people had to be attracted to the display and then were encouraged to pick up the cameras and take pictures using the zoom functions in order  to see the smallest details of the models. The TV in this model has a 1.8″ screen which was connected to a DVD player. This added movement and excitement to an otherwise static display model.

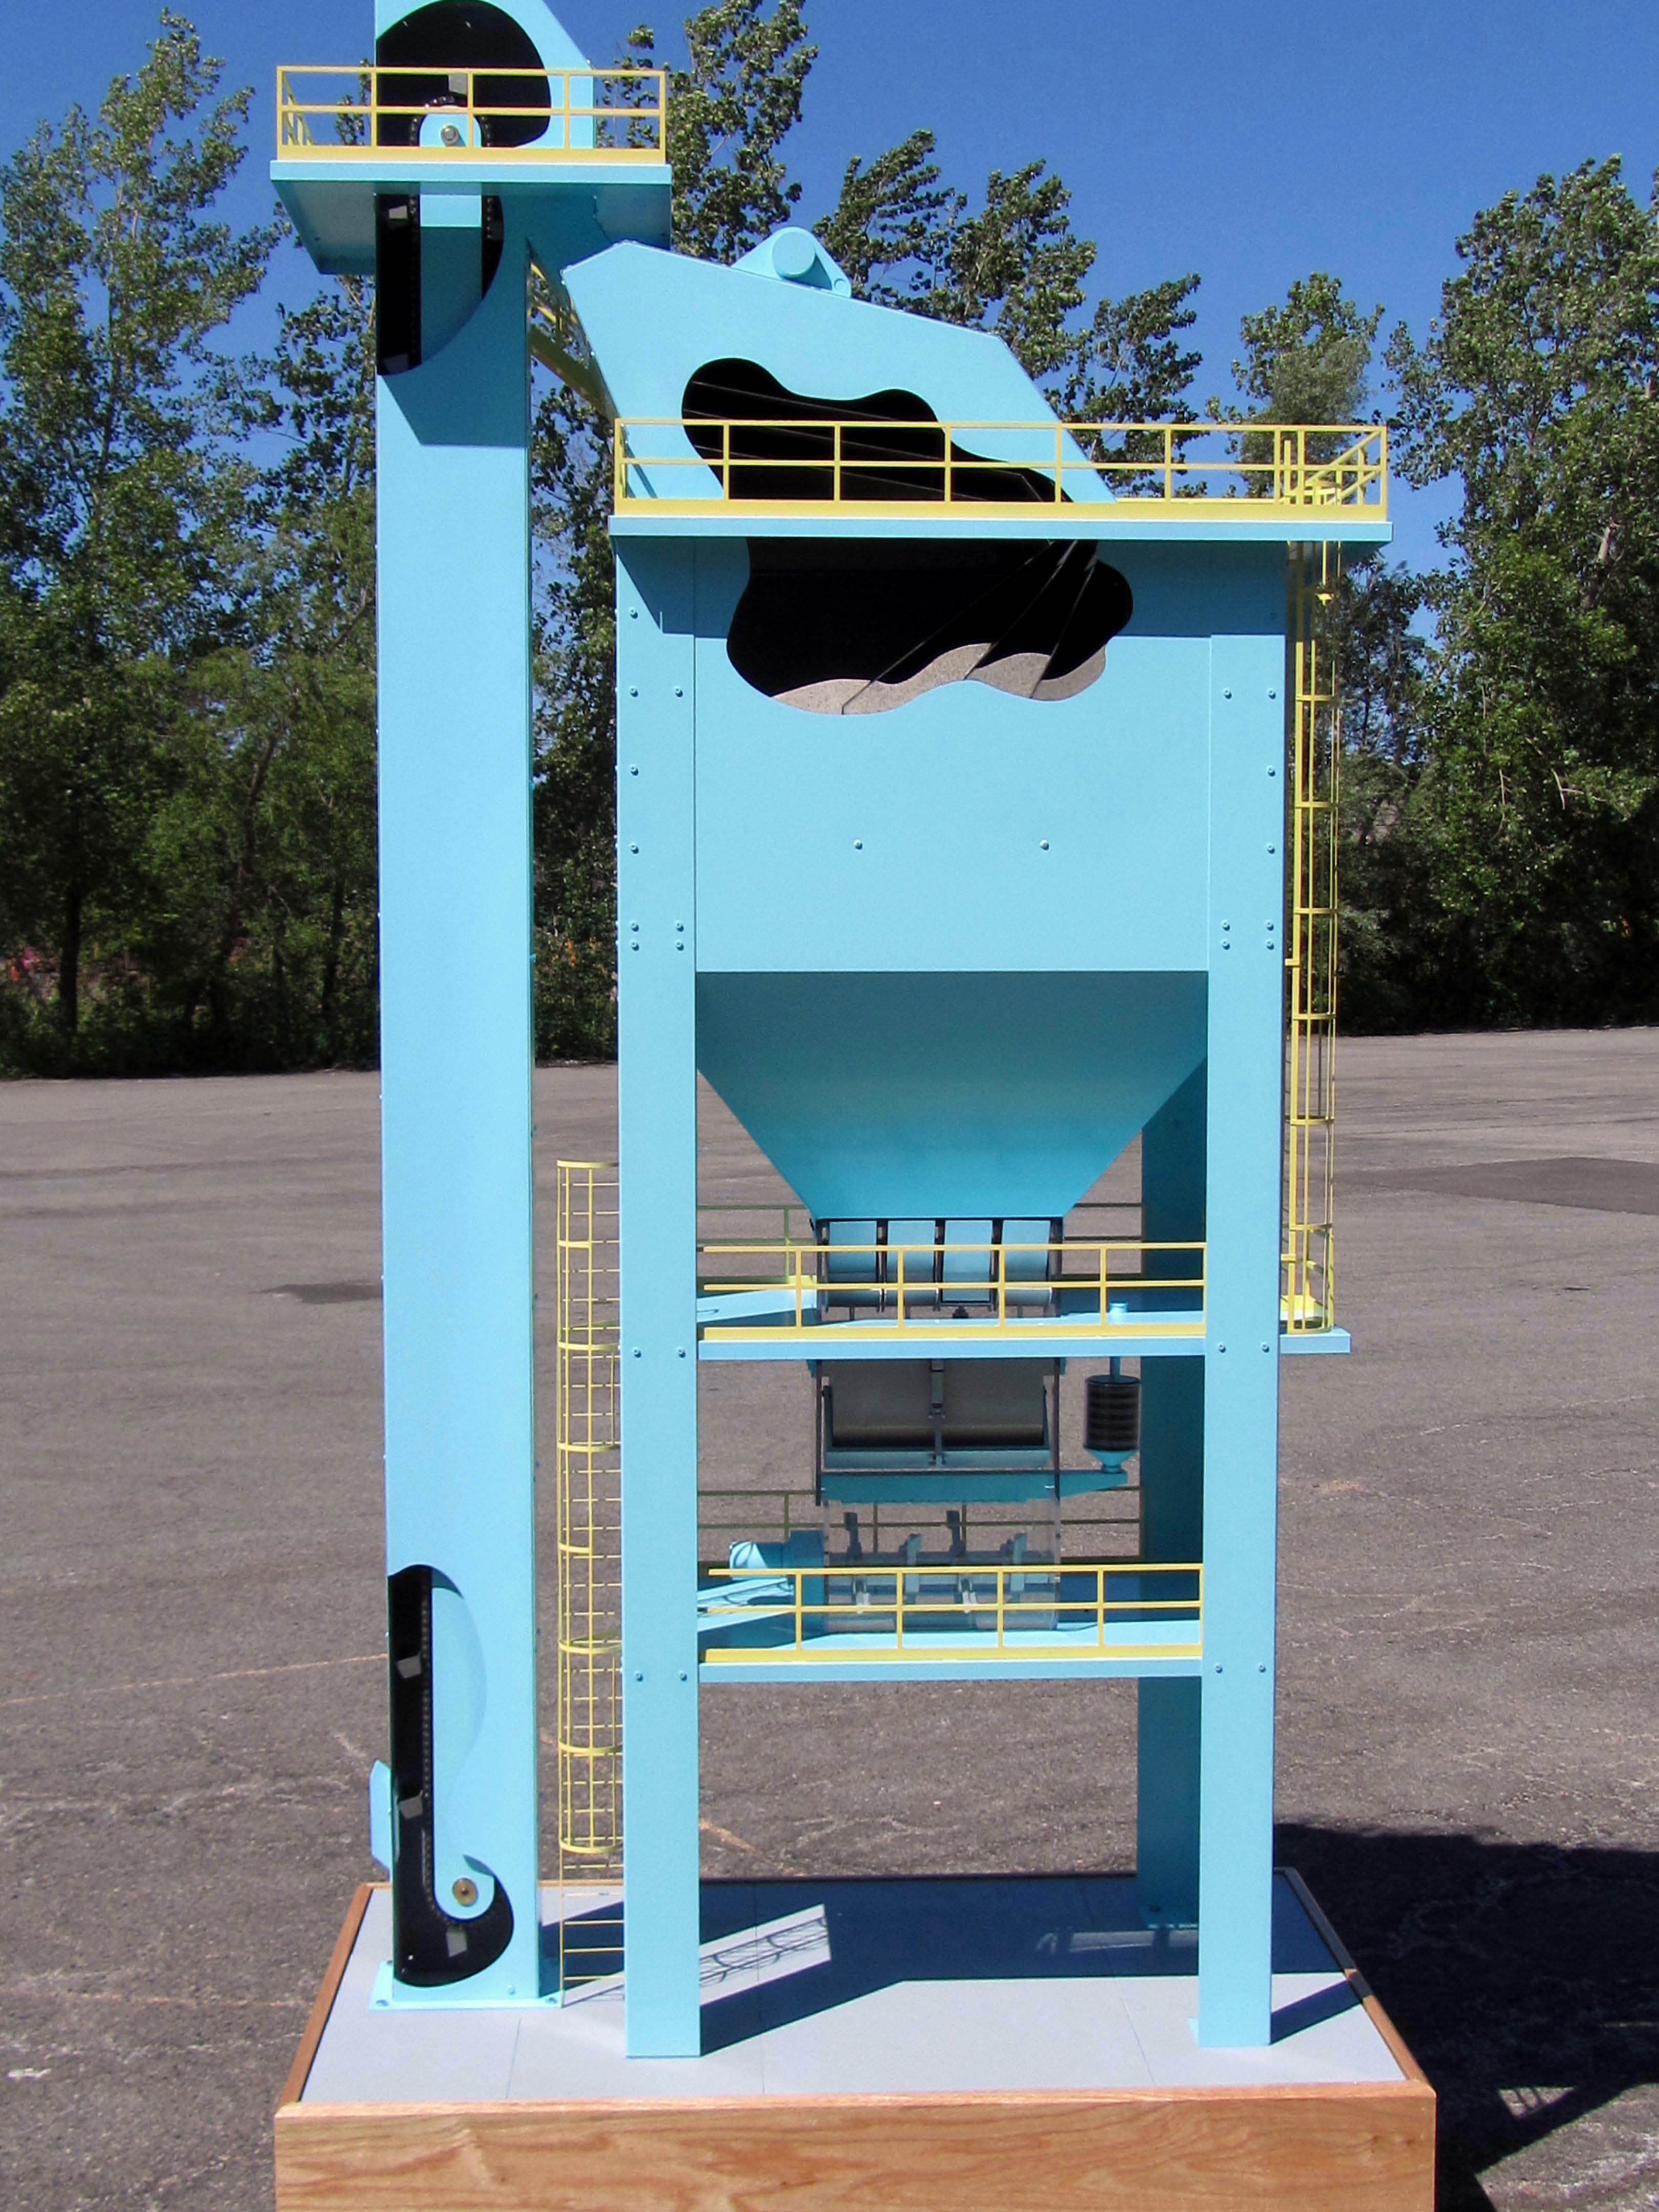
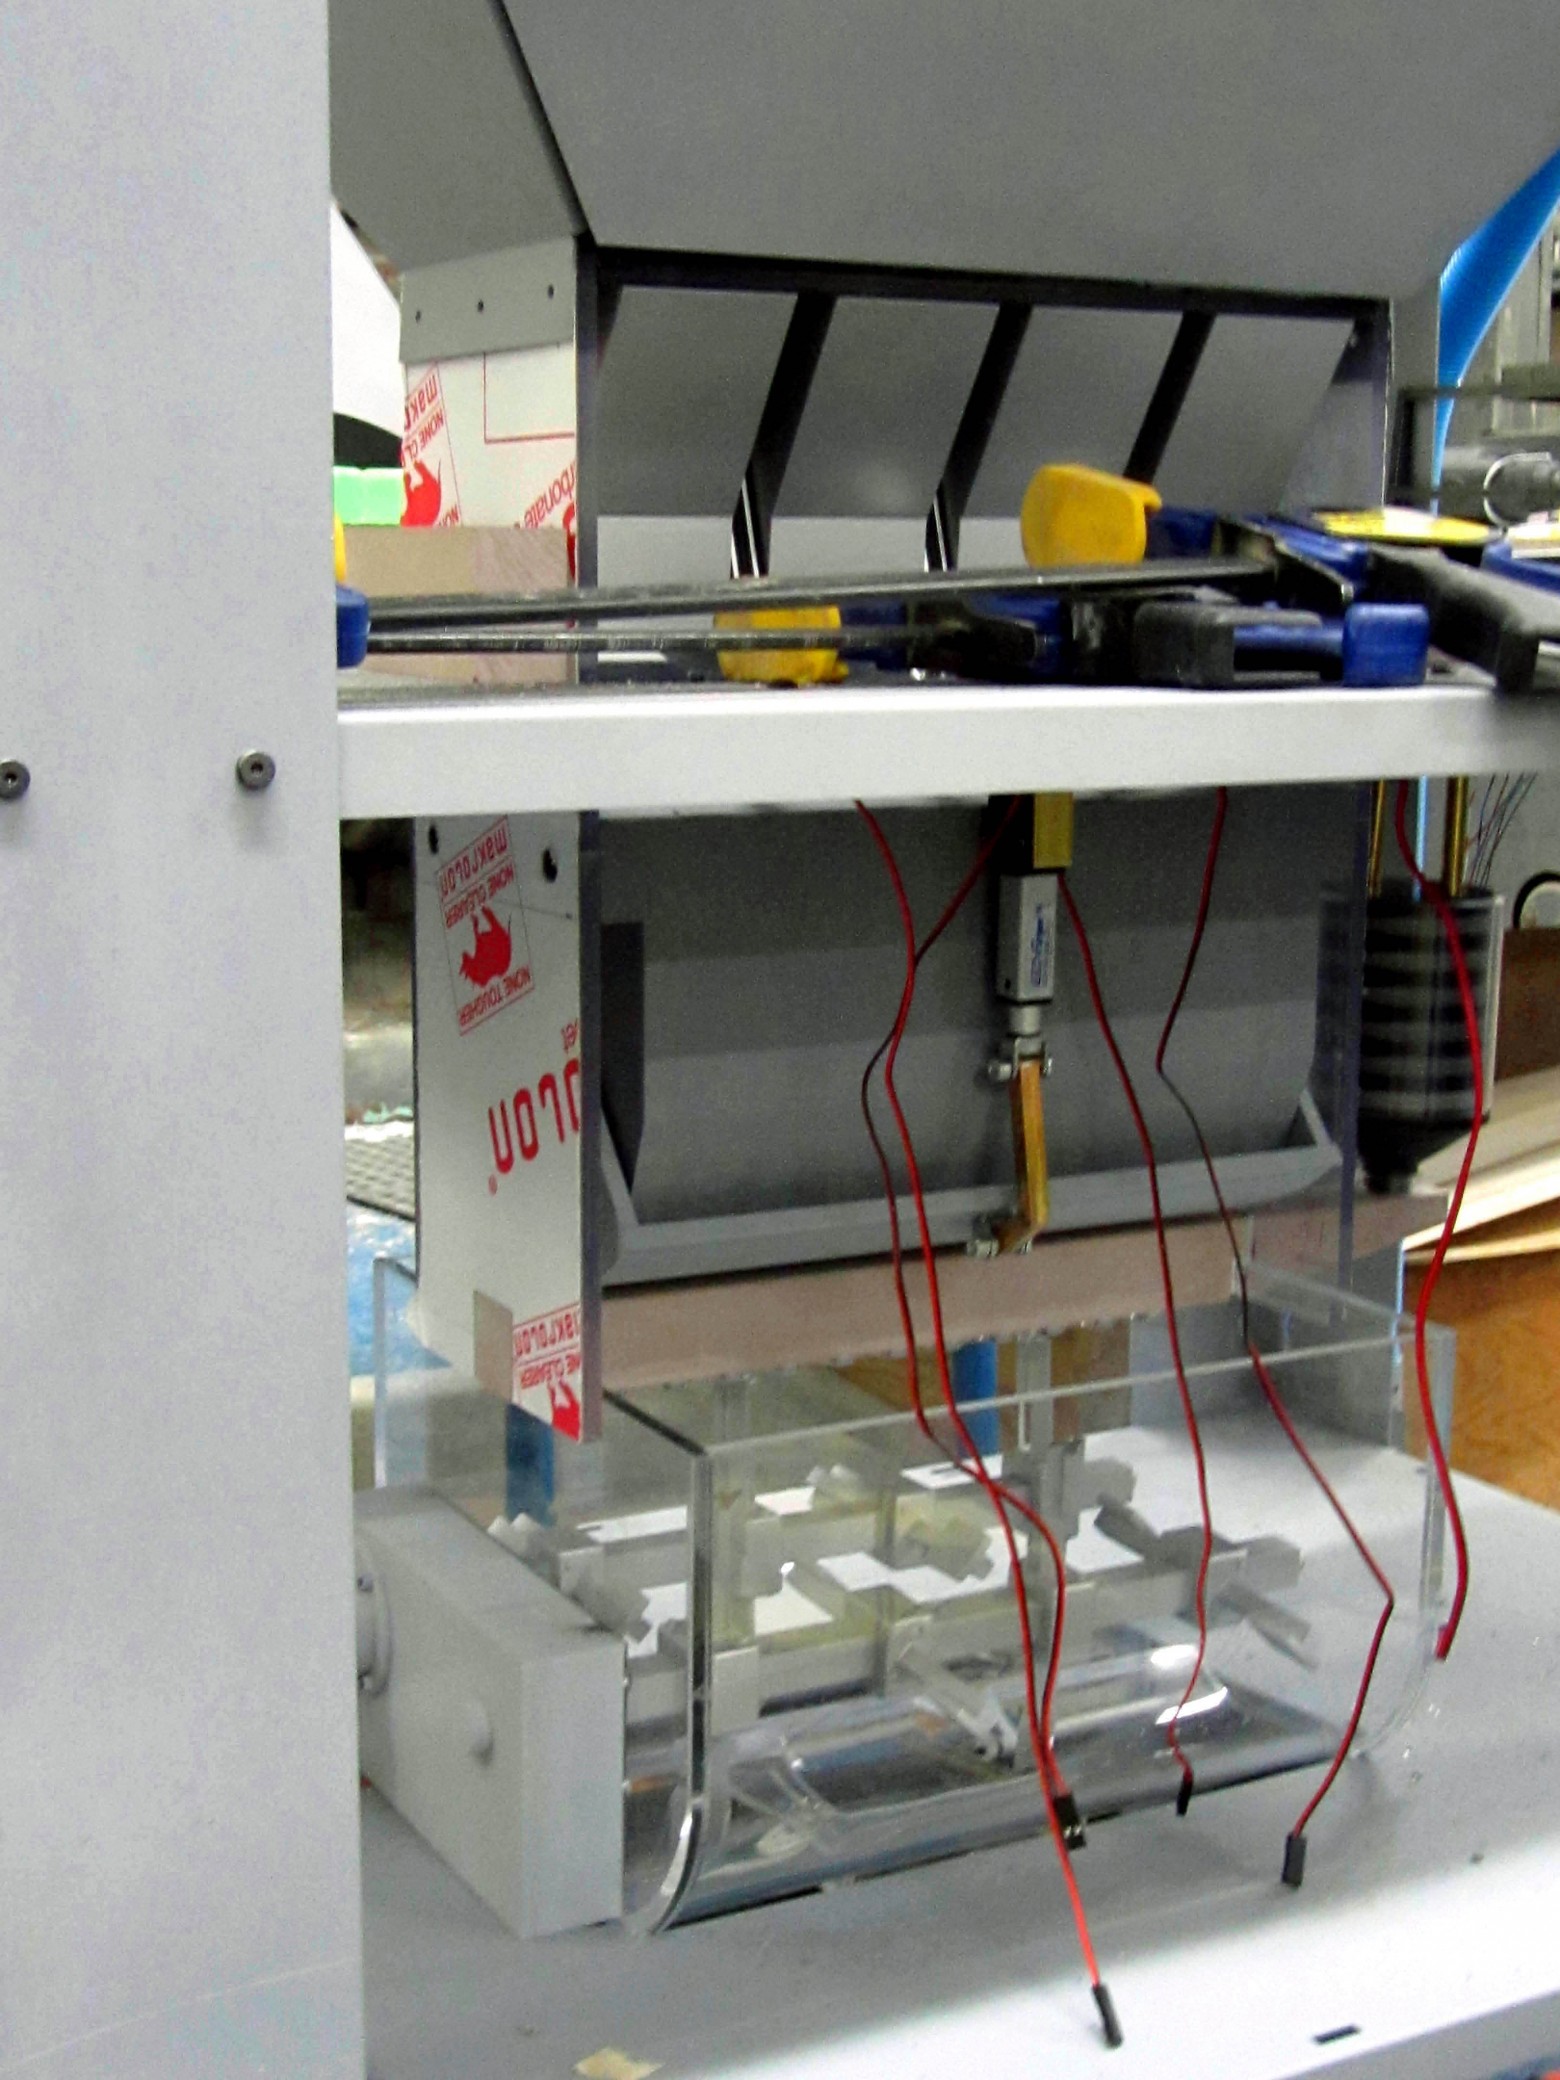
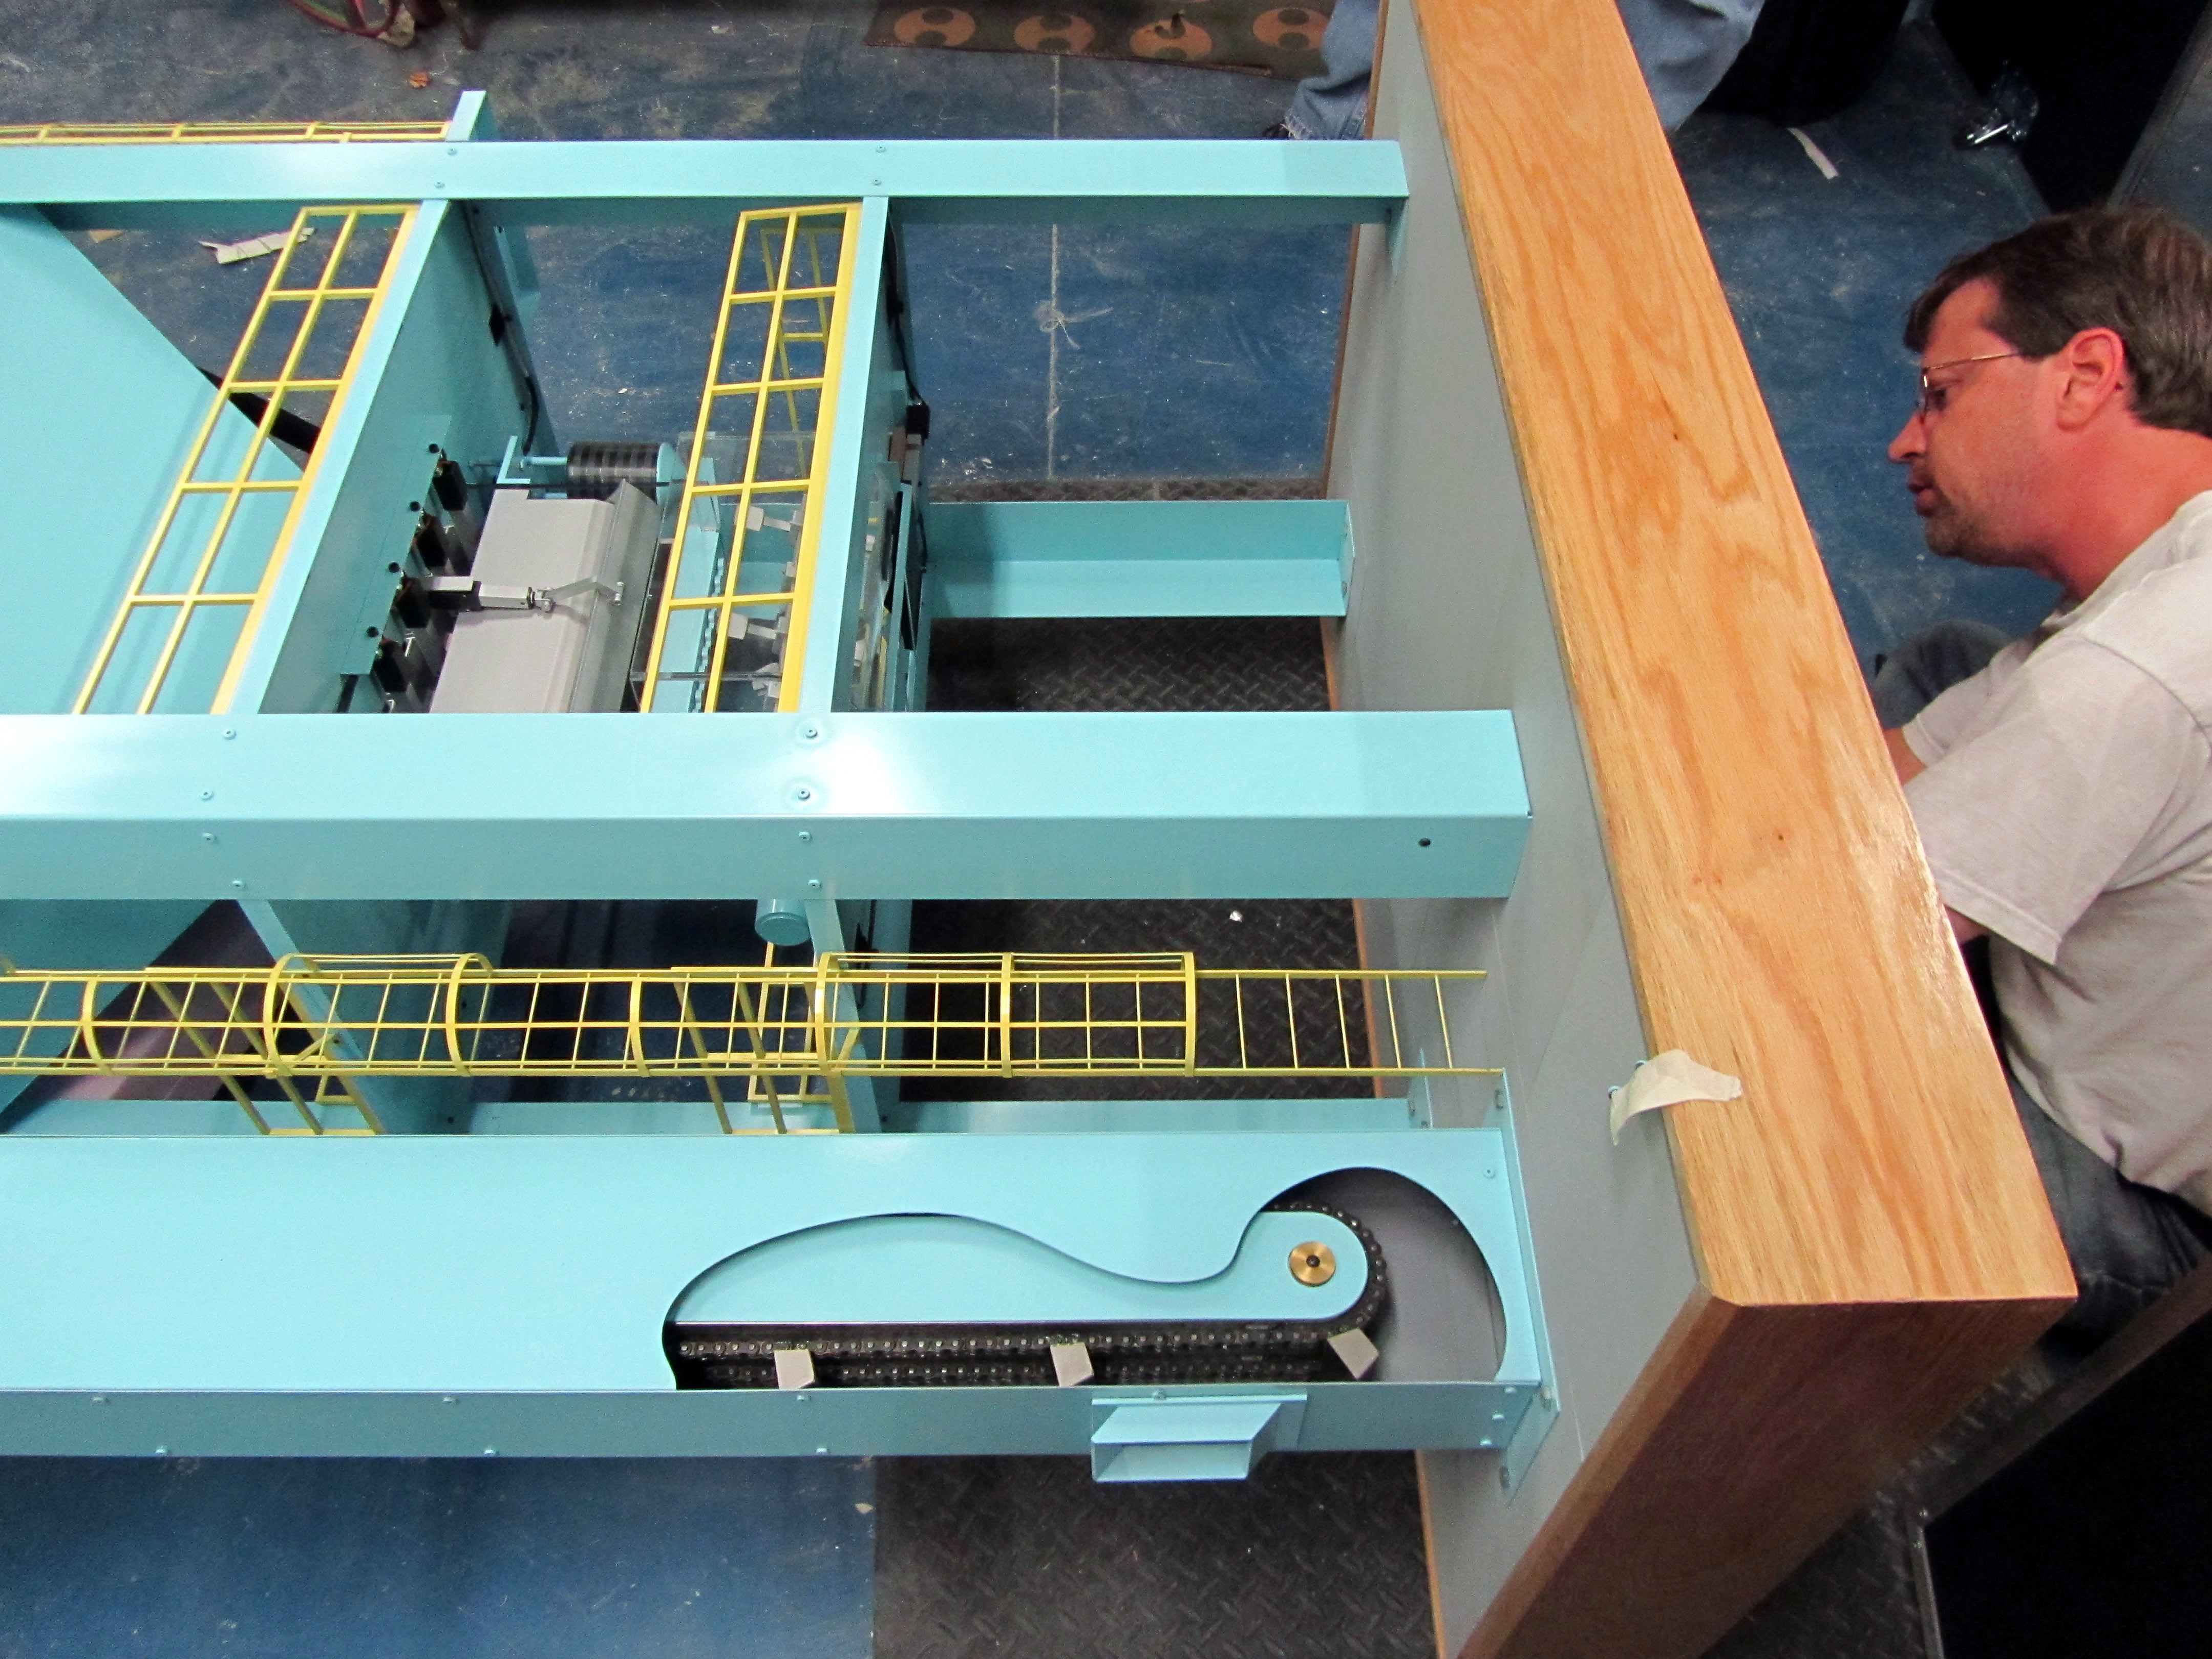
Computerized Asphalt Plant Model
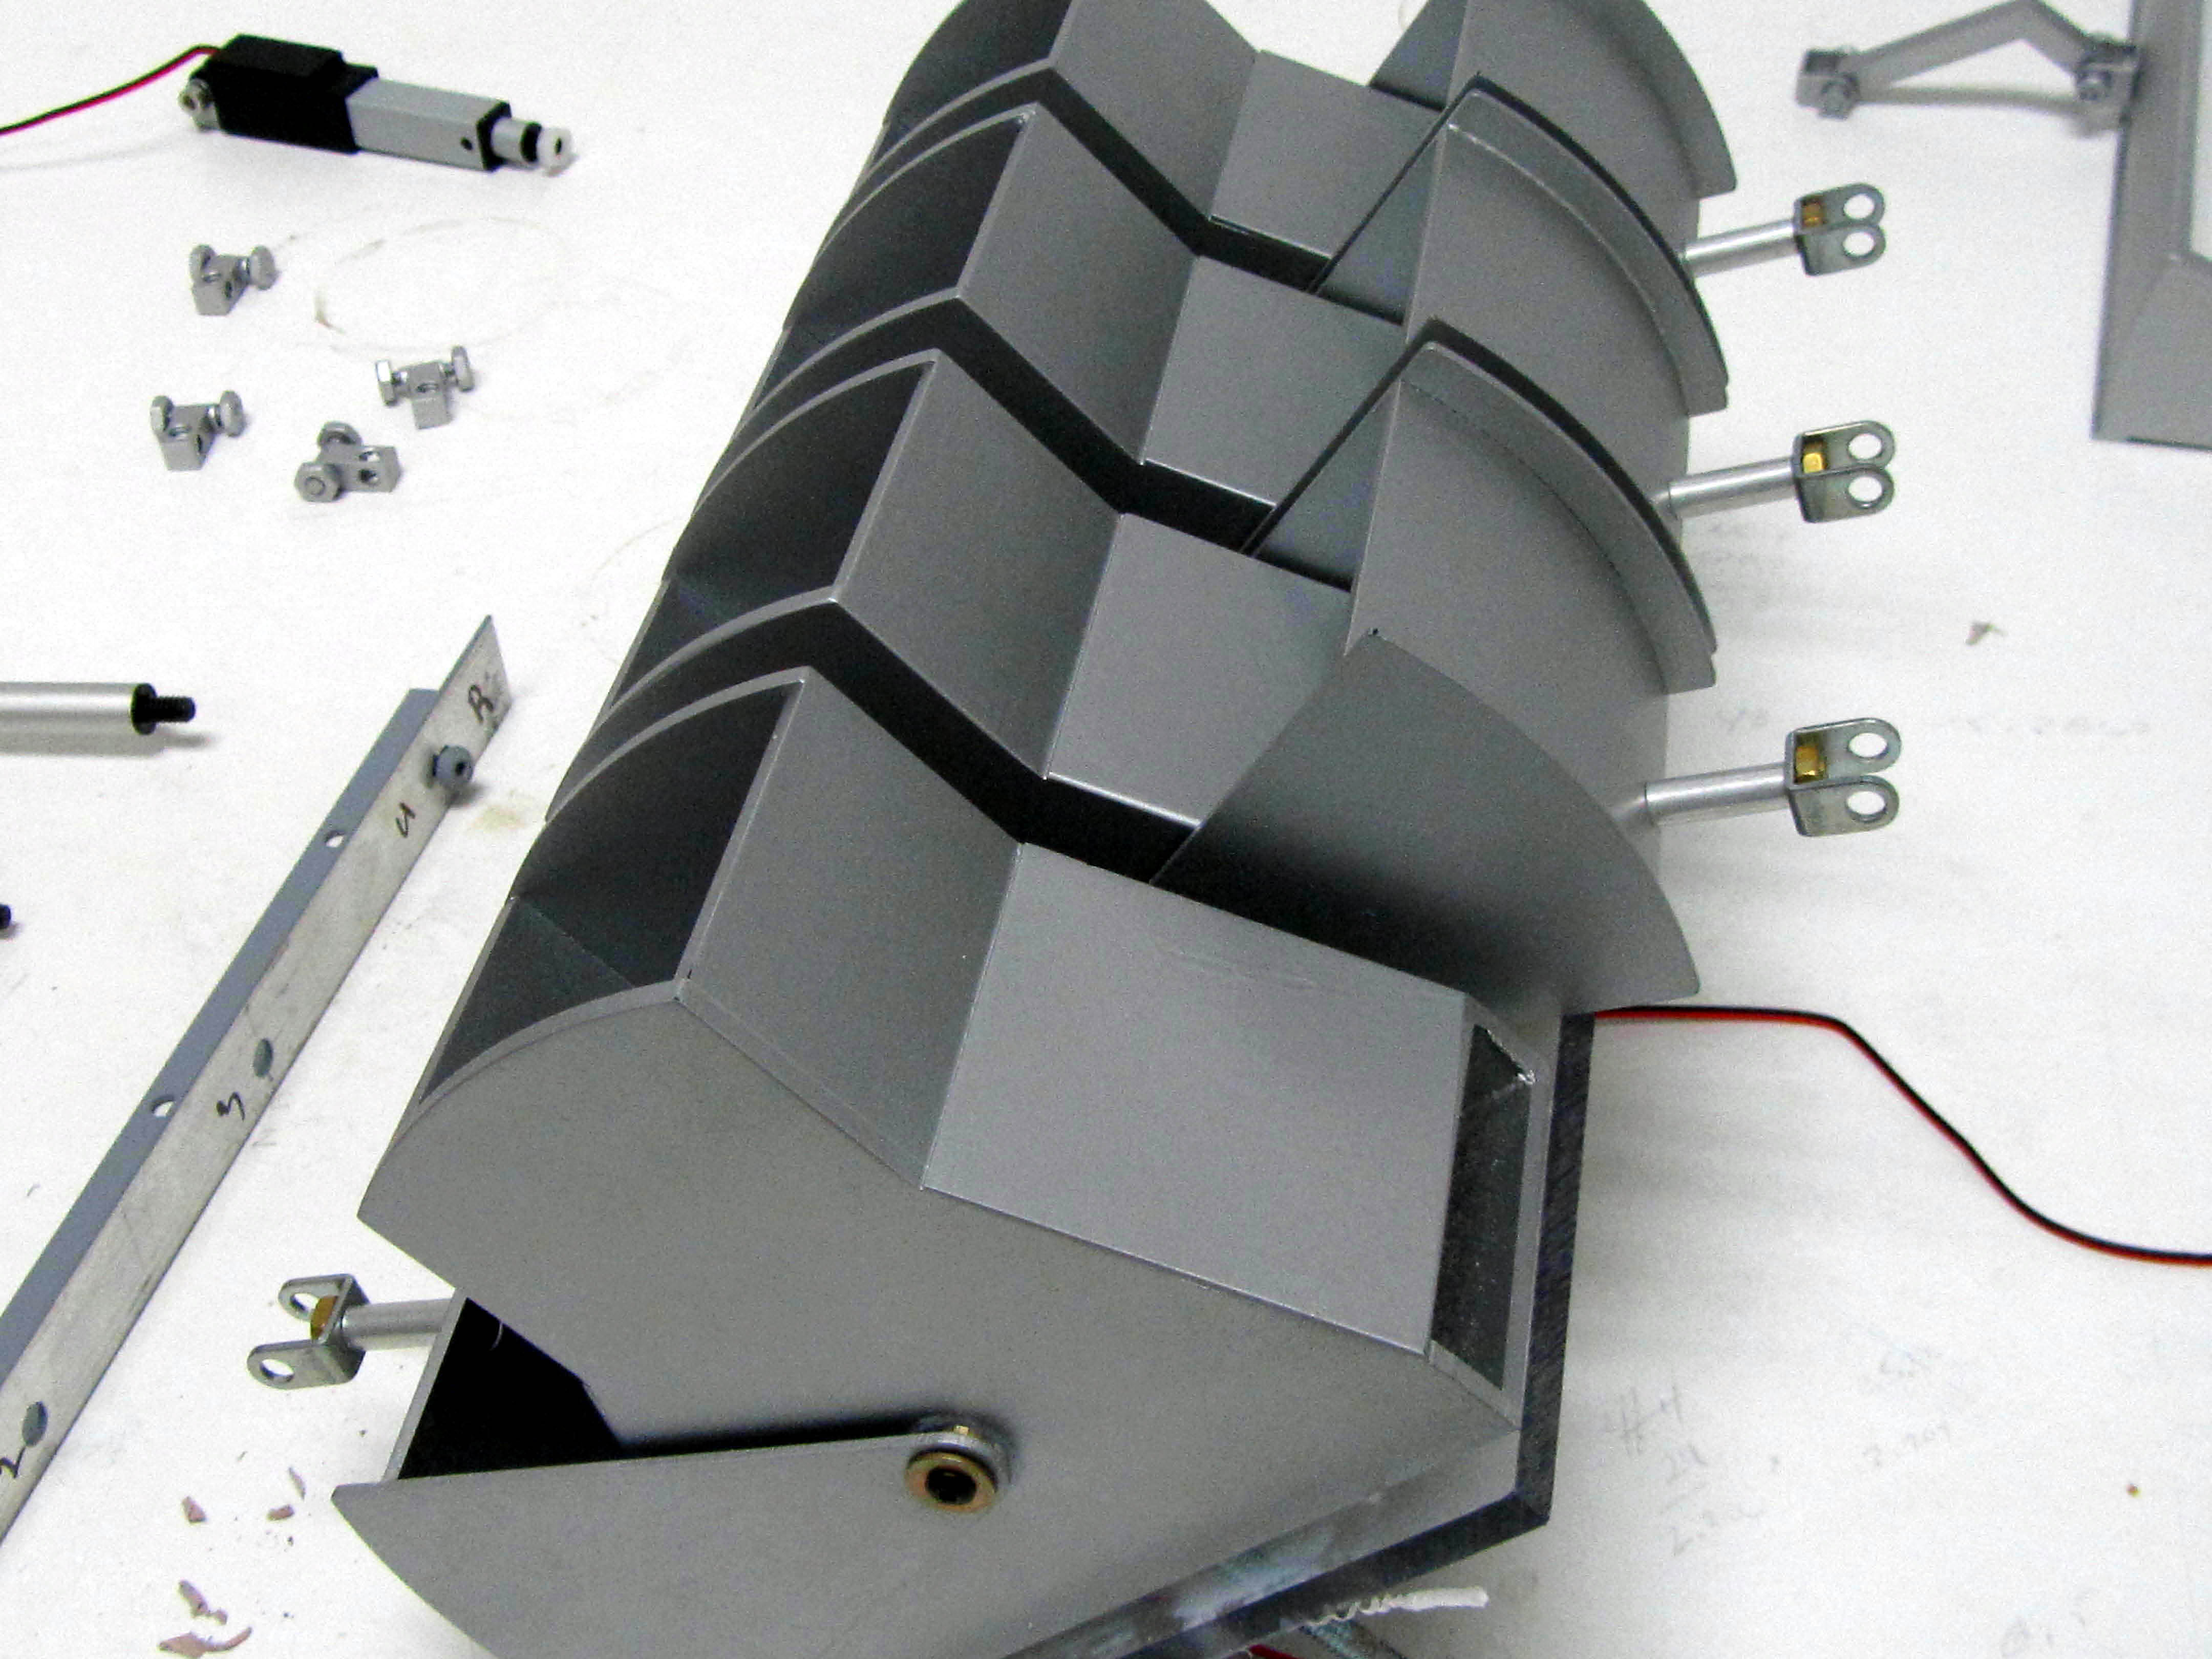
This was a unique model for KiwiMill. Our client designed embedded controllers for asphalt plants and wanted to demonstrate the unique capabilities of their controllers on a working model. The client specified which parts of the model needed to function and KiwiMill created an interface to allow the model to animiate using their product. This model had numerous moving parts driven by motors and linear actuators. 

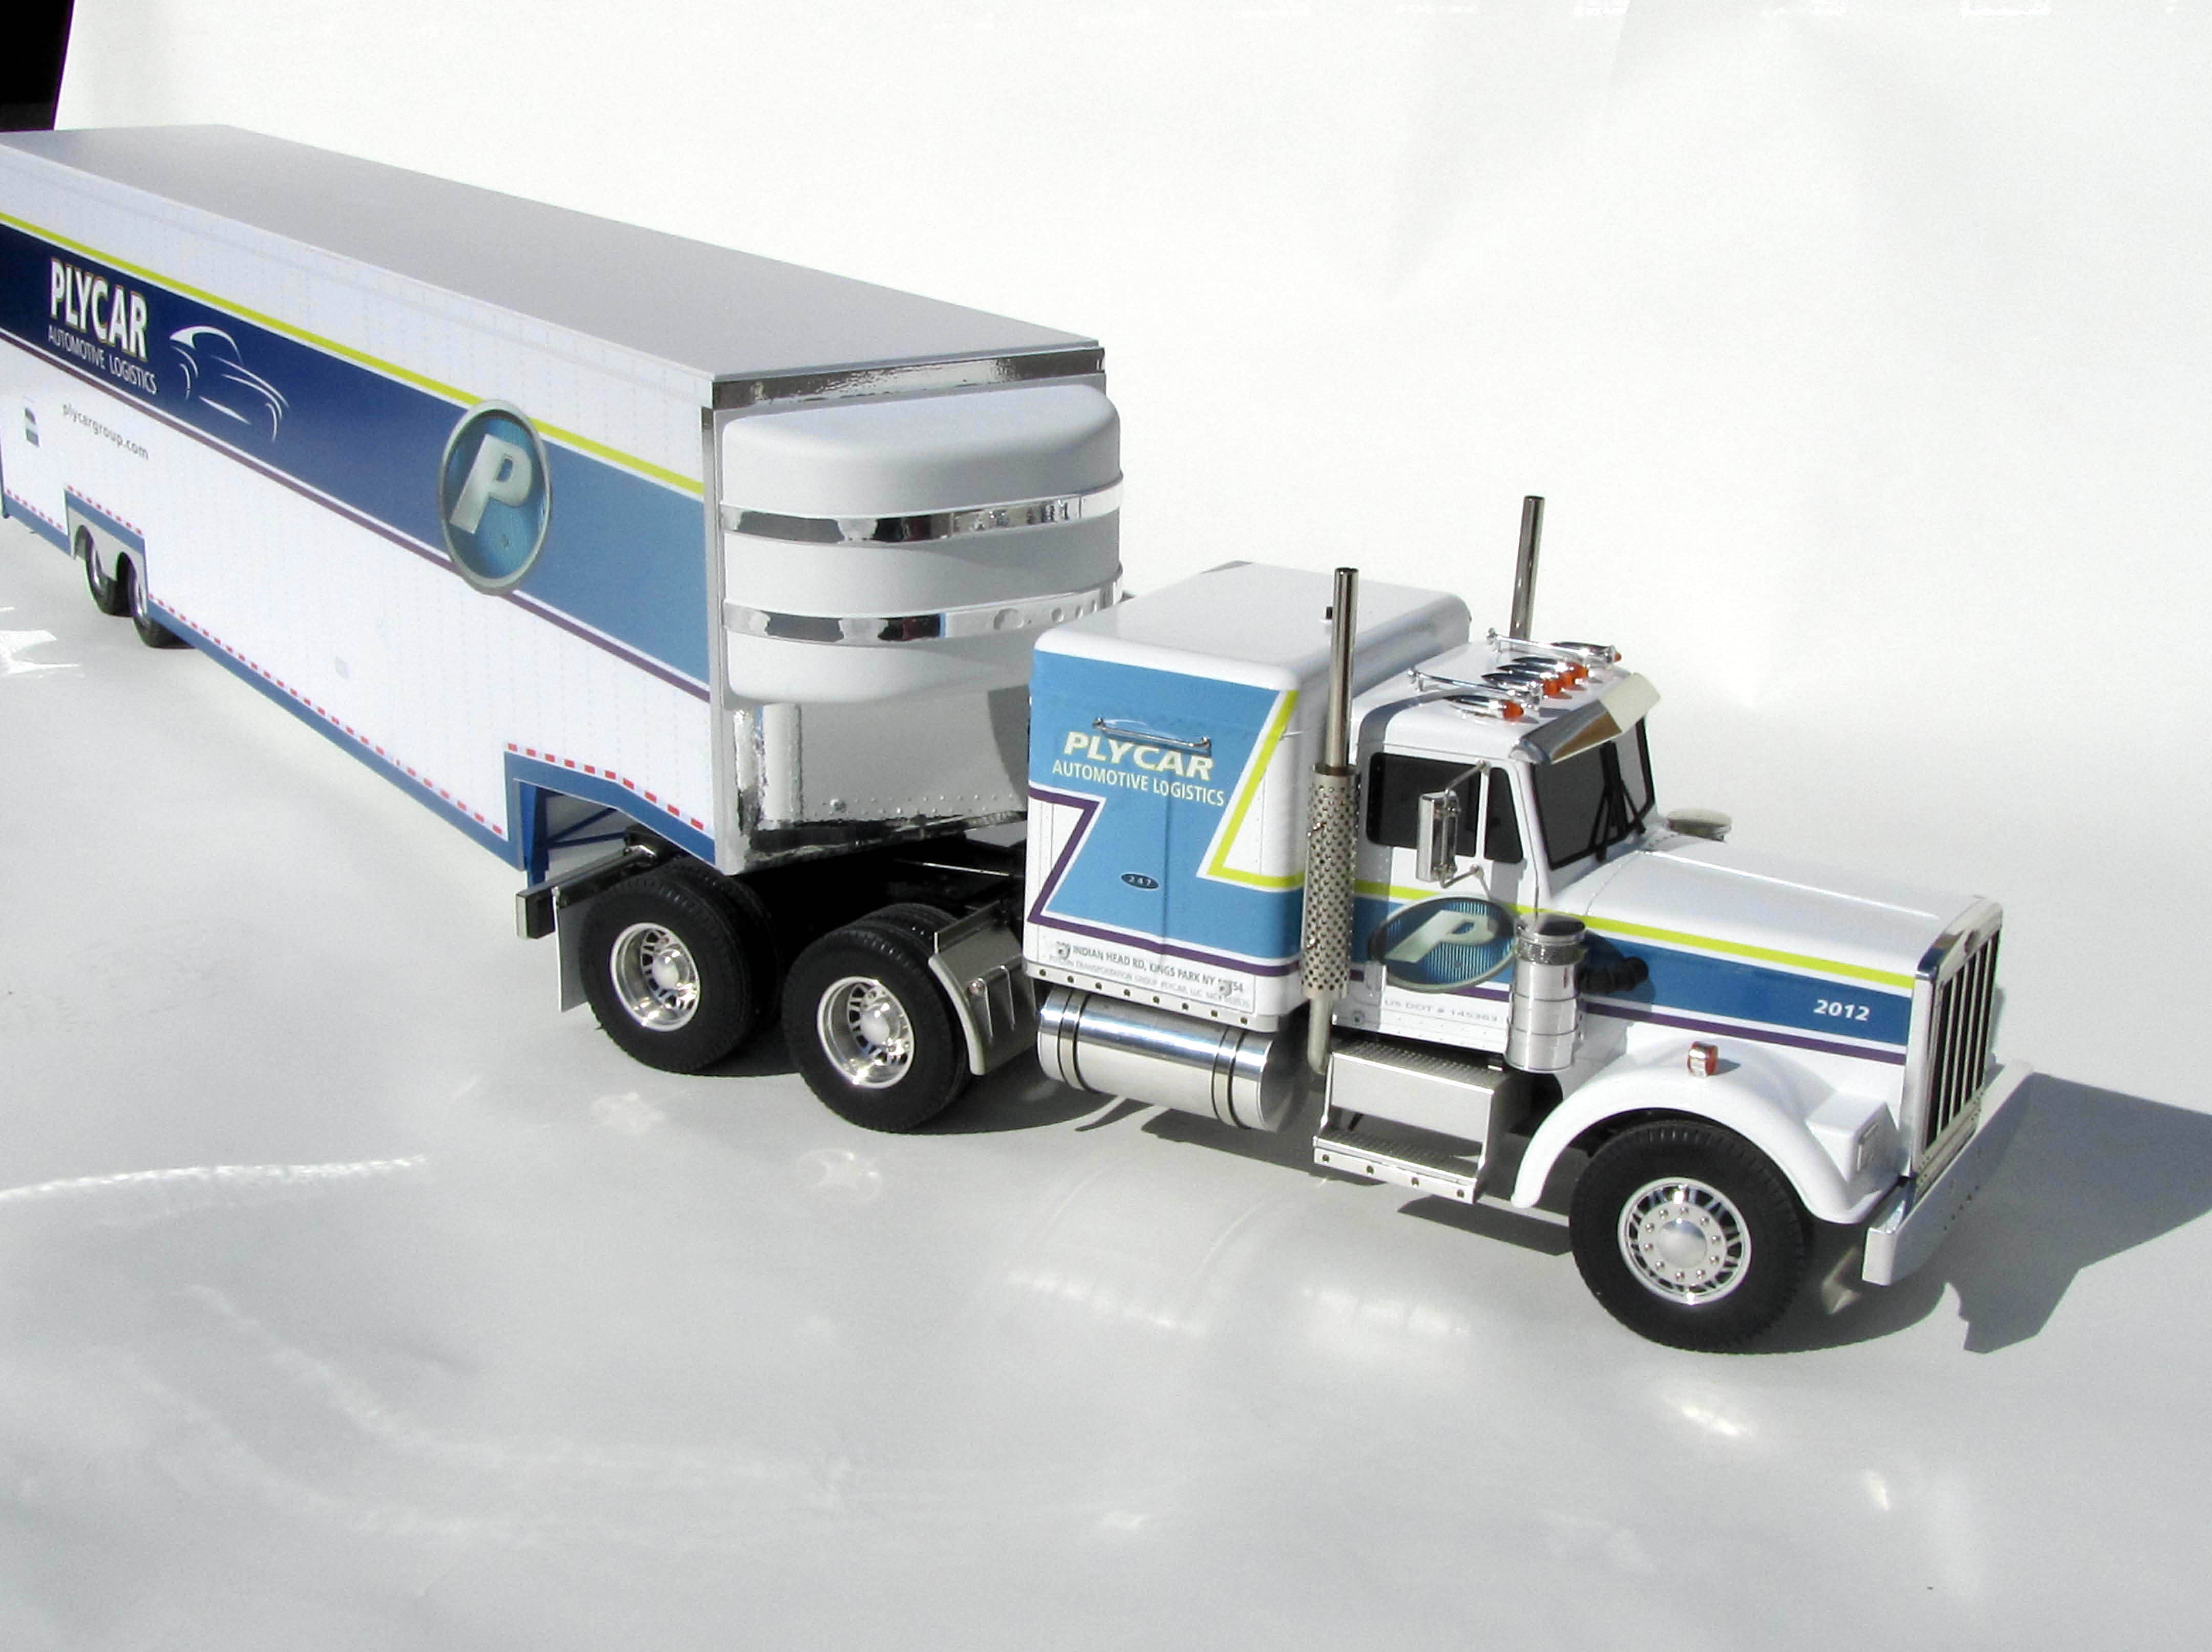
Road Construction Truck Model
This road construction truck model is used to demonstrate the numerous features our customer built into their truck. Take a look at the video below and you’ll see just how many of these we were able to build into this model including sounds, moving parts, lights, arrow flashers, etc.

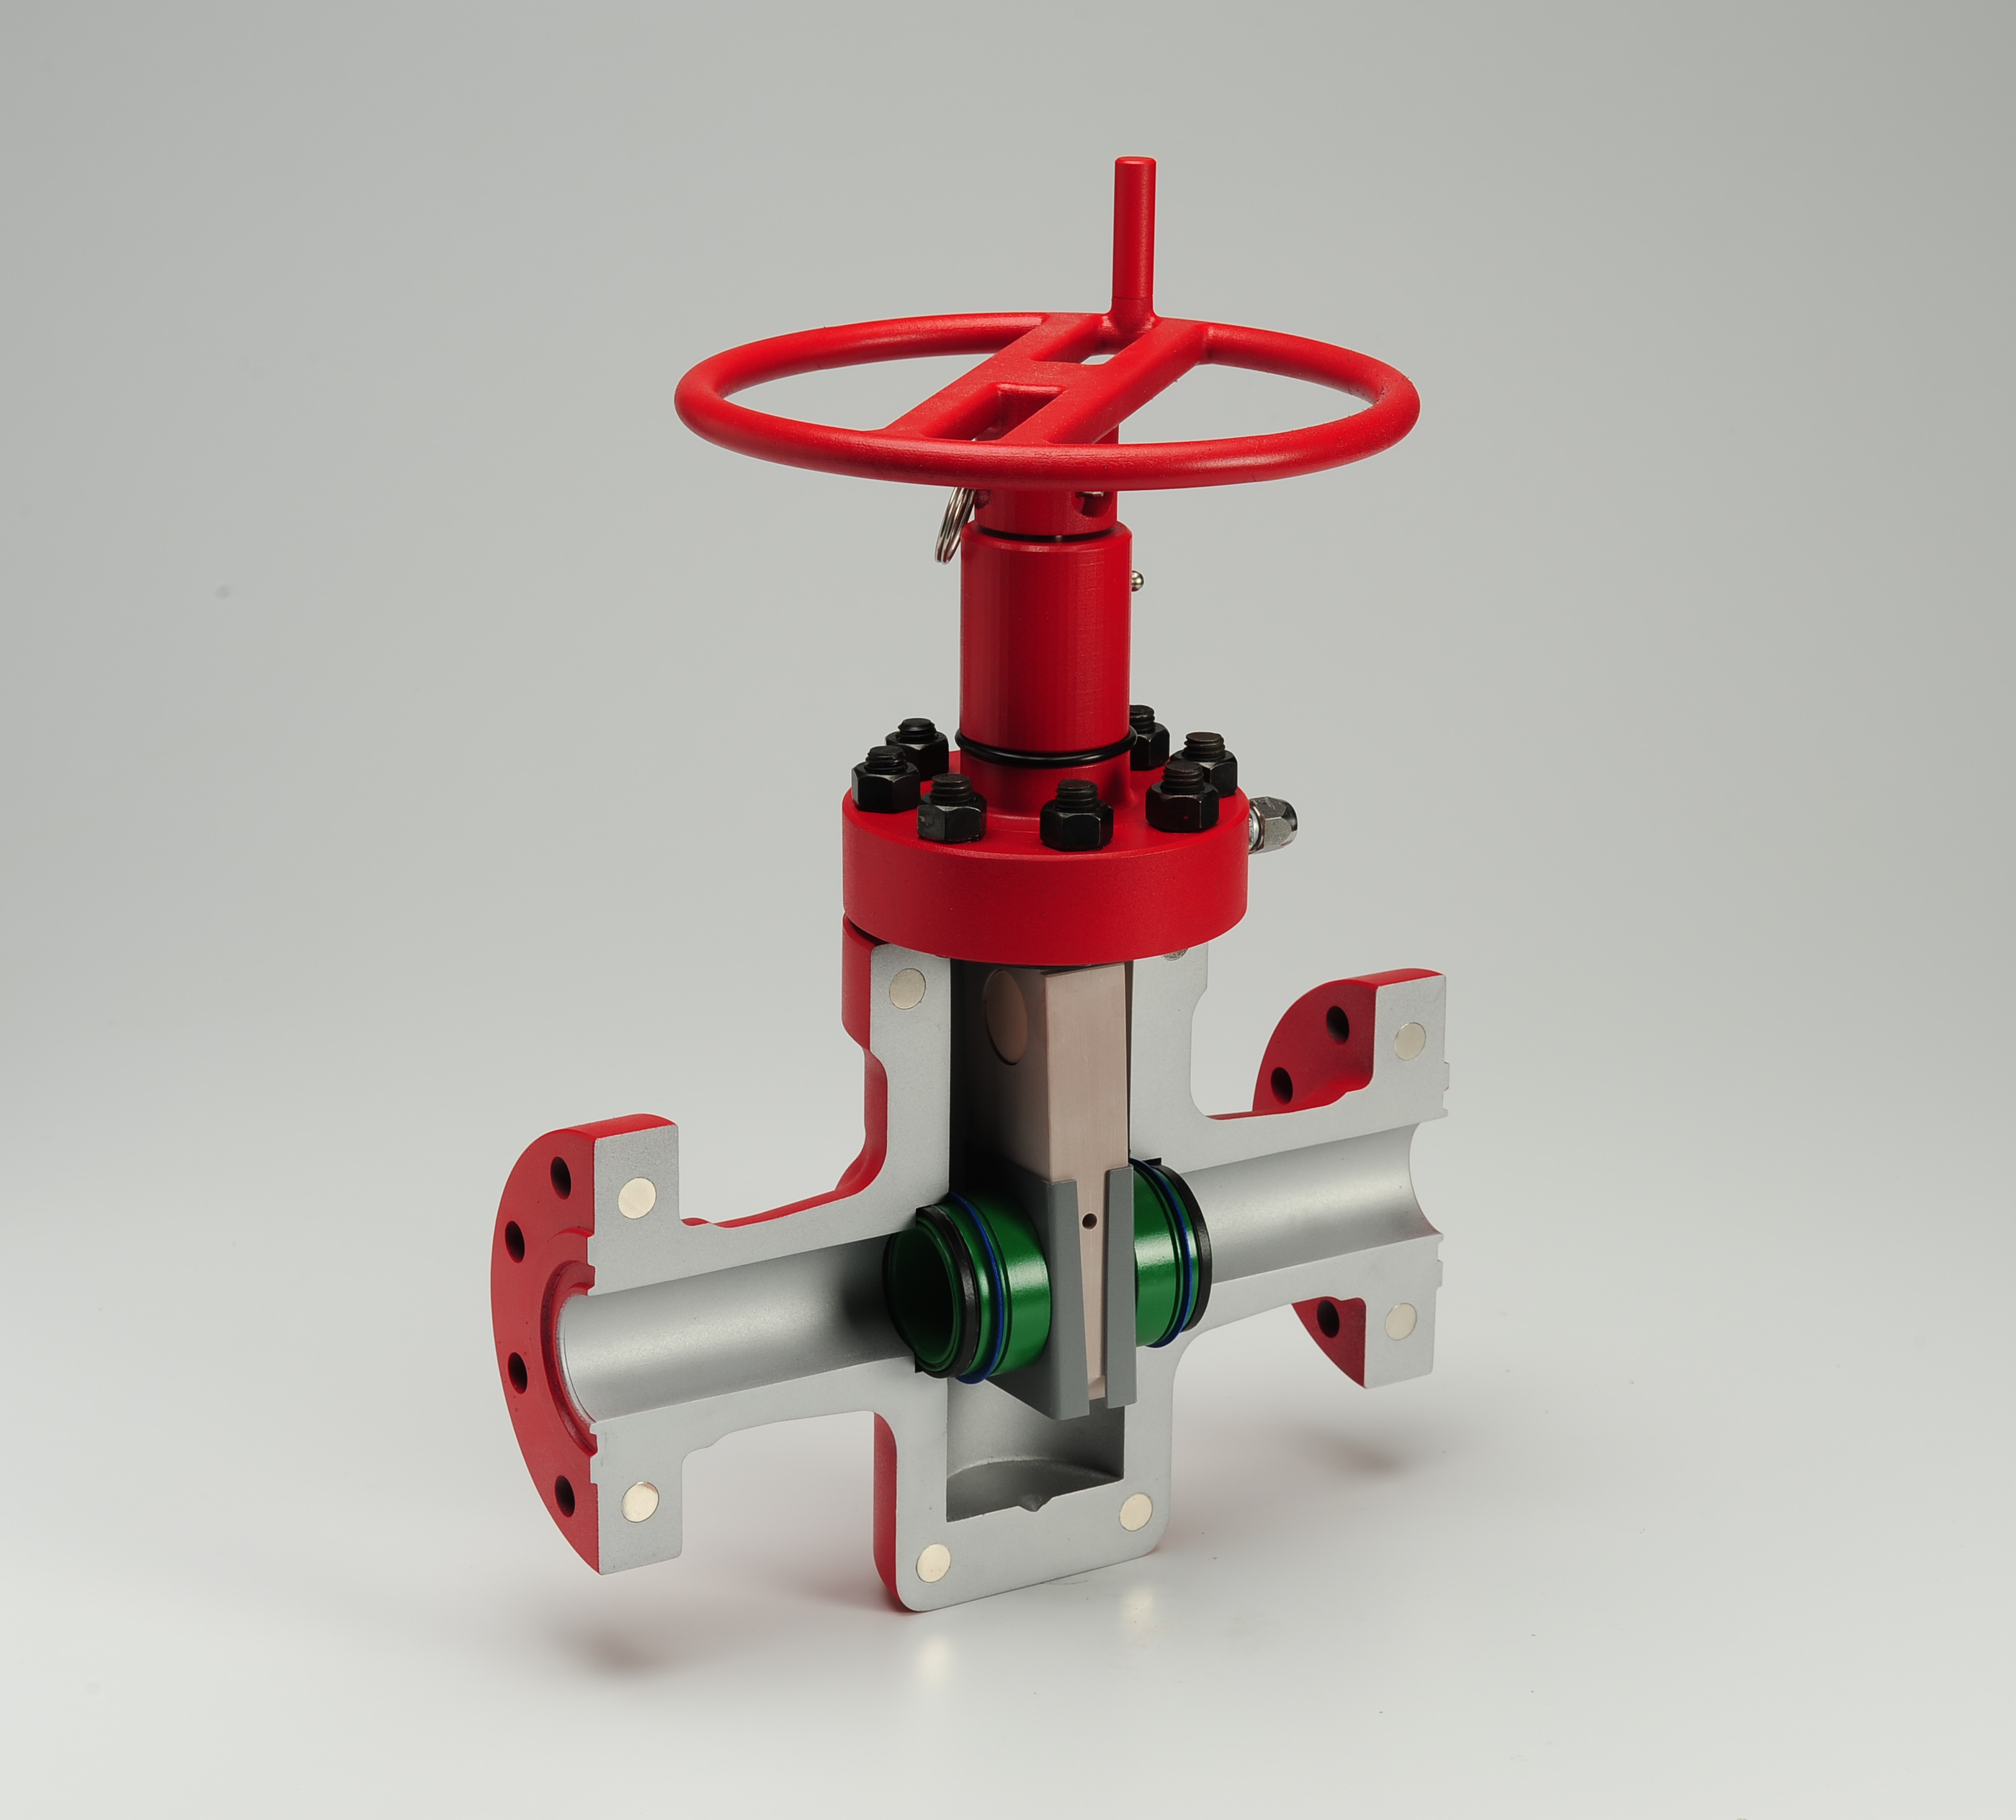
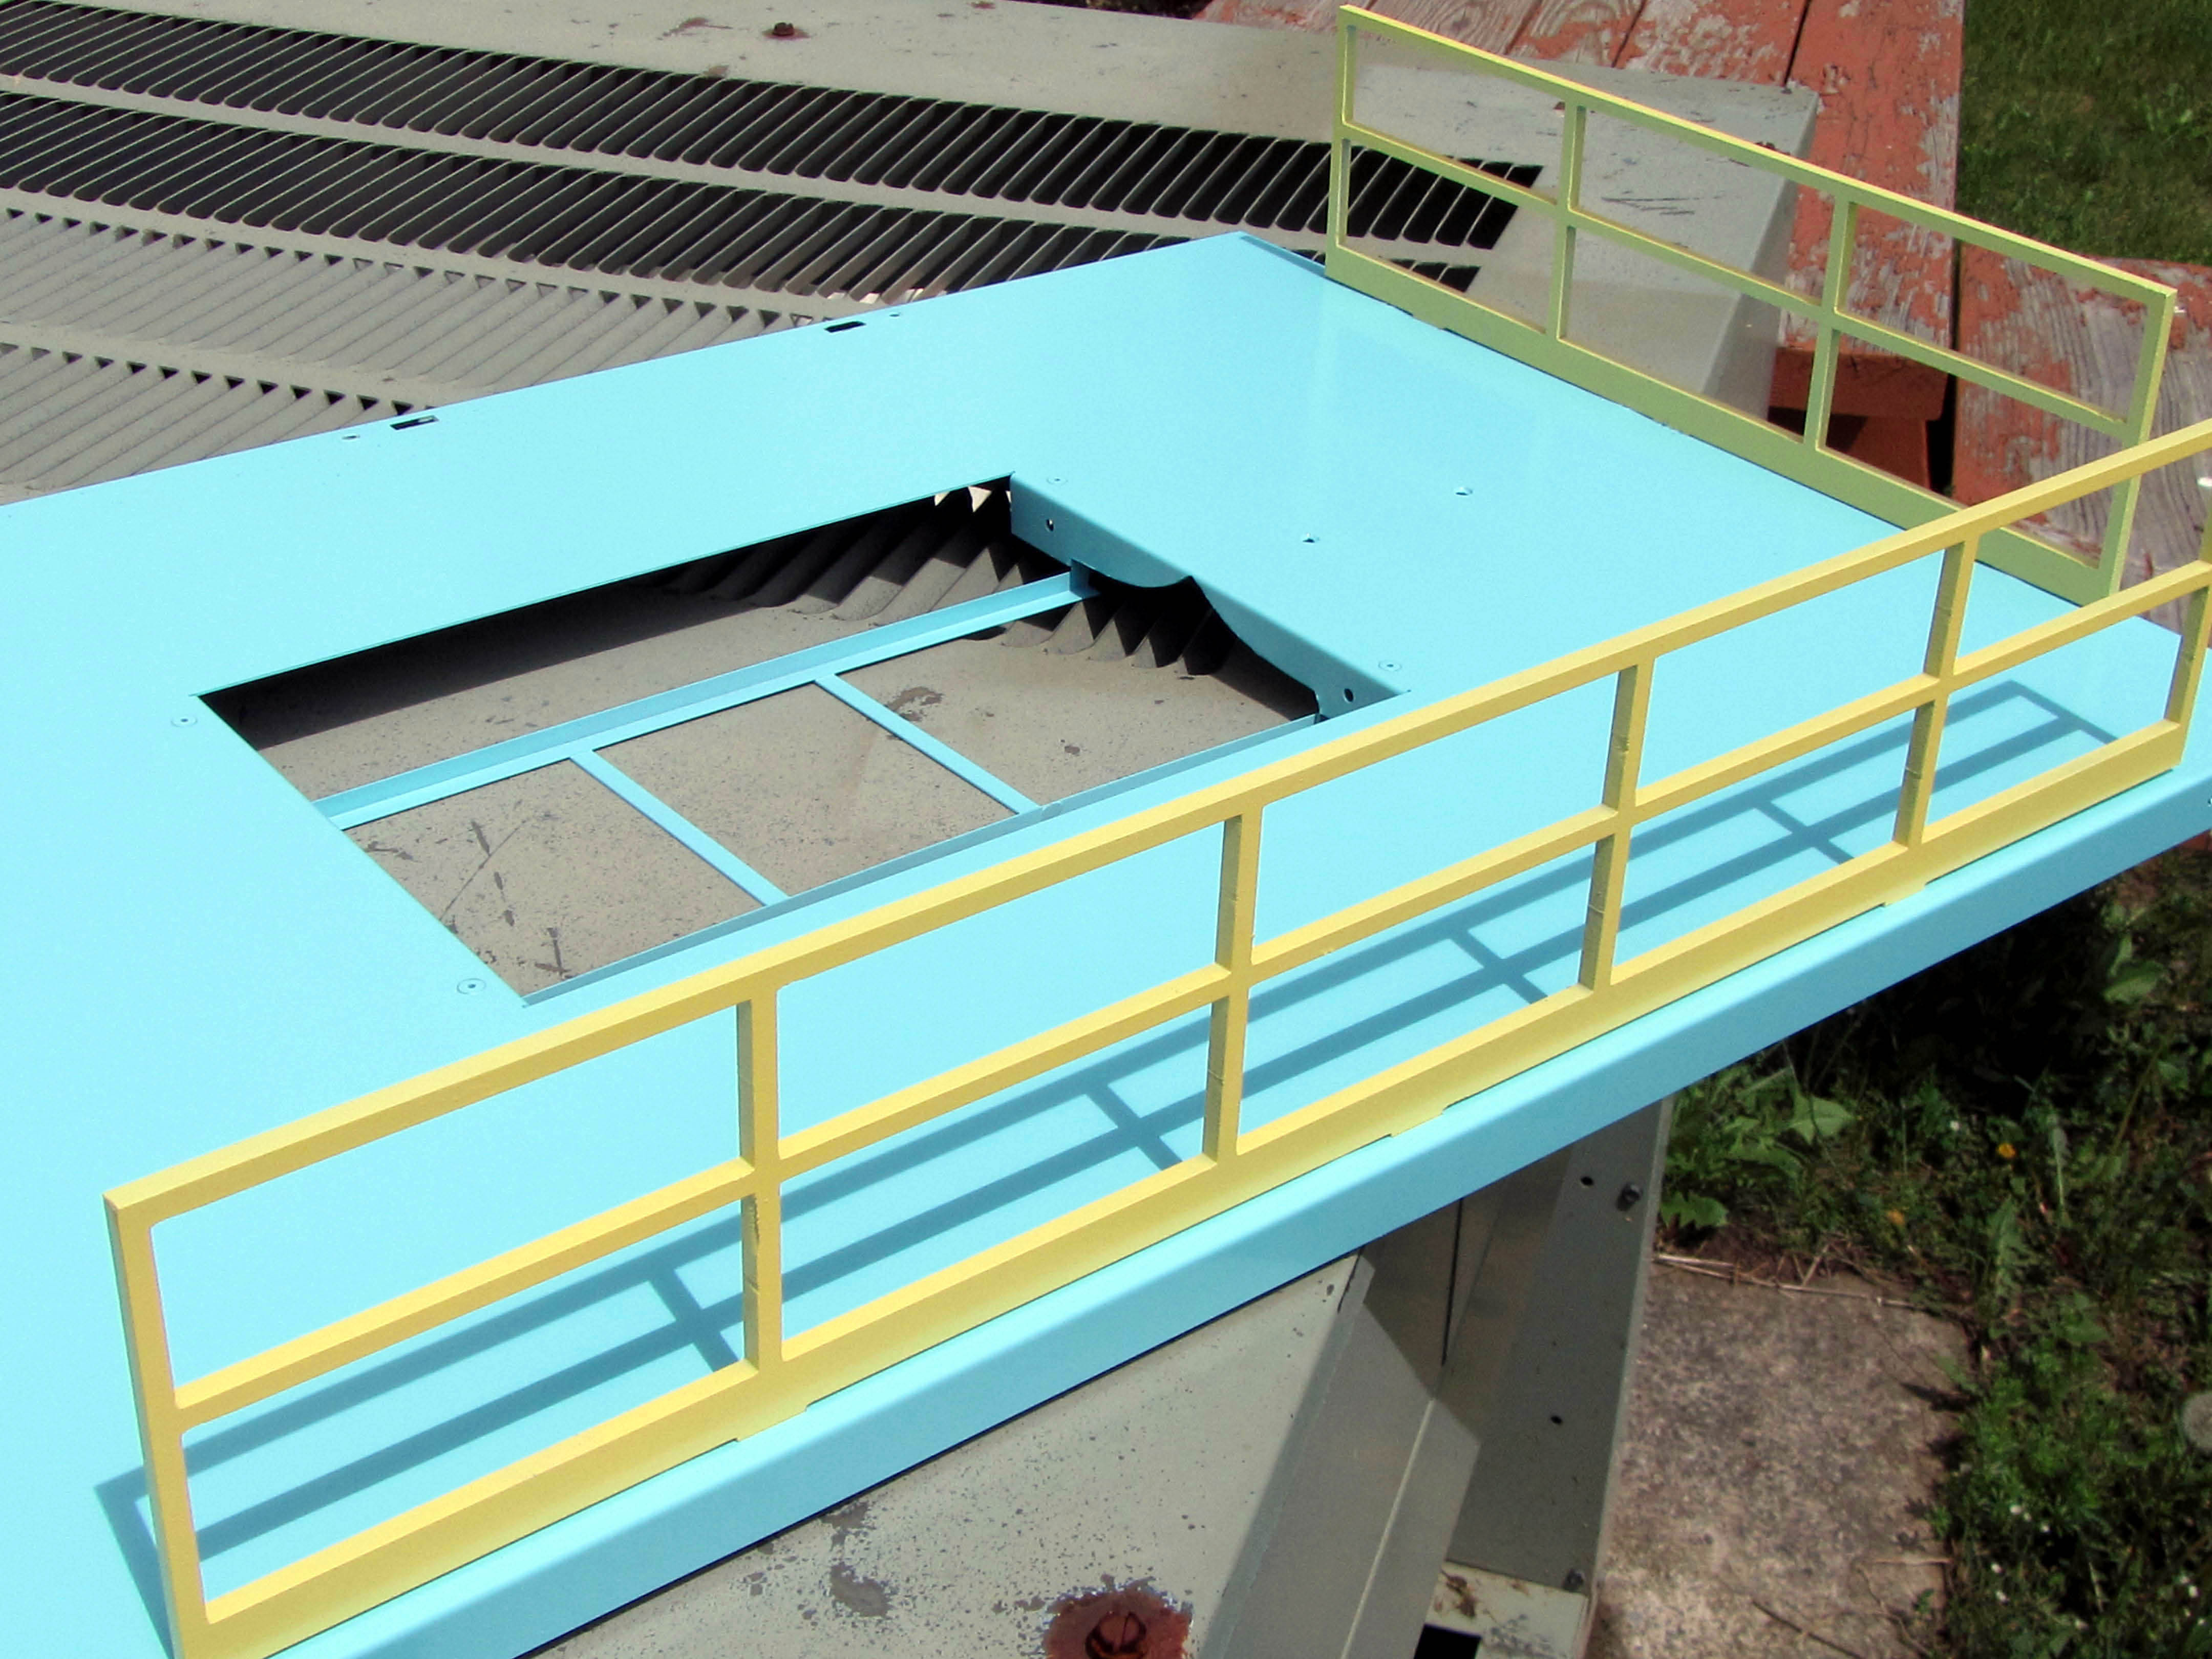
Working Hydroelectric Dam
This model was built for the U.S. government to demonstrate how hydroelectric power was created. It included a valve that could be opened to allow water to flow through a working turbine. When flow and turbine were activated, the sign on top of the turbine would light, simulating electricity generation.

Remote Control Trade Show Truck Model


Truck Model

Occasionally professional model making feels a little bit like a kid in a candy shop. This phenomena occurred recently when KiwiMill was asked to build a trade show truck model of a car carrier in 1:14 scale (big!)

When it was determined that the semi trailer truck model would be outfitted with an RC controller, lights and sound, it became one of those projects that reminds model makers of why they went into the business in the first place.

Our team started with a cab kit. It was surprisingly challenging to build, considering most of our work is custom, made-from-scratch. All of the chrome parts were swapped out for more authentic looking, hand-built parts. The only way to make chrome look realistic at this scale is to actually make it out of metal – otherwise it just looks cheap. These custom aluminum add ons were more accurate and detailed.

Model Maker

Even though lighting was supplied in the RC kit, additional bulbs were added throughout the model. These decorative lights can be found on real 18 wheelers, which are really like a person’s temporary home on wheels.

Model Maker

The trailer was scratch built from laser cut styrene. Vinyl graphics were added to the trailer which included both the company’s signage and details found on the sides of trucks such as seams, rivets, handles, etc…

Model Maker

The wheels were molded and cast in the shop. The resulting combination of kit and hand-built parts made for an impressive finished truck model that was both a delight to display and interact with, as well as being an economical choice for a relatively large-scale vehicle.

Truck ModelTruck Model

Cutaway Scale Model for Training

cutaway model

Our client, FMC Technologies, requested a working model of a gate valve that would assist with maintenance training. Talking with model maker, Scott, it was determined that the best way to serve this purpose would be with a 1/2 scale cutaway model that would pull apart and reveal interior components that could be manipulated. Once the general concept was agreed upon, our team discussed the build in general, and the associated costs and time frame, and a detailed quote was written up.

cutaway model

Once the job was awarded, model makers Mike, Dean and Scott came up with a plan of action including a list of materials, fabrication techniques and assemblies, along with a break down of each task and its associated steps. The over all design of the model would include an exterior shell opening and closing with the use of magnets, a working wheel that would move the gate up and down, and numerous interior pieces that could be assembled and reassembled.

cutaway model

FMC provided 3D geometry which was used to create the various parts of the model. Some parts were 3D printed.

3D printed model part

Others were formed from  machined  tooling board. An aluminum rod with threads was created on the CNC lathe. Metal gate sleeves were formed on a press brake, and some off-the-shelf hardware was added as well. As parts were formed, they were attached to each other as required. Magnets were imbedded in the outer shell.

model making

model maker

Most of the parts were then primed and painted. Various bright colors were used for the individual parts to enhance the training process.

scale model

The whole model was assembled and disassembled multiple times to assure its functionality and durability. The wheel was tested to make sure it moved the gate up and down on the rod correctly. The model was taken for professional photography, then carefully packed and shipped to Canada to our esteemed client.

Click Here for a slideshow of the model build on YouTube.cutaway model

Model with Working Parts

Our model makers have shipped out the asphalt plant model with working parts. Seven feet tall, with functionality, this model simulates the movements of an asphalt plant. Doors and chutes that operate in the real plant with hydraulic cylinders have been mimicked using 12v electric linear actuators. Augers and buckets in a real plant that run on gear motors have been simulated using miniature gear motors.


Making a Model With Working Parts

scale model working parts

working parts scale model

In the shop right now is a 7 ft asphalt plant model with working parts. Anything that moves in a real asphalt plant will be replicated on the model as well. It won’t actually function as in turning tar & stones into asphalt, but it will be nearly capable of doing so in miniature.

The client wants to demonstrate how the machine operates or how it is controlled. Doors and chutes that are moved primarily by hydraulic cylinders in a real asphalt plant will be demonstrated with 12 volt electric linear actuators on the model. Those parts in a real asphalt plant that move with gear motors – like augers and buckets – will have miniature gear motors on the model.

Our model makers create drawings in AutoCAD of the doors and chutes, in an open position and closed. That way the “throw” can be calculated, which is the amount of swing needed to open them fully. Then it needs to be determined what length actuators will best represent that throw. The working parts on the model need to be built and the actuators installed on them and tested for accuracy. An important factor to consider is whether or not the actuators can show on the finished model design, or need to be imbedded or disguised. In this particular industrial model, the actuators will be part of the visual presentation.

The gear motors are chosen for the model based on the scale speed necessary to make the parts turn. How much torque is needed? – what sort of load does the gear have to move? This will determine how powerful the motor needs to be. Generally if the part needs to move fast, less torque is required and if the part turns slower, more torque is called for. This particular model has a 218:1 gear ratio as the miniature motor needs to move quite a bit of mechanics.

Finally you have to tie together the different voltage strengths of the various actuators and gear motors into a controller that sits in the base of the model. This programmable code (located in a circuit board) will be the power source, or “the brain” of the working model parts. It will control when power is needed and where in the model to send it.