
Model making companies need to put a good deal of thought into the process of packing and shipping scale models. Custom models come in all shapes and sizes and degrees of inherent durability, based on the materials and methods of construction that are used. No one packing practice will work with all models. Each pack up job becomes a custom design and build in its own right.
Models travel great distances within the USA and internationally, to get to their clients upon completion. Some are shipped through dedicated carriers while others are sent via the major 3 shipping companies. In addition, many models need to be transported to a variety of trade shows throughout their life expectancy. Thus the shipping container must be reusable and extremely durable.

Packing and shipping scale models is a consideration that often comes into play early on in the fabrication stages of a project. A stationary display model may be engineered in a significantly different way than a model that must travel from trade show to trade show, and be packed and unpacked numerous times. Thus the shipping needs of the model sometimes drive the design, rather than the reverse.
Here at KiwiMill, we utilize a variety of packing cases to ship models. If the model is for trade show use, or needs to travel repeatedly for sales meetings, generally a hard shell container is used. Brands like Pelican, Gator or SKB offer a hard plastic case with handles and hinges, with wheels in some cases, and may even be water proof. They come in a variety of sizes, from brief case size, to one large enough to house a 7′ tall model we recently shipped.
The interiors of the hard shell cases come with foam lining, or will accommodate foam inserts that are purchased separately. In either case, our model makers then custom sculpt the foam “beds” for the model or model parts to rest in.

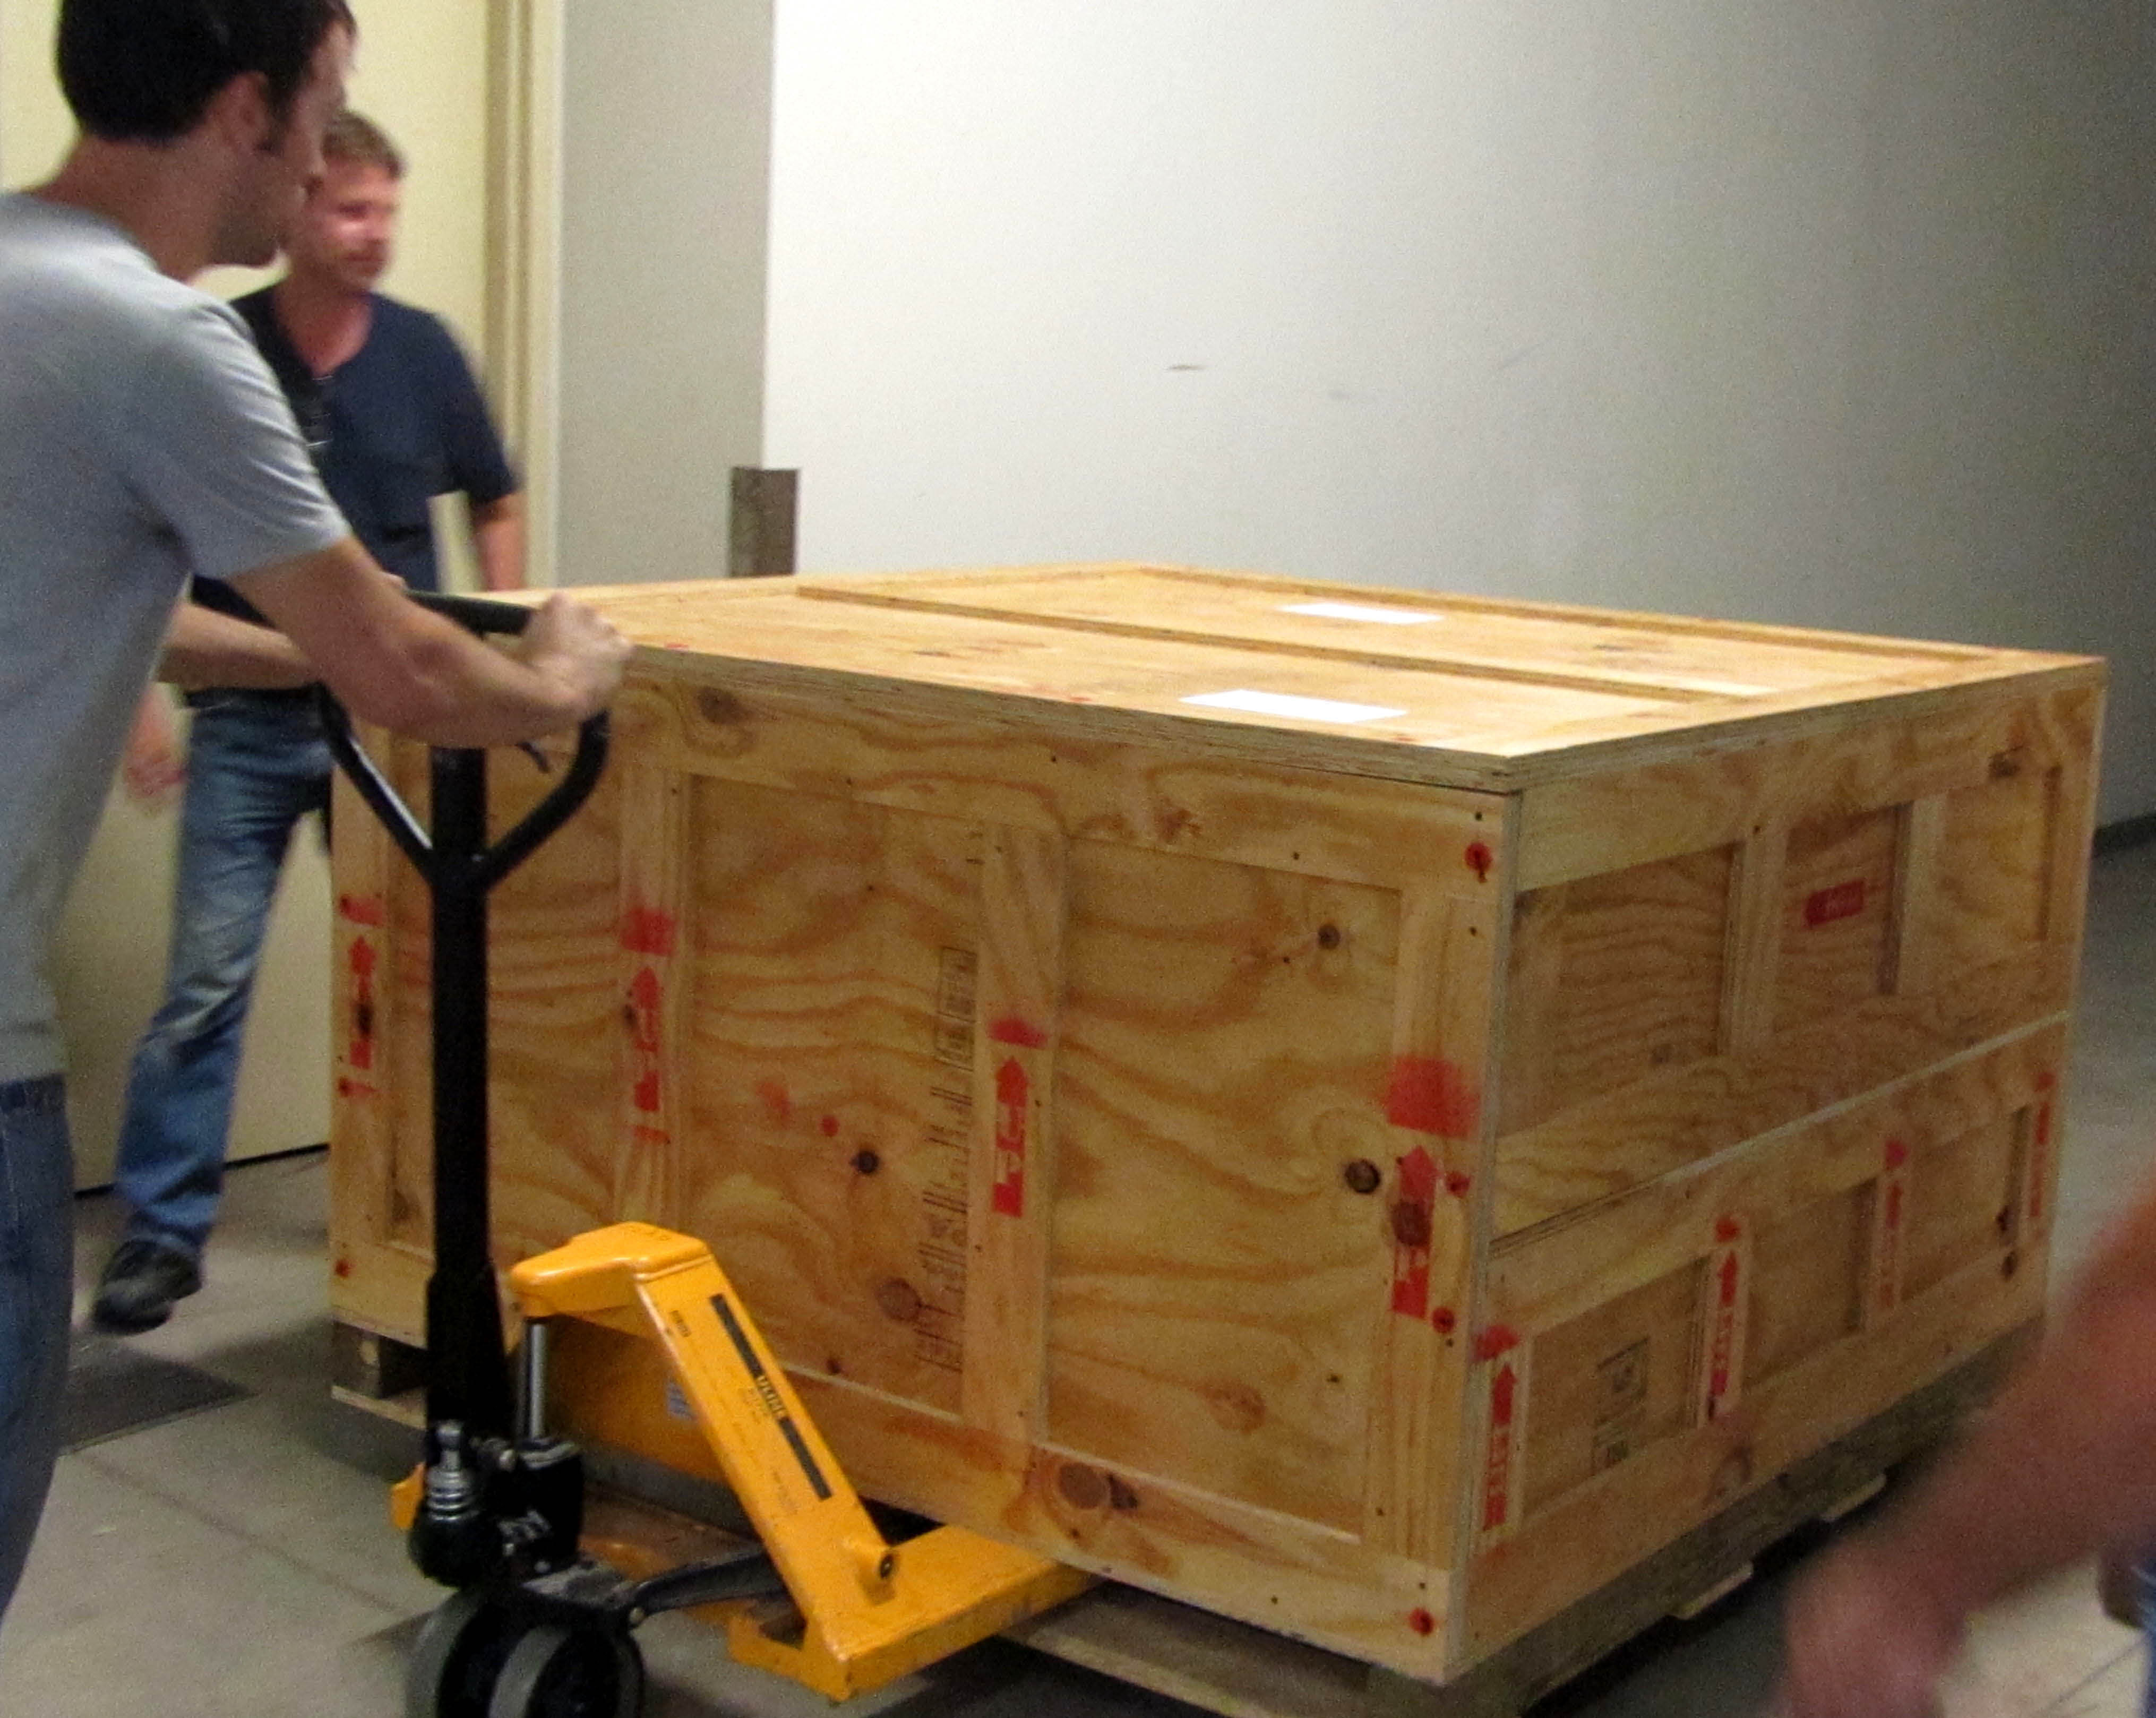
Large, intricate models that do not need a hard shell case, or do not fit in one, require a custom crate build. These wooden crates are built here in the shop and each one is as unique as the custom model going into it. Some crates have shelving to slide a model into. This works well for models with flat bases, such as a traditional site model.

Curvier models, or those with no base, need to be suspended by way of built-in scaffolding in the crate.

All of the crates require custom foam inserts or foam covered blocks to act as buffer points wherever the model comes into contact with a surface, as well as to prevent shifting in transit. Foam is also used for slotting in smaller model parts that need to be assembled upon arrival. Straps may also be required to secure a model in place inside the crate.

Directions are often written into the crate design. Where ever possible, our model makers try to make the packing procedure very clear, indicating what direction to place a model part and in what location. This assures that a variety of handlers can pack and un-pack the model correctly as it travels from venue to venue.

Smaller models that need to make it to a single location may be packed with the use of foam, bubble wrap and double boxing with peanuts. These can be carefully placed in a cardboard box and sent via UPS.

When it comes to choosing a shipping method, some models are given a dedicated driving service. They arrive at our loading dock, are packed by us, and driven to the client with no transfers in between. This method is costly, but offers the security of knowing the model will be handled minimally and arrive at its destination intact. This is an important consideration for some of our clients and may be recommended by our model makers for an extremely delicate and intricate project.

Regardless of which packing and shipping method chosen, it is important that model makers strive to develop the best method for getting each model to the client without damage. Much thought and engineering goes into the design of our shipping containers and the methods used to secure the models inside. There is no point in fabricating high quality products without the packing process to go with it.
Interesting URLS for packing methods used with airplane and ship model builders:
http://www.swannysmodels.com/Packaging.html (packing an airplane model)
http://www.largescaleplanes.com/articles/SparesBox/packing/packing.php (packing a larger plane model)
http://www.modelshipmaster.com/about/shipping.htm (packing a ship model)
http://www.modelusawarships.com/oursppapr.html (packing a ship model)
http://www.dogfighter.com/Custom-Aircraft-Models/shipping.html (illustration of double box packing method)