Model Maker Materials

It’s been over two years since I’ve started spending time with model makers, and I am still struck by the variety of mediums they work with. Especially since I do the ordering for them!

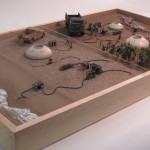
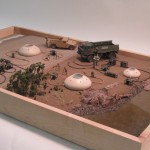
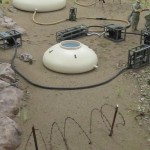
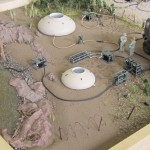
Model makers who make custom models have a stunning variety of material they must be able to construct with, and just as many techniques to go along with that. Depending on the type of model – architectural, trade show, military, museum – and its purpose: sales, display, training, fundraising, etc., the actual substances used to create a model vary.

Our model shop works with all types of wood, several types of plastic, a variety of metals, molding compounds – even fabric. Just in the plastic category alone there are several different types, each with its own properties: ABS which is more resilient, acrylic which cuts beautifully on the laser but can break, resin which is the liquid plastic that the 3D printer uses, and styrene – an easily bonded staple of architectural models.

When determining what material to build with, a model maker has to decide what properties are best suited for the purpose intended. If the model will be displayed in a clear box and never touched, then delicate, intricate and the most realistic looking materials can be used. This is rare.

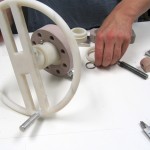
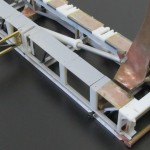
Most of our models are meant to be touched and handled by the viewer and need to be built with substances that can hold up to this kind of treatment. Often times this means a mixture of different plastics and metals. The metal ends up providing a solid skeleton for the model that more detailed pieces can be “hung” from.

At the extreme end of durability are models that must provide motion, simulate movement or light up. These working models require material that can withstand the friction, and sometimes heat, involved in the moving parts. It may include pulleys, actuators, motors, gears, or electronics that need to be properly housed in the correct materials.

Besides knowing what material to use for which model, a model maker needs to understand how to cut, shape, and cover the chosen substance. Paint doesn’t cover every material the same way. It’s also important to choose the correct fastening method. A model is usually made up of many parts, each of which not only needs to be accurately formed and covered with a properly adhering finish, but then has to be securely attached to the model as a whole.

Knowledge of all the different types of materials that may go into any given model, takes time and practice. Successful model makers are well versed in the various fabrication choices, methods and techniques that go into a custom model. They get this way by actual immersion in the craft.

 

3D Printed Models

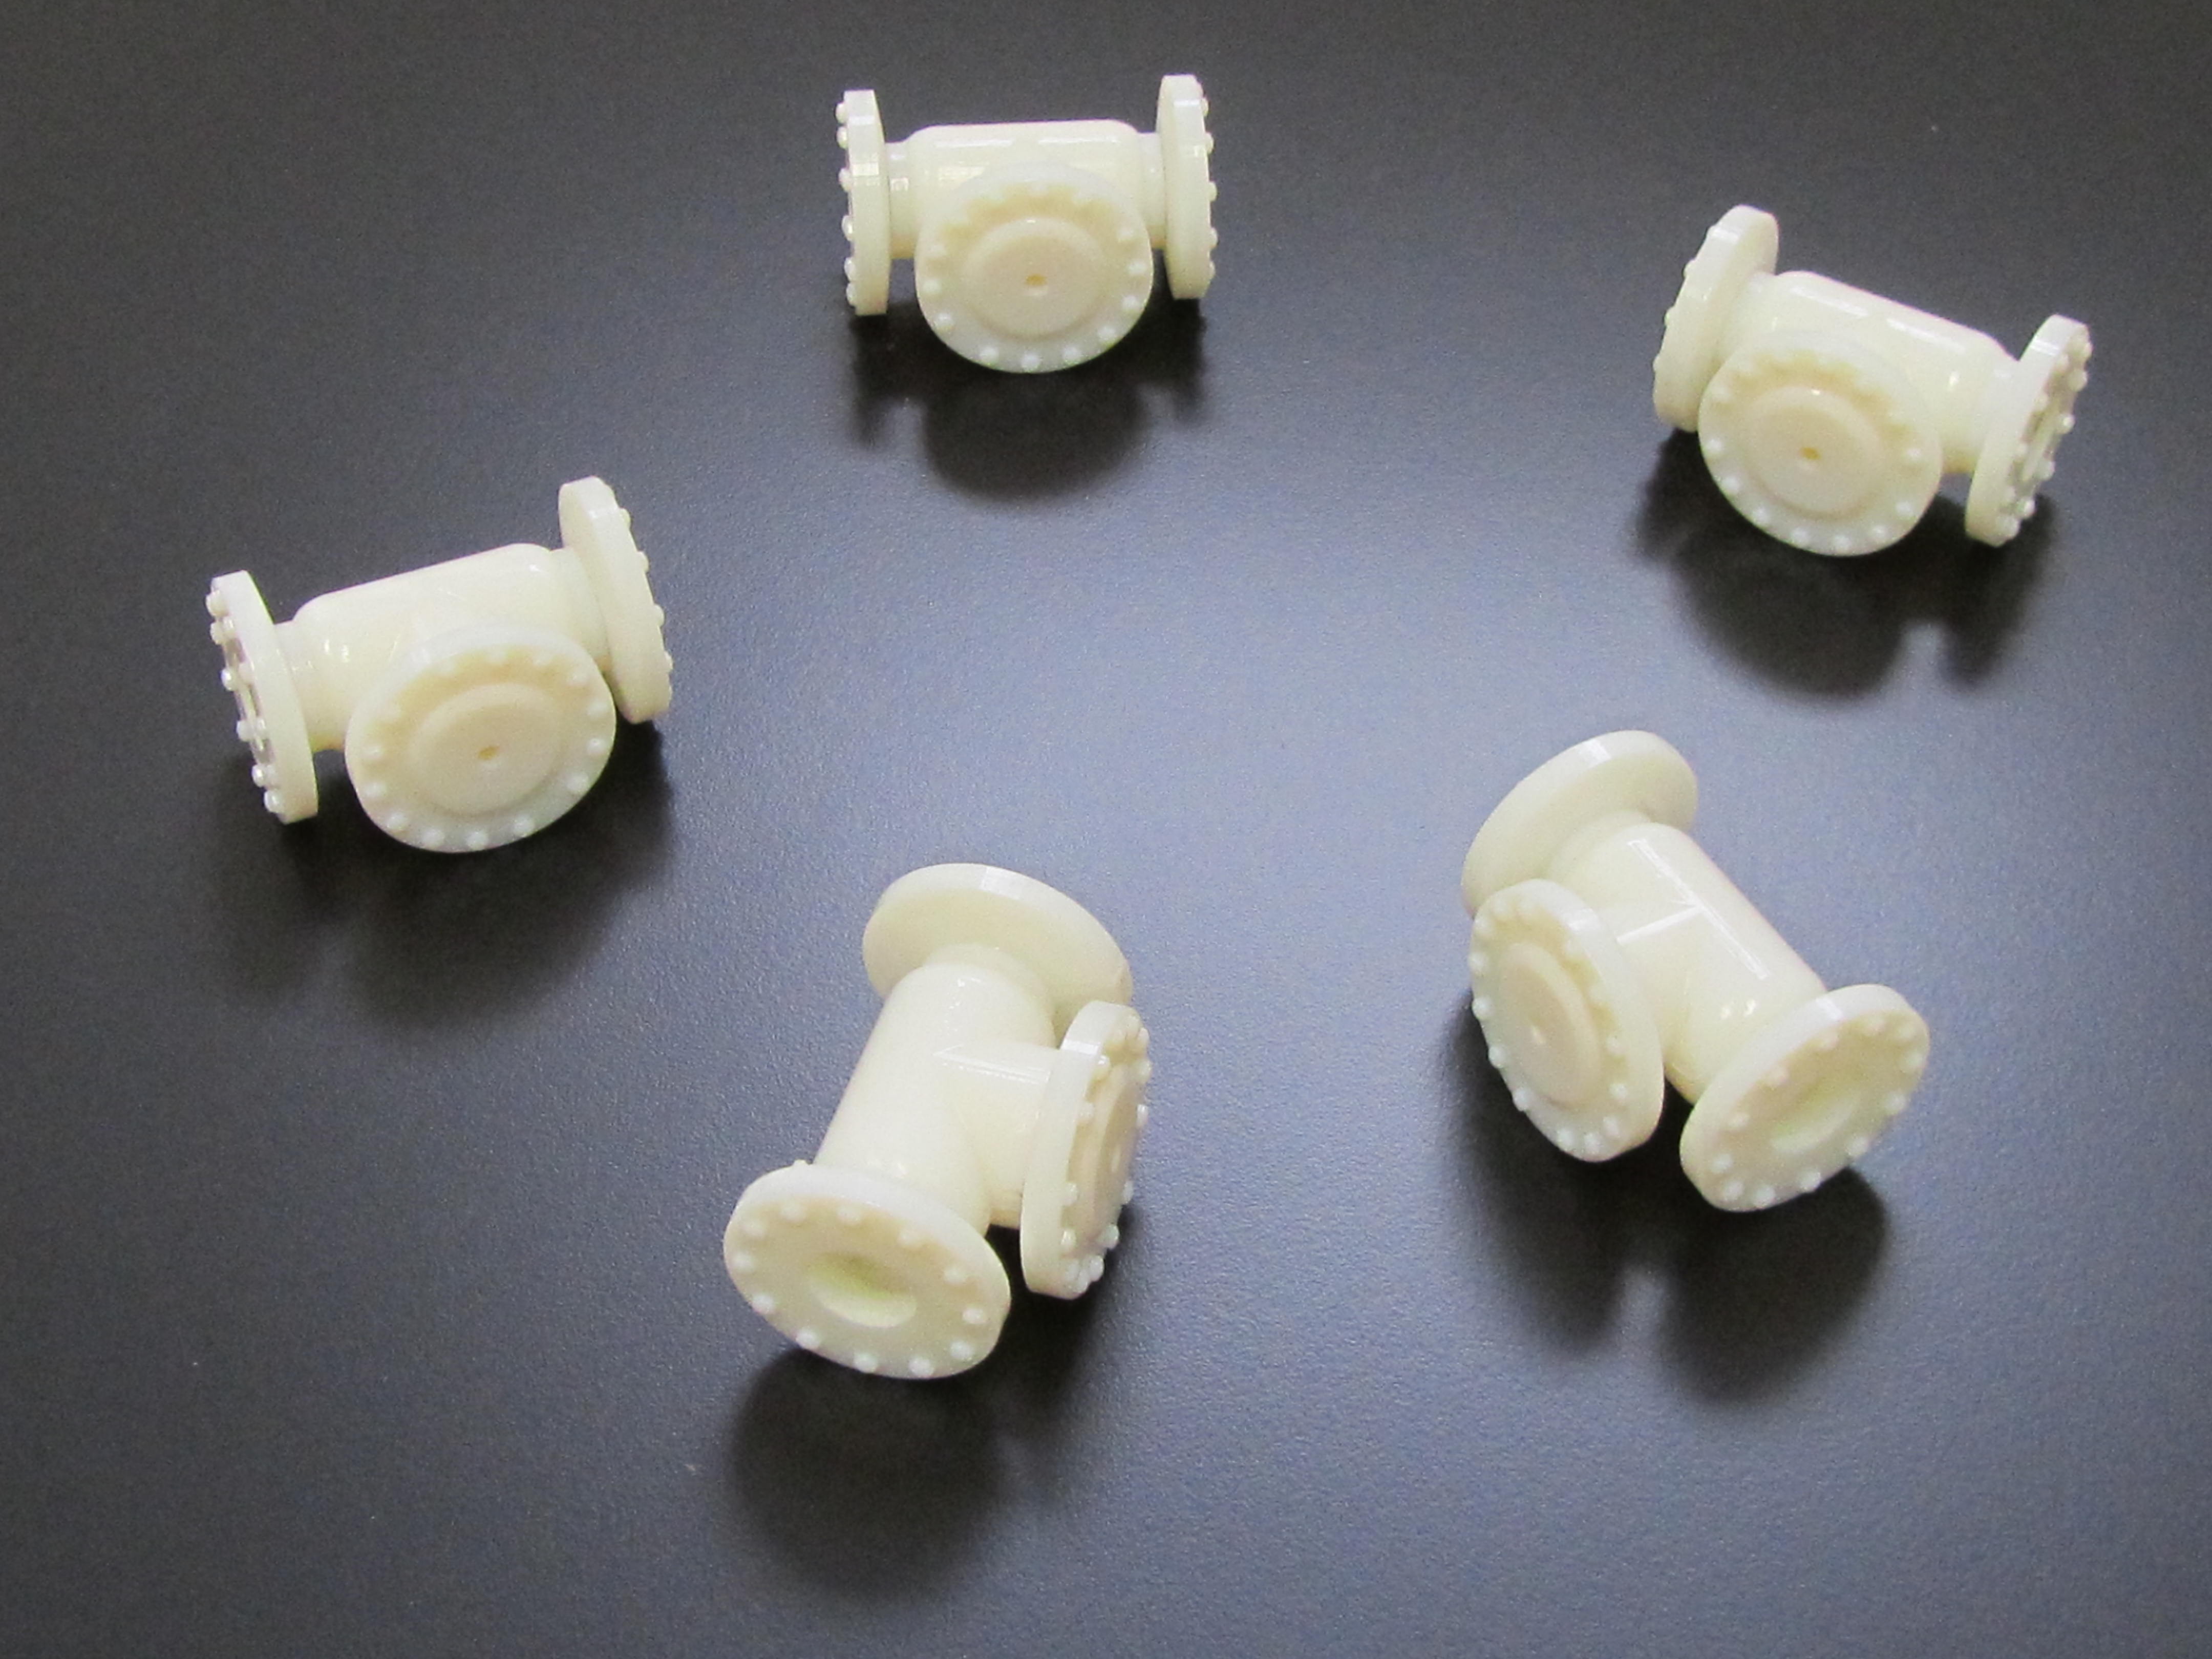
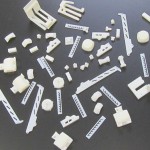
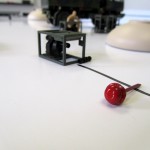
It’s been a couple of years now since KiwiMill started making 3D printed parts for our models. It took some experimentation to get this model making tool working for us, but we have settled into a nice rhythm in terms of its use.

About 70% of our jobs now involve some degree of 3D printed parts. At the beginning of a project, our model makers decide what materials they will use to build each part of a custom model. Several factors are considered when deciding what pieces will be fabricated on the 3D printer. The complexity of the part, its use on the model, it’s size and how quickly it needs to be produced are some of the considerations.

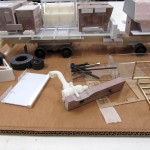
The 3D printer is an excellent choice for complex, intricate parts. Once the time is taken to draw up the part in CAD, the printer can effortlessly build a detailed object with great accuracy. Even when factoring in the time it takes to clean support material from a finely detailed piece, it’s often worth the prep work to get a final product that has all of the desired cosmetic effects intact.
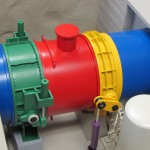
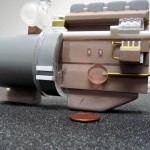
Depending on the over all model’s purpose, 3D printed parts may be too delicate for use in a project. They aren’t the best choice for moving parts, or places that need to endure a high degree of impact. However, they may still work well alongside more durable materials such as ABS, metal and tooling board, adding detail to an over all sturdy model.
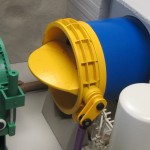
Not that 3D printed parts can’t be strong. Large, solid parts, with less intricate detail, can be quite durable in nature. However, they are often cost prohibitive. The resin used to create objects on the 3D printer, is relatively expensive material. It doesn’t make sense to 3D print large pieces that can otherwise be hand-built, CNC milled or routed out of another material.

The exception to this would be if timing is a factor. If the item being fabricated can be drawn in CAD, printed, cleaned up and finished quicker than a hand build, it may be chosen in a situation where a deadline is looming.

KiwiMill has yet to completely print a model. Even in cases where the final product was made up mostly of 3D printed parts, it still involved other materials and fasteners holding the various parts together. The 3D printer has not replaced a model maker, either, though we joked about that happening when it first arrived. It is simply another successful tool of the trade that we have fully integrated into our repertoire.


Skaneateles Lake Topography Model

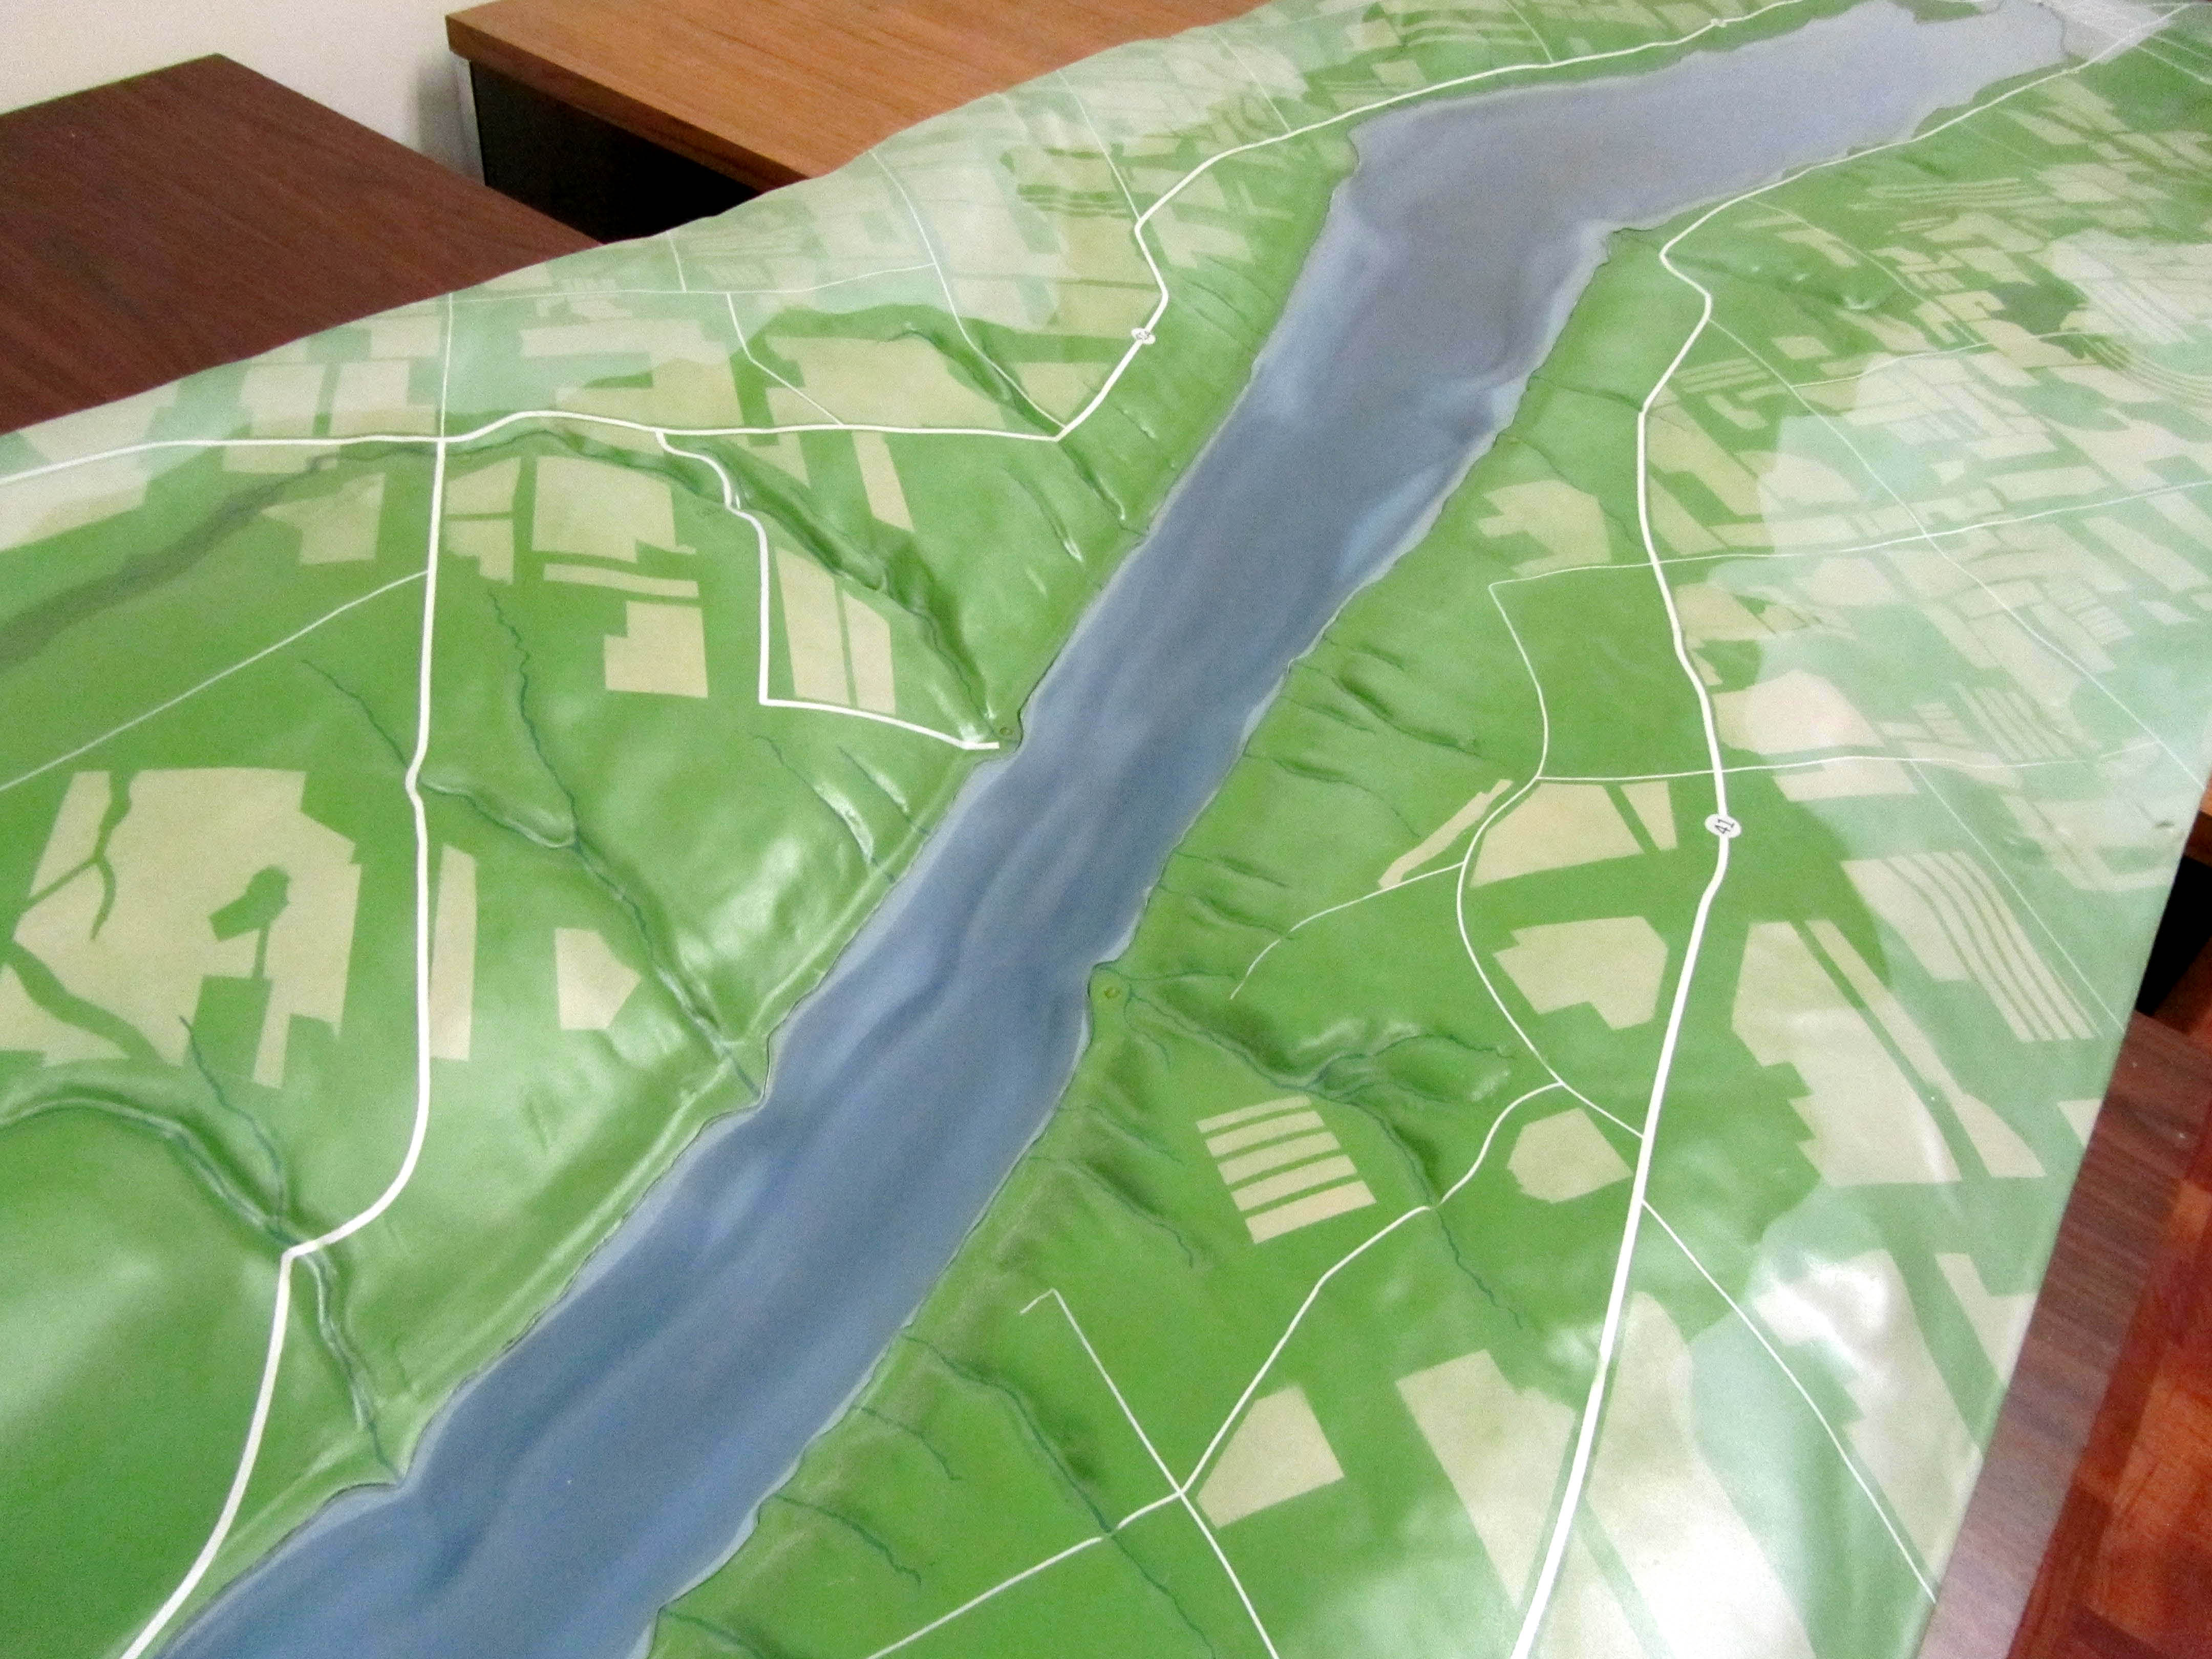
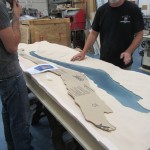
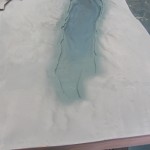
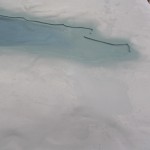
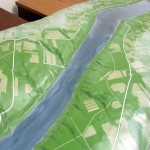
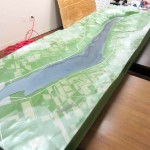
A few months back, KiwiMill fabricated a topography model for the Skaneateles Historical Society.

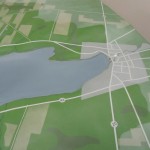
Using USGS mapping, Google Earth images, and drawings provided by the historical society, our model makers depicted the Skaneateles Lake topography and surrounding watershed.

It was also important to our clients that the topography model show accurate water depths as this is a very clear, deep lake that was used for naval training during WWII.

LED lights were added to show local points of interest on the topography model.

It was exciting to be a part of a local multi-media project such as this, by providing a 3 dimensional map that was both informative and accurate.

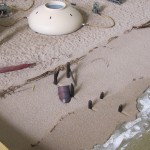
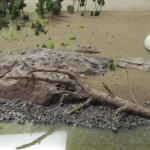
While we’re still waiting for final installation pictures, here are a few shots of the build:

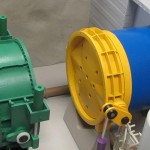
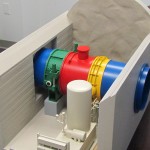
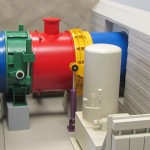
Valve Replacement Training Model

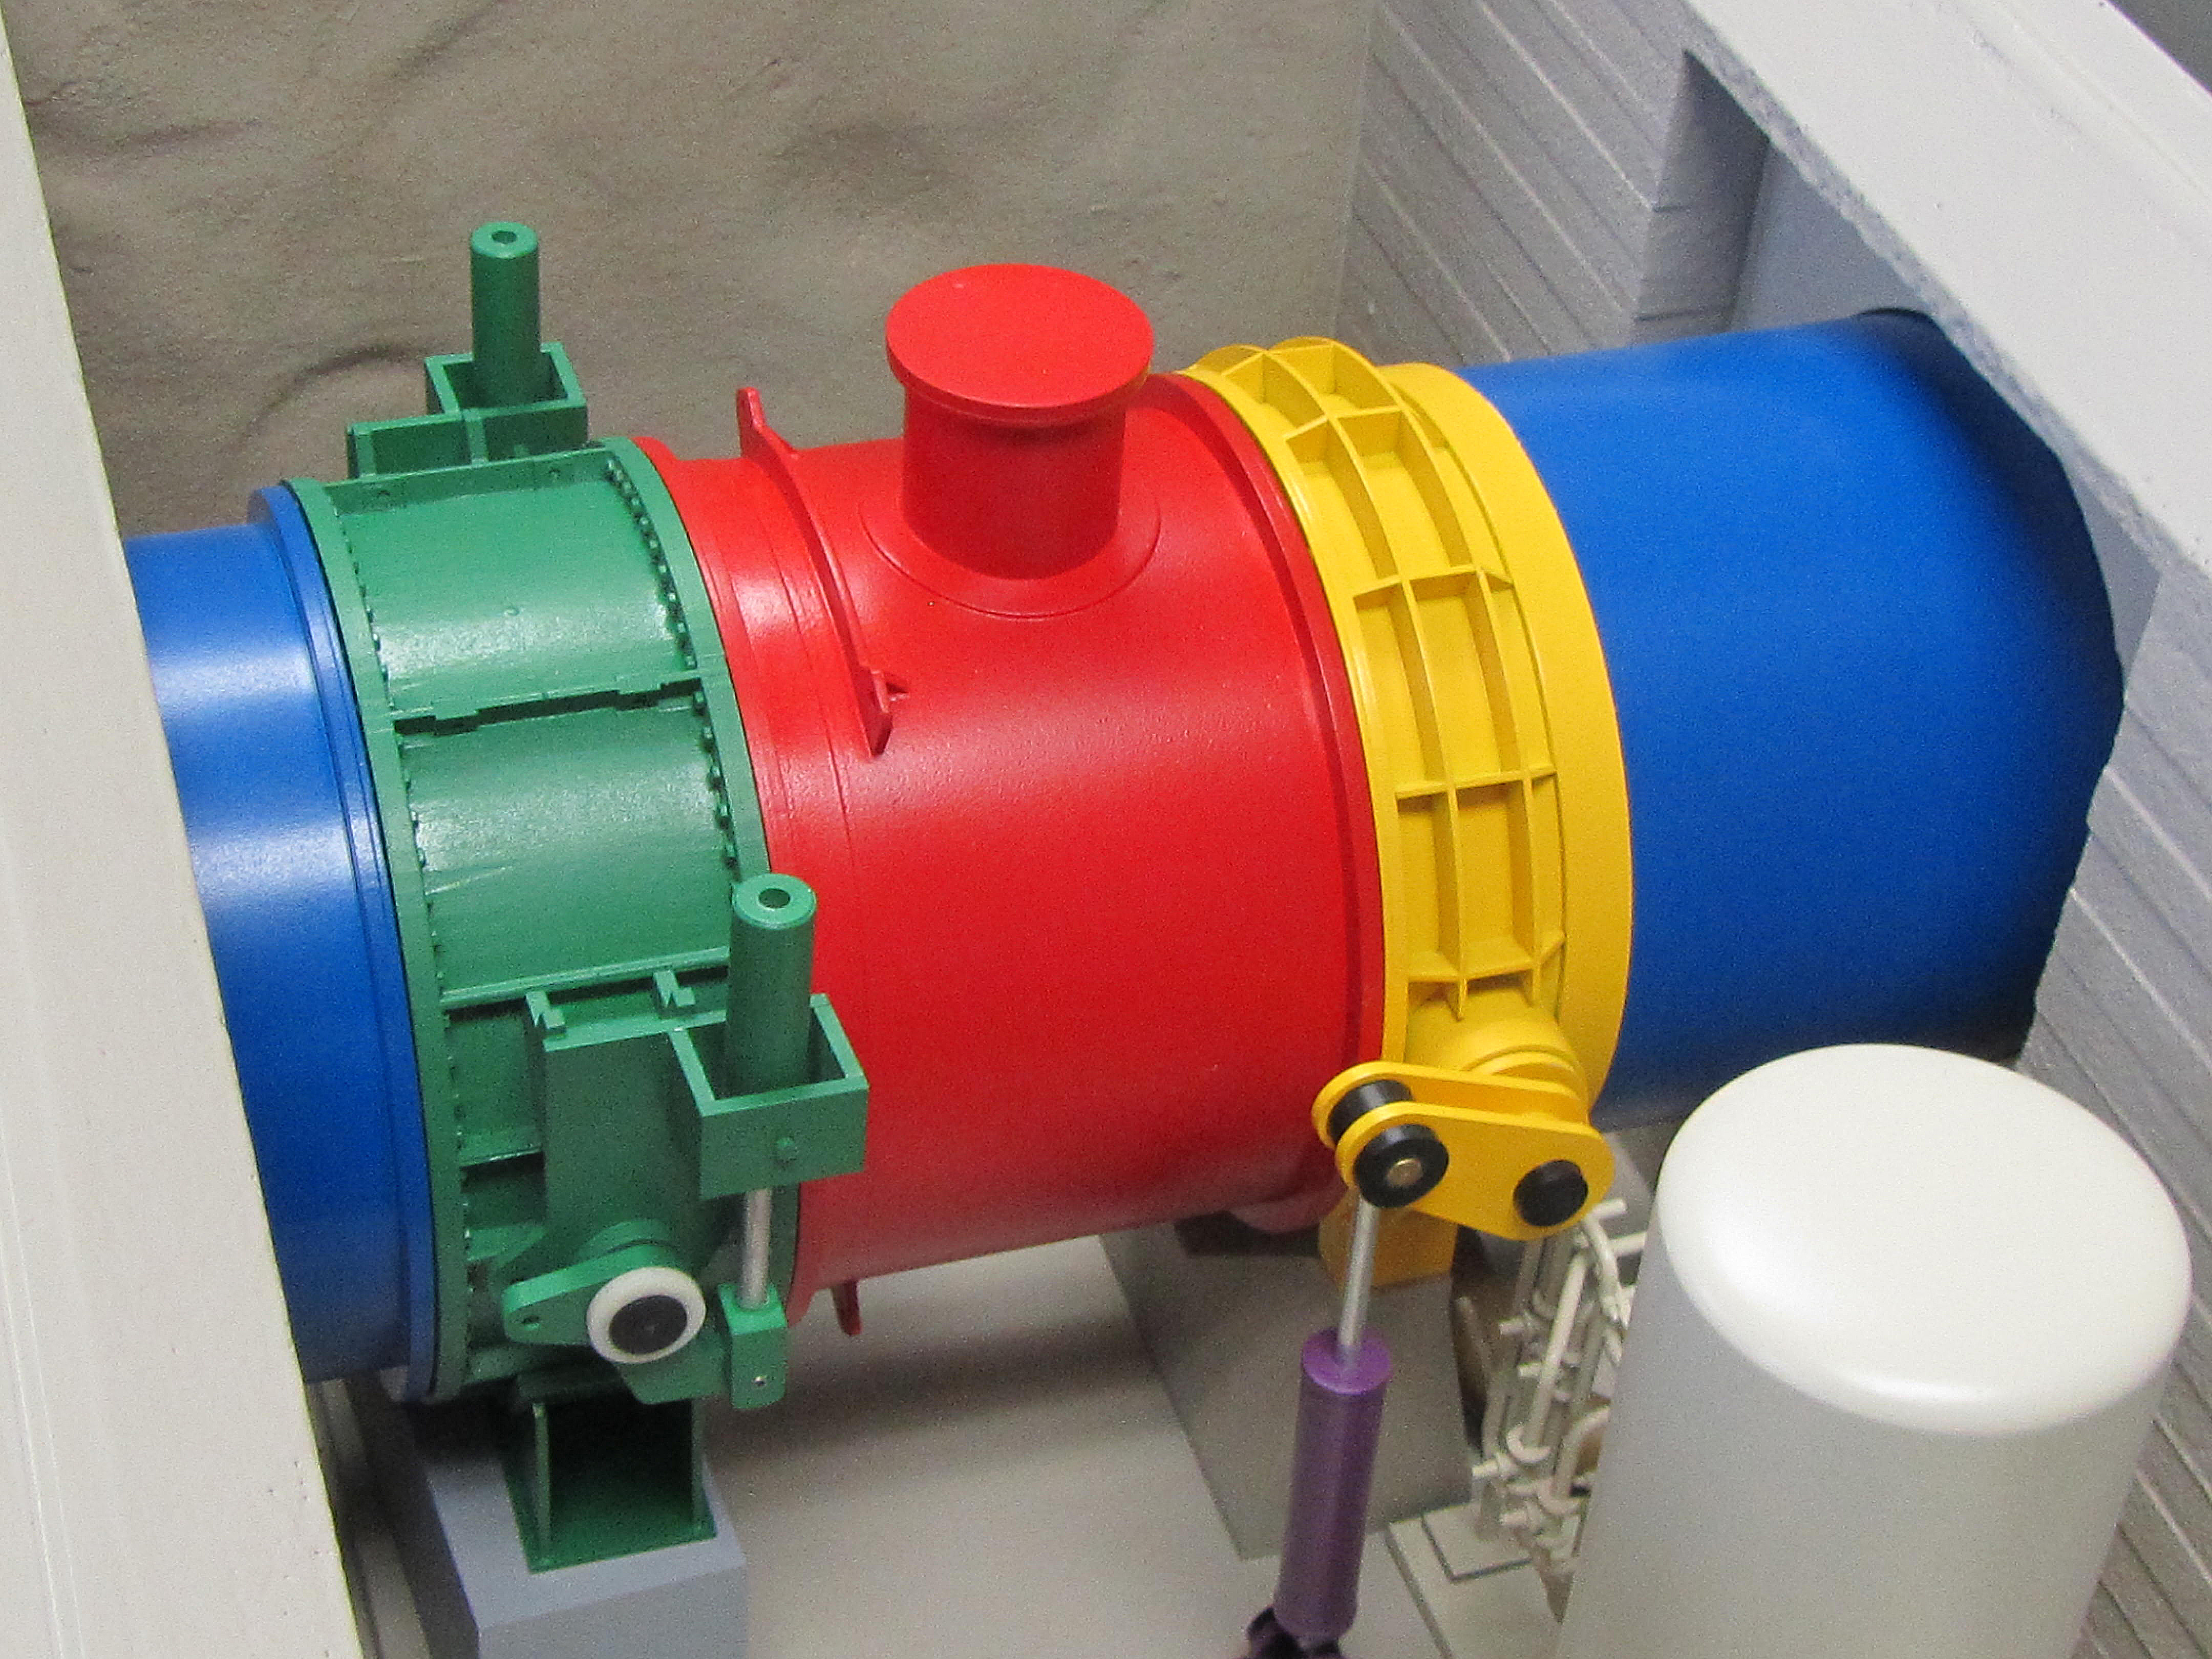
This training model will familiarize people with the steps of an industrial process before they get into the actual field. The process being simulated is the replacement of a valve on a hydro-electric dam penstock. 

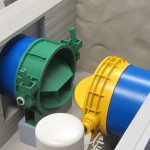
All of this activity takes place deep underground. The training model represents the underground room and the equipment used to replace the valve. The valves on the model have working parts.

The center piece of the training model – the pipe – is 11ft in diameter in real life. KiwiMill replicated the pipe using a 6 inch diameter tube. The rest of the model was scaled around this size. Sometimes it is more economical for the client to have the model’s dimensions determined by parts that are readily available.

Everything was custom fabricated, assembled and painted in a little over a week, and then shipped to Canada for our customer’s immediate use.