Custom Trophy Truck Model Excitement!

Seems like every holiday season KiwiMill is asked to make a custom truck model for a very special client. Our model makers  love this type of project. Who wouldn’t?

This year’s custom trophy truck was based off a store bought RC 1:10 scale truck named the “Yeti”.

custom truck model

The outside shell of the Yeti was removed and a custom one designed in its place. A photograph of the real truck was used to take exact measurements, which were then adjusted slightly to fit this particular off-the-shelf truck frame. The custom shell was drawn up in Solid Works.

custom truck model

The computer drawings were then used to vacuum form the custom truck shell.

custom trophy truck model

custom truck modelcustom truck model

A custom chassis was assembled under the base using ABS plastic. Other accessories were hand built including the light bars, fire extinguisher, gas tank, and ratchet straps.

custom trophy truck modelcustom truck model

The interior of the truck model was hand built as well. A plastic figure was placed inside. It wore a custom fabricated and hand painted helmet to match the one the real life owner and driver of the vehicle wears.

custom truck model

The custom trophy truck model was masked off and painted from the inside. Vinyl labels of the logos and sponsors were applied to the finished surface.

custom truck model custom truck model

The truck was then mounted on a base made out of rolled, welded steel that was painted to resemble the dirt hills the real truck is driven on.

The final product turned out to be a great surprise for the client. His own custom trophy truck model, built to replicate the real one he owns and races. Very cool gift!

custom truck model custom truck model custom truck model custom truck model custom truck model custom truck model custom truck model custom truck model custom truck model

Model Makers & Painting

model making

Painting is Essential to Model Making

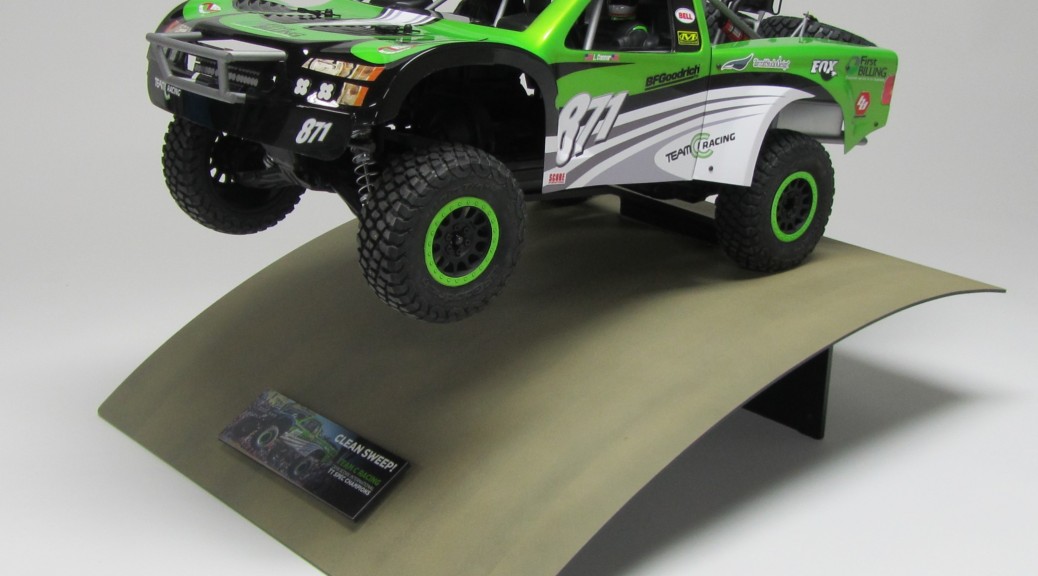
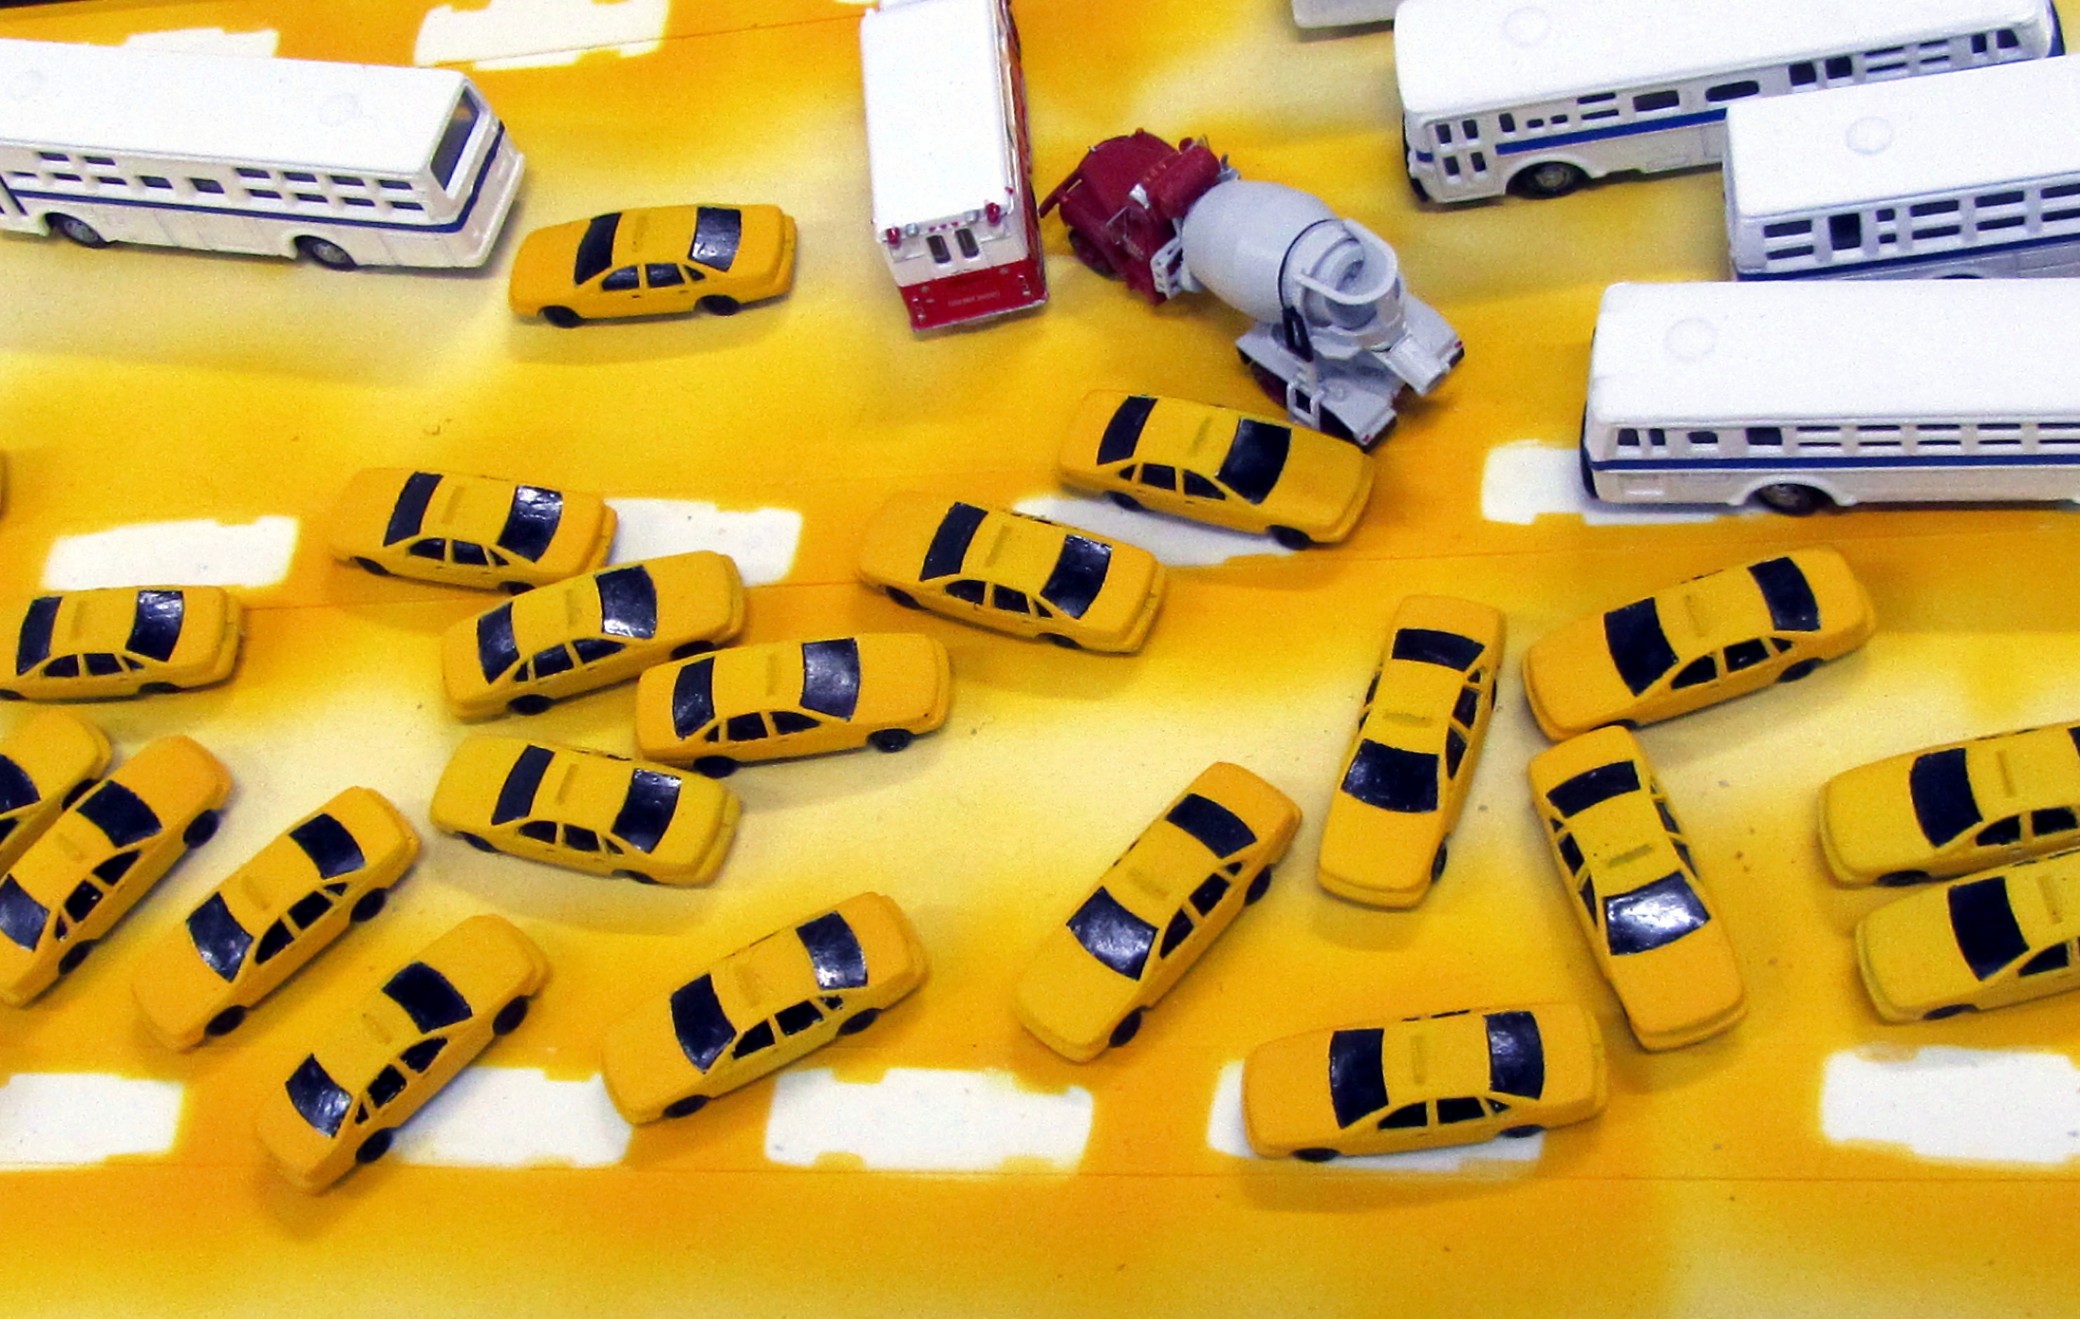
One of the more obvious features that sets great models apart from mediocre ones is the paint job. Everyone notices it. A model makers expertly applied paint job doesn’t automatically make a model high quality, but you won’t achieve model perfection without one.

A lot goes into the painting process. Even though it is often thought of as a finishing touch, it’s actually given a good deal of thought early on in a model build. Right at the beginning, during the brainstorming and design phase, consideration is given to the paint colors that will be needed for the different parts. It helps determine the order that the model will be assembled in. Parts are generally painted before being assembled, not after. So it’s not a final step in the process after all.

What Kind of Paint Is Used?

There are different types of  paints for different projects. Our model makers use enamel, lacquer, epoxy, automotive and model paint. Models need paint that looks good, stays on and  is quick drying. Less consideration is given to the hardness of the paint as most models are not subjected to outdoor elements, or scrubbed clean on a regular basis. Paint has two, sometimes three, characteristics that determine how it will perform: pigment, binder and solvent. The pigment will determine the color hue, the binder is the vehicle that sticks the color to the model and the solvent affects the flow or spread-ability.

model making

Once a particular paint is chosen, the model is first given a coat of primer. Primer is a grey, sand-able substance that helps the paint stick to the model. It is flat rather than glossy in texture in order to show all the details of the model, and point out any scratches or  blemishes that may need to be filled or sanded out. Sometimes the primer itself will smooth out light scratches, other times a spot putty is applied to deeper flaws in the surface. When primer has been applied, filled in and sanded the model is perfectly smooth and ready for a coat of paint.

How Is The Paint Applied?

The delivery method of the paint is most often an air brush,  HVLP (high volume, low pressure gun), or spray can. Most paint is applied in some kind of mist form. Rarely is a brush used, except for the tiniest details.  Masking is used to cover parts of the model that are not ready for painting. Special tape is used for this purpose. While applying paint, it’s also important to know how different paints will interact. Some types of  paint will have a volatile reaction with each other depending on the type of solvent that is used in them.

model maker

Once the paint has been applied with an expert hand and eye, it needs to dry properly. While some paint will be dry to the touch almost immediately, the surface underneath may still be damp. A model may seem dry when the solvent in it hits the air and evaporates, but curing is the polymerization of the paint binder (a chemical process that may take much longer). Ideally a freshly painted model should sit for a couple of days before packing or wrapping for shipment.

The paint job on a model has a huge impact on its appearance and like-ability. It makes sense that it is given important consideration from the onset of a project, all the way to its finish.

sales model

Check out these Before / After Pictures:

model makersmodel makersmodel makersgene sequencing modelmodel makers

model makers

Custom Electronics for Models

KiwiMill has the ability, in house, to add motorized and electronics features to your models. A few weeks ago, we delivered a model to a customer that required a lot of power and numerous interactive features all controllable by buttons on a panel in a museum.

Custom Electronics Box & Power Supply

Adding electronics to models comes with its own set of unique challenges. Our customers demand their models work reliably and want to make sure the power supply is UL listed to ensure it is safe to use in their displays.

Some of the issues we run into in our models:

  1. Multiple Voltage Requirements – models often use off-the-shelf electronics (sound makers, motors, lights, etc.) that require multiple voltages on a single model.
  2. High Current Requirements – While LEDs use little current individually, today’s modern superbright LEDs can use upwards of a watt of energy each and, when you string 50 or 100 of them together, they use more current than a typical power supply can provide. Motors can also use a lot of current and require a robust power supply.
  3. Were Do We Mount All These Things – Break-Out-Boards, Controllers, SSRs, power supplies, etc… where do we mount all these things so the parts won’t get jostled and the customer won’t get shocked?

Our solution is a custom ATX power supply in a custom made sheet metal box. An ATX power supply provides multiple voltages (3.3V, 5V and 12V) which is the power requirements for almost everything we build. Not only do they put out multiple voltages, an ATX power supply puts out A LOT of current. We can get a 1,500 watt power supply just in case we need to light an entire city all at once! On top of that, the ATX power supplies we buy are UL listed to ensure they operate safely. A good ATX power supply is also built to last a long time and includes a fan that will keep the electronics in the box cool.

Below are some pictures of our CAD design for this custom ATX power supply and electronics box, and pictures of the finished product. There’s also a picture of a much larger box that has hundreds of wire connections coming into it.

ATX Power Supply Box Design Drawing
Design Drawing
ATX Power Supply for a Scale Model
Before Connections
Custom Scale Model ATX Power Supply
After Connections
Custom ATX Power Supply Box
Complete with Cover
Custom ATX Power Supply Box
Larger Custom Electronics Box

Fiber Optic Light Source

This one was a little easier.

The problem: anything that holds a light-bulb is designed to allow light to escape as much as possible. A light is designed to provide humans with light, after all. We need to fully contain the light and direct it toward a bundle of fiber-optics.

The solution: A custom designed fiber-optics light source. This is nothing more than a sheet metal box with a bracket to hold a standard light socket. The cover contains the light in the box. We used a 60W LED spotlight to direct as much of the light into the fiber bundle as possible.

Custom Fiber Optics Light Source Drawing
Fiber Optics Light Source Drawing
Custom Fiber Optics Light Source
Fiber Optics Light Source