Engineering Skid Model


KiwiMill was asked to build an engineering skid model of industrial equipment produced by Energy Recovery.  This product is used to harness fluid energy.

The engineering skid model is a combination of several materials. Aluminum pipes and plastic plumbing parts were combined with milled tooling board for the majority of the model. Smaller, more detailed parts were formed out of metal, or else 3D printed. Color was added for visual definition and orientation.


How Long Does a Custom Model Job Take?

custom model

Part of quoting custom model work is determining how long the project will take to build. KiwiMill gives an estimated completion time in each quote. The time it takes to complete a custom model is based on a number of factors.

The number one factor influencing project length is client need. Many of our projects have to be finished in the shortest period of time possible. There are deadlines for trade shows, sales presentations, corporate meetings and museum openings. Therefore, one of the first questions we ask our clients, after figuring out the purpose of the model, is when and where they need it delivered.

Meeting the client’s deadline is of the utmost importance. Before a job is accepted it has to be agreed upon that the project can be completed in the given time-frame. No client will be expected to pay for a scale model that fails to meet its deadline.

As each custom job, by nature,  is different from the previous, figuring out how many hours will go into a build is a complex process. KiwiMill does this by estimating the amount of time needed to complete each step of the project – from material acquisition,  design time, fabrication, to assembly and finish – then figuring out how many model makers are available to work on it.

Once we make the commitment to a project deadline, everything possible is done to make it happen. Often this involves long days, over time and weekends. Sometimes it means a model will have expedited shipping (agreed upon ahead of time with the client). Whatever it takes to get the job done on time, and with high standards of quality, is the goal.

When there is not a hard deadline to work toward, the length of a project is still determined by estimating the number of hours each part of the project will take, divided by the number of model makers available under “normal” working conditions. The project length is usually quoted in weeks. It typically does not start until the information needed for the build are supplied by the client, along with a deposit where applicable.

When a quote is given, the completion time is based on the current work load in the shop. Our production supervisor schedules simultaneous jobs, and assigns project managers to each one. If you happen to need a model when there are fewer jobs currently scheduled, then the completion time will be shorter. Likewise, if you choose to have a model made during a very busy time period, the build time will be longer. By sharing this information upfront with the client, before a project is agreed upon, there are no surprises or disappointment.

Most clients understand that the building of a custom model is an artistic endeavor which does not follow fixed steps found in many other manufacturing processes. Each model is unique, as are the materials and fabrication methods that go into a build. In spite of its unique nature, model makers understand the expectation that the final product needs to be finished on time, every time. It’s the nature of the profession that most custom model projects will have tight deadlines, sometimes even highly unrealistic ones.


Industrial Models

Industrial Model

Industrial models allow a company to demonstrate its machinery, piece of large equipment or industrial process using a hands on approach. Having an industrial model sets your product apart from the competition that’s still relying on a two-dimensional display. A color brochure of a product, or even a video demonstration will not deliver the impact an industrial model in hand does. A 3 dimensional model communicates effectively, answering specific questions about your product. It can also highlight the particular features or strengths that you want emphasized.

Often an industrial process or piece of machinery is too large, complex or cumbersome to travel between trade shows. A model, on the other hand, is portable while still being instantly recognizable and understood as a replica of your product.  No need to worry that the potential client cannot visualize your product accurately from a 2 dimensional drawing or photograph. While nothing can substitute for the real product, a quality replica can be a highly effective alternative. Its physical presence provides direct understanding about what you are offering and translates into a more positive sales experience.

A skilled model maker can work with you to provide an accurate, visually pleasing, detailed-as-you-want industrial model in a user-friendly scale. Specific features can be emphasized on the model, making it easier for your sales staff to illustrate your product’s uniqueness. Duplicate models can be constructed for multiple shows. Replicas are a cost-effective, engaging option when bringing along the real product is not feasible. No one should go into a presentation without this sales tool in hand!

Professional Model Making Skills

Professional Model Making

    • Visualize in three dimensions.
    • Attention to minute detail.
    • Curiosity about how things work.
    • Thorough researcher.
    • Problem solving on the fly.
    • Precise measurements.
    • Understanding of mechanics.
    • Hand-eye coordination.
    • Advanced fine motor skill.
    • Knowledge of materials and their properties.
    • Artistic sensibility.
    • Focus under pressure.
    • Computer drawing ability.
    • Patience.
    • Experience with machine operations.


Satellite Models!

KiwiMill was excited to return to its roots recently when we were asked to build mother and daughter satellite models for a valued client.

While satellites, military models, and architectural models have historically been a mainstay of this model shop, more recently our model makers have been making a name for themselves building trade show models for industries like medical, large equipment, oil and mining, and energy technology.

It was fun to return to a project that our owner and senior model makers are very familiar with, as well as introduce new staff to these fascinating spacecraft.


Custom Keyed Machine Screw Model

Bryce Fastener requested a custom machine screw model to showcase their unique keyway design. In order to provide tamper-proof screw and bolts, the keyway shape itself is specifically designed for each customer order – no two are alike.

KiwiMill was given a company sample to make a 1:10 scale machine screw model of. The  model is designed to attract attention at trade shows and highlight the unique keyway geometry on the screw and the matching key shape of the pin that turns it.

The majority of the machine screw model was constructed from high density tooling board. The screw part was CNC routed, and the pin was hand cut.

The key shape on the sample provided was measured and then drawn up in CAD.The CAD drawing was then used to 3D print the key shape and the keyway.

The resulting accuracy of the 3D printed parts allowed the model to be functional. The key on the pin actually fits into the keyway correctly. Just like the real product.

Model Maker Teamwork

Kiwimill Model Maker Shop

There’s nothing like a fast turn around, high stress project to showcase the model maker teamwork that KiwiMill has developed into a  unique style of doing business.

With less than two weeks to produce two 1:10 scale helicopter models, KiwiMill model makers have relied heavily on their well-balanced skill sets and even keeled approach to working together. Everyone has come together with their individual talents – CAD drawing, CNC programming, 3D printing, molding and casting, hand finishing, spray booth application and masking.

Beyond the tight time frame there has been a long anticipated, but still disruptive, employee exit, multiple machinery break downs and the usual minor shop mishaps and supplier logistics. Our model makers have dug deep into their skill sets, overcome the set backs and expanded their abilities as a team.

We are nearing our deadline, and every model maker and programmable machine are cranking out parts and assembling and finishing them. The CNC mill is cutting tails and fins. The 3D printer is growing rotor parts. The CNC router is finishing up the final body half.

Meanwhile model makers are casting rotor blades, sanding tooling board and ABS, custom jigging the shipping crates and gluing together model parts. Everyone is looking for where they can help – all with the singular goal to produce 2 world-class models for an upcoming trade show.

Yes, there have been long nights, and a weekend full of overtime coming up. But everyone is committed to the project and highlighting the teamwork that makes these miracle jobs a reality at KiwiMill. Best of all, they do it without even realizing it. I’ve noticed, though, and I’m proud to work here with them.

Medical Product Models for Trade Show

Product Model Hip Implant

Product Model Shoulder Implant

Product Model Knee Implant

Recently KiwiMill model maker, Mike, took some time out to share with me the processes he went through with three medical product models he created.

The product models were 3 1/2 x larger versions of medical implants. This human-friendly scale allows potential customers to view the design and structure of each implant in a trade show setting.

Mike used a combination of processes and materials for each model. Tooling board was carved out with the CNC router to form the core of each model. 3D printing was used for some individual parts. Extensive amount of effort went into the finishes on the models.

Vacuum metalized chrome was applied to several parts along with texturized paint finishes. One of the models required custom mixed pink color that was given a durable clear coat on top of the paint for a mirrored finish.

Two of the models were modular. The shoulder implant model consisted of a stem, neck, head and pegged glenoid. Each piece fit into the next. The top piece was held on with magnets.

Modular Shoulder Implant Product Model

The hip implant model had a stem, head, cover and liner that were removable.

Modular Hip Implant Product Model

The final medical product model, the knee implant, was static.

Model Maker Materials

It’s been over two years since I’ve started spending time with model makers, and I am still struck by the variety of mediums they work with. Especially since I do the ordering for them!

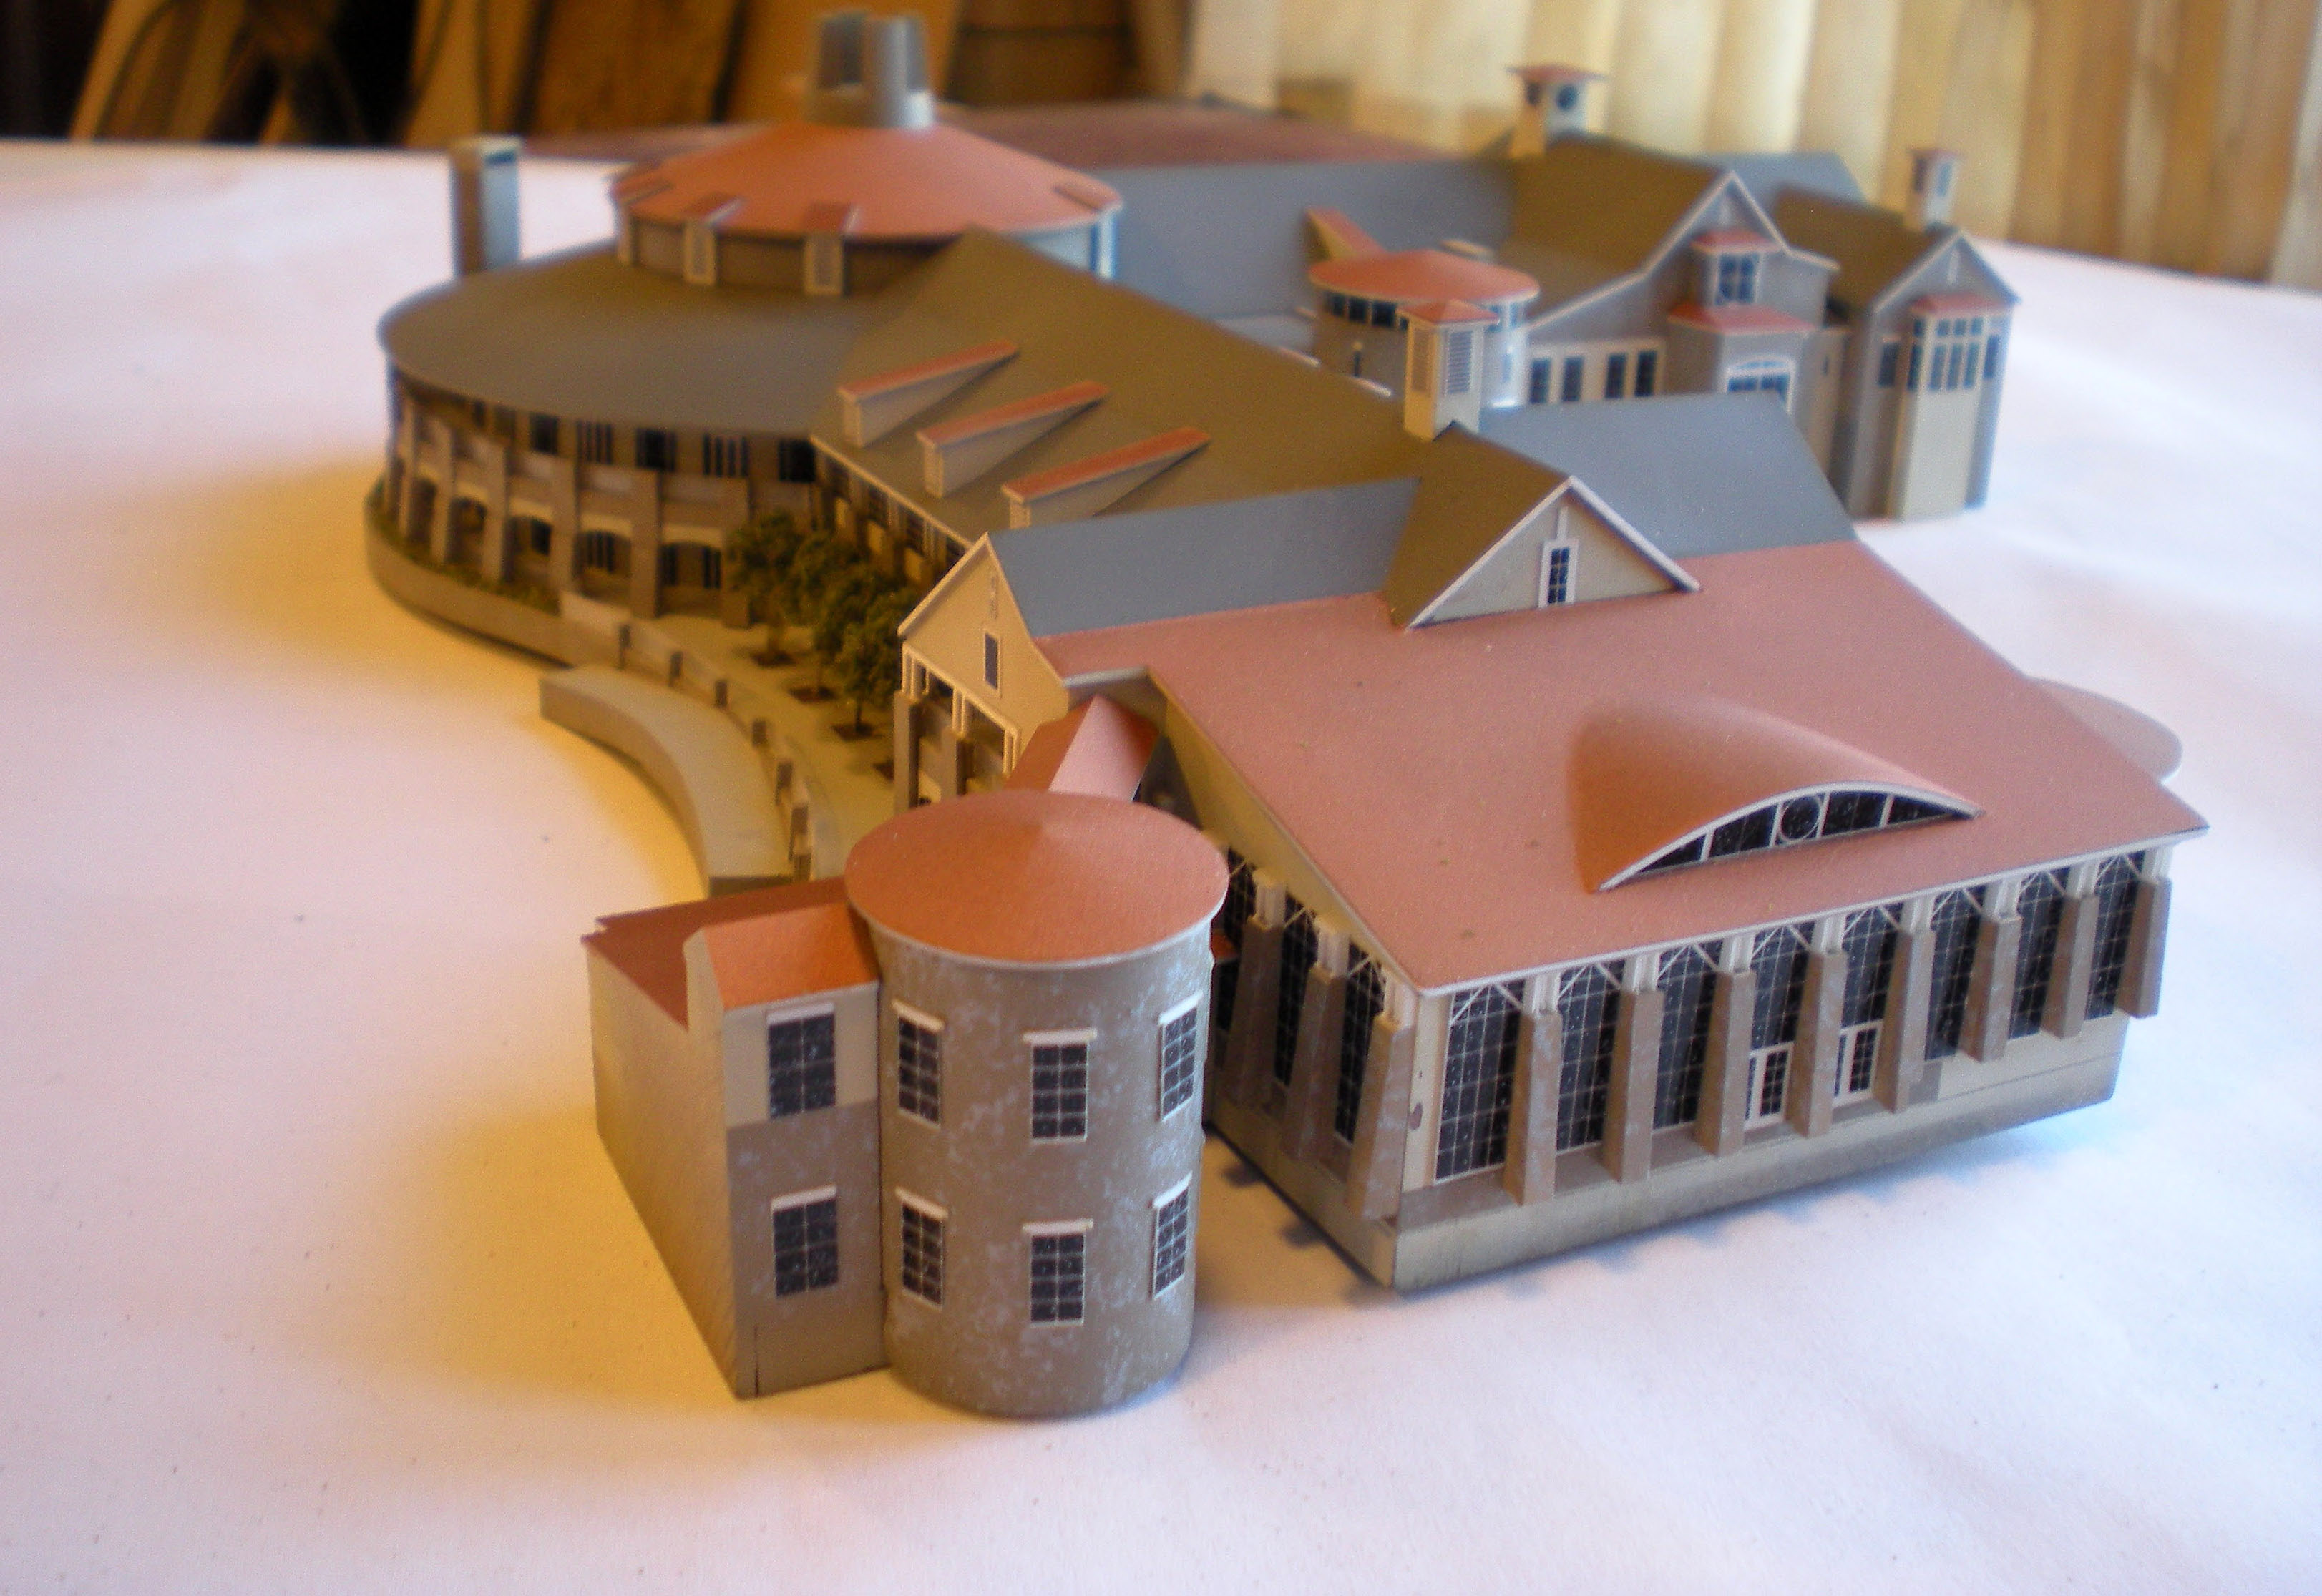
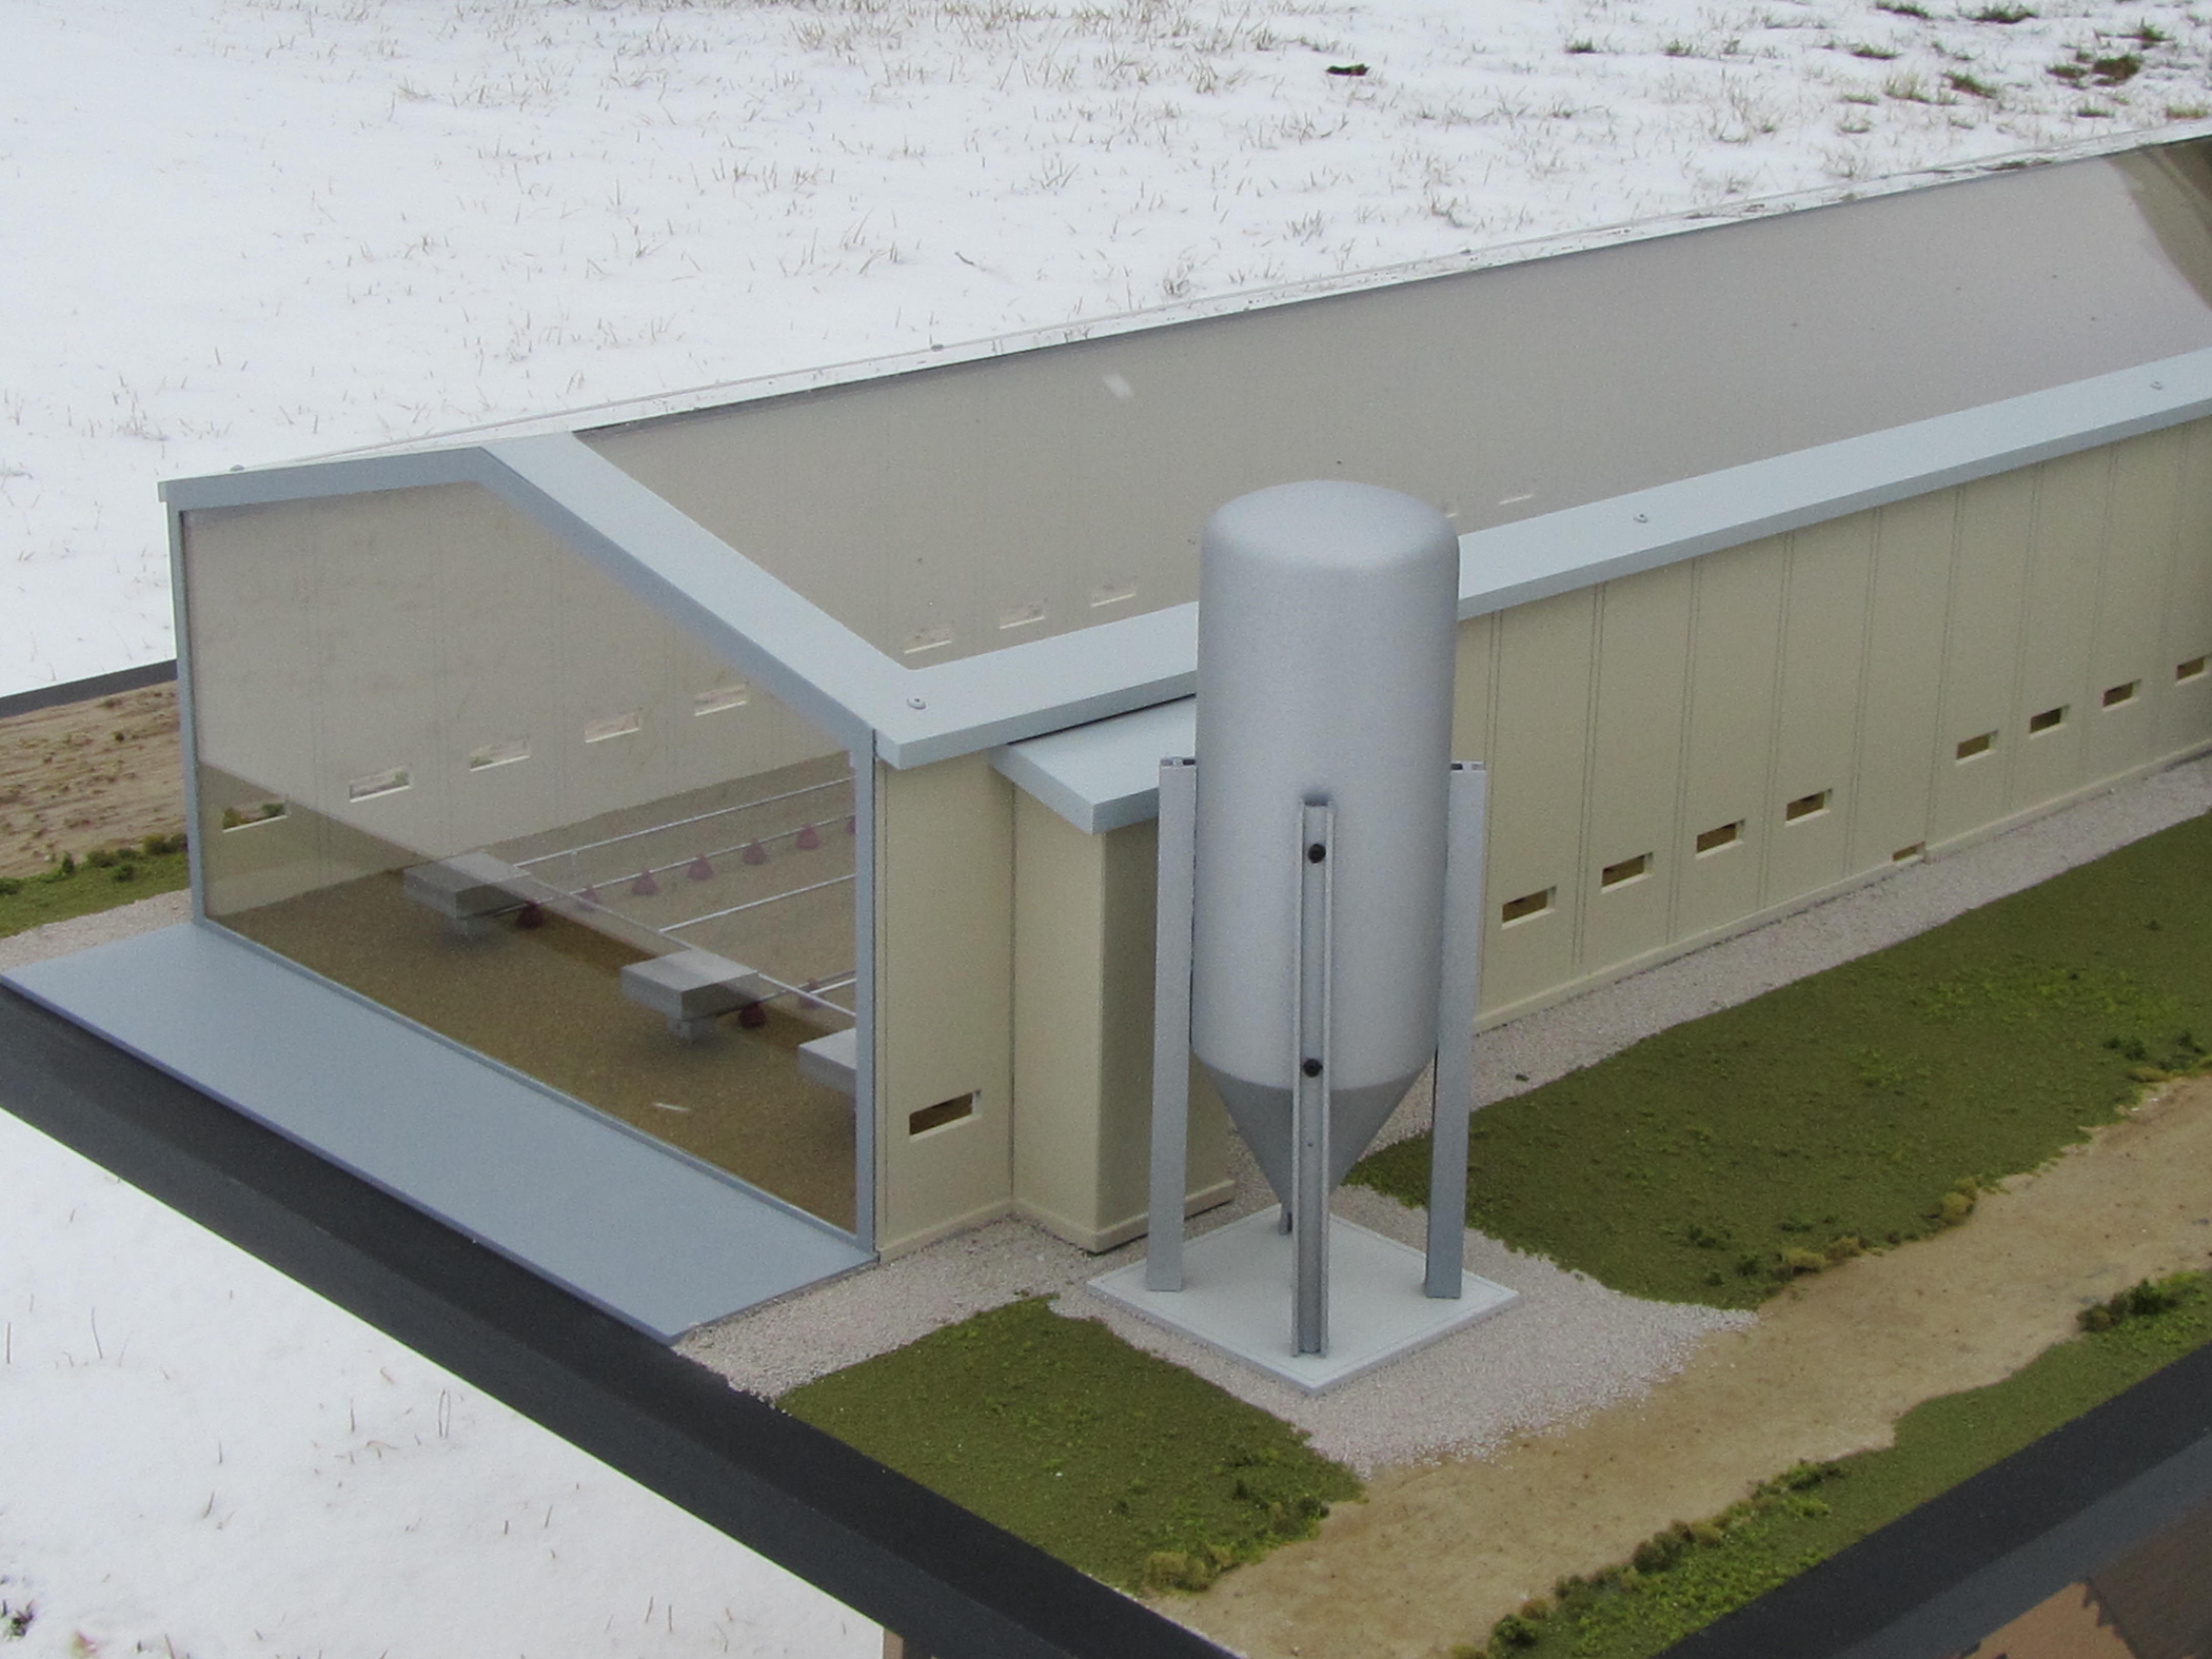
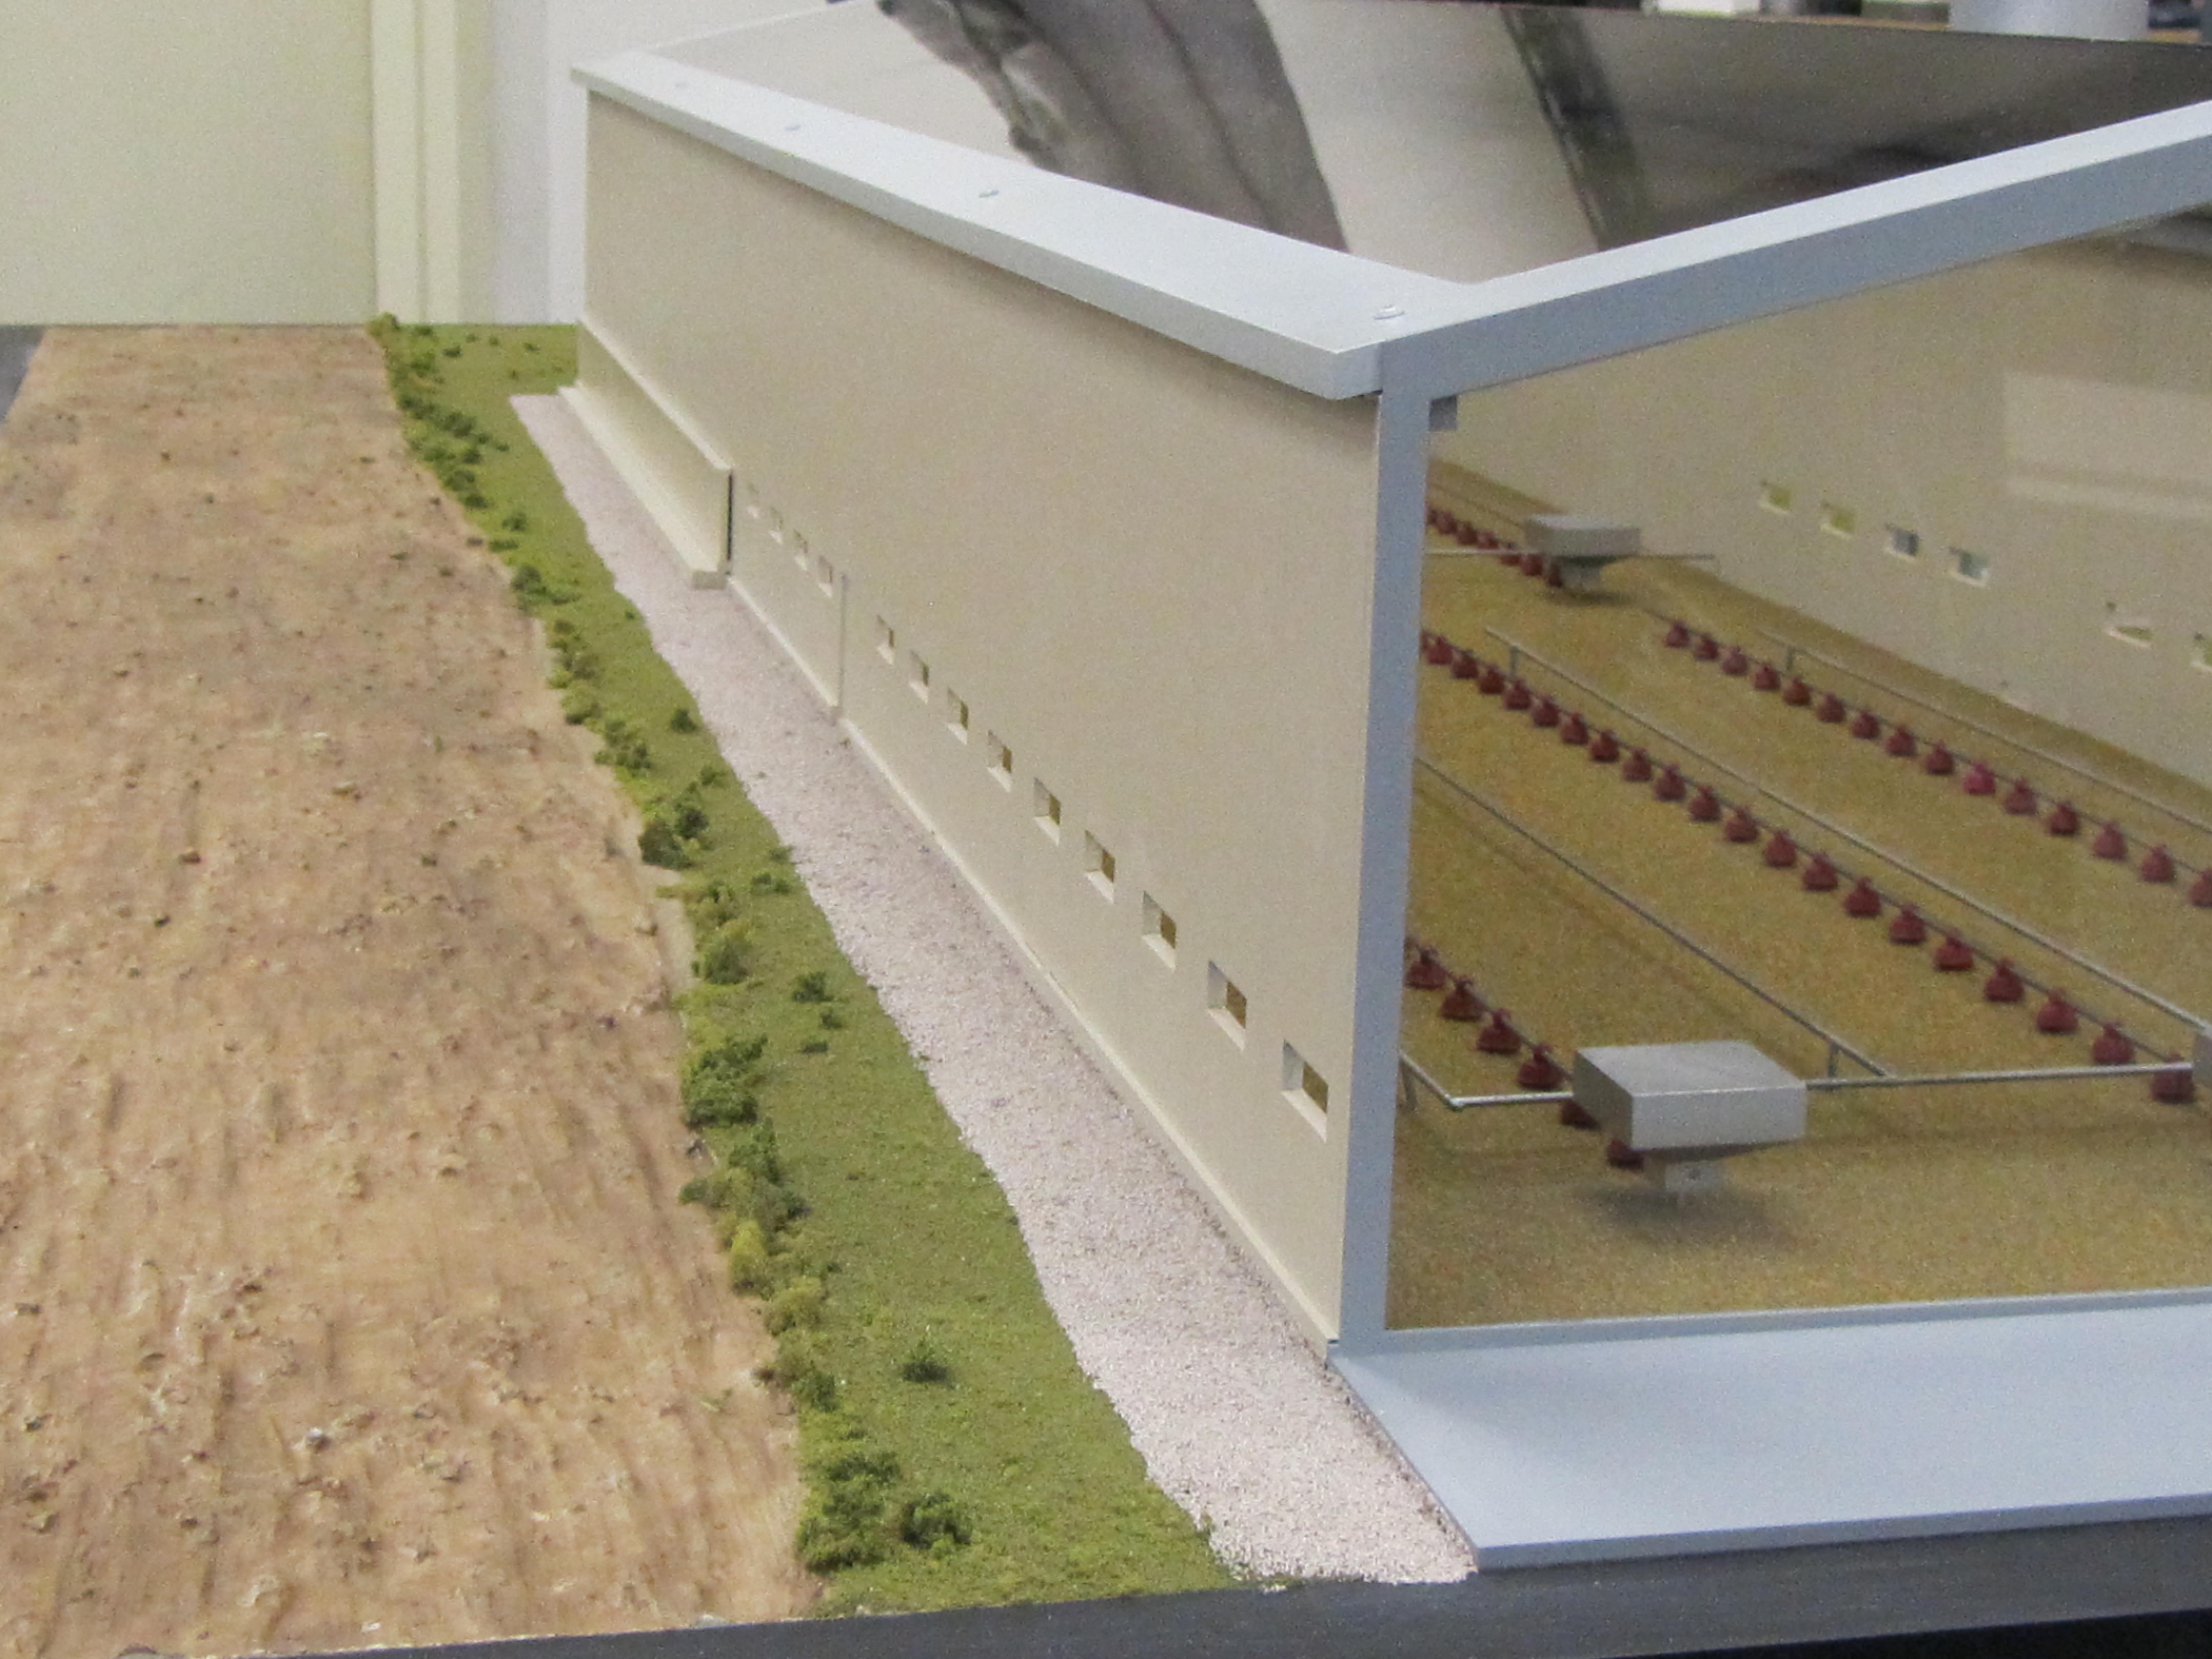
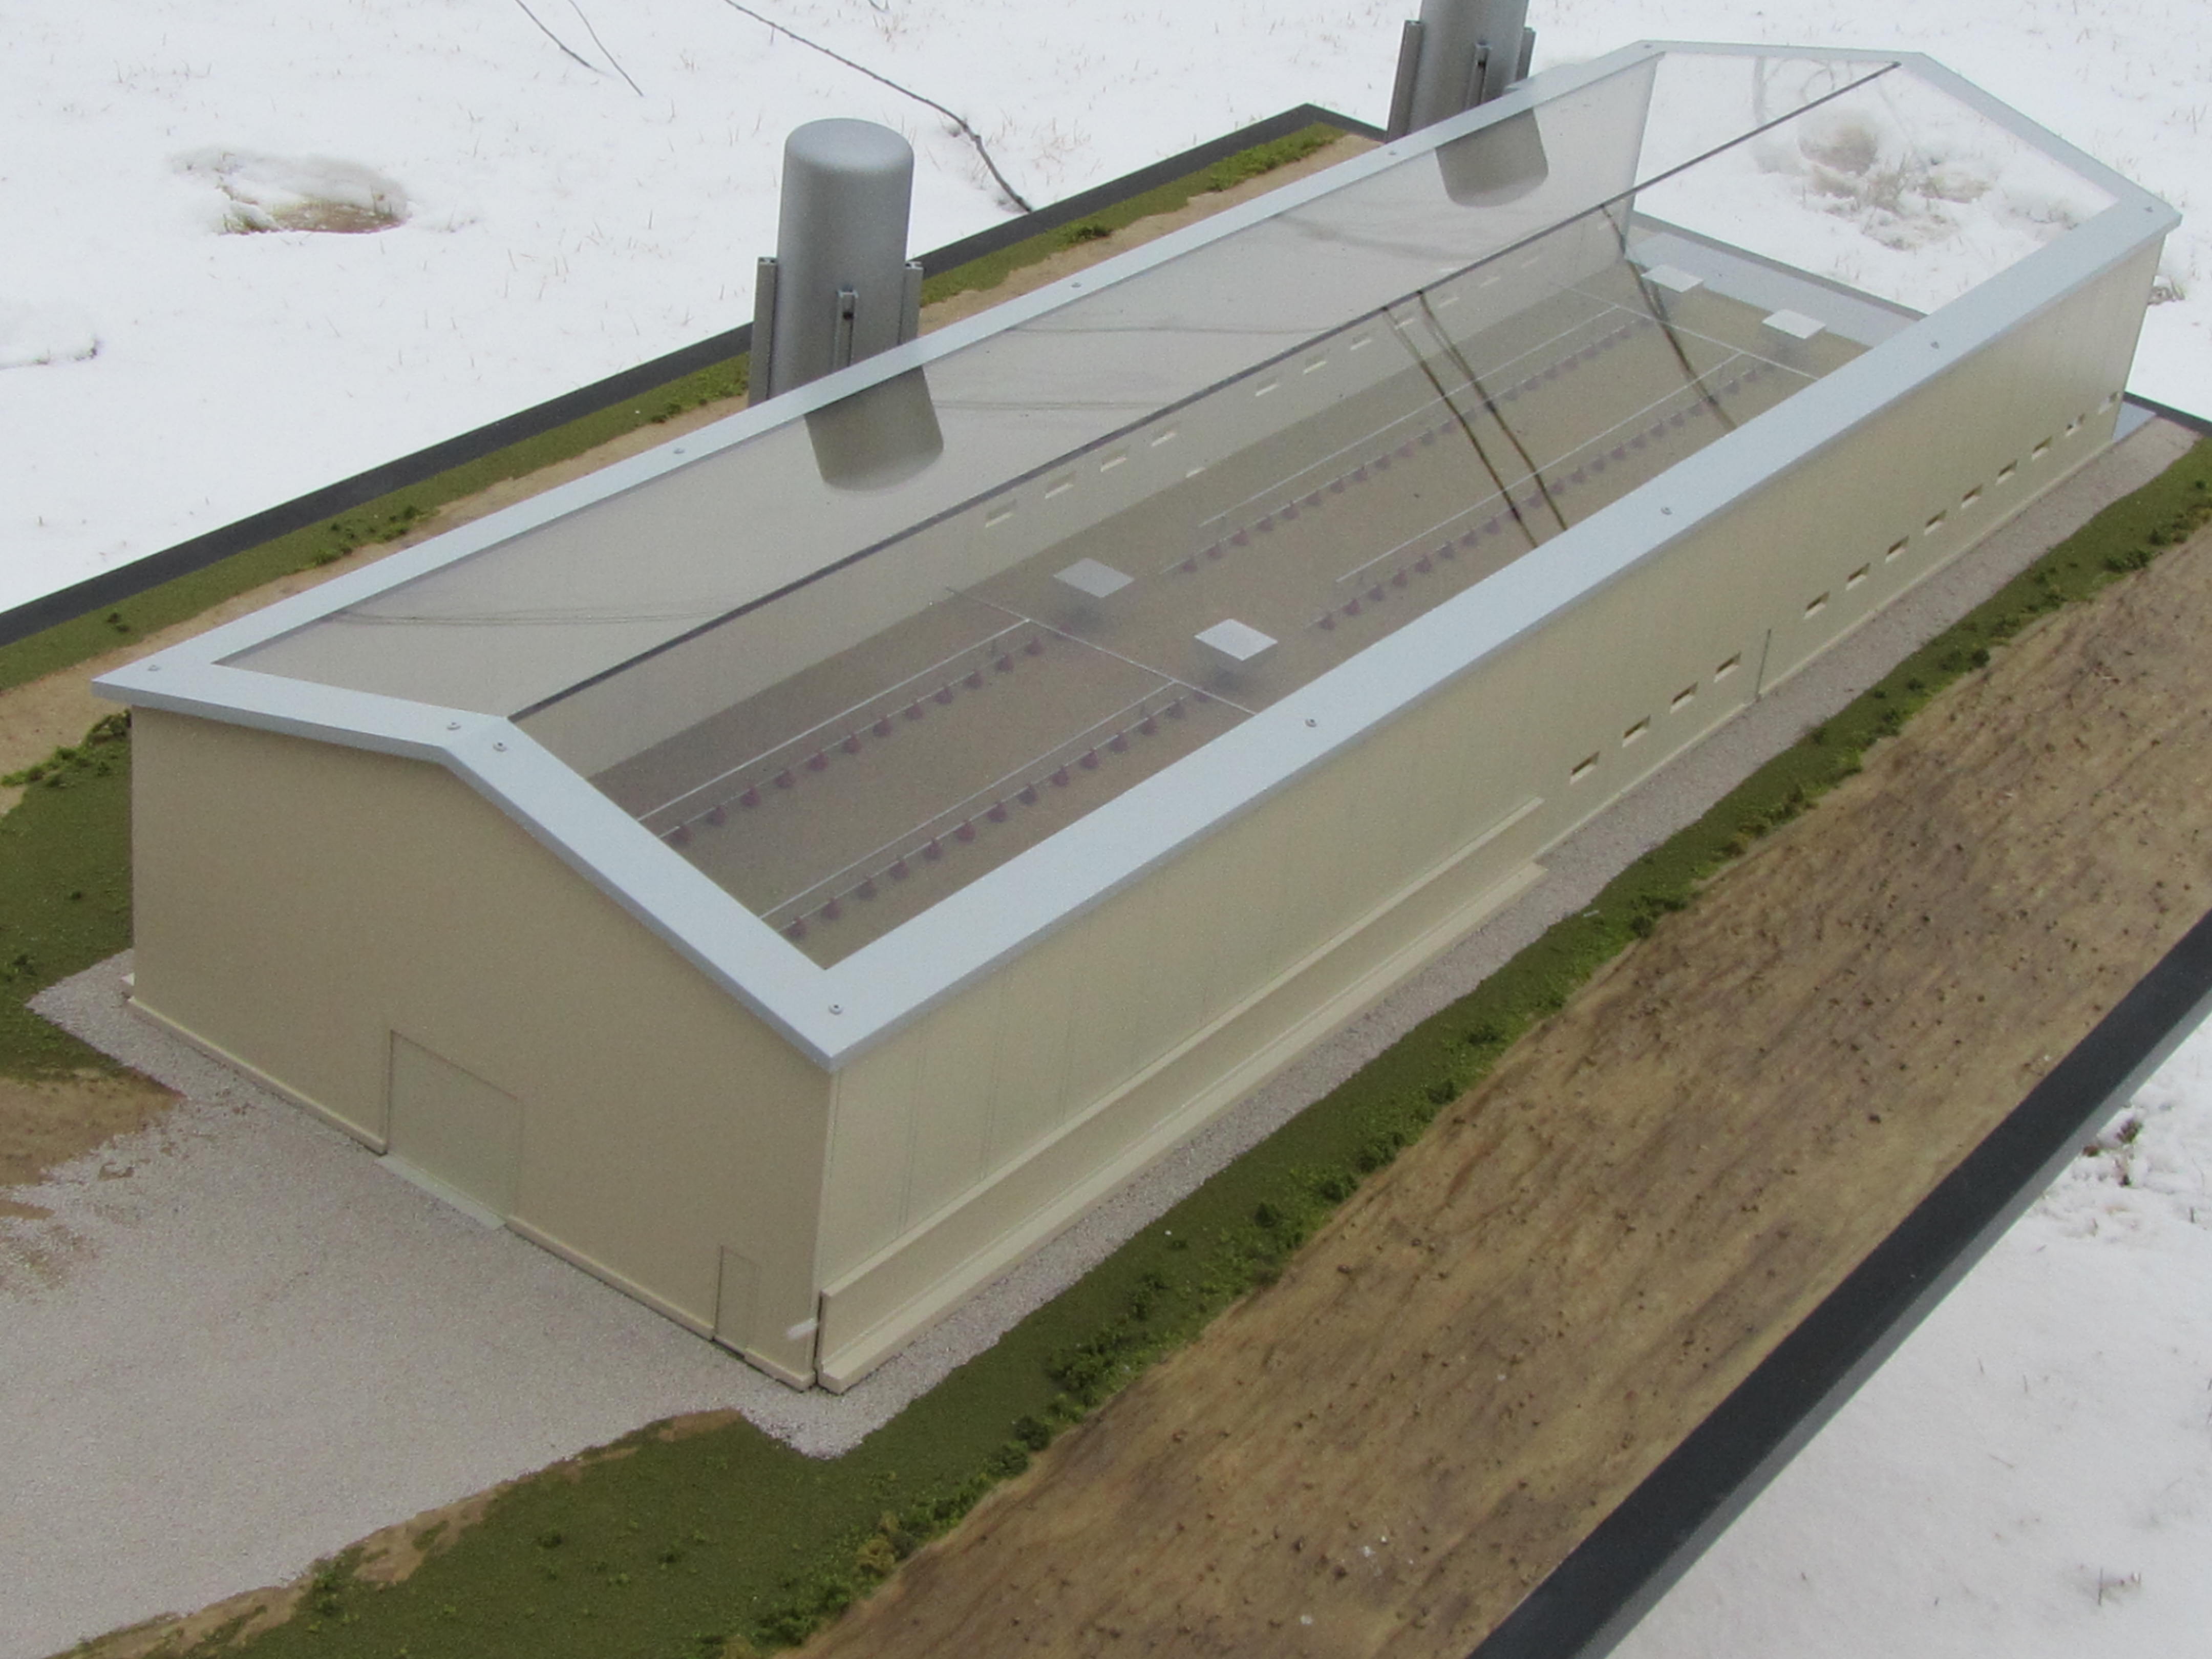
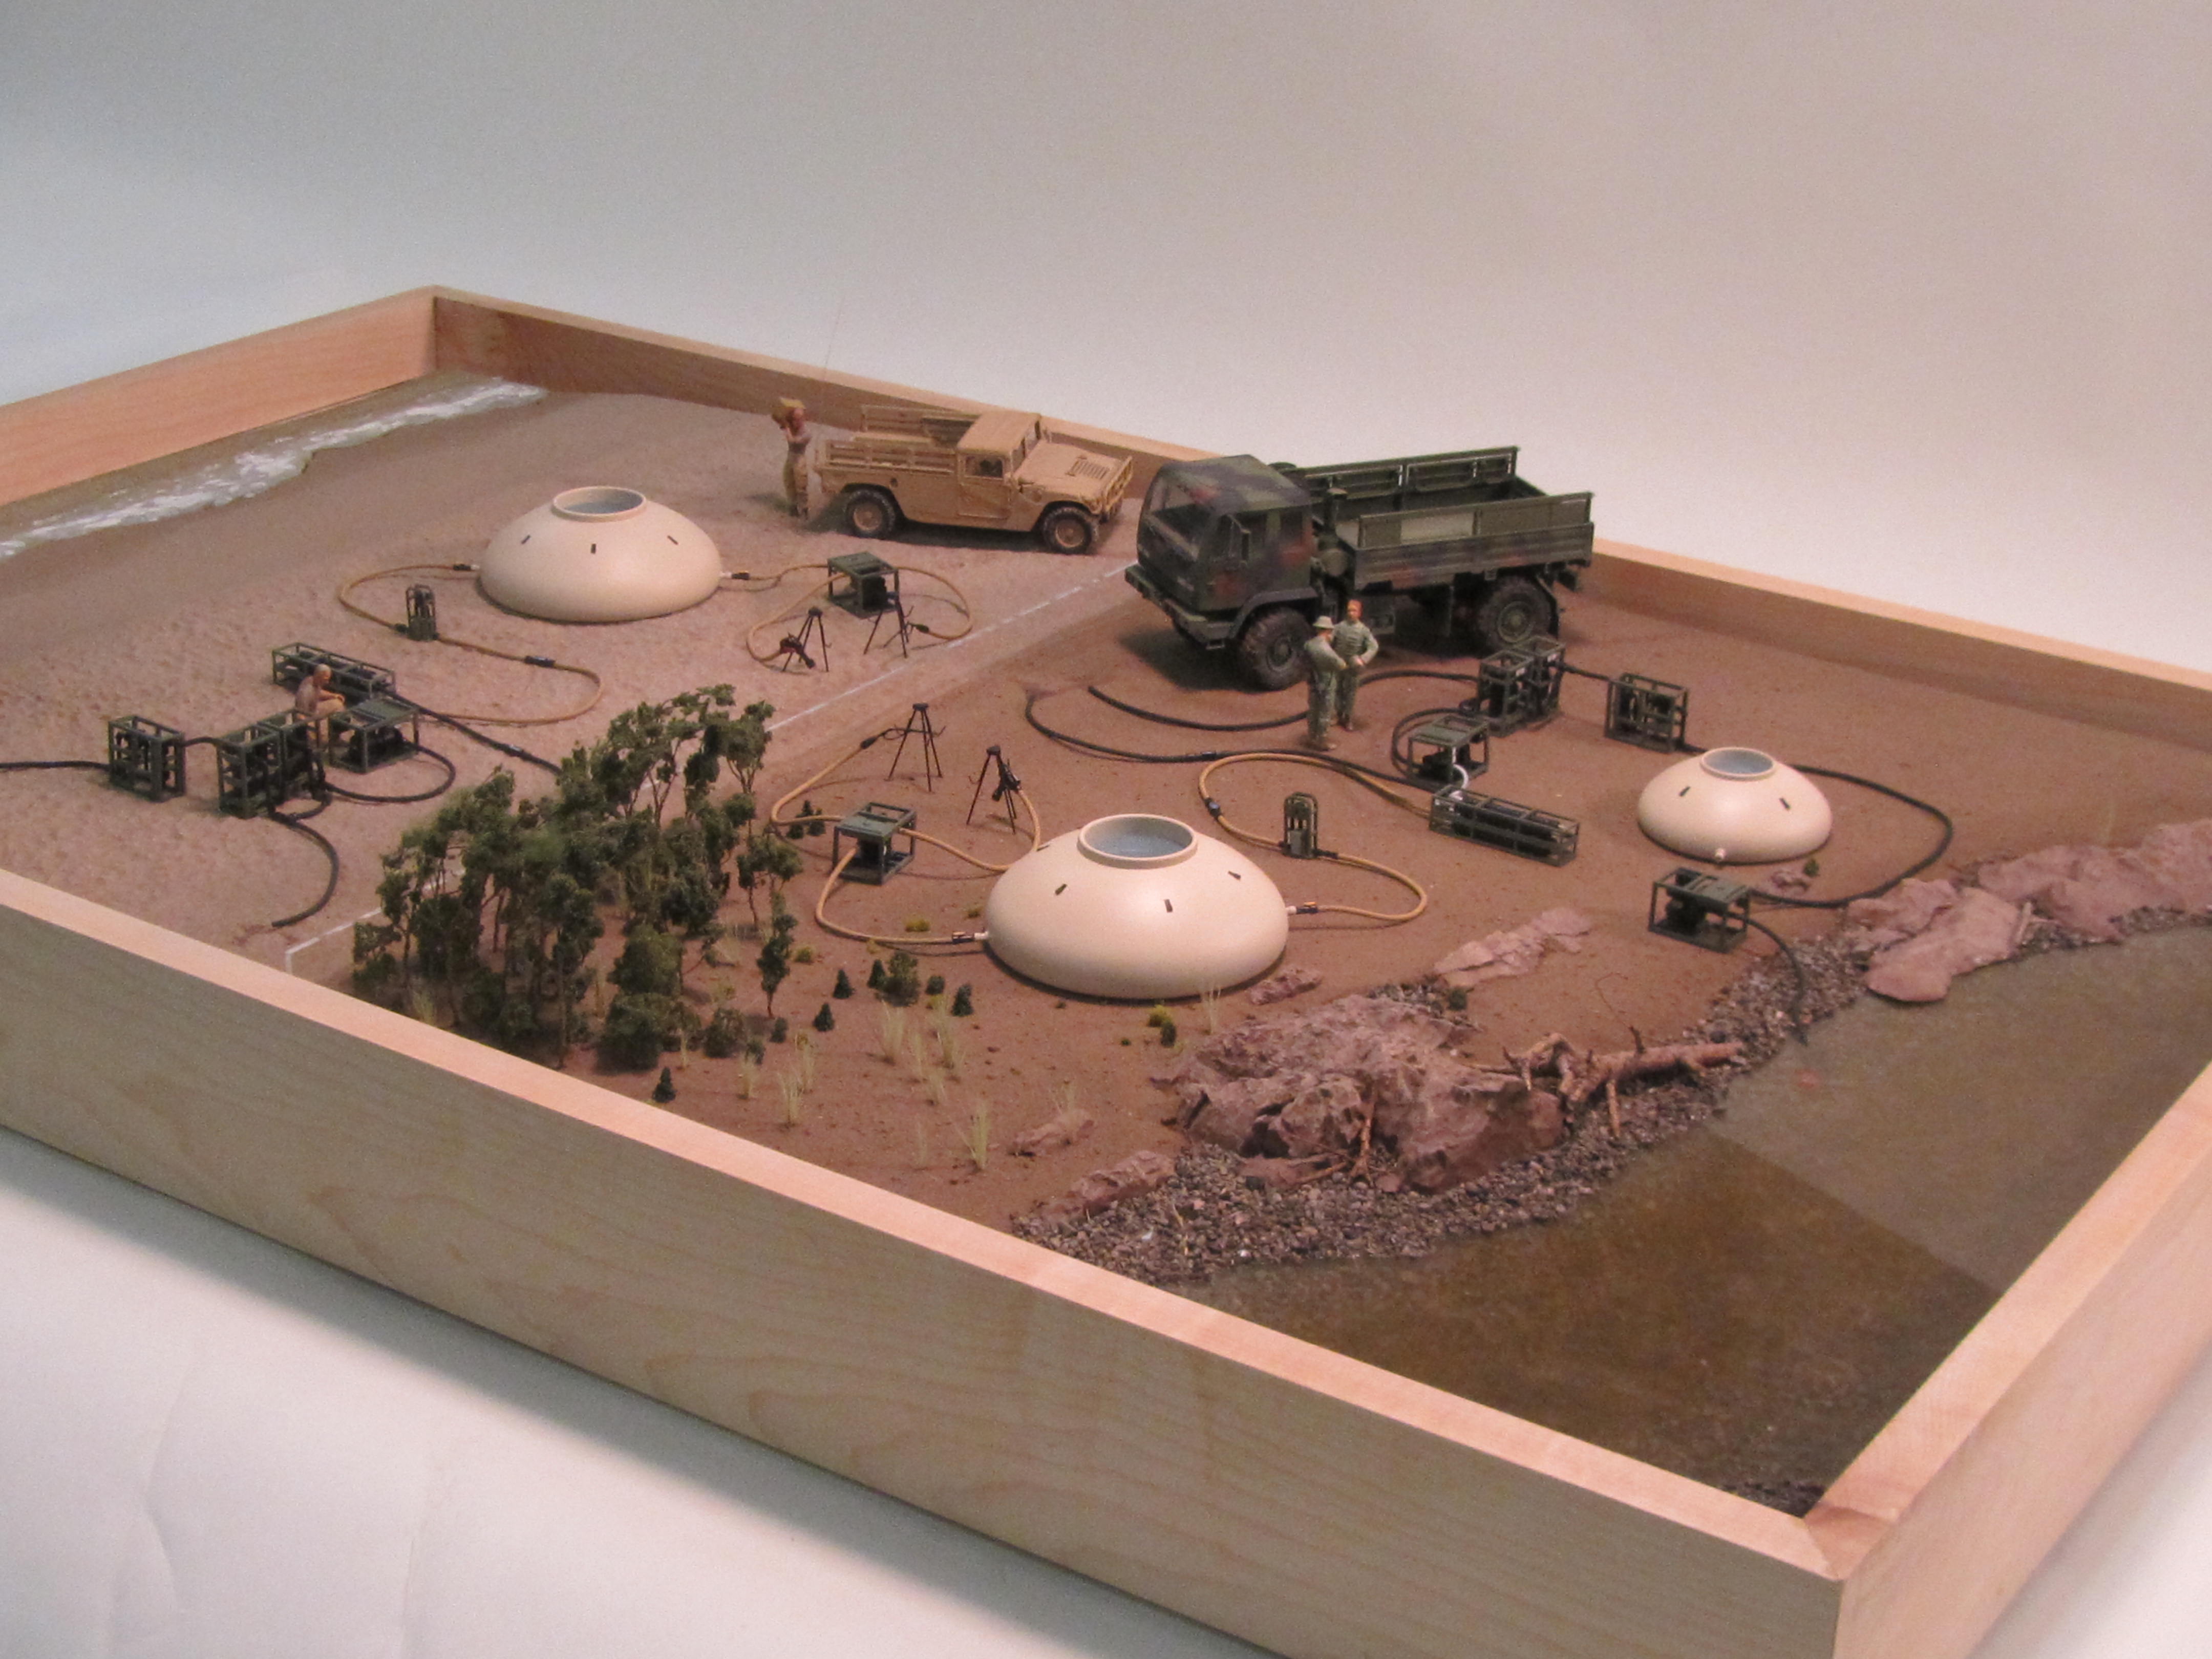
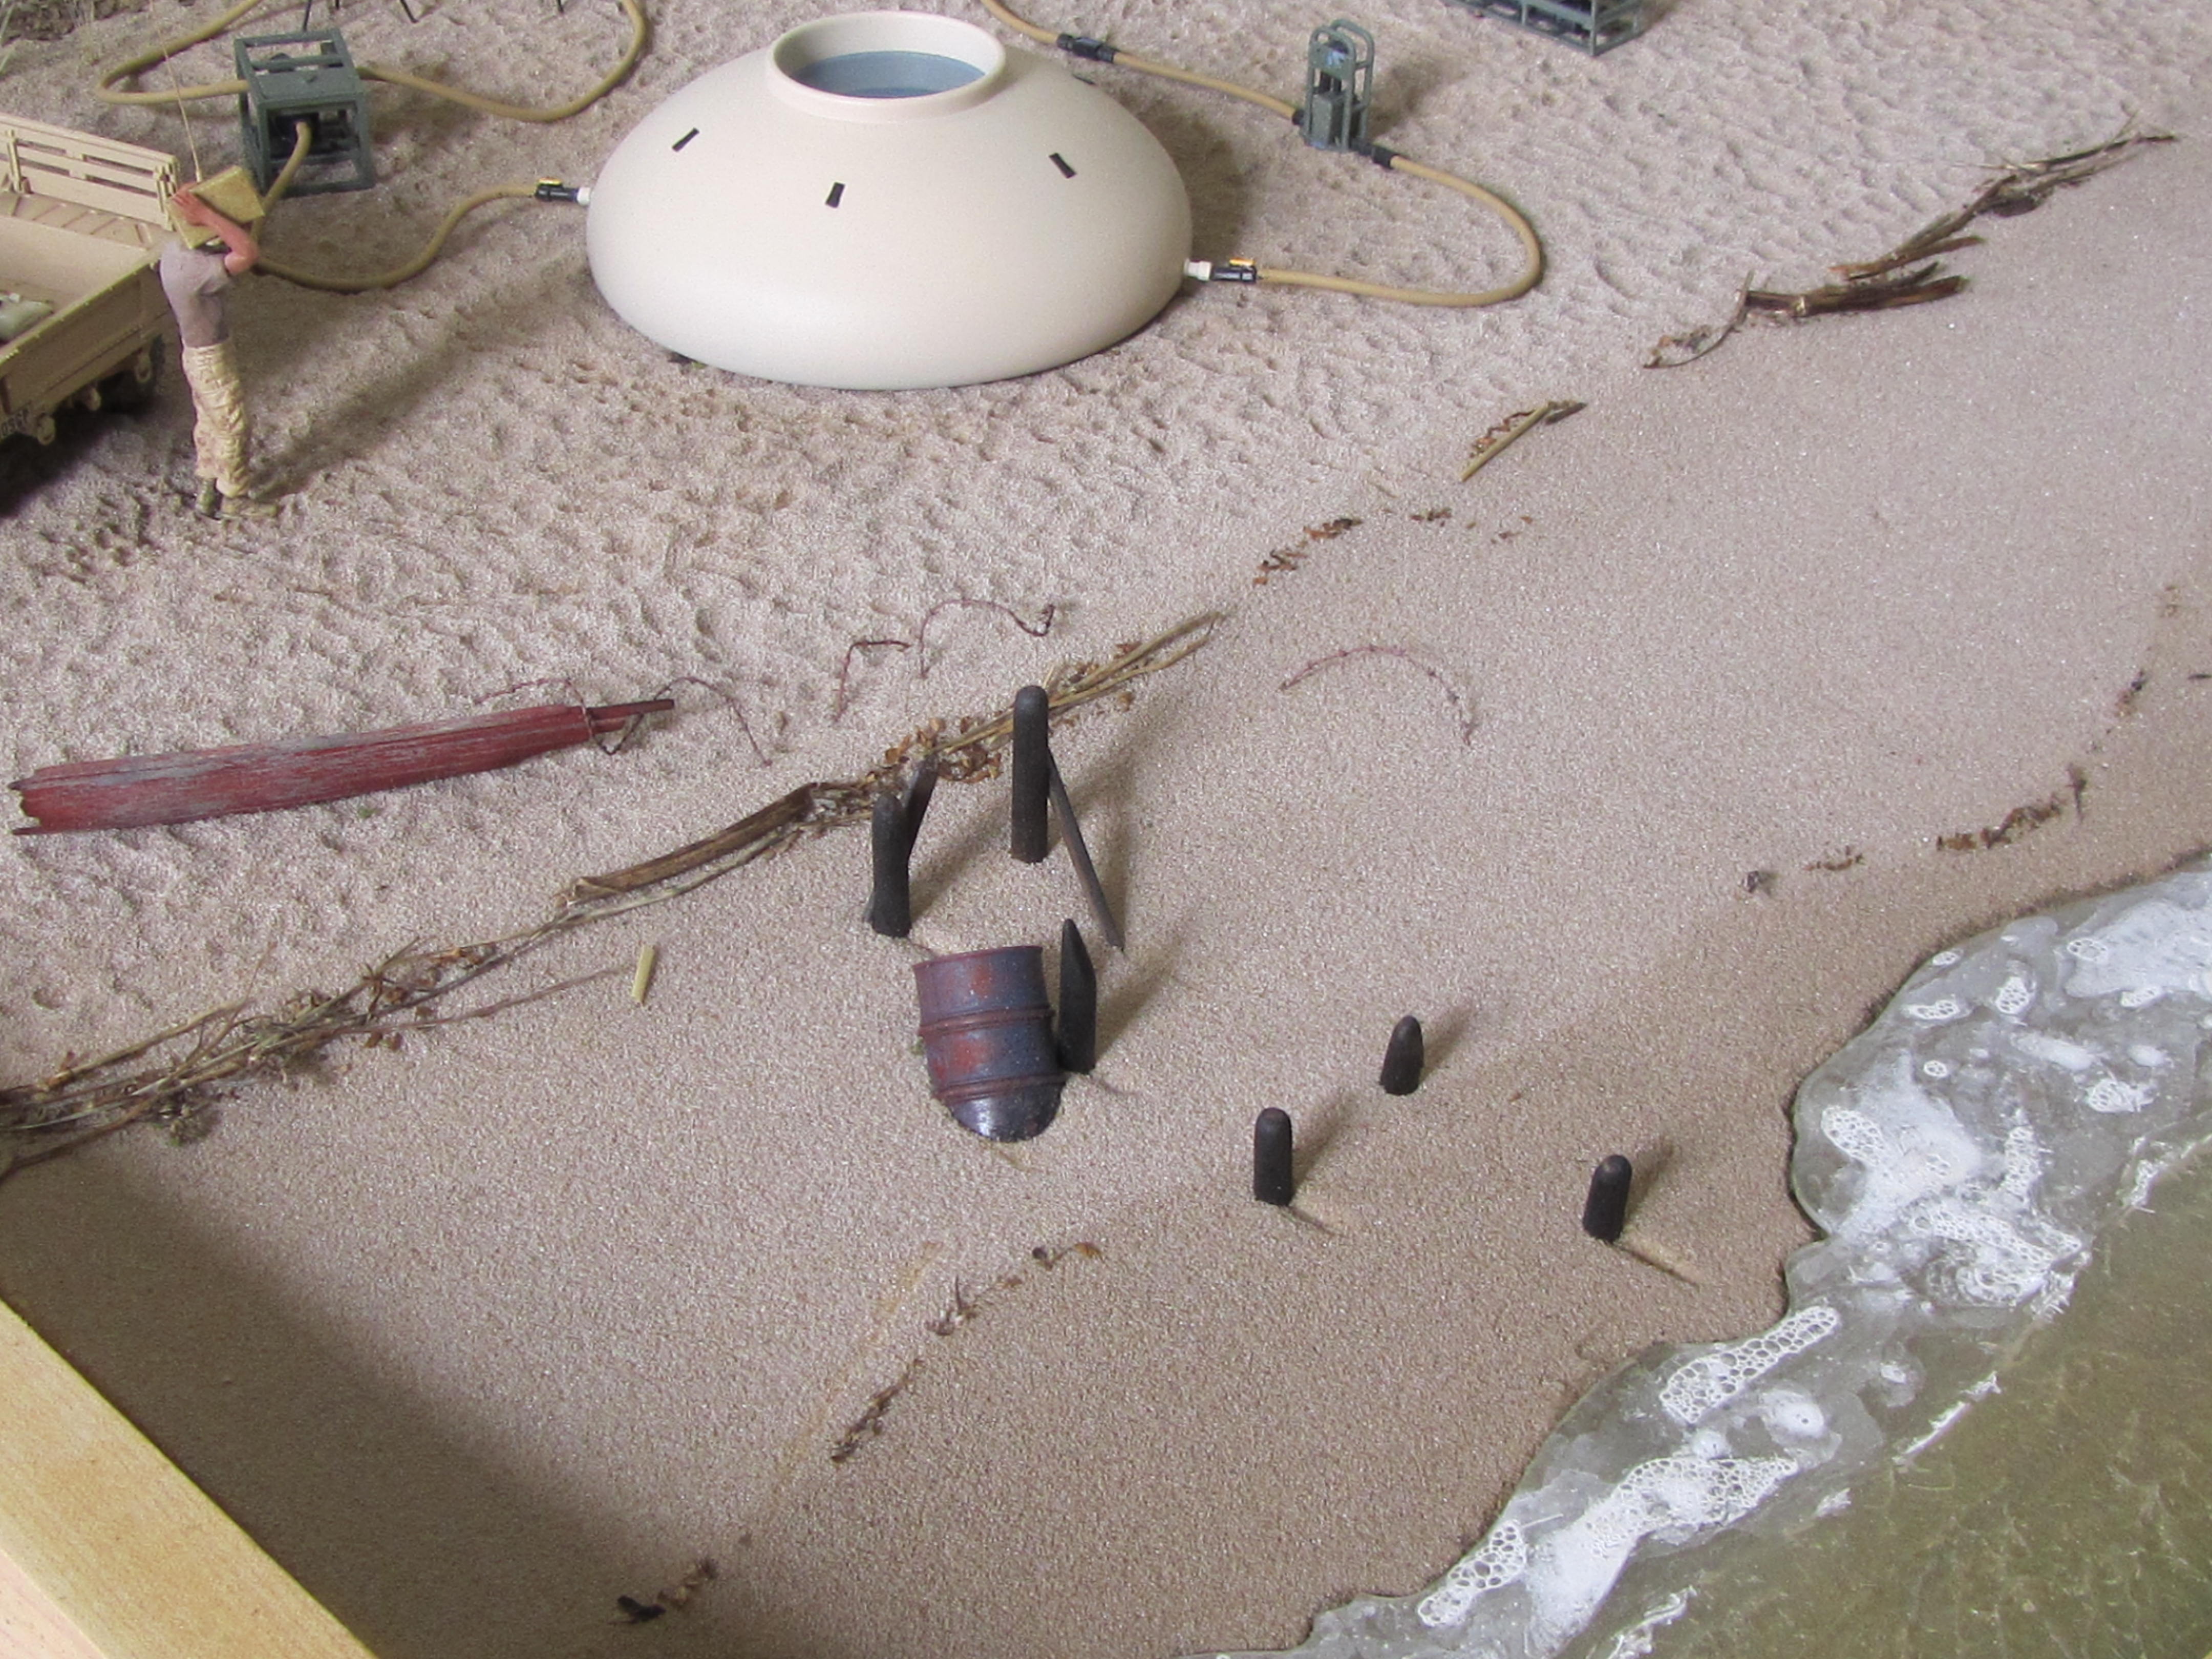
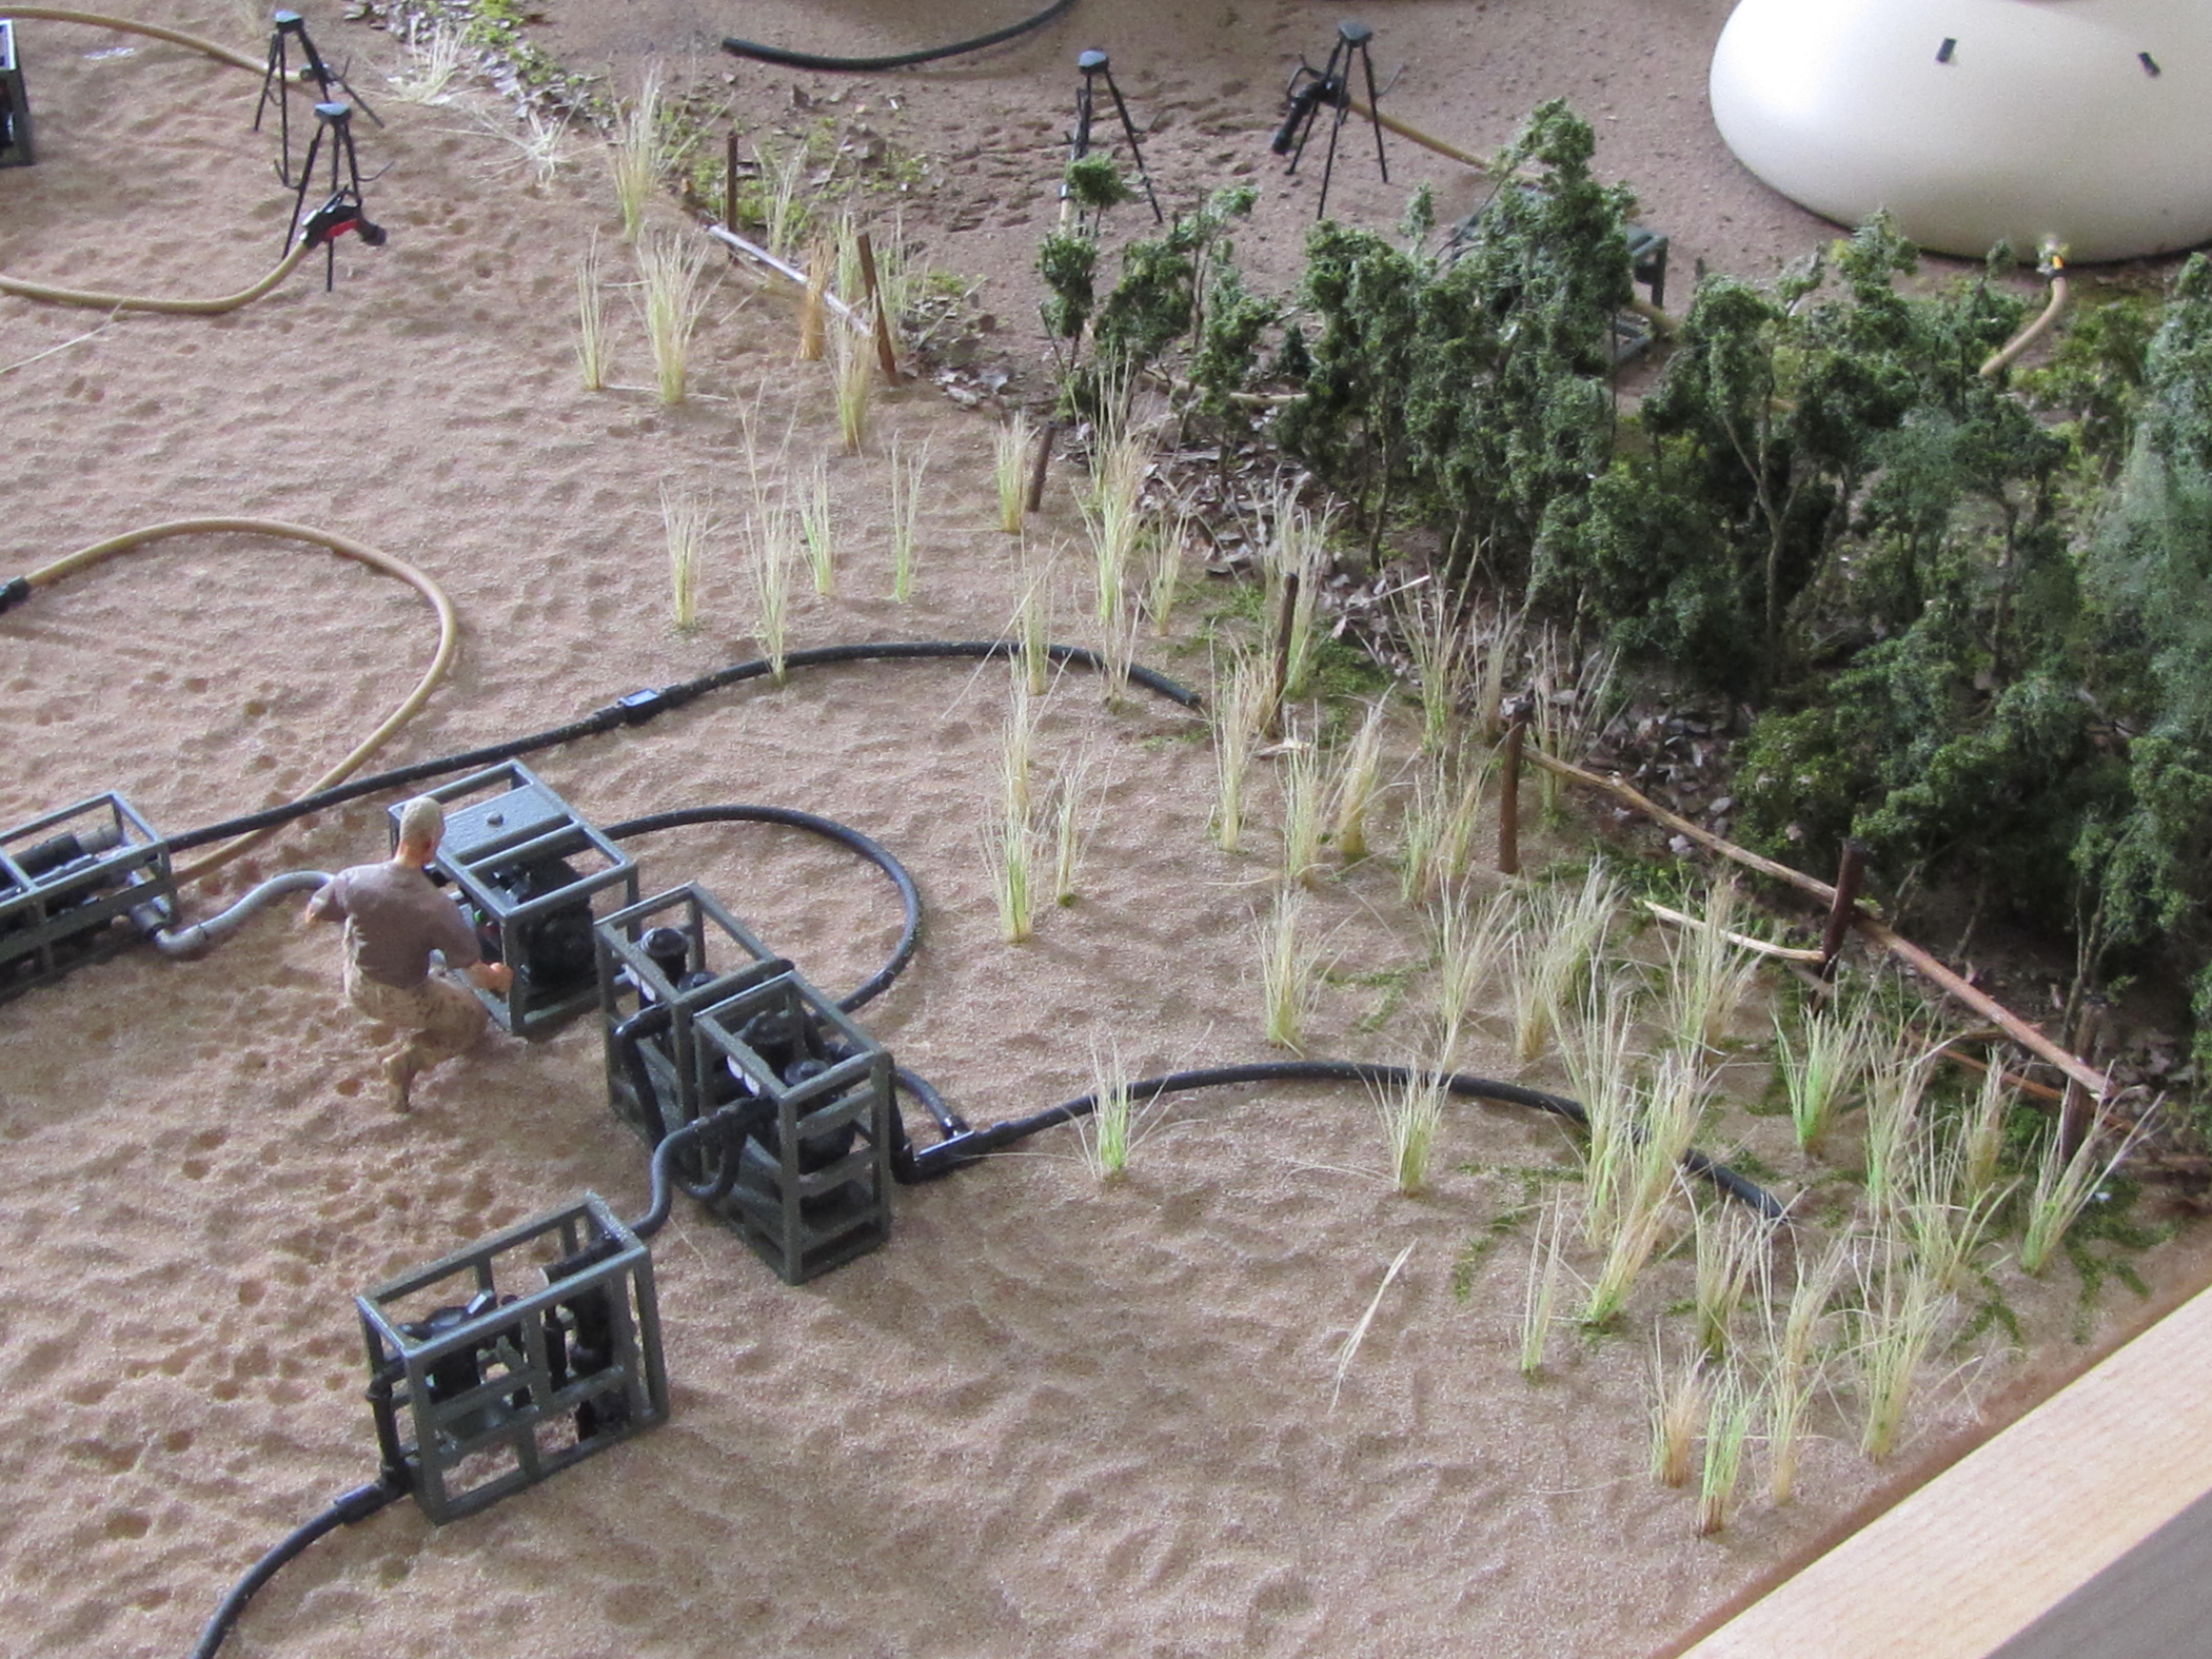
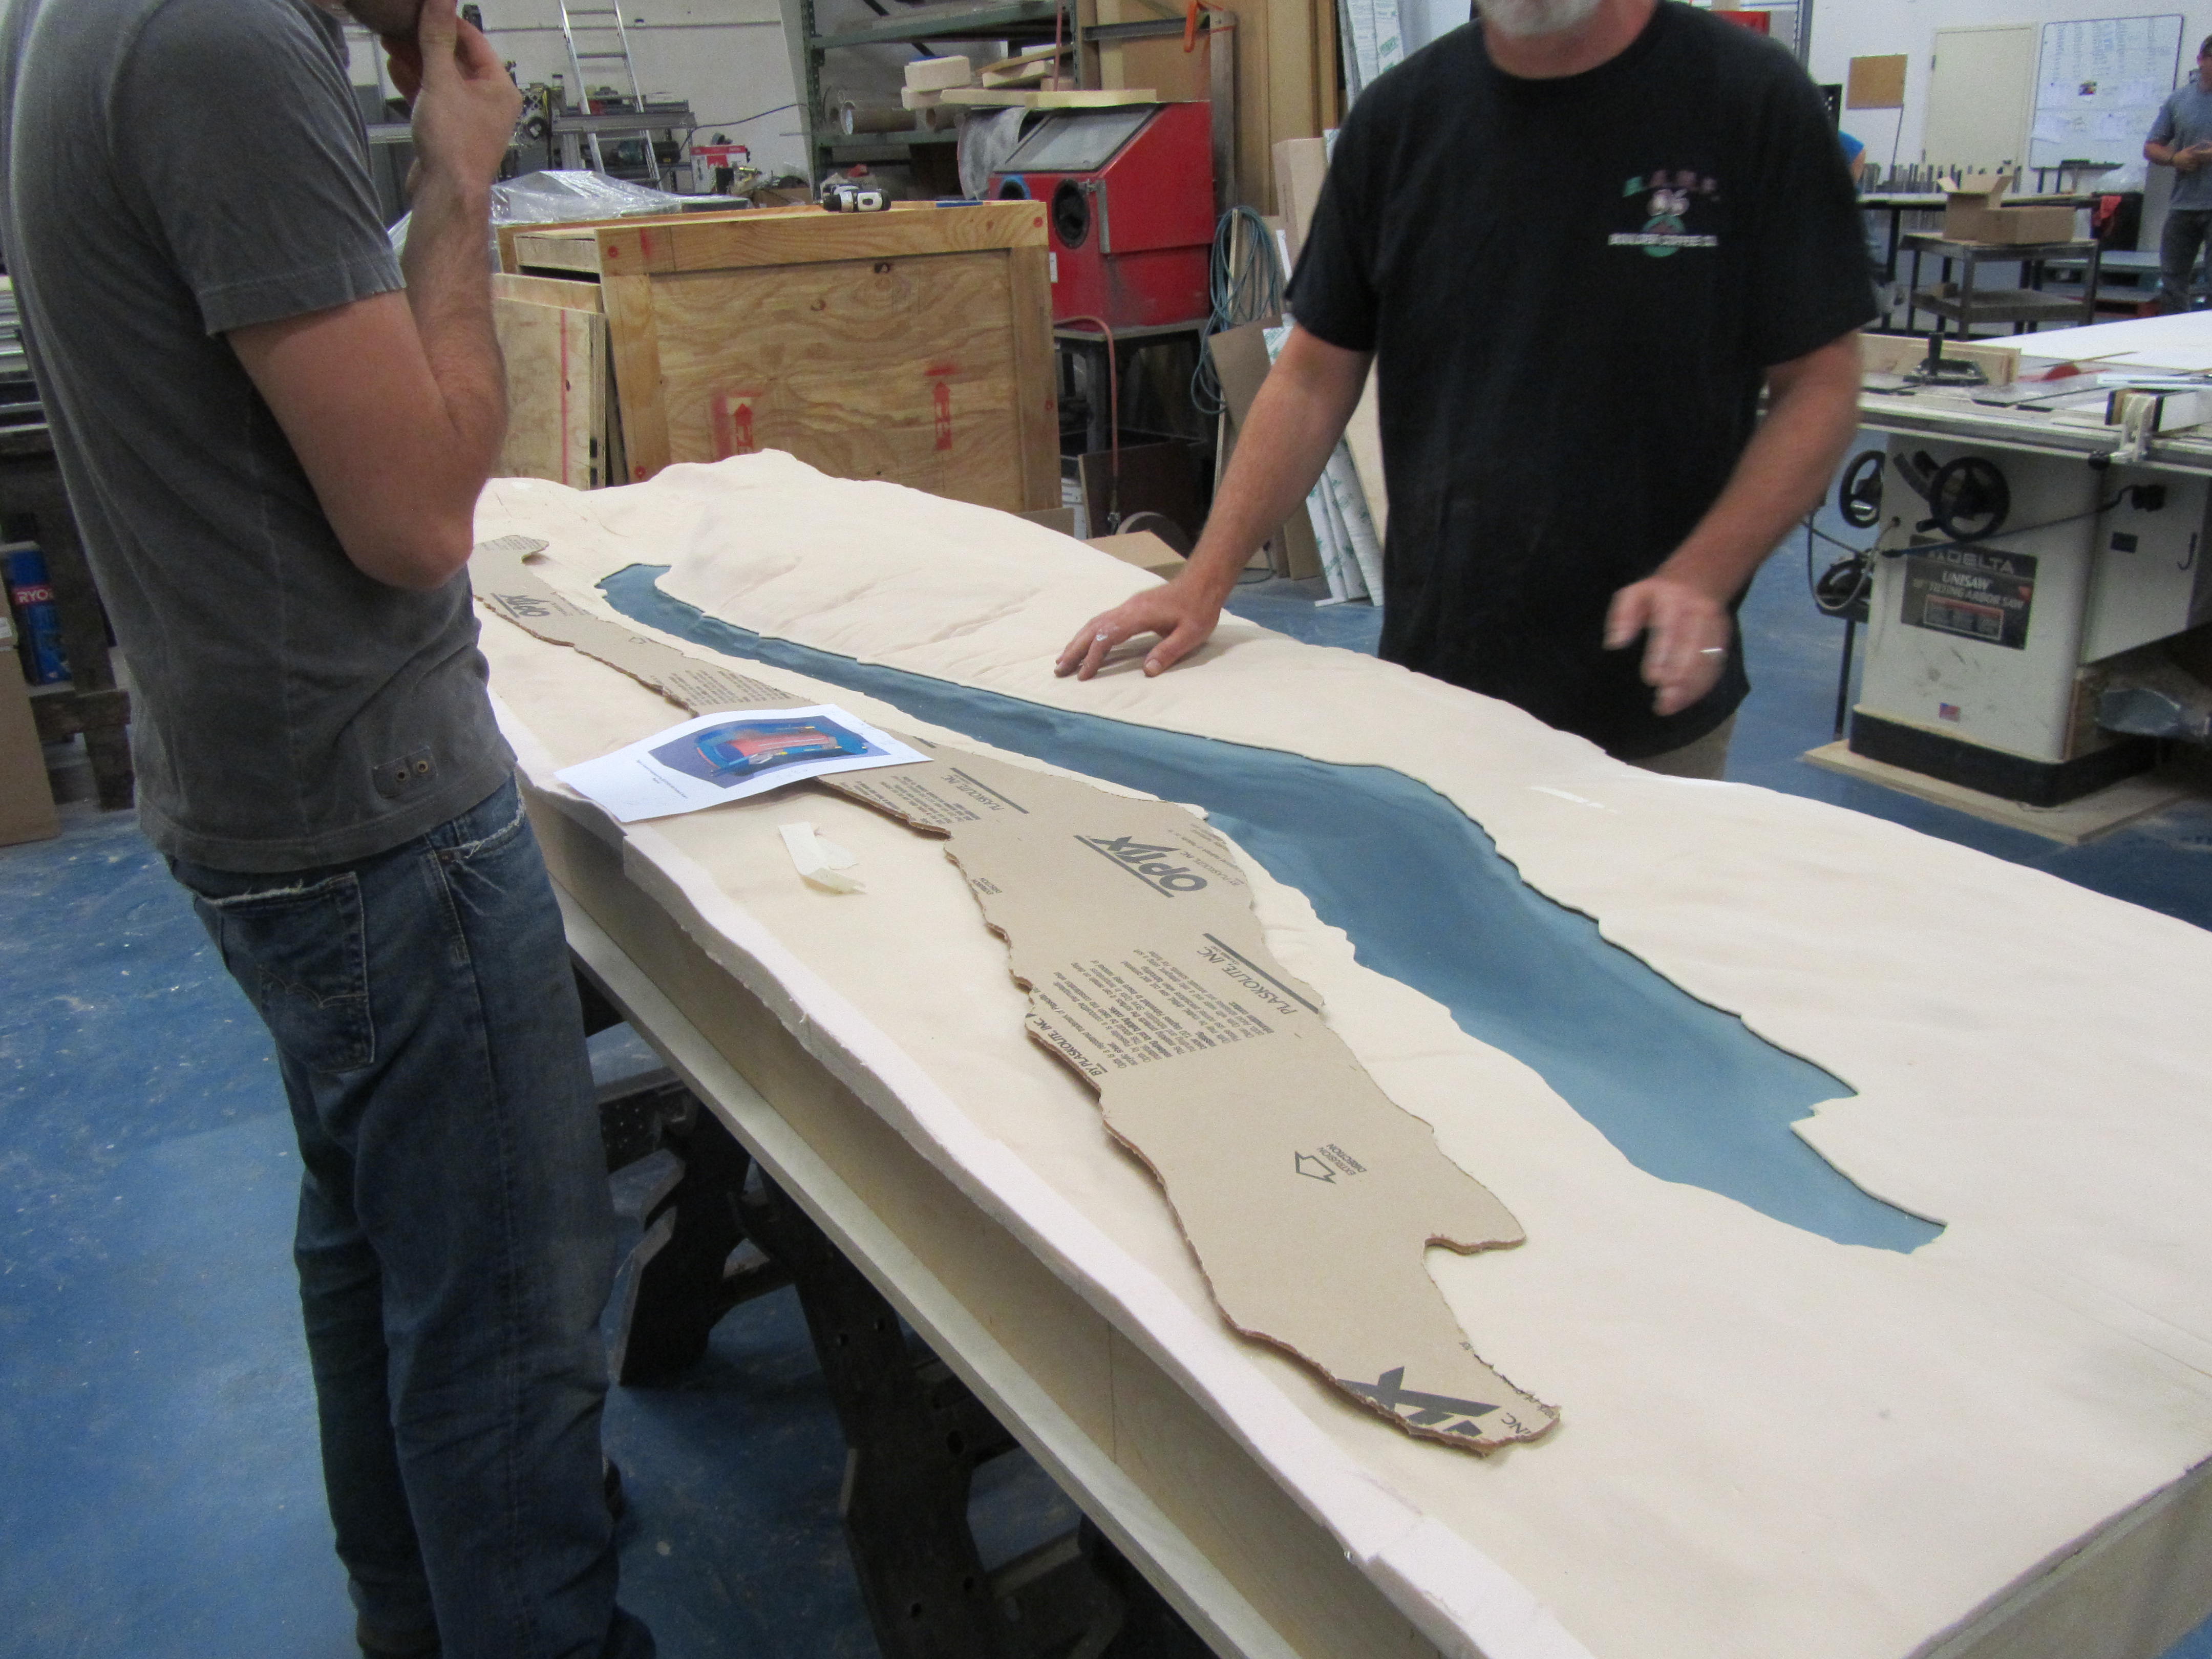
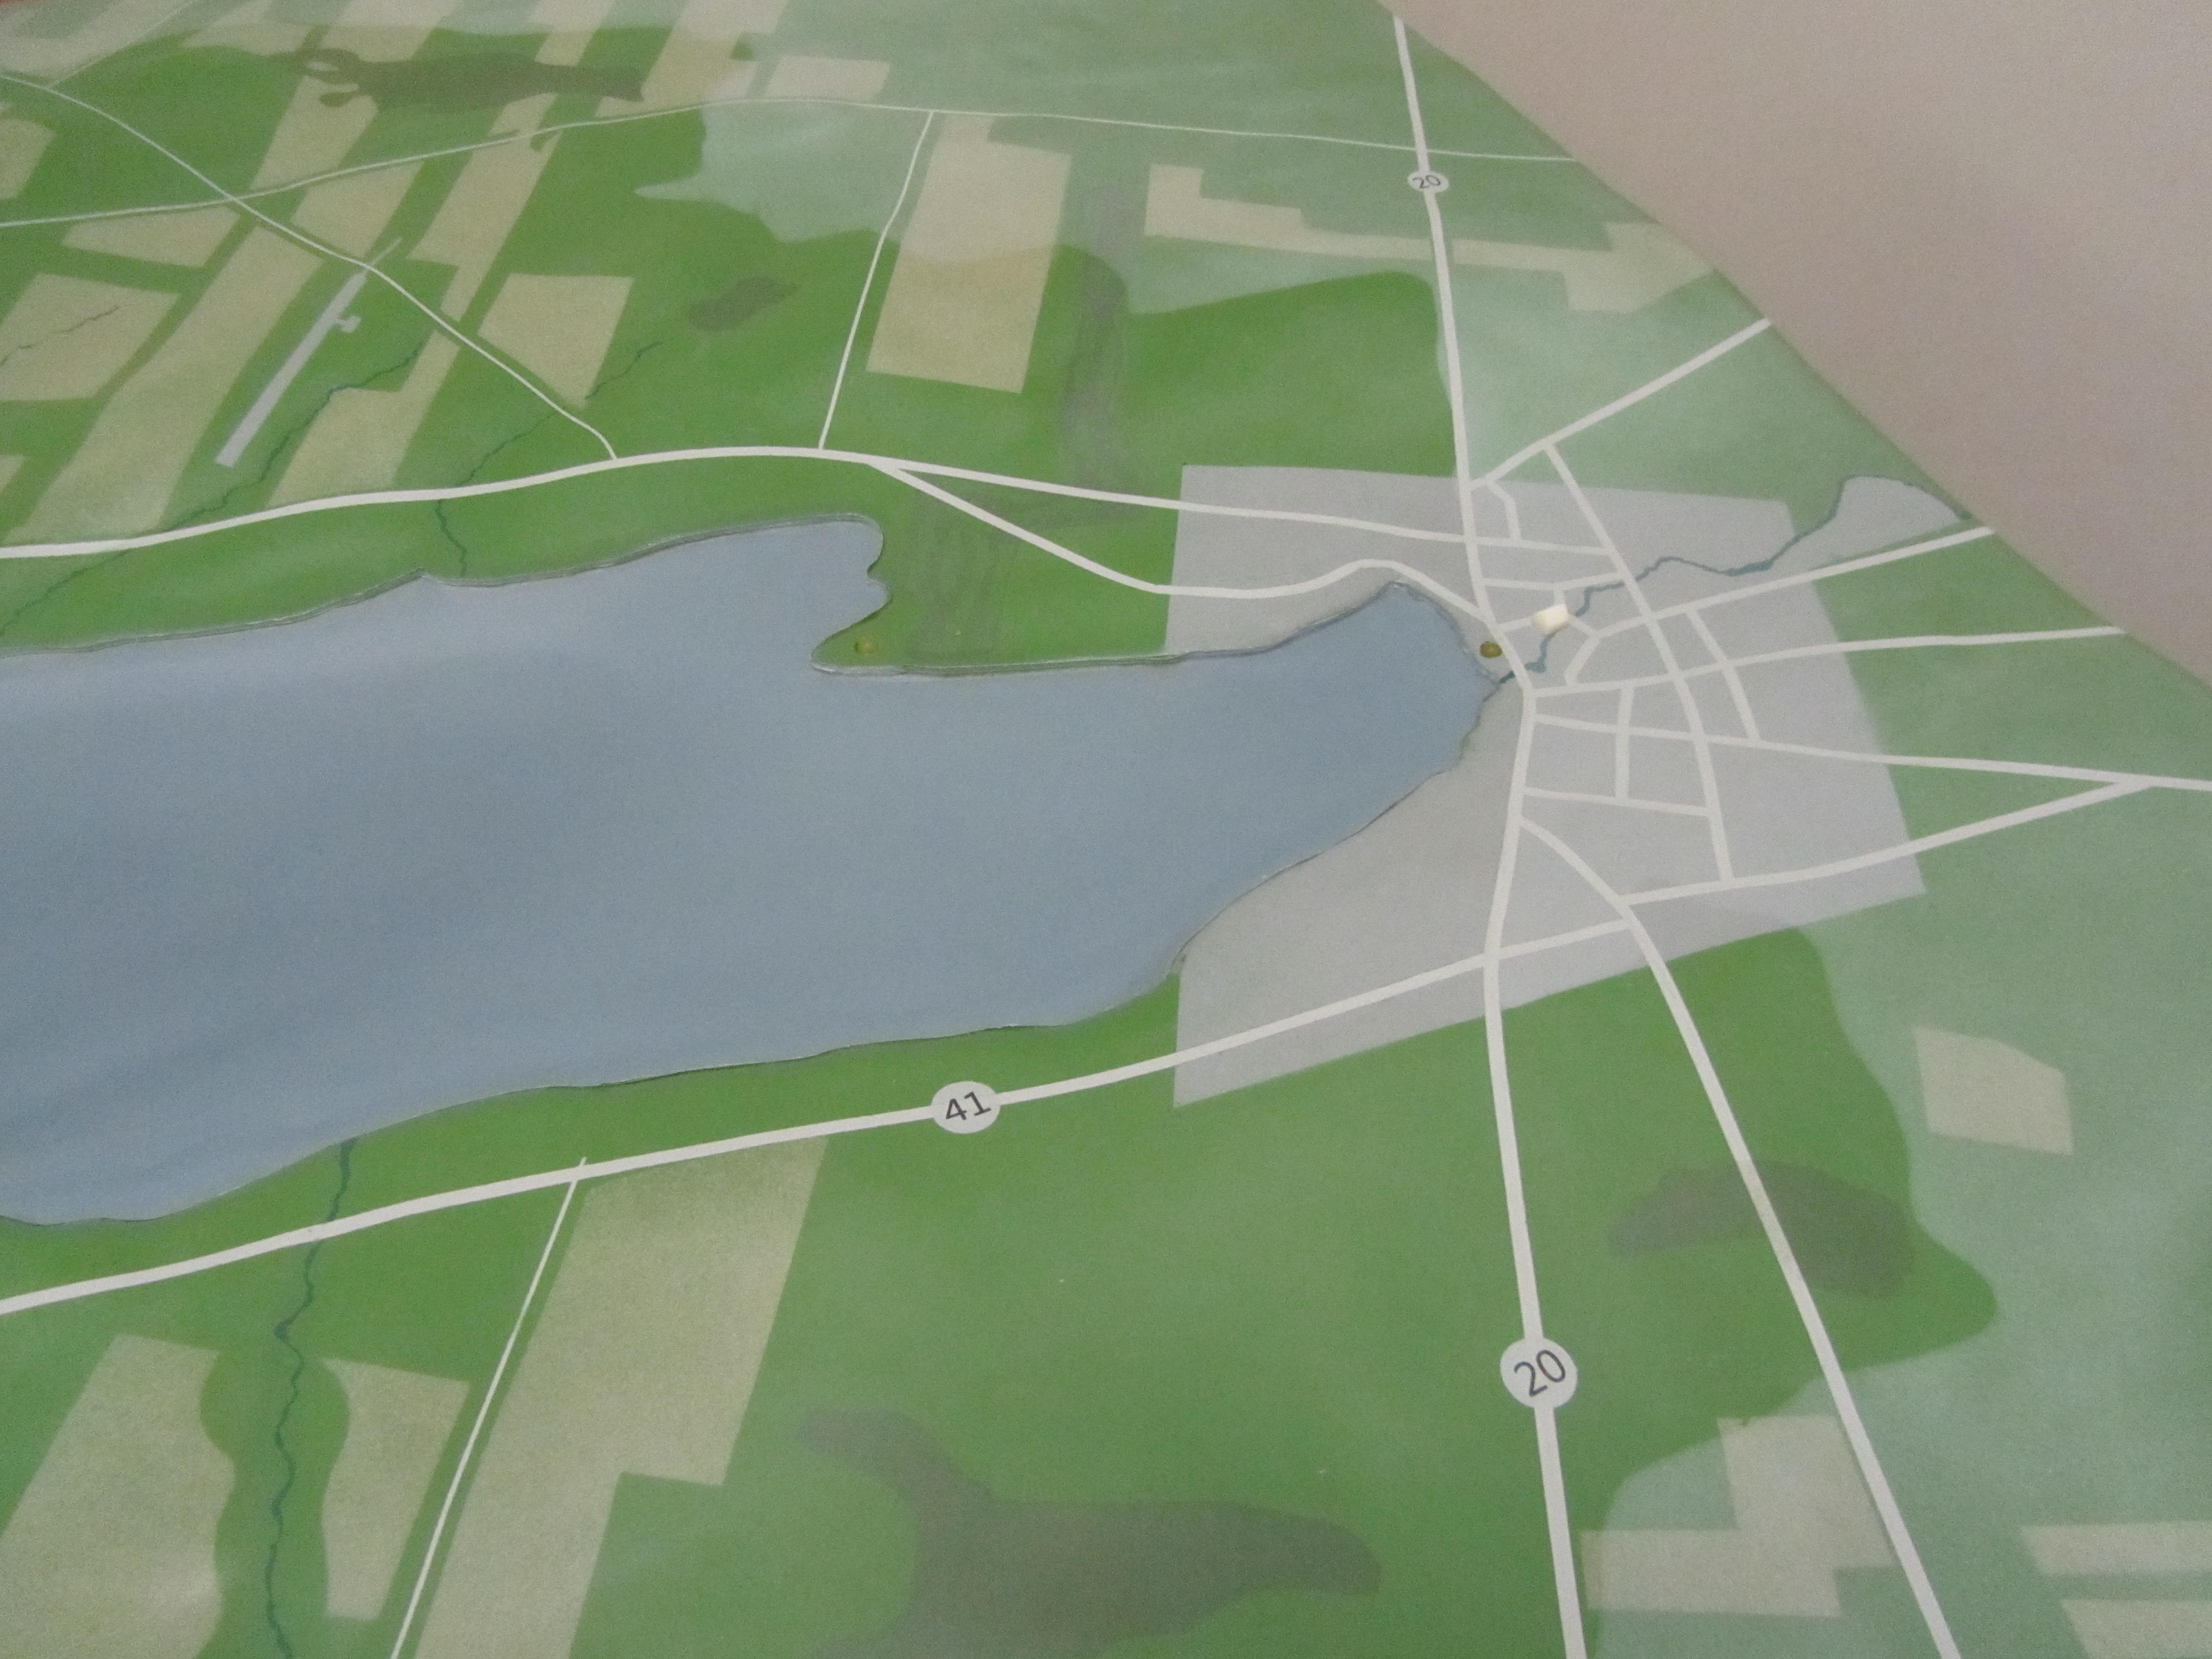
Model makers who make custom models have a stunning variety of material they must be able to construct with, and just as many techniques to go along with that. Depending on the type of model – architectural, trade show, military, museum – and its purpose: sales, display, training, fundraising, etc., the actual substances used to create a model vary.

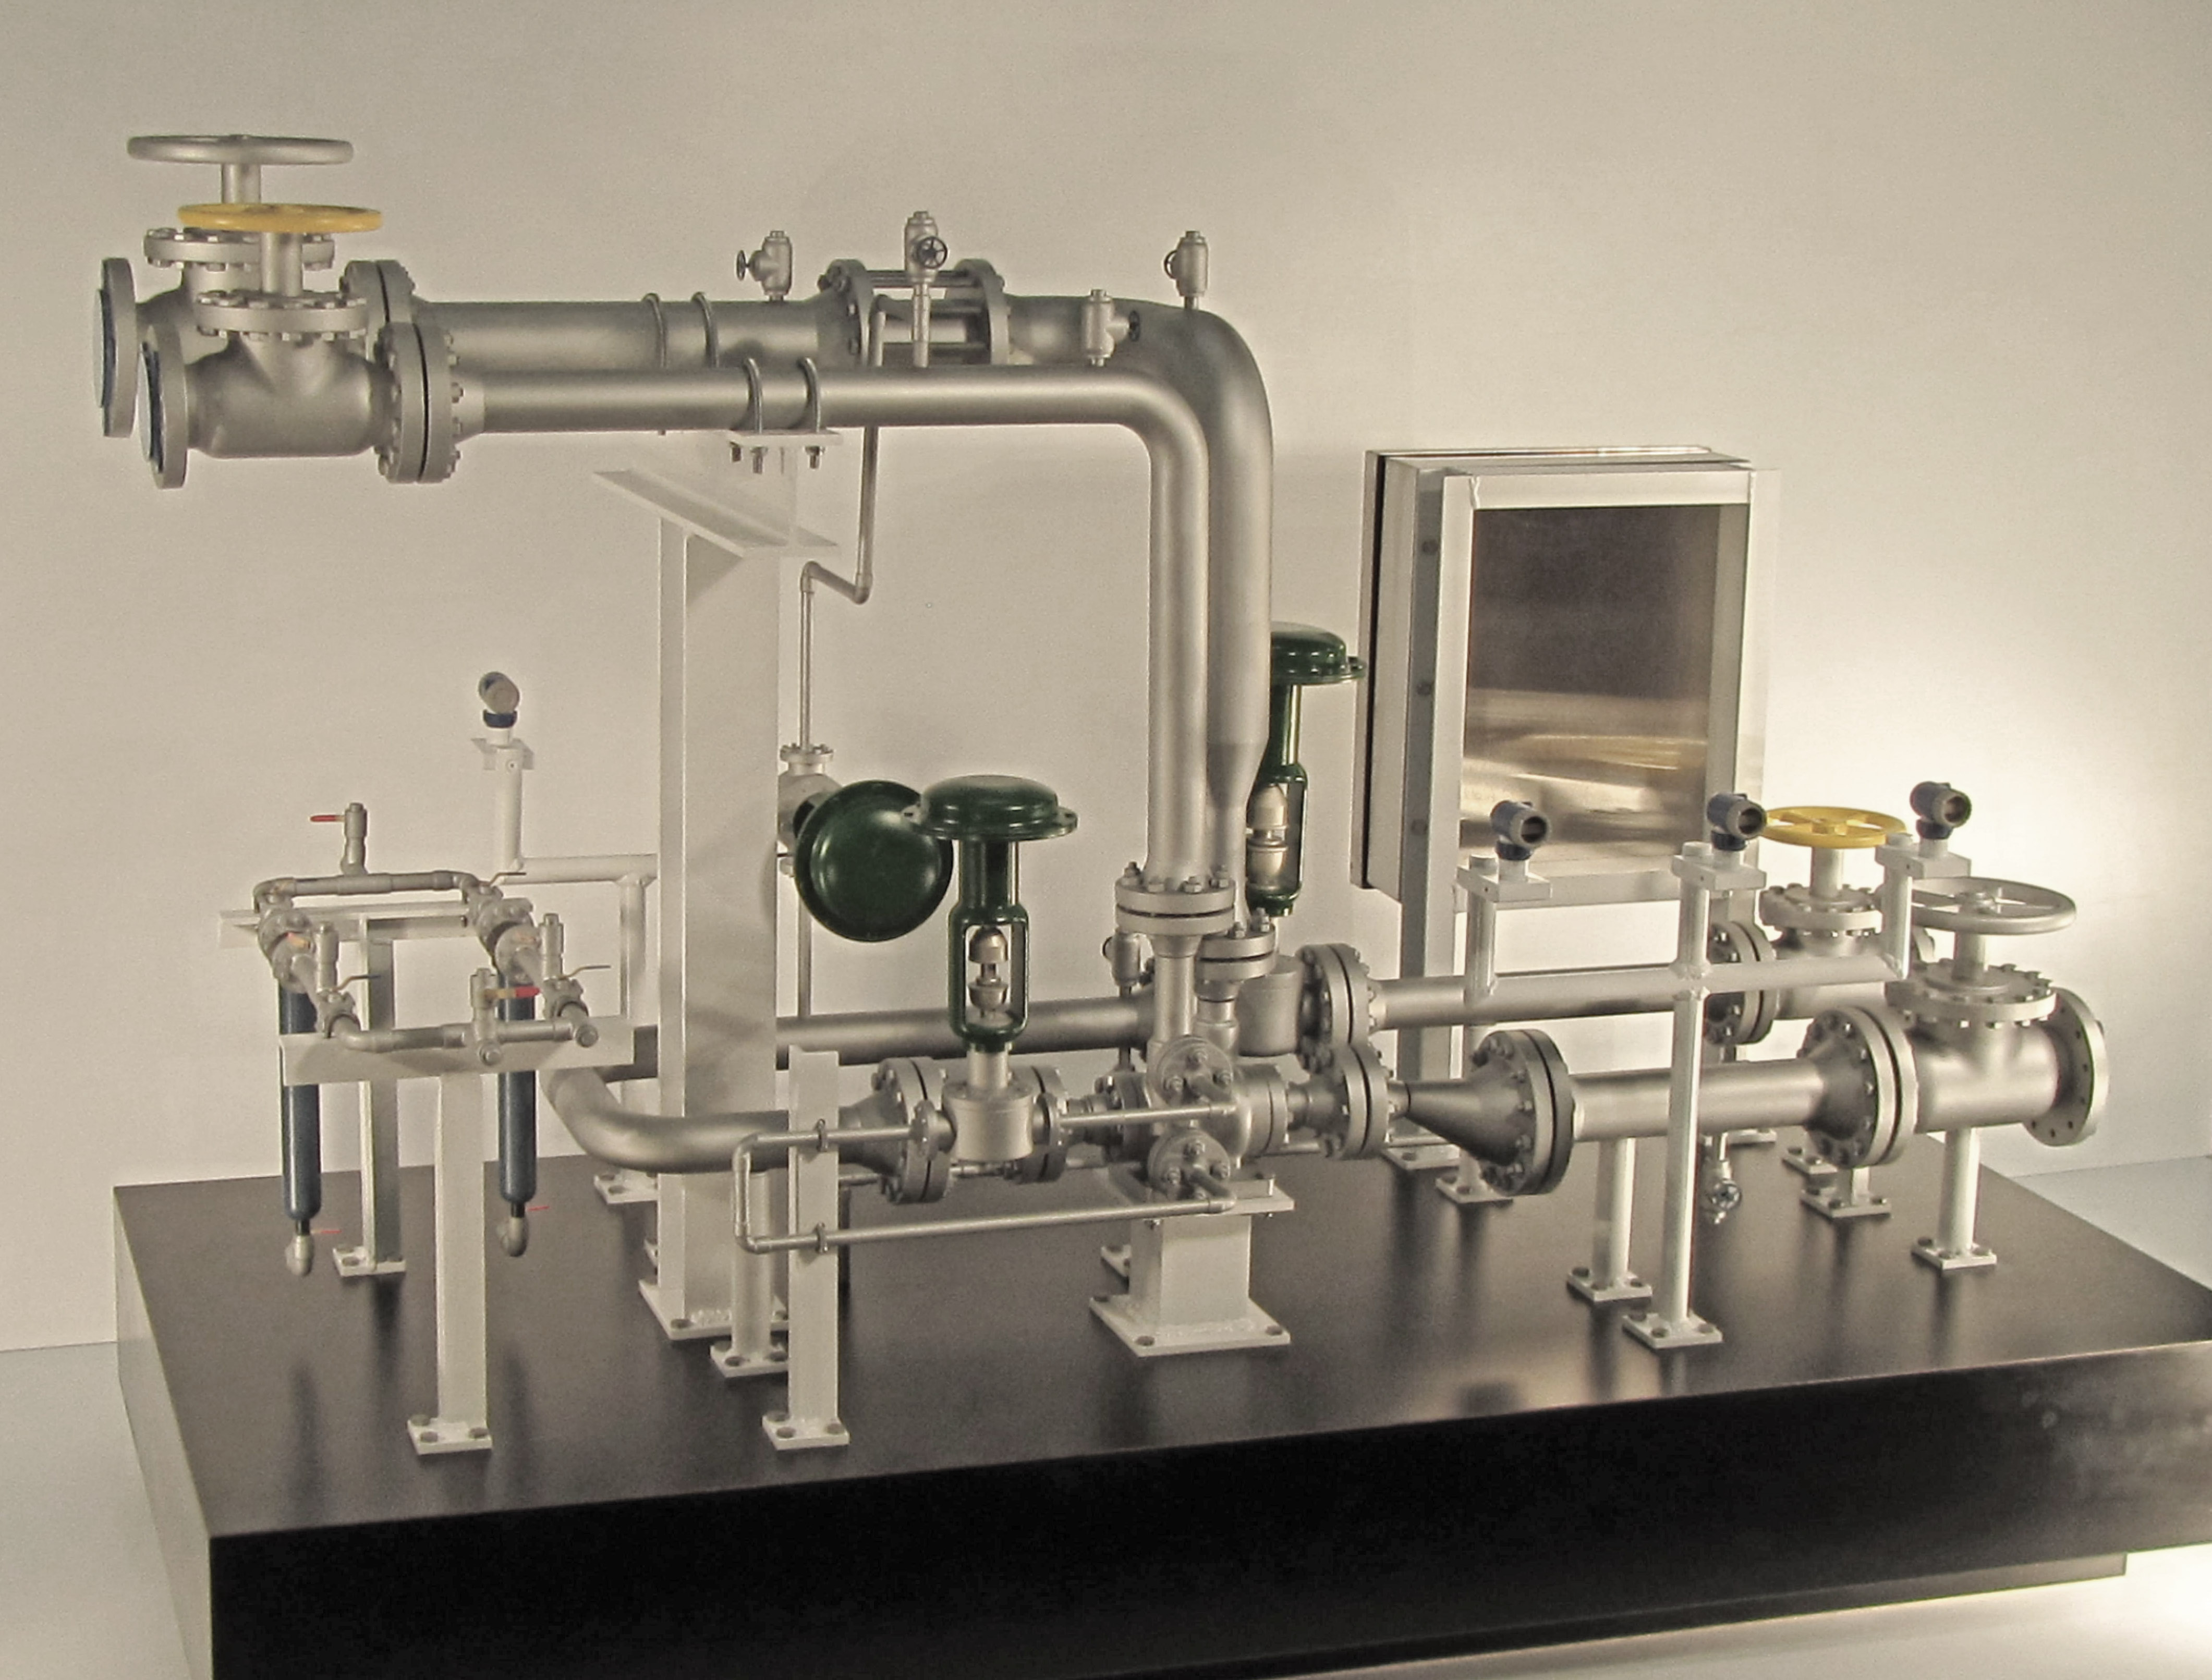
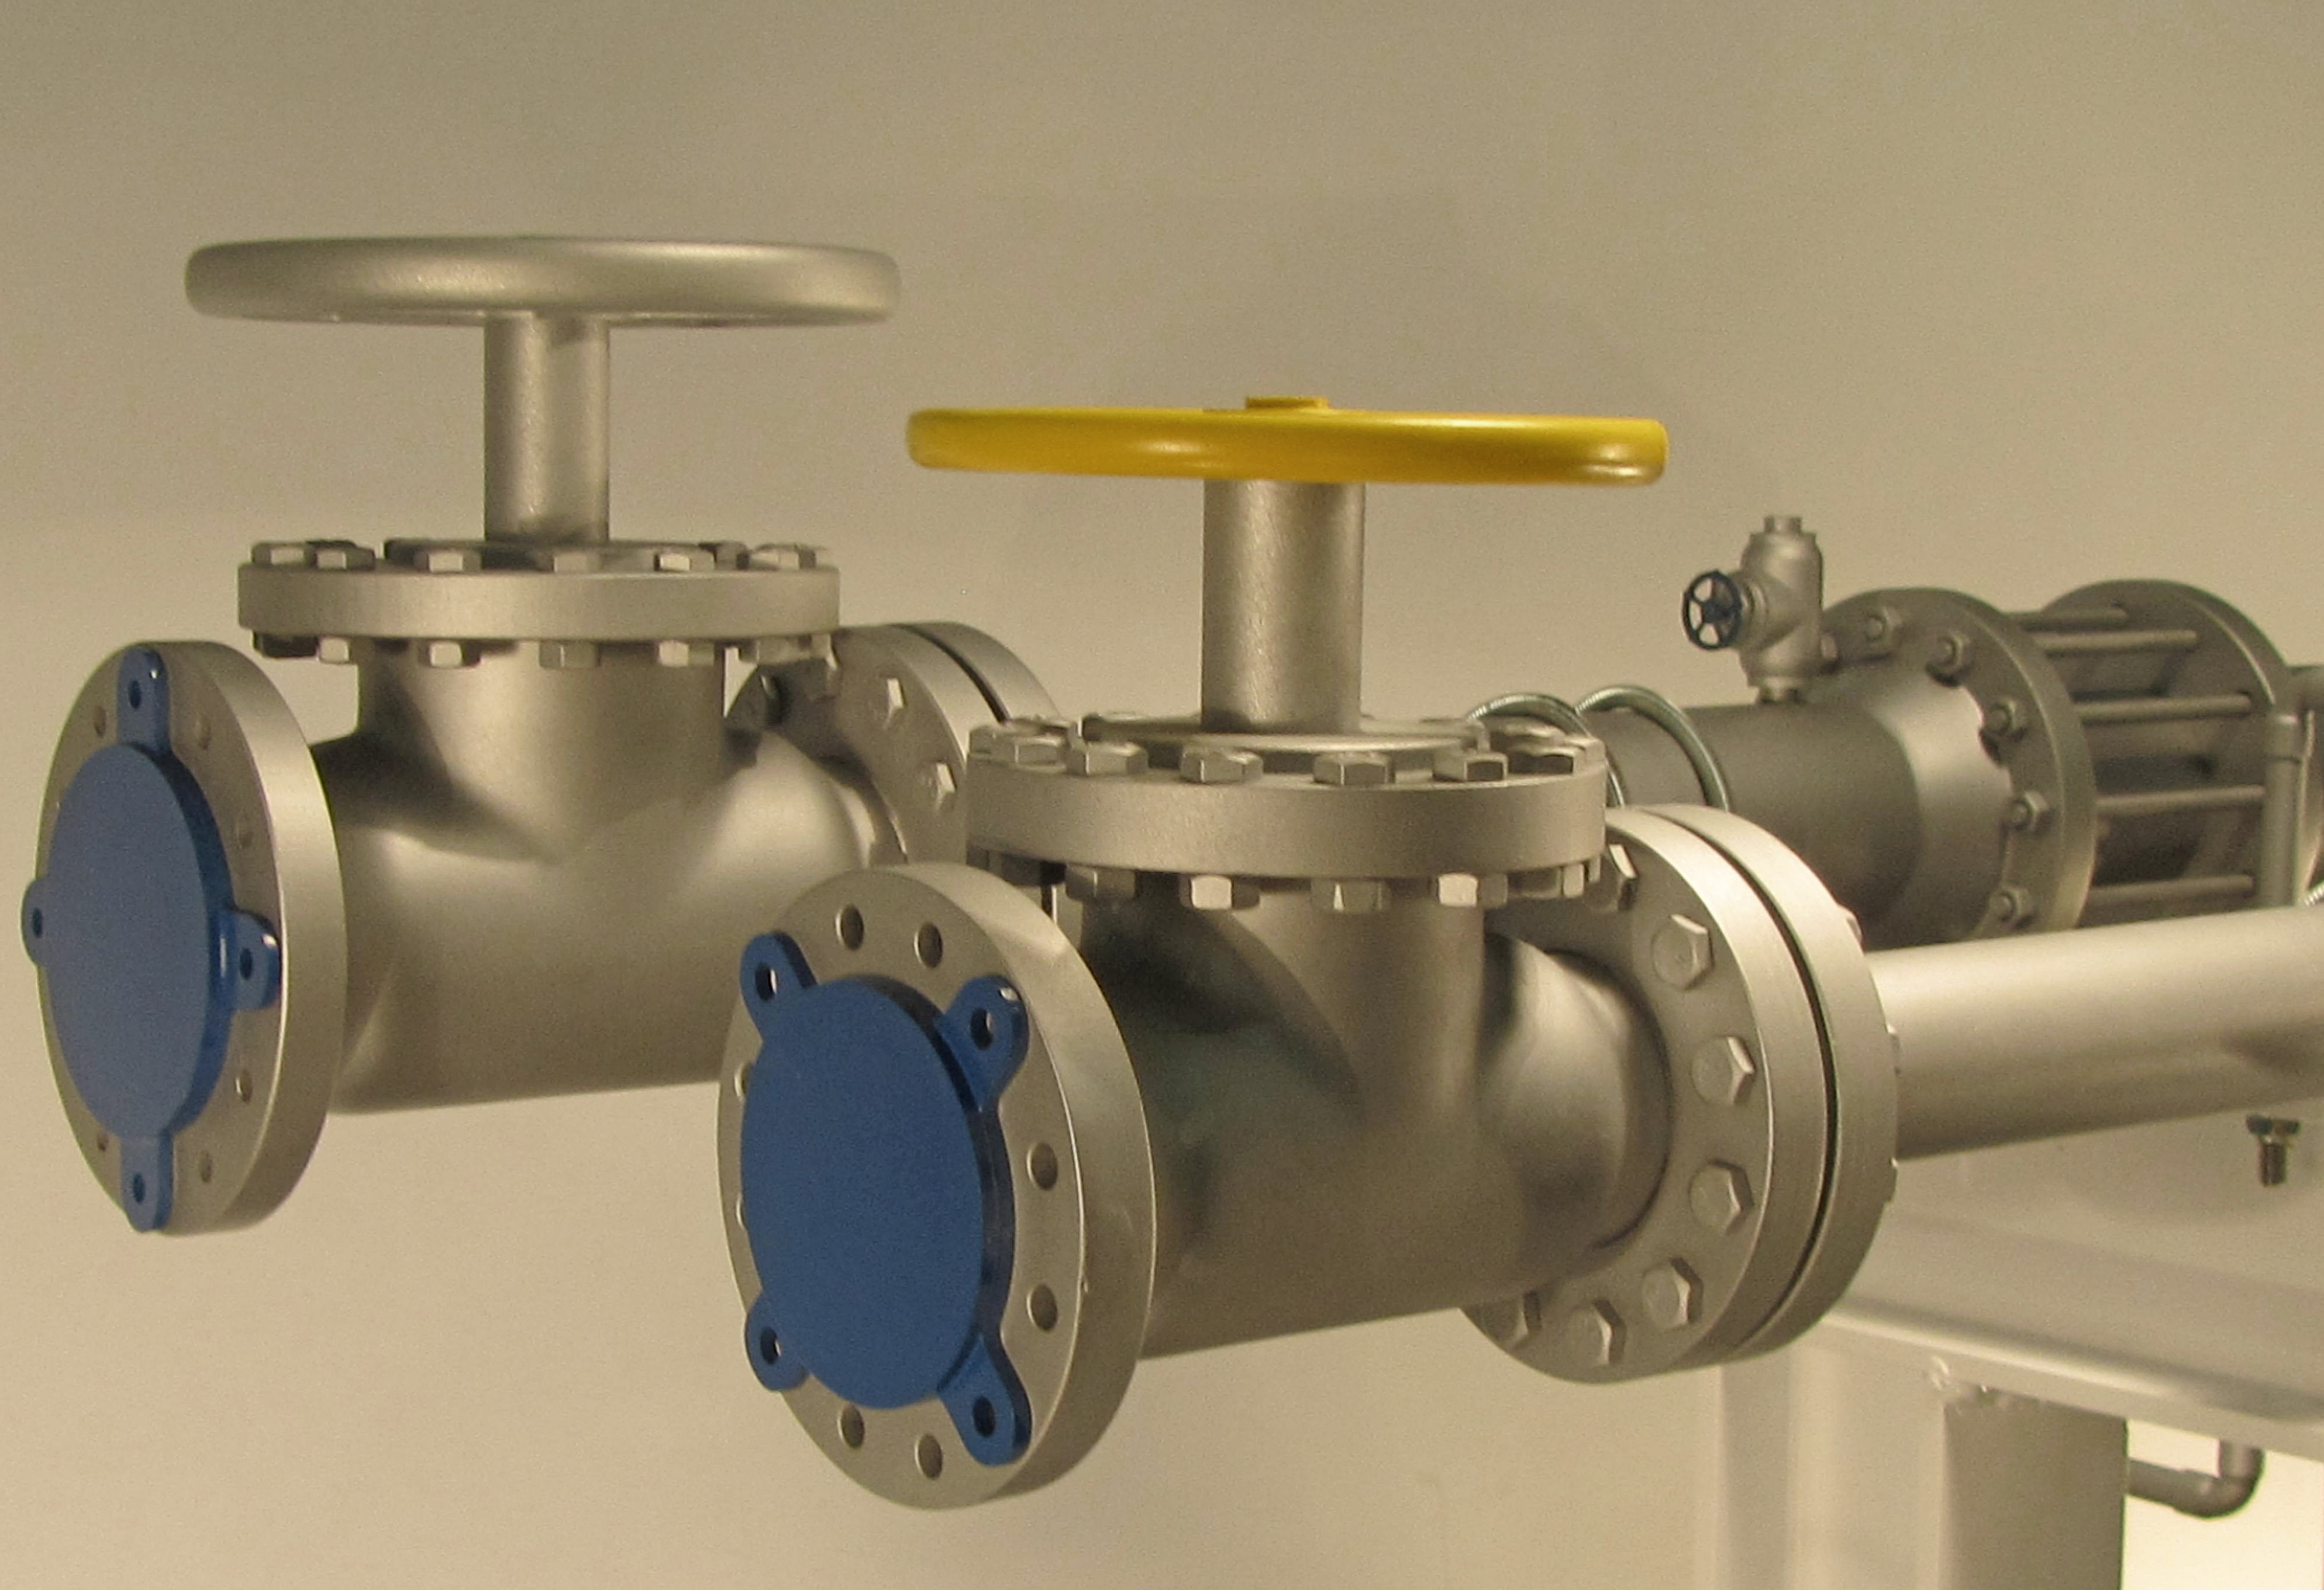
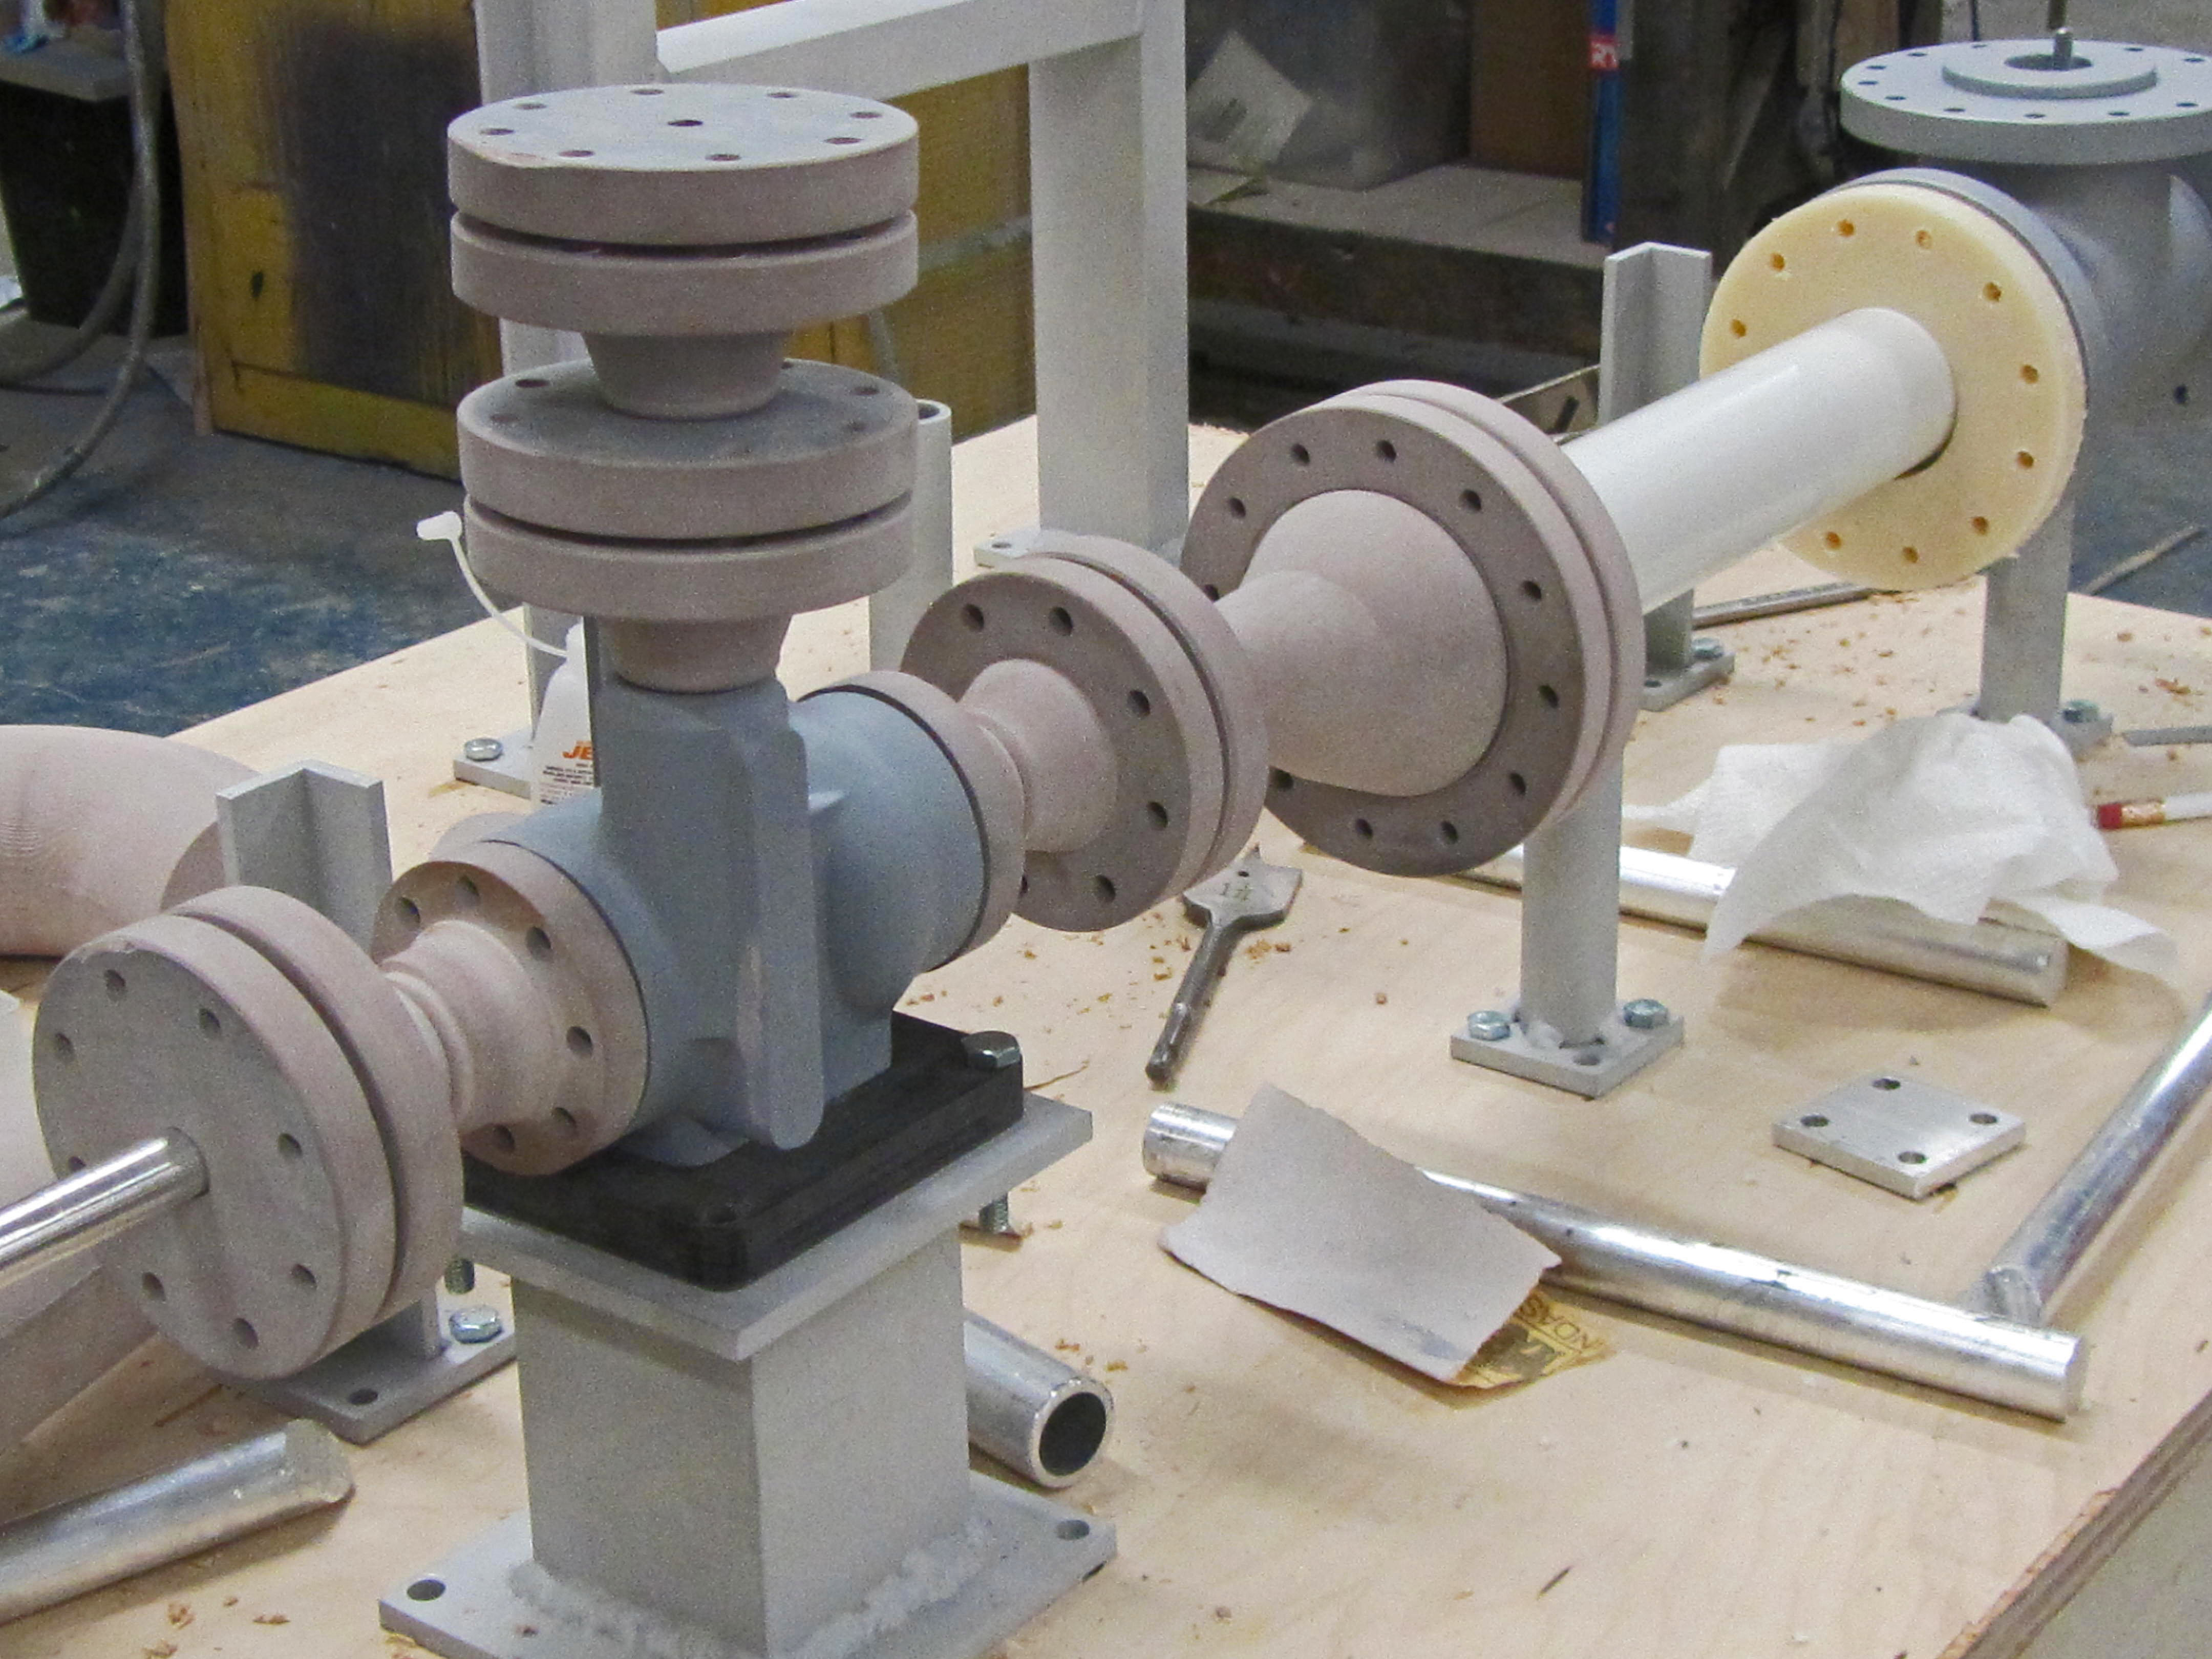
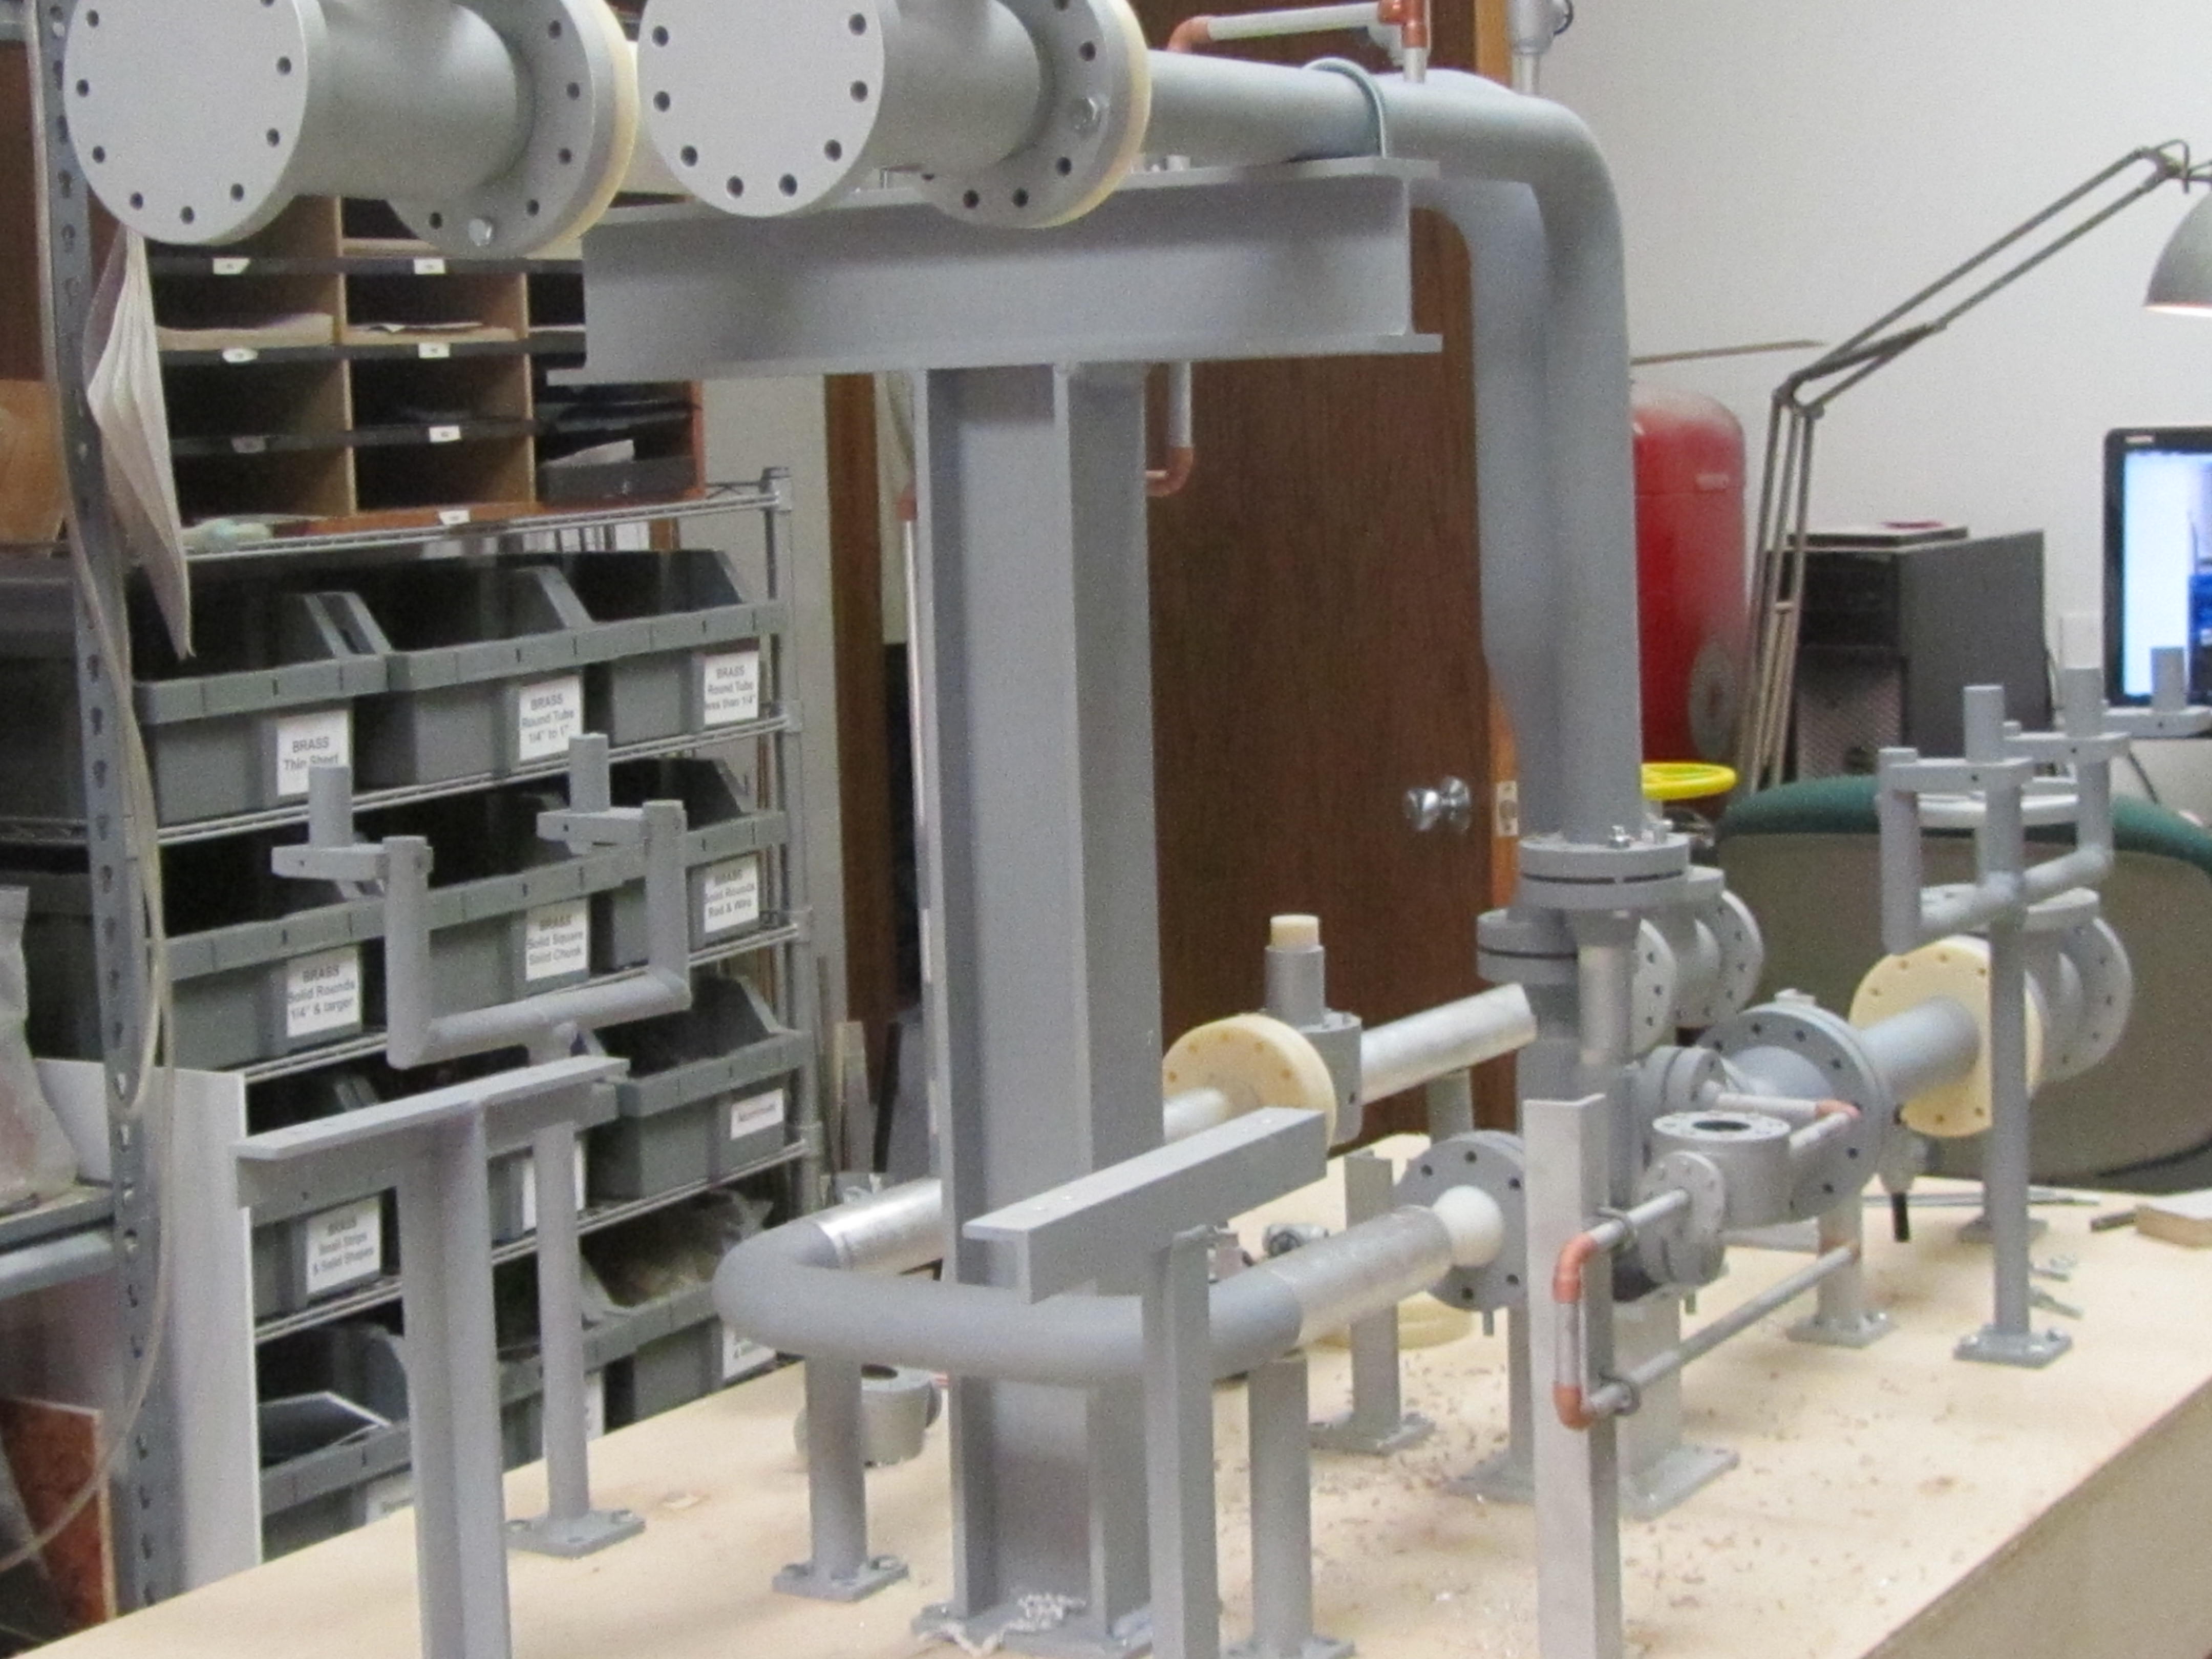
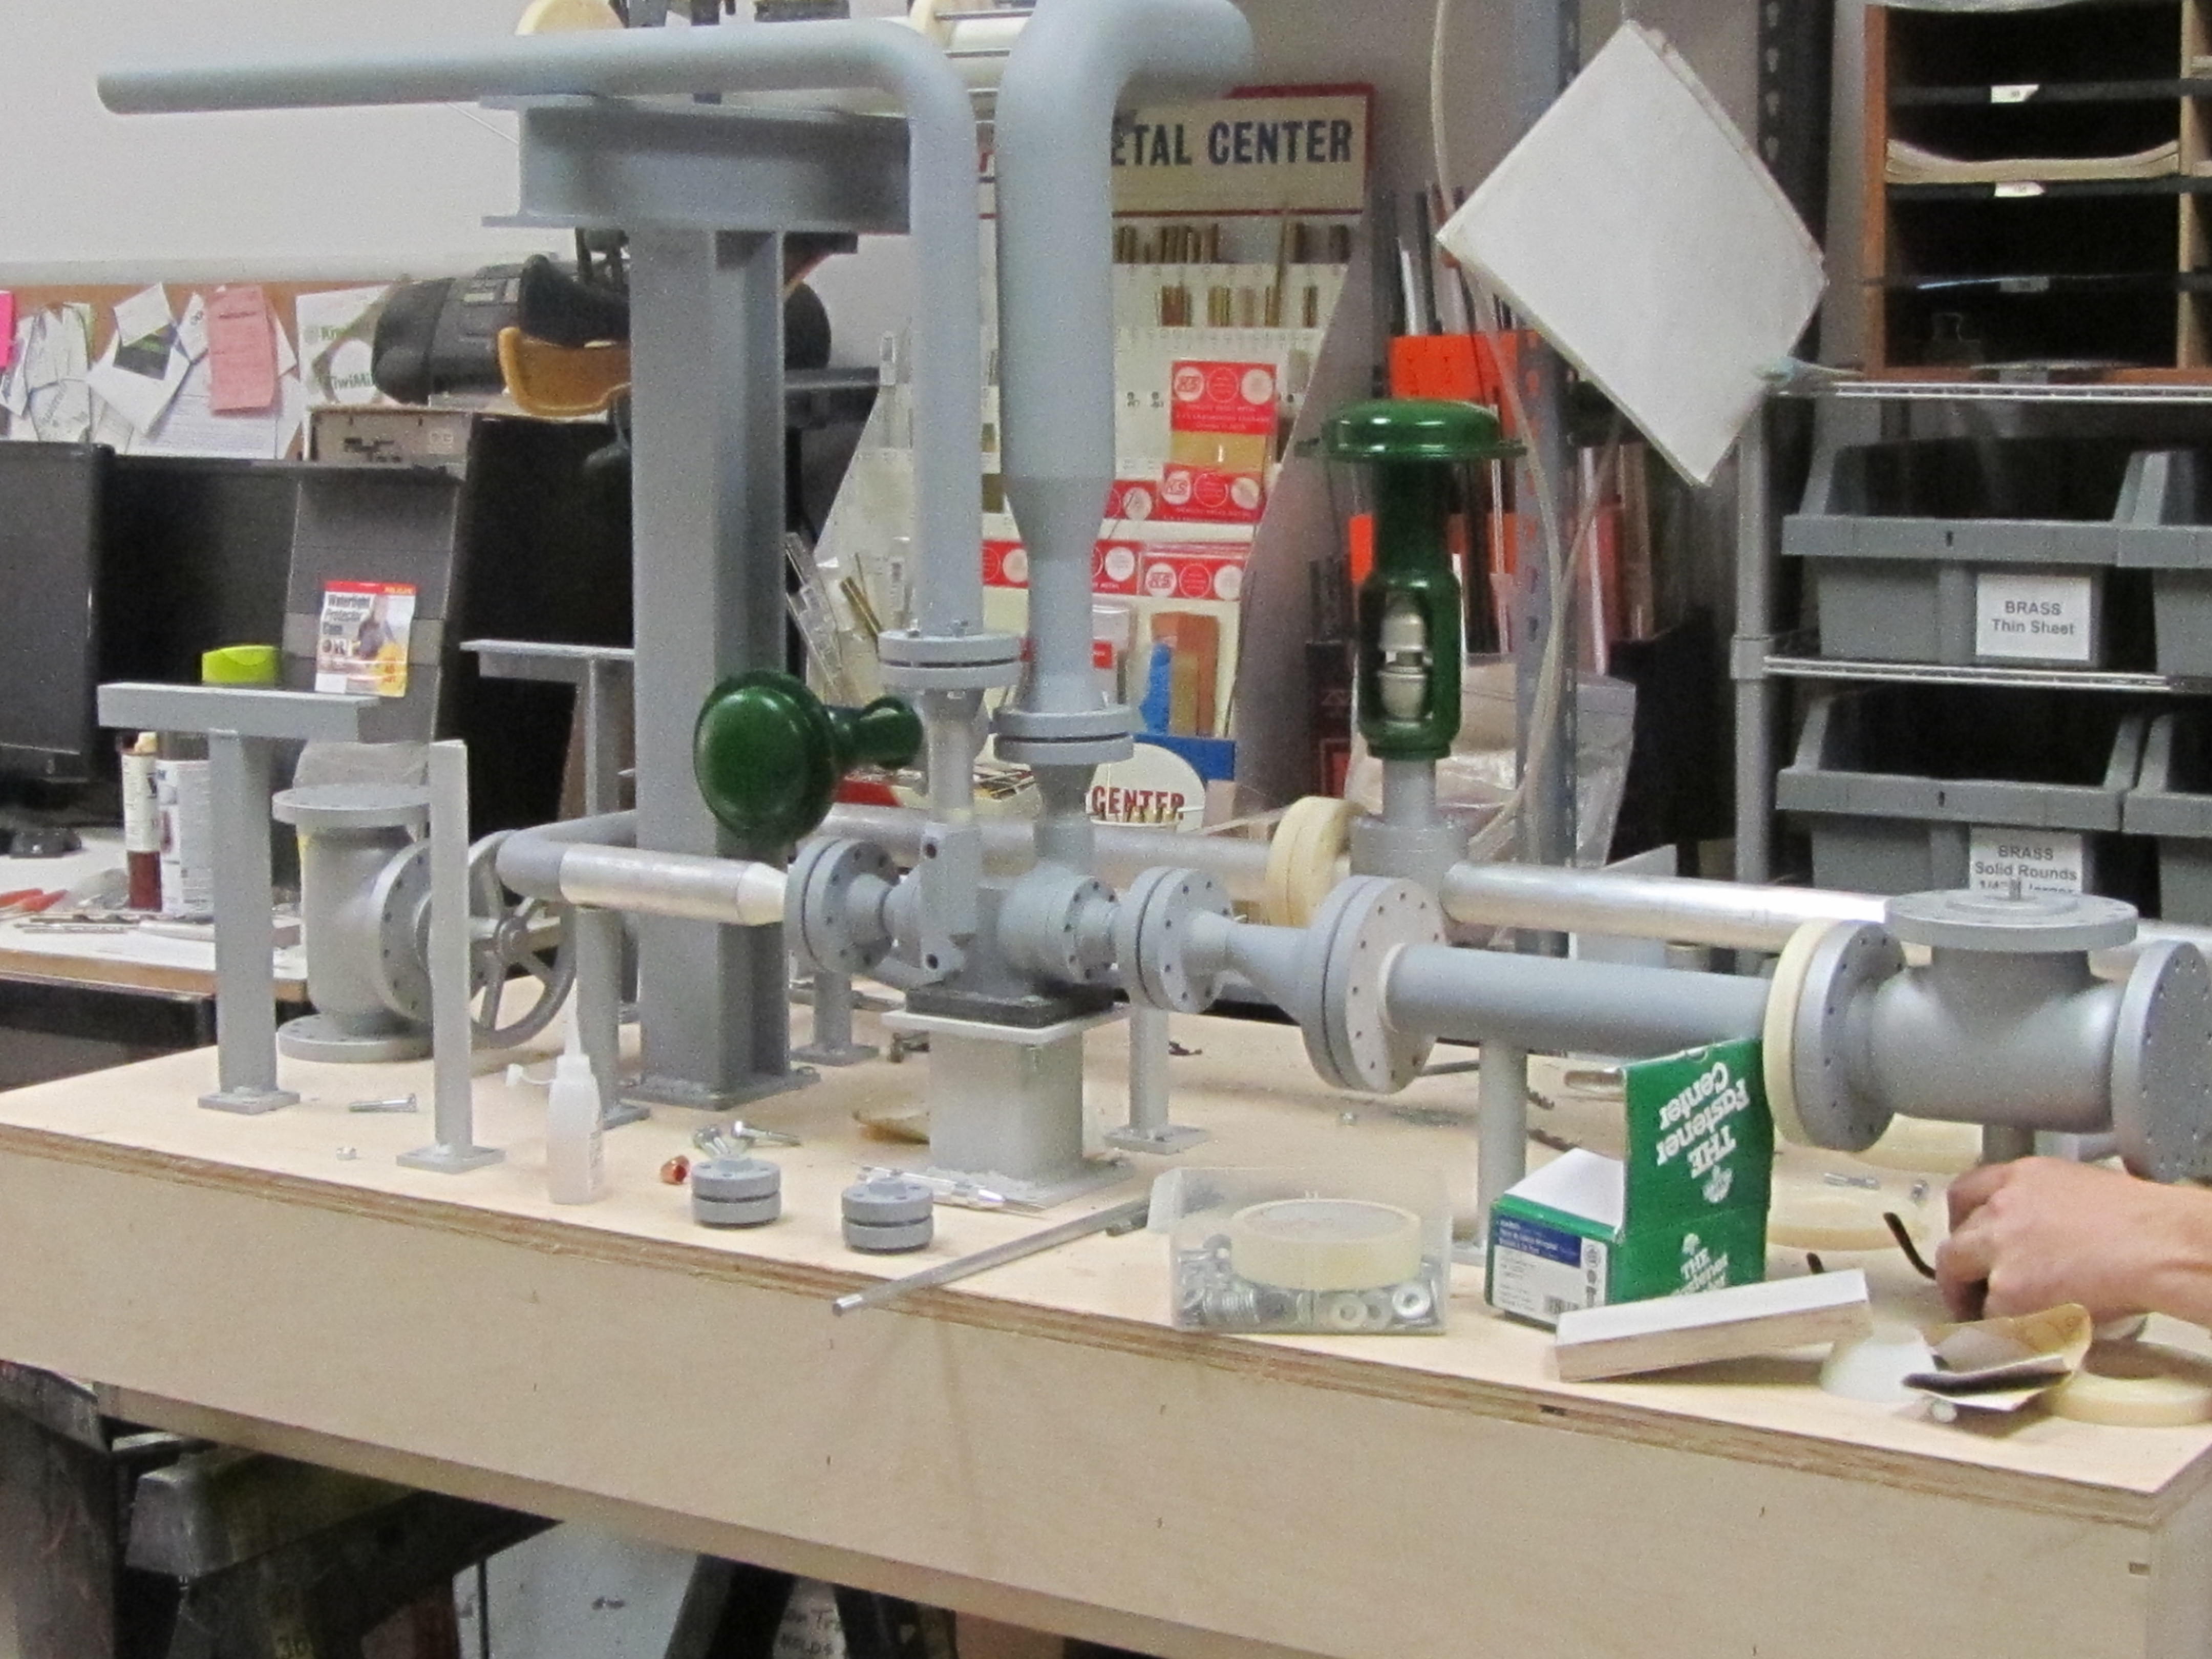
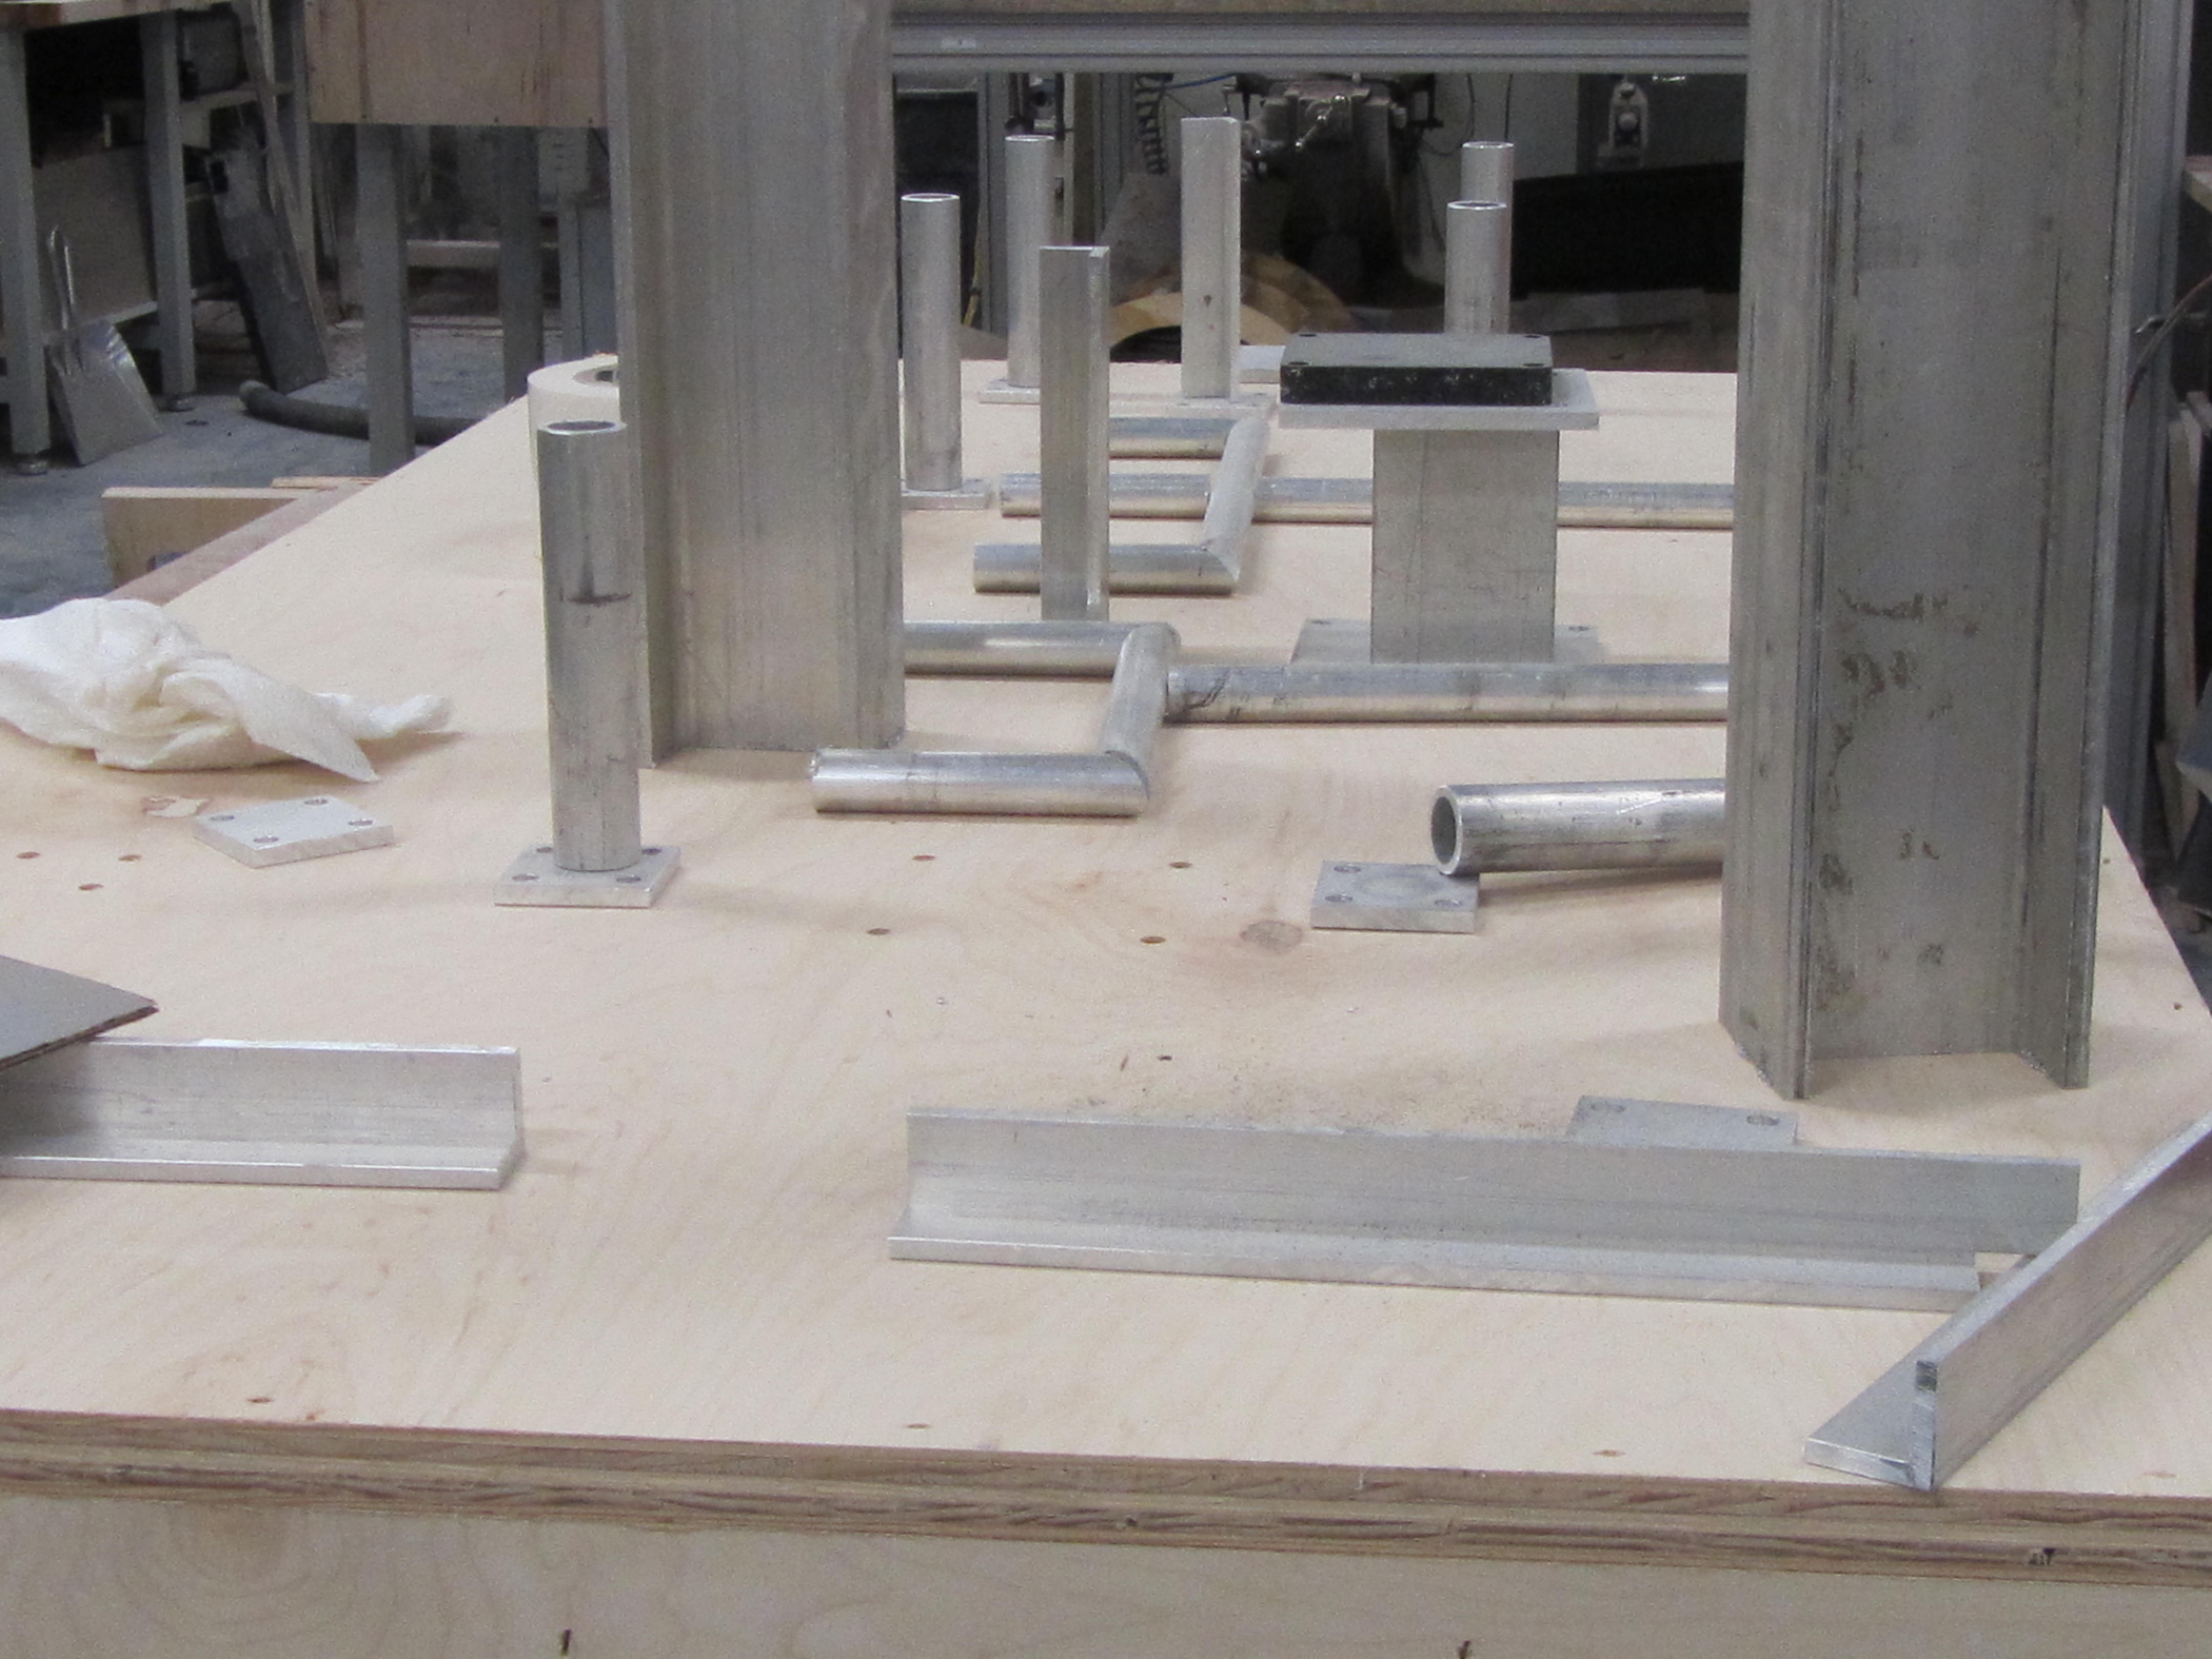
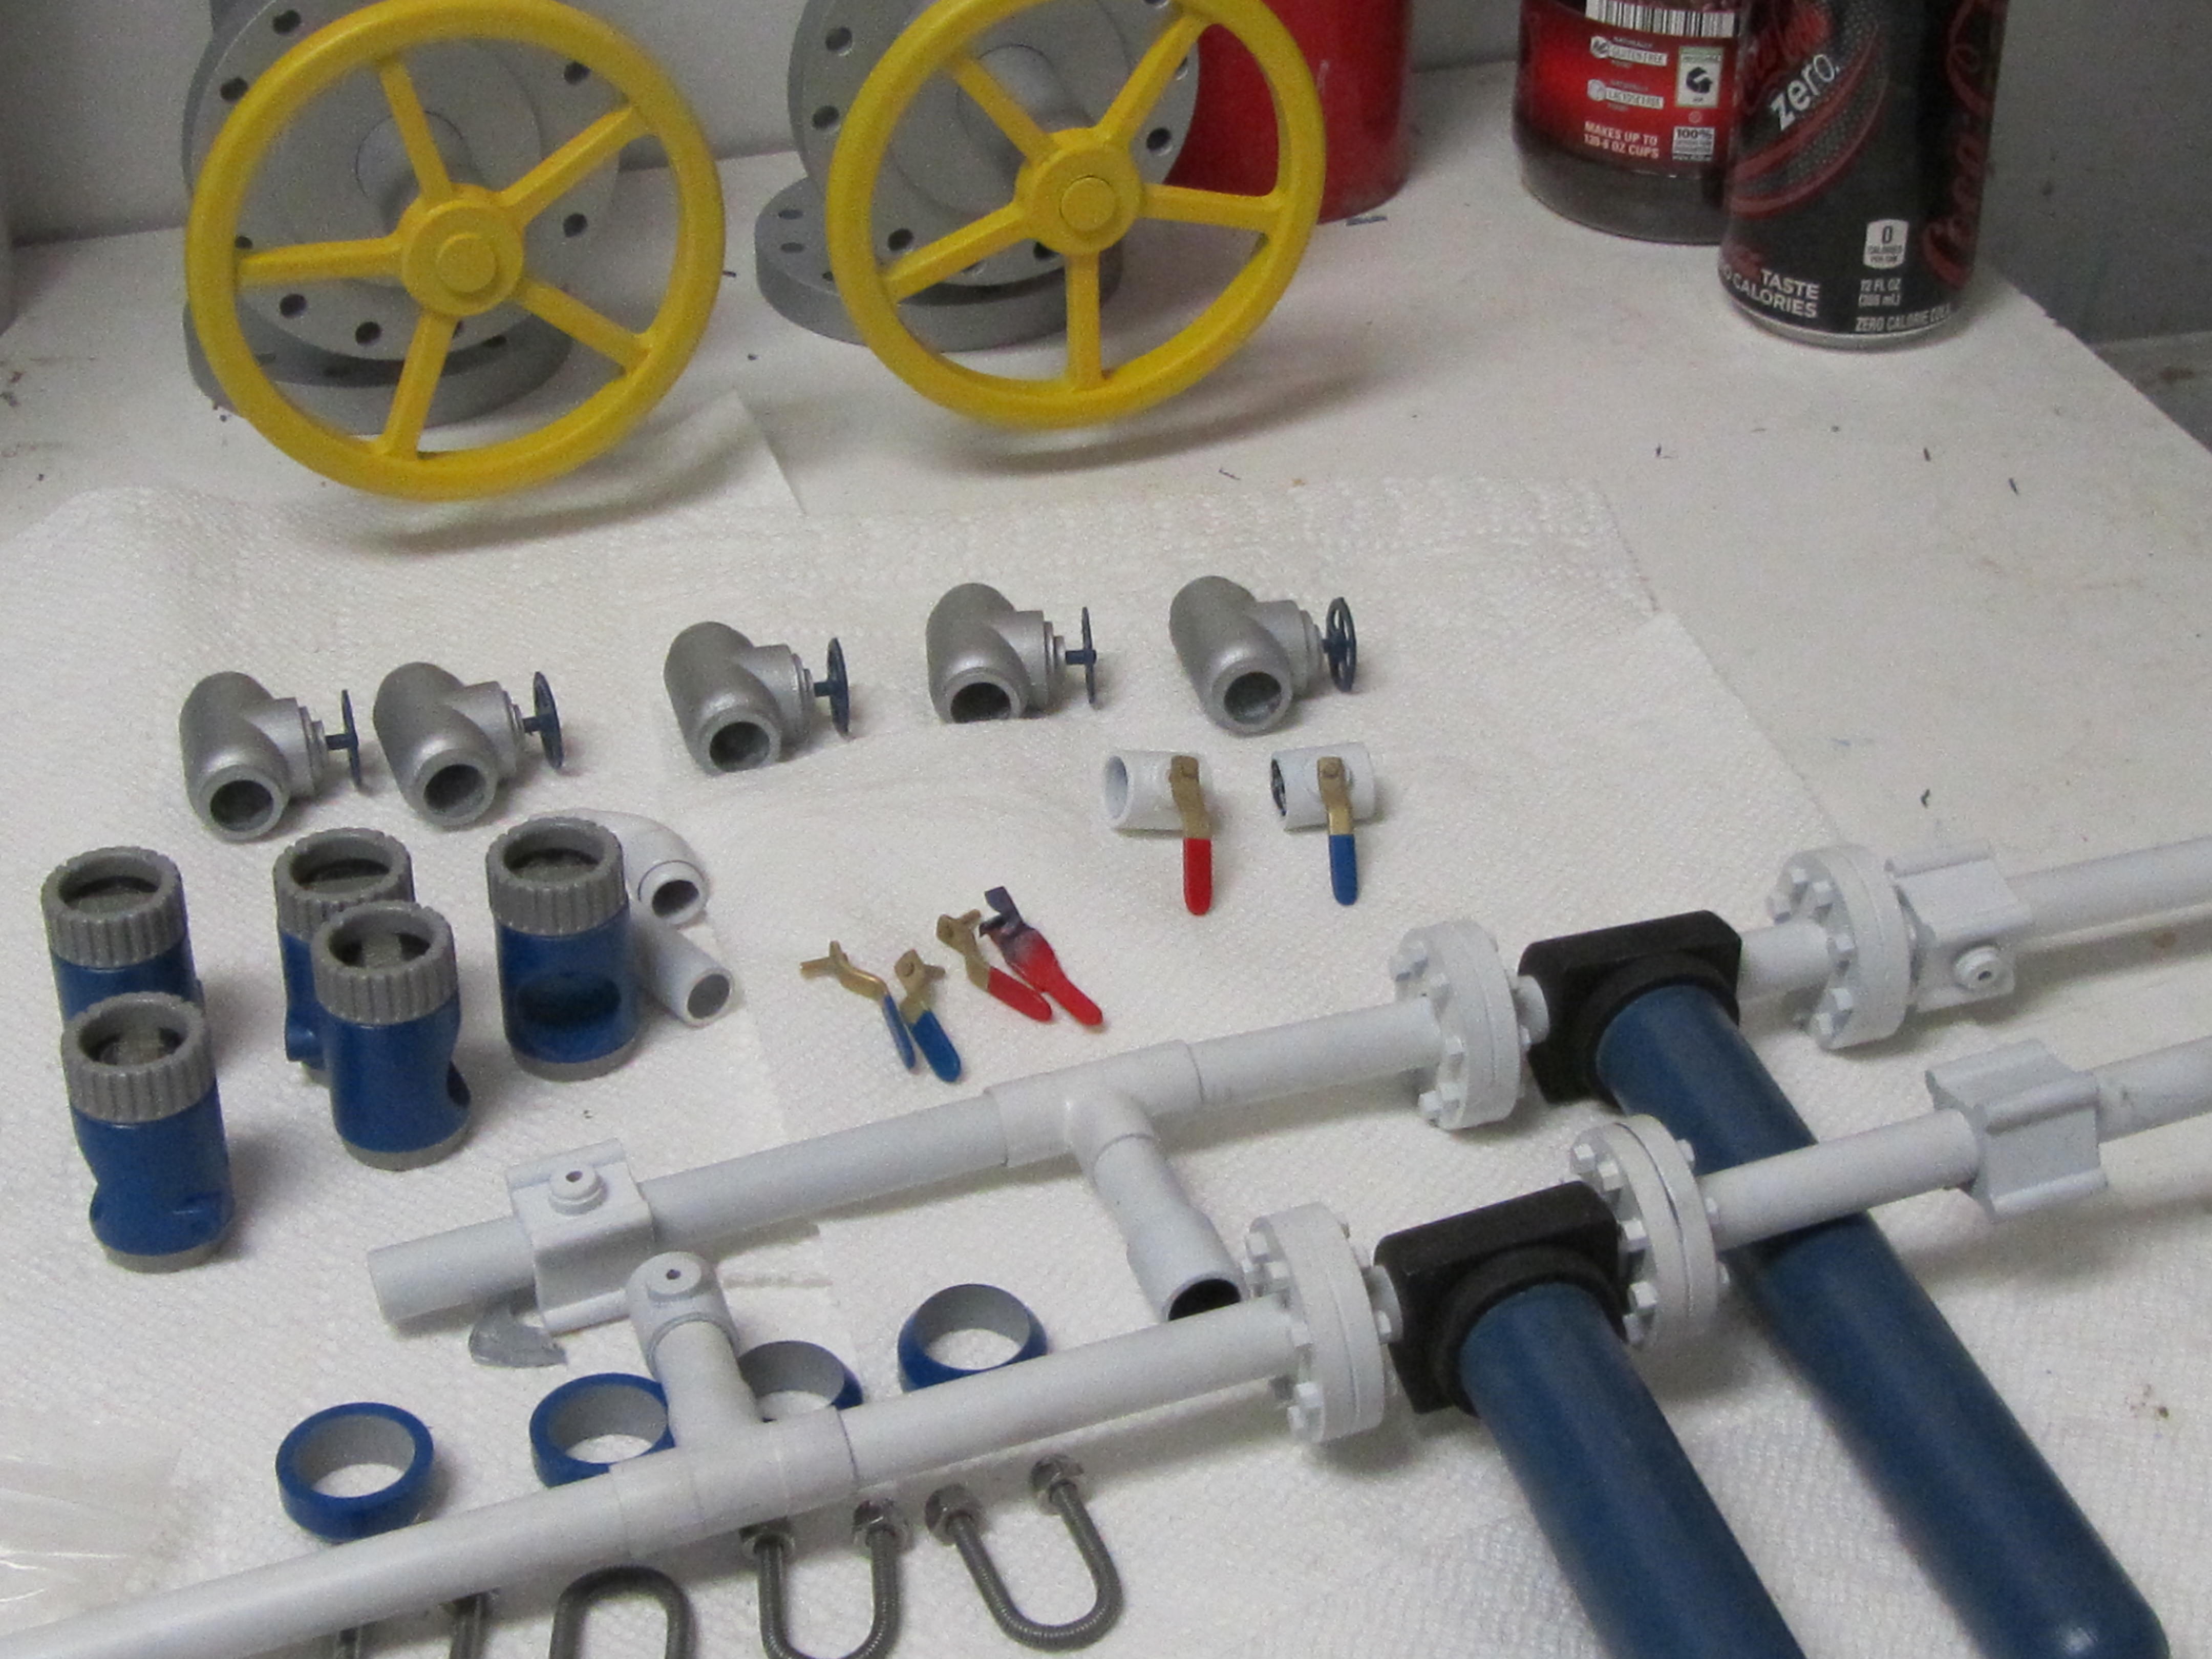
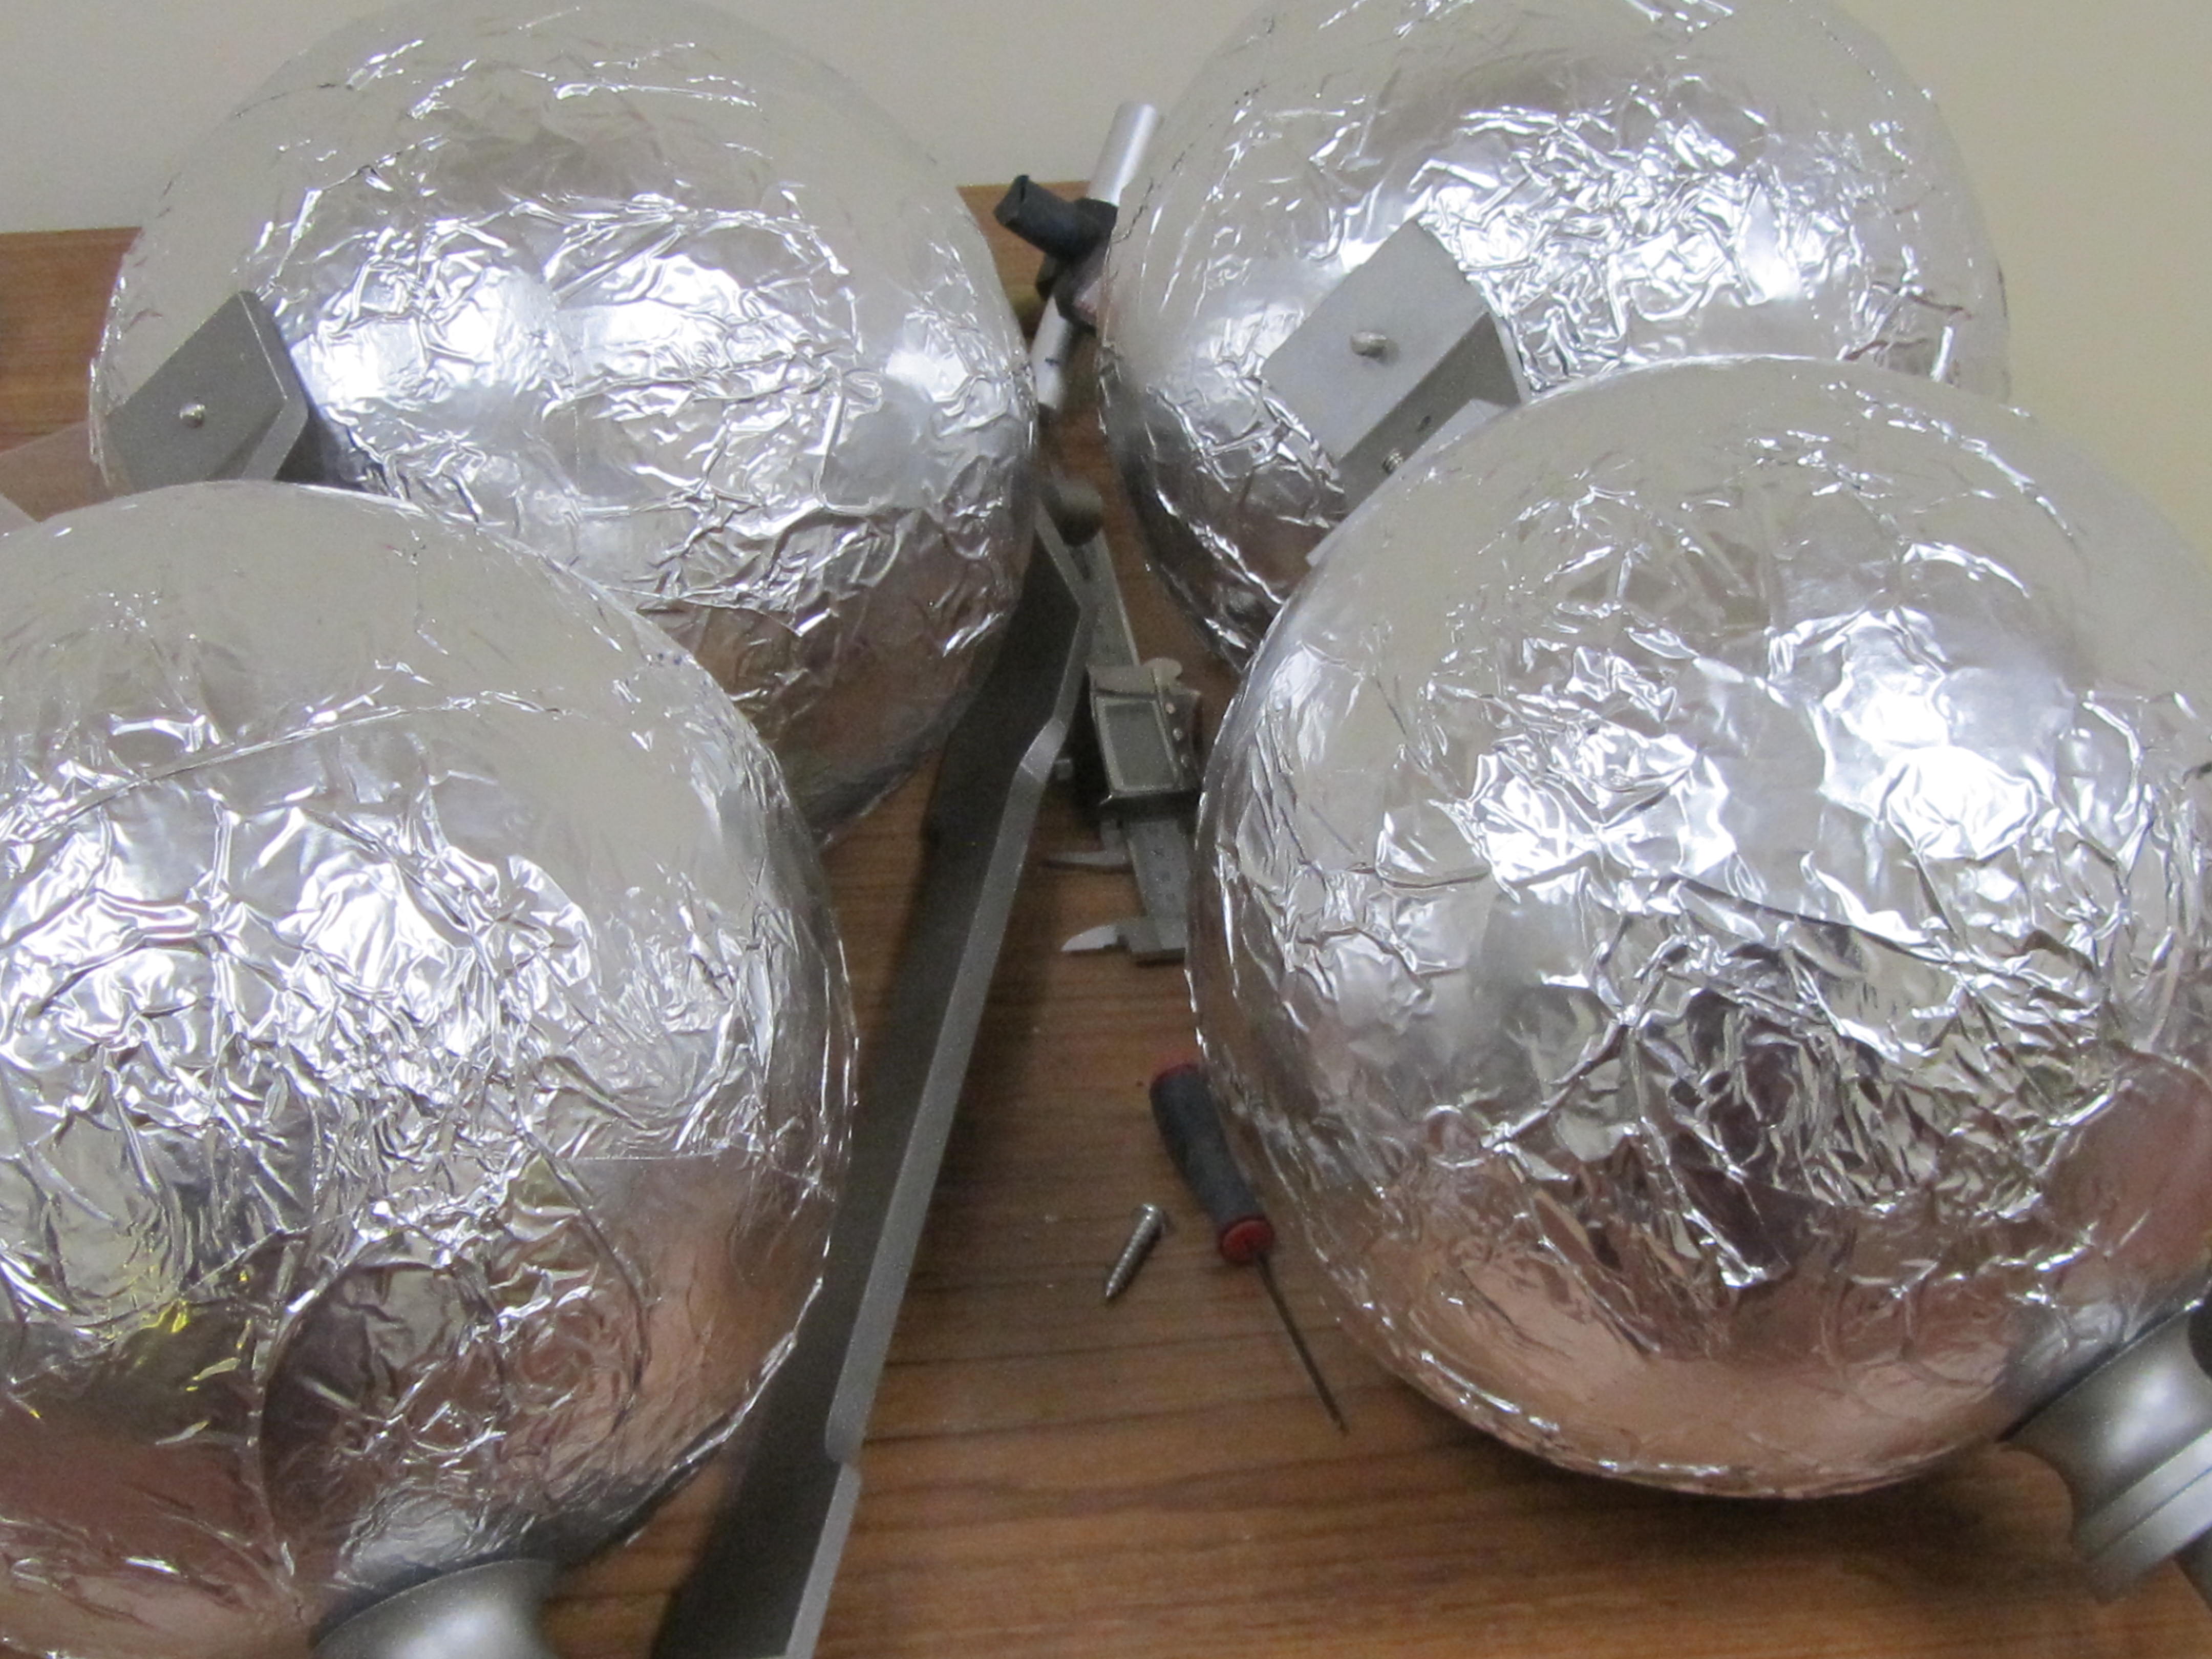
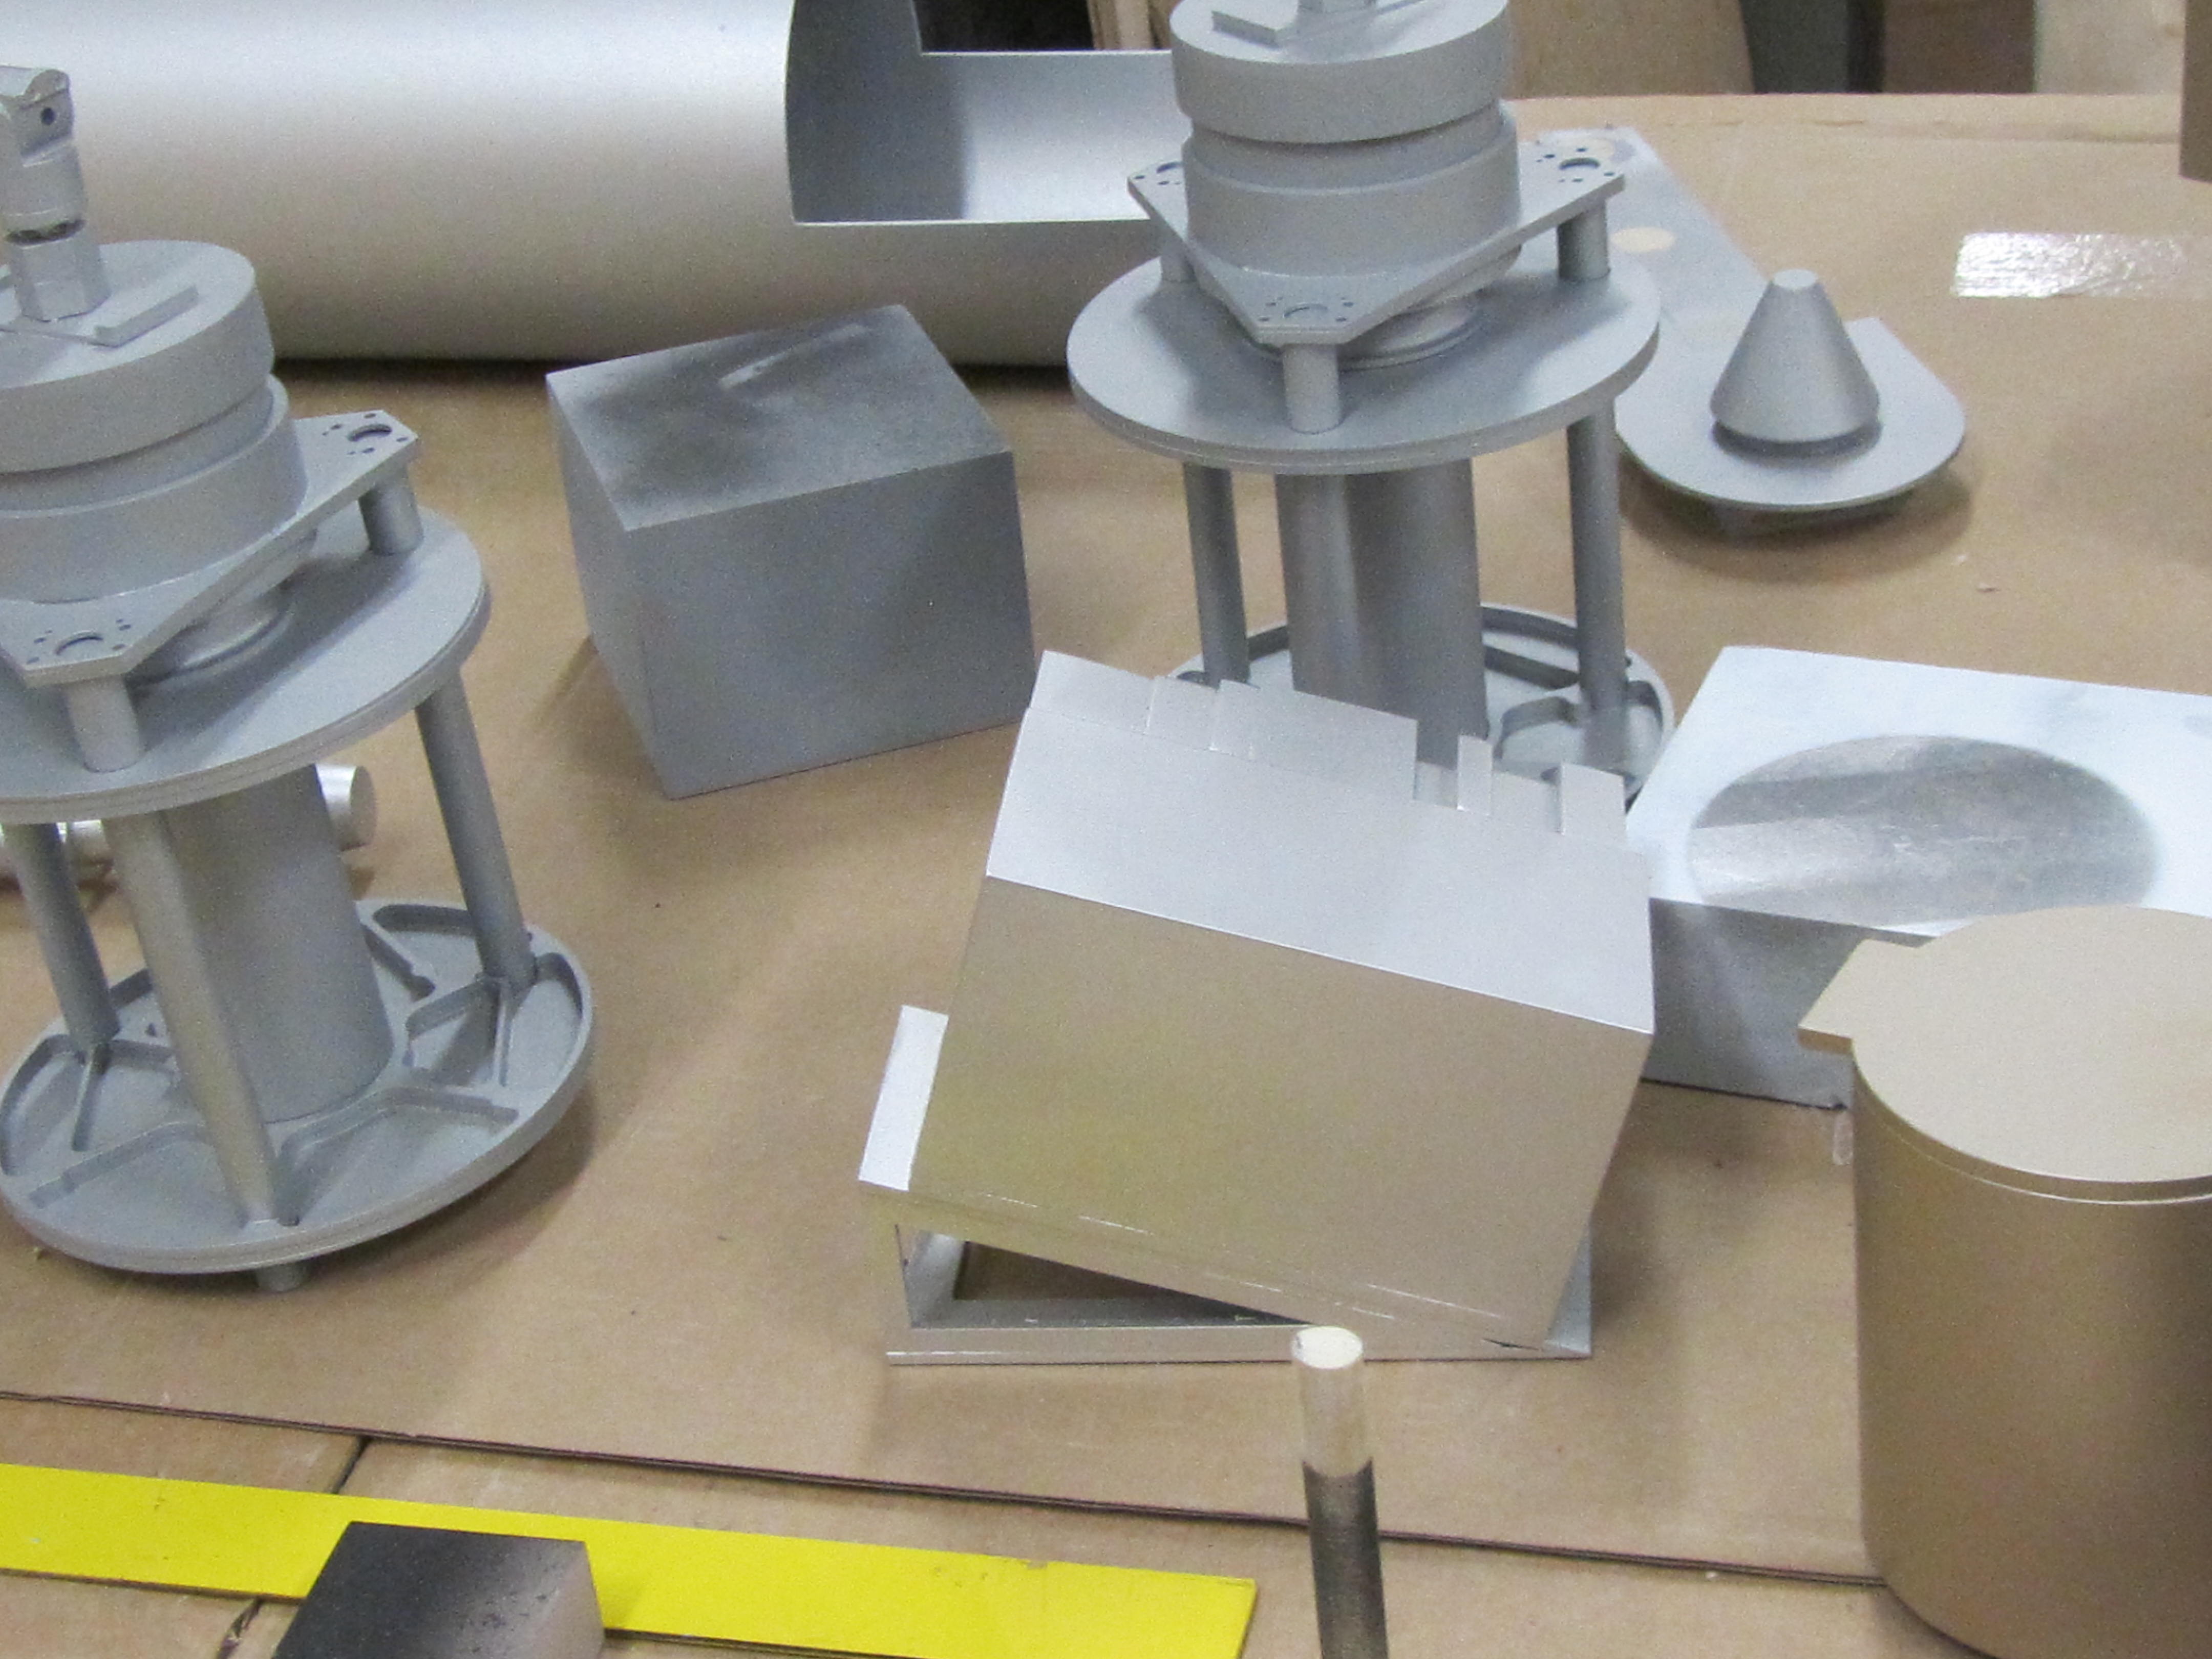
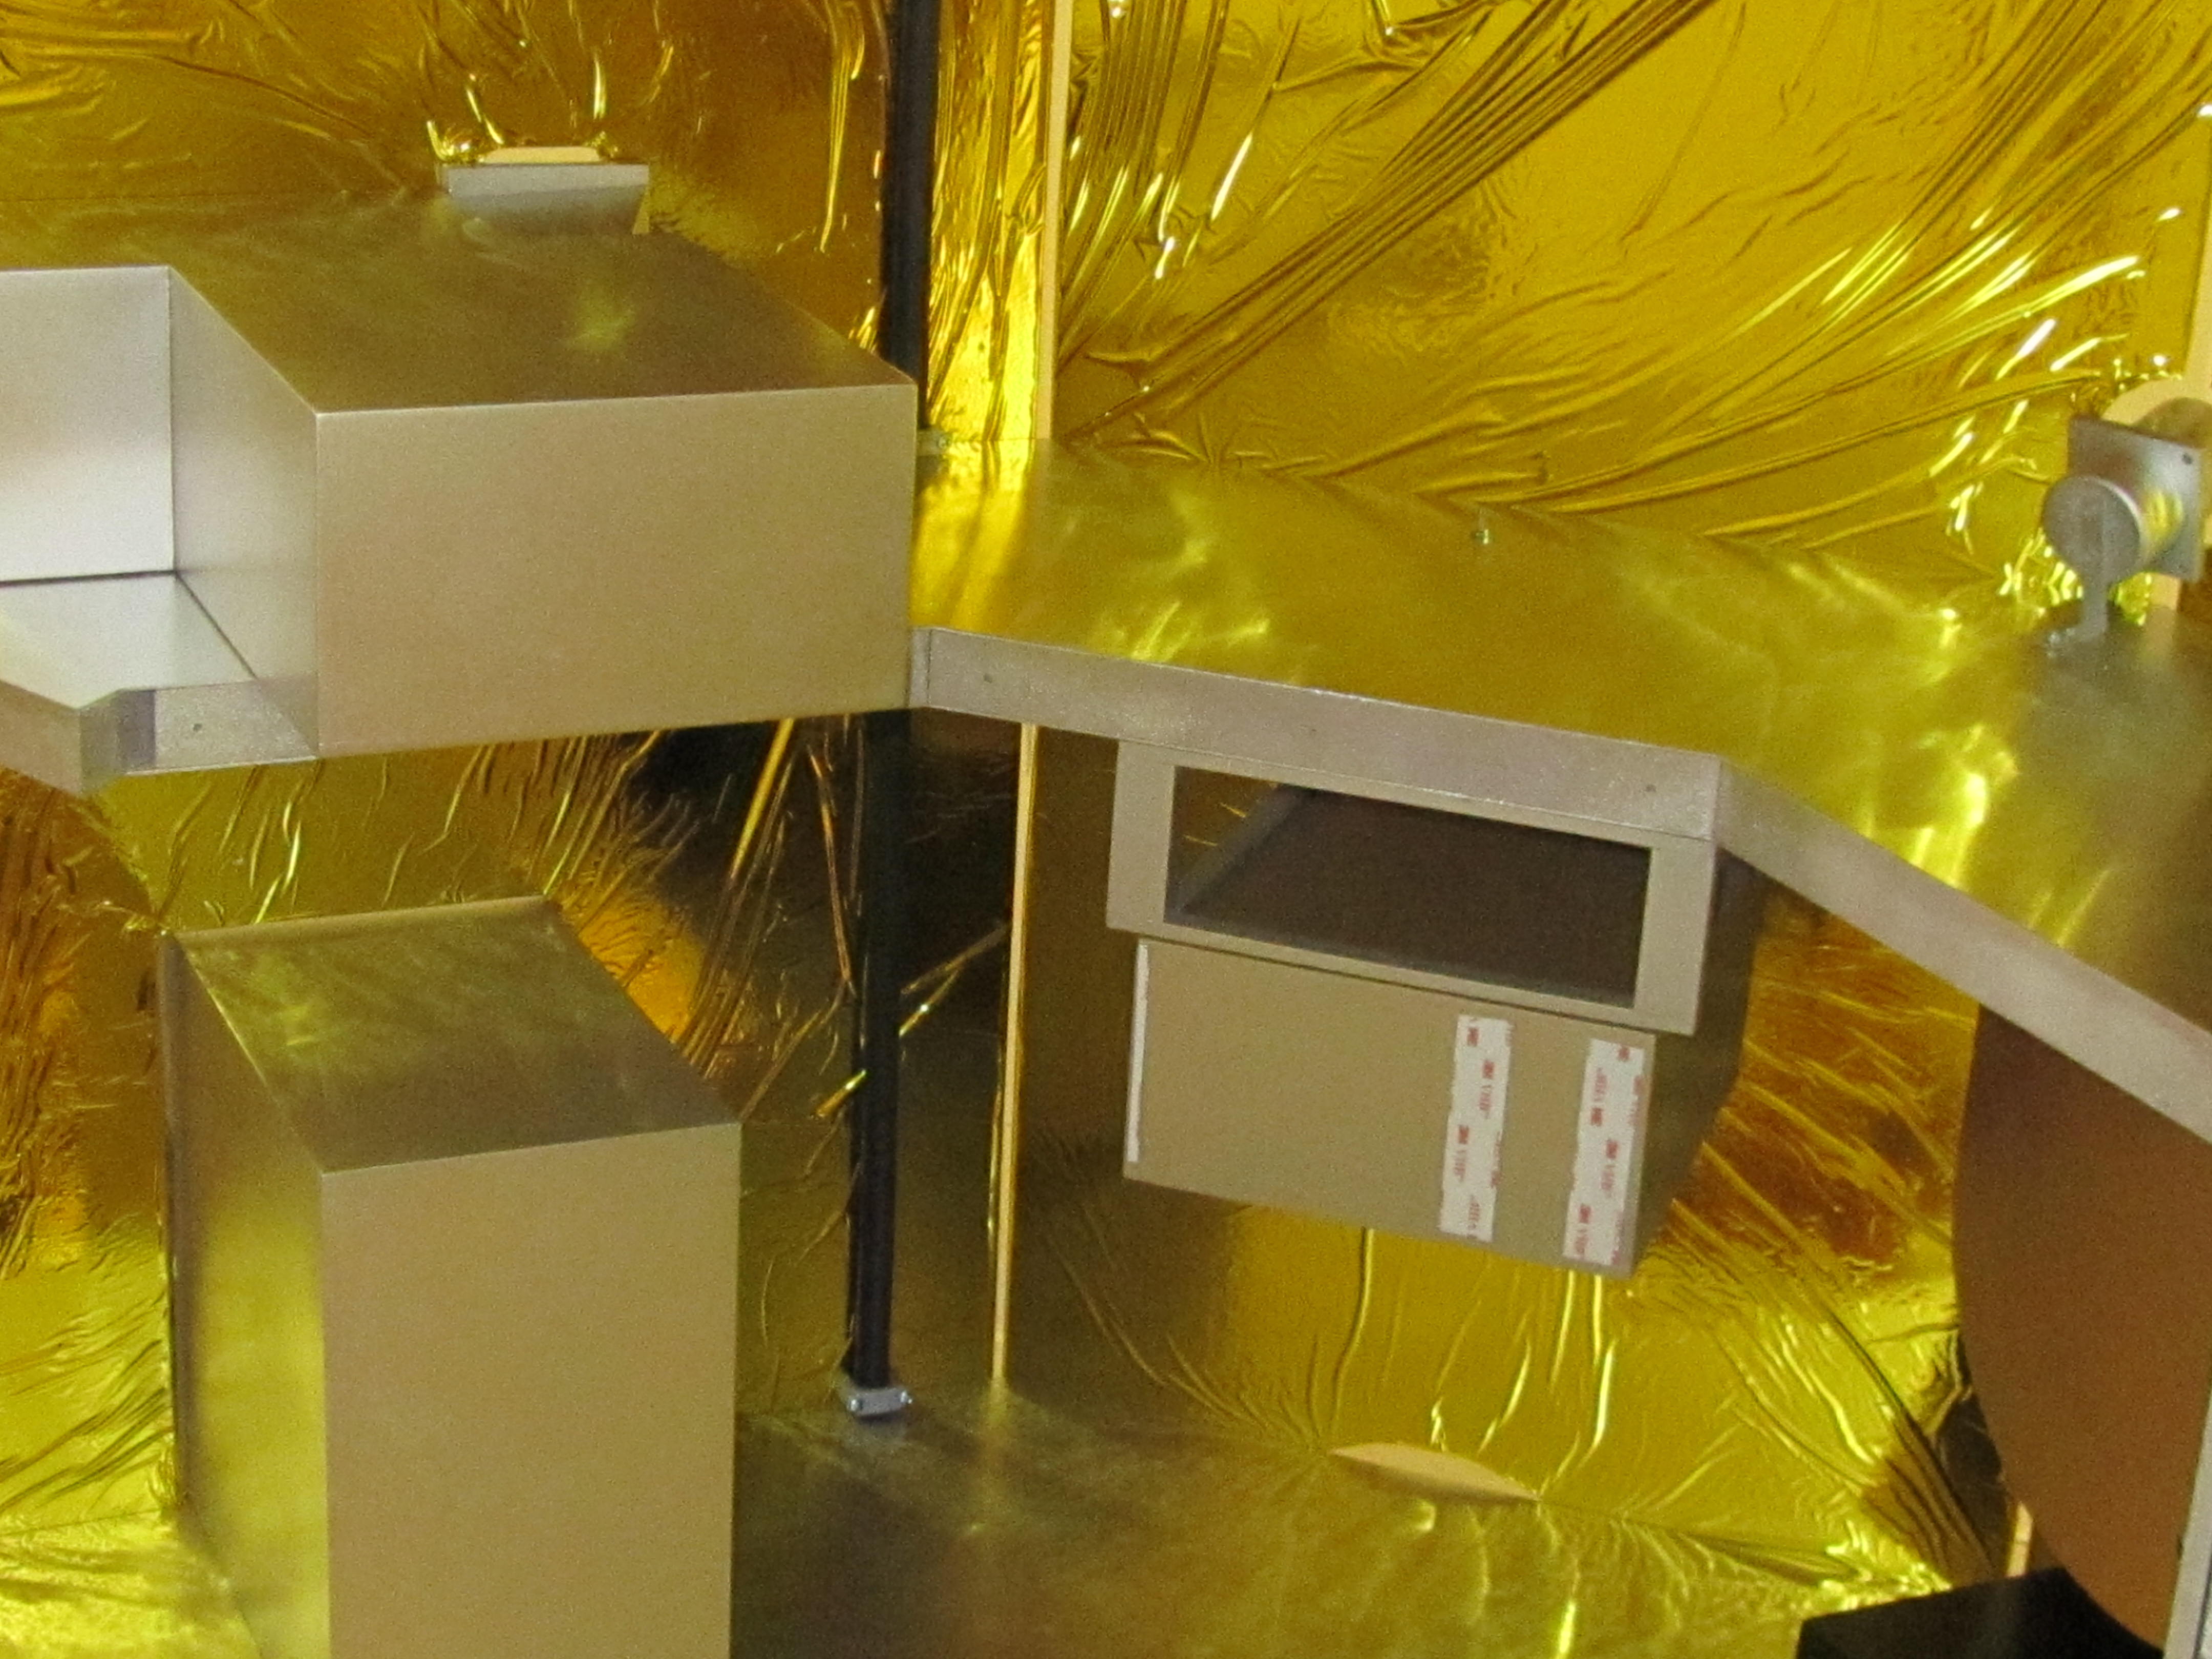
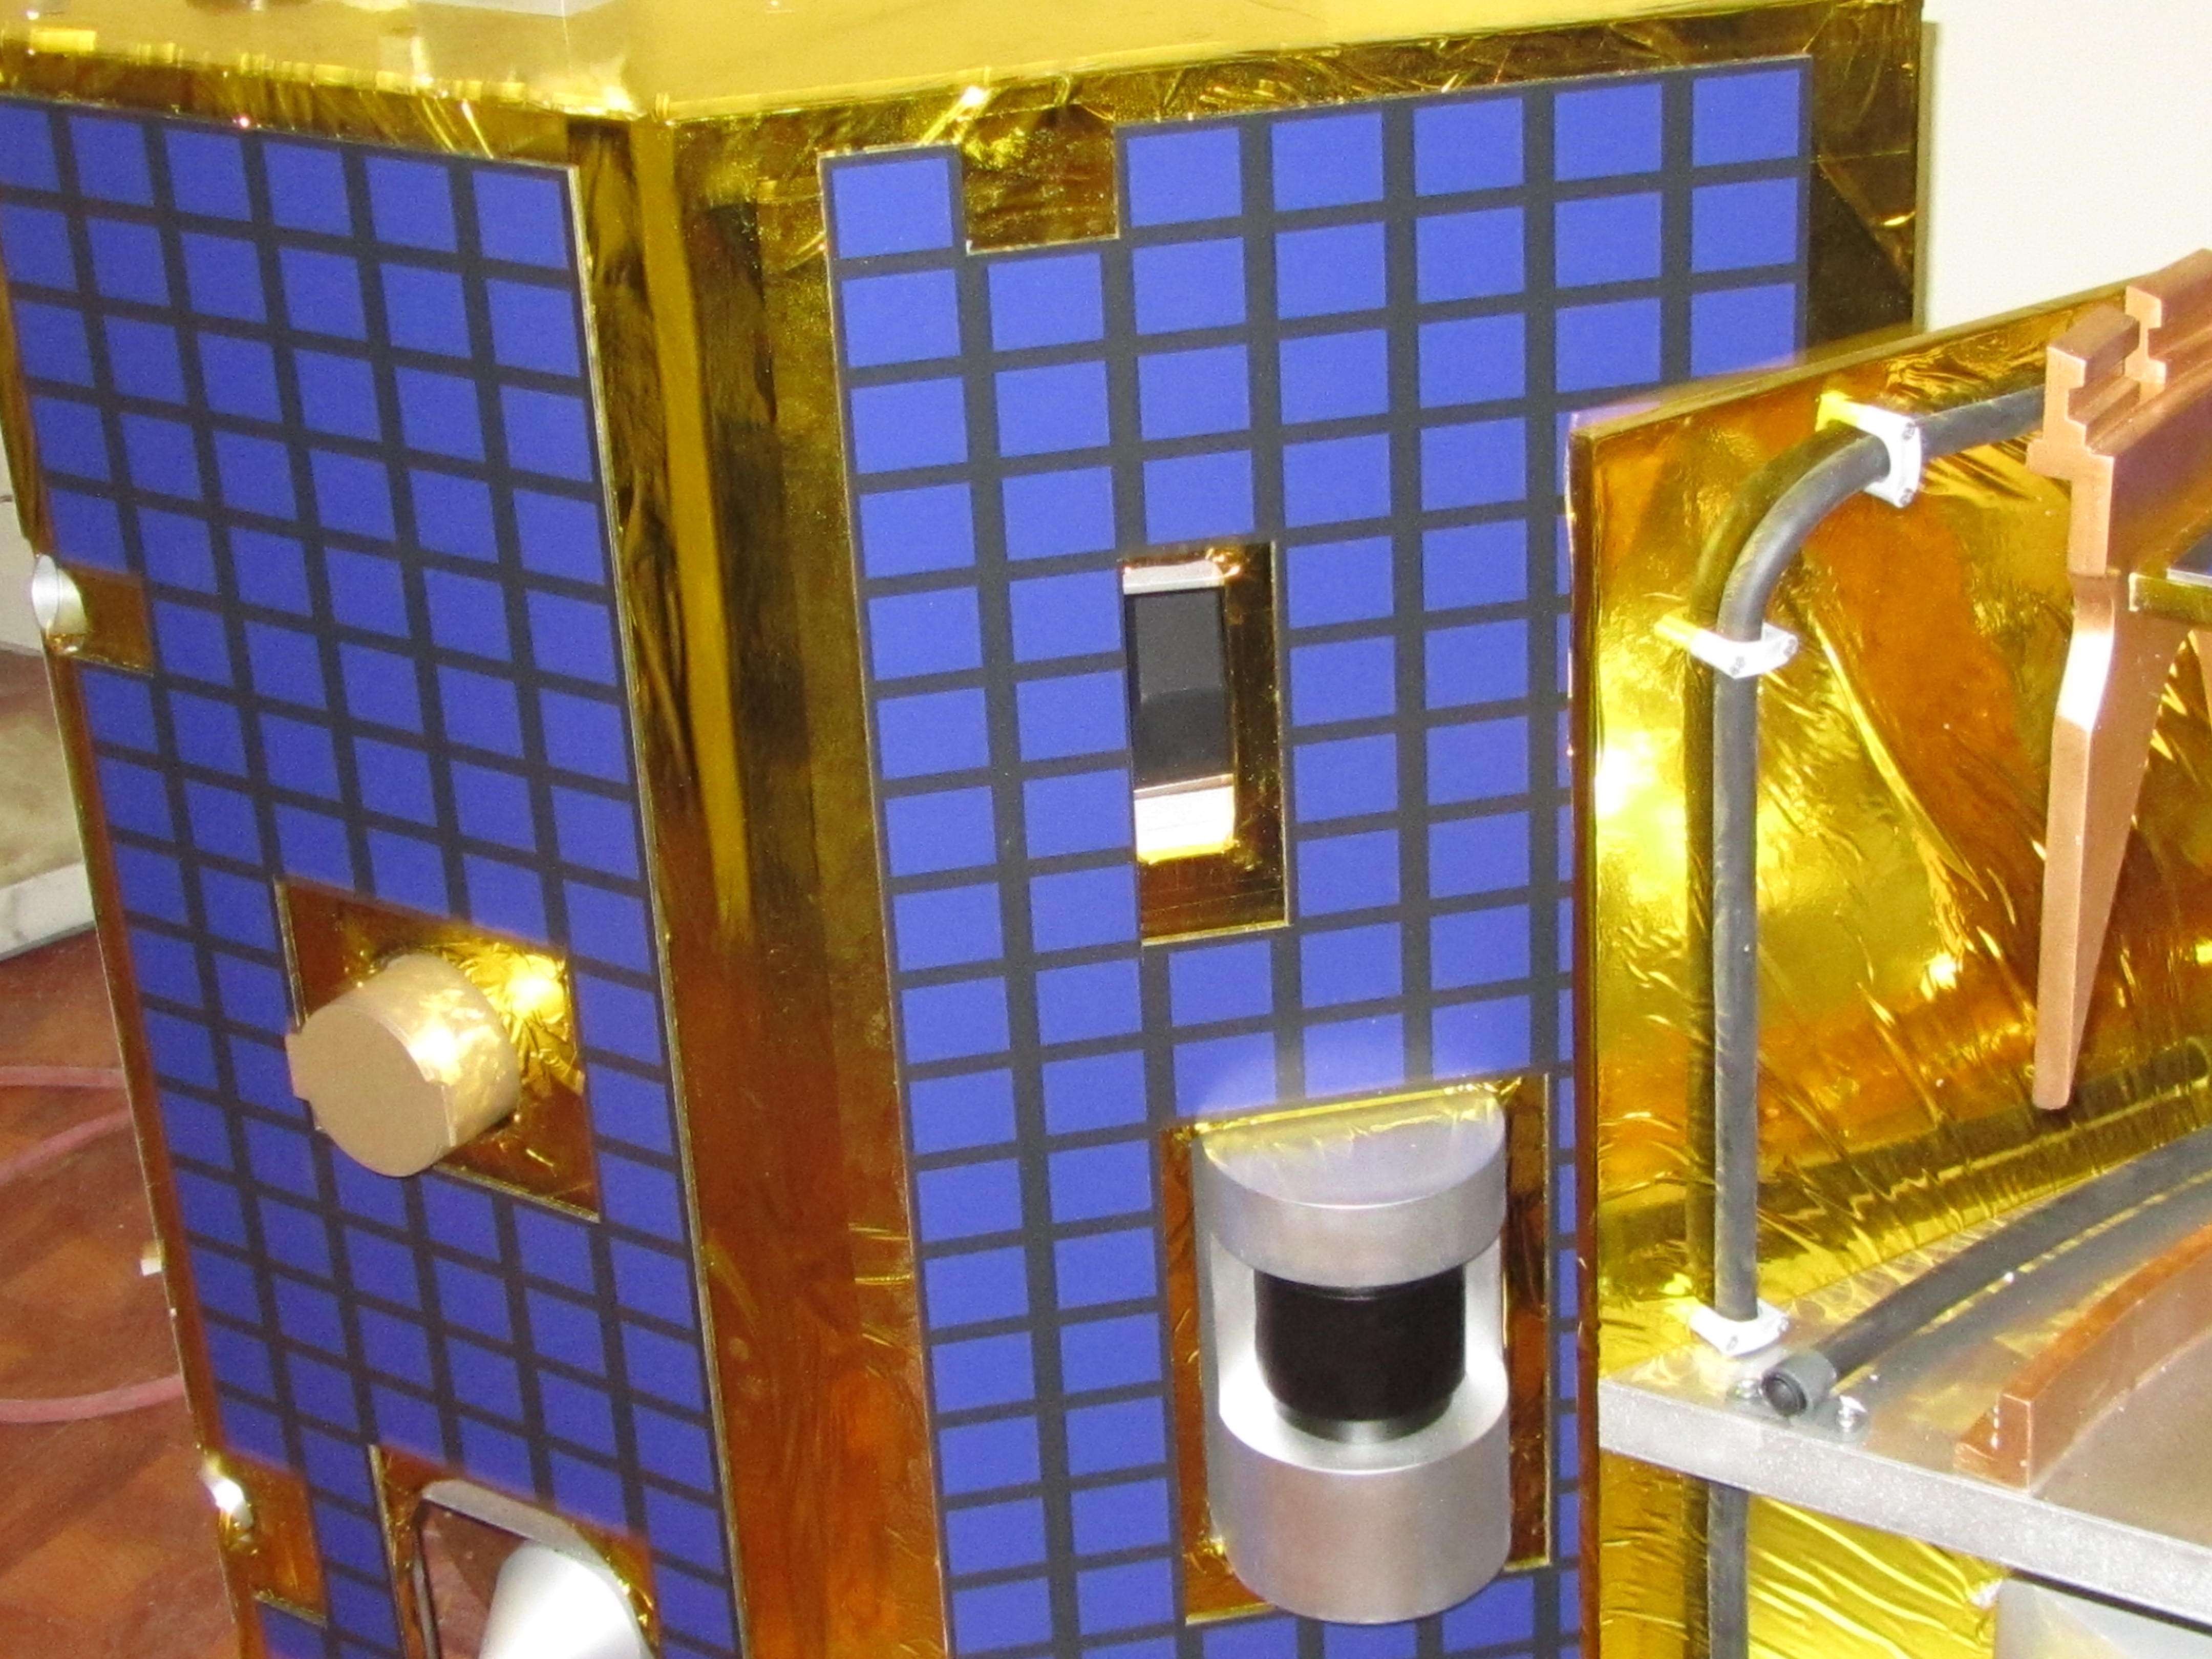
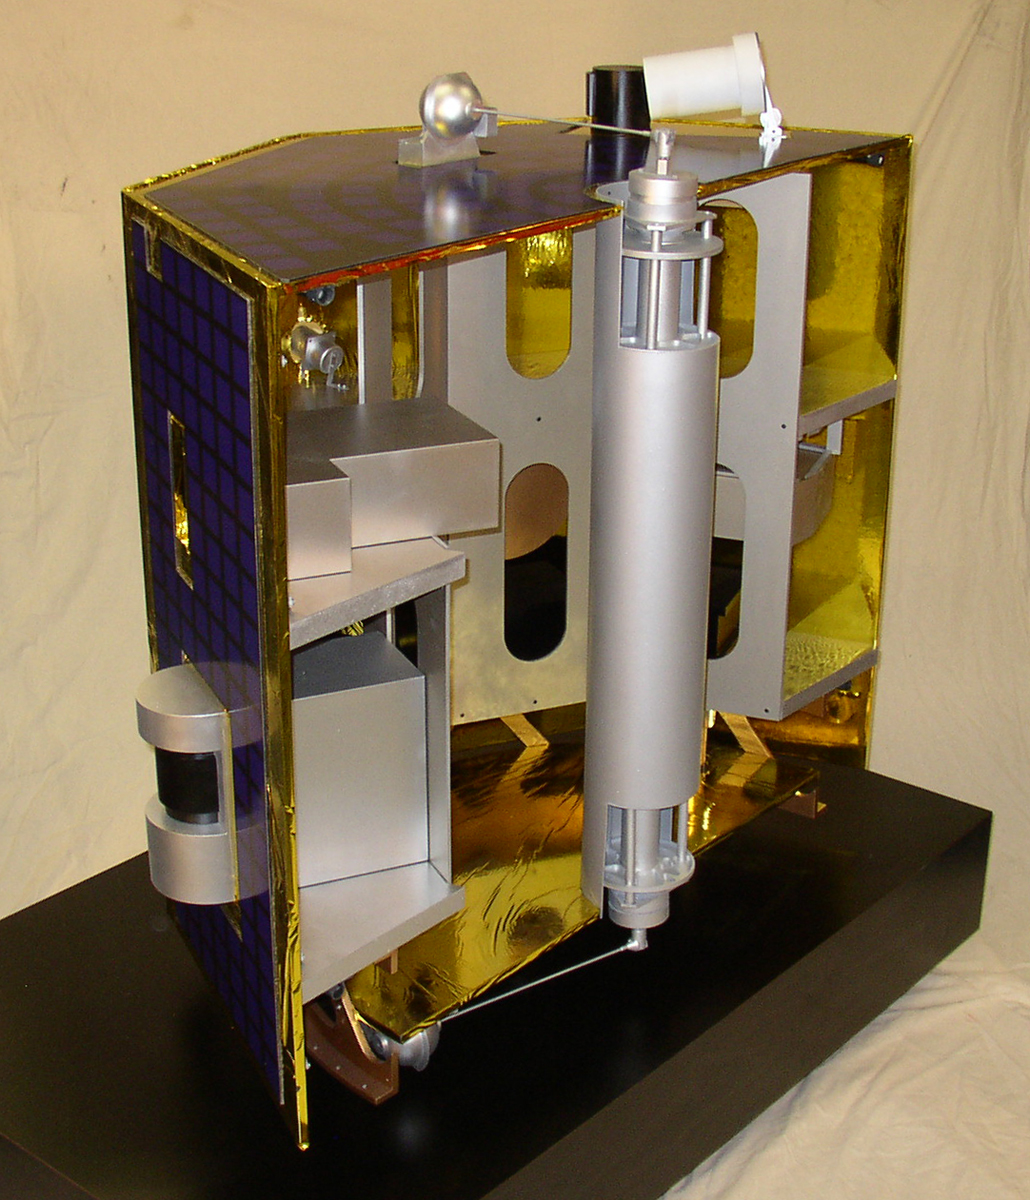
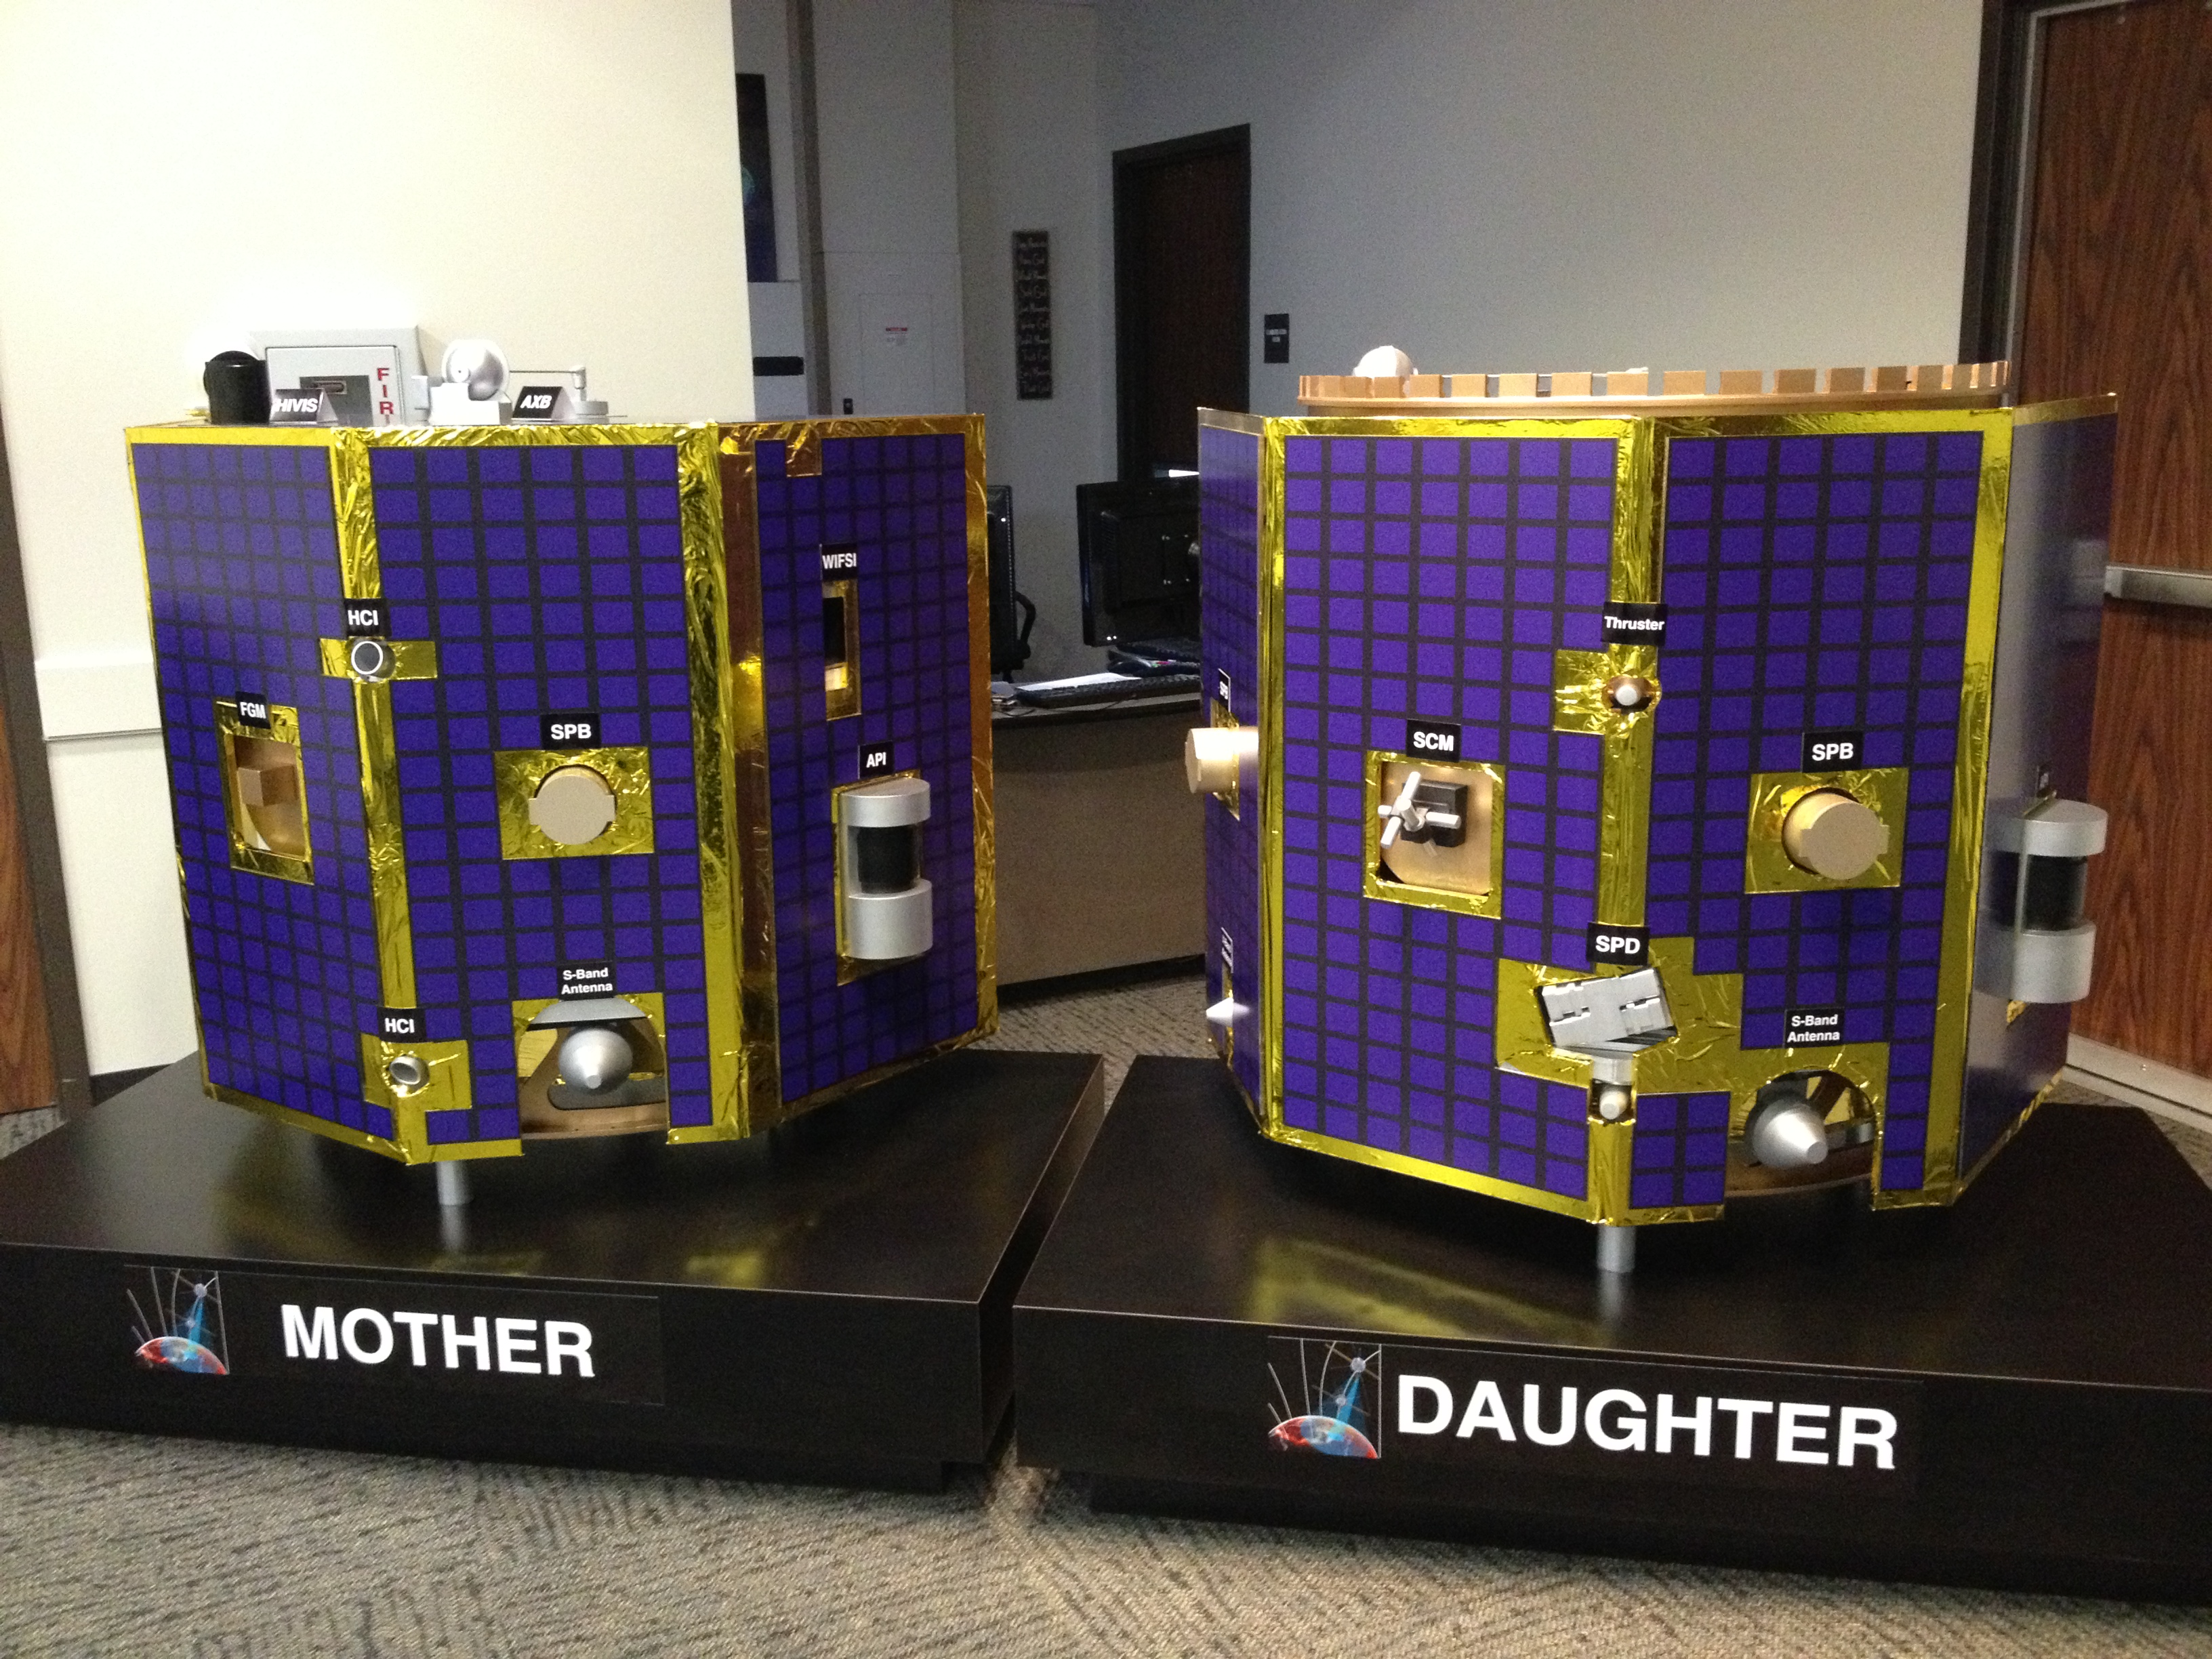
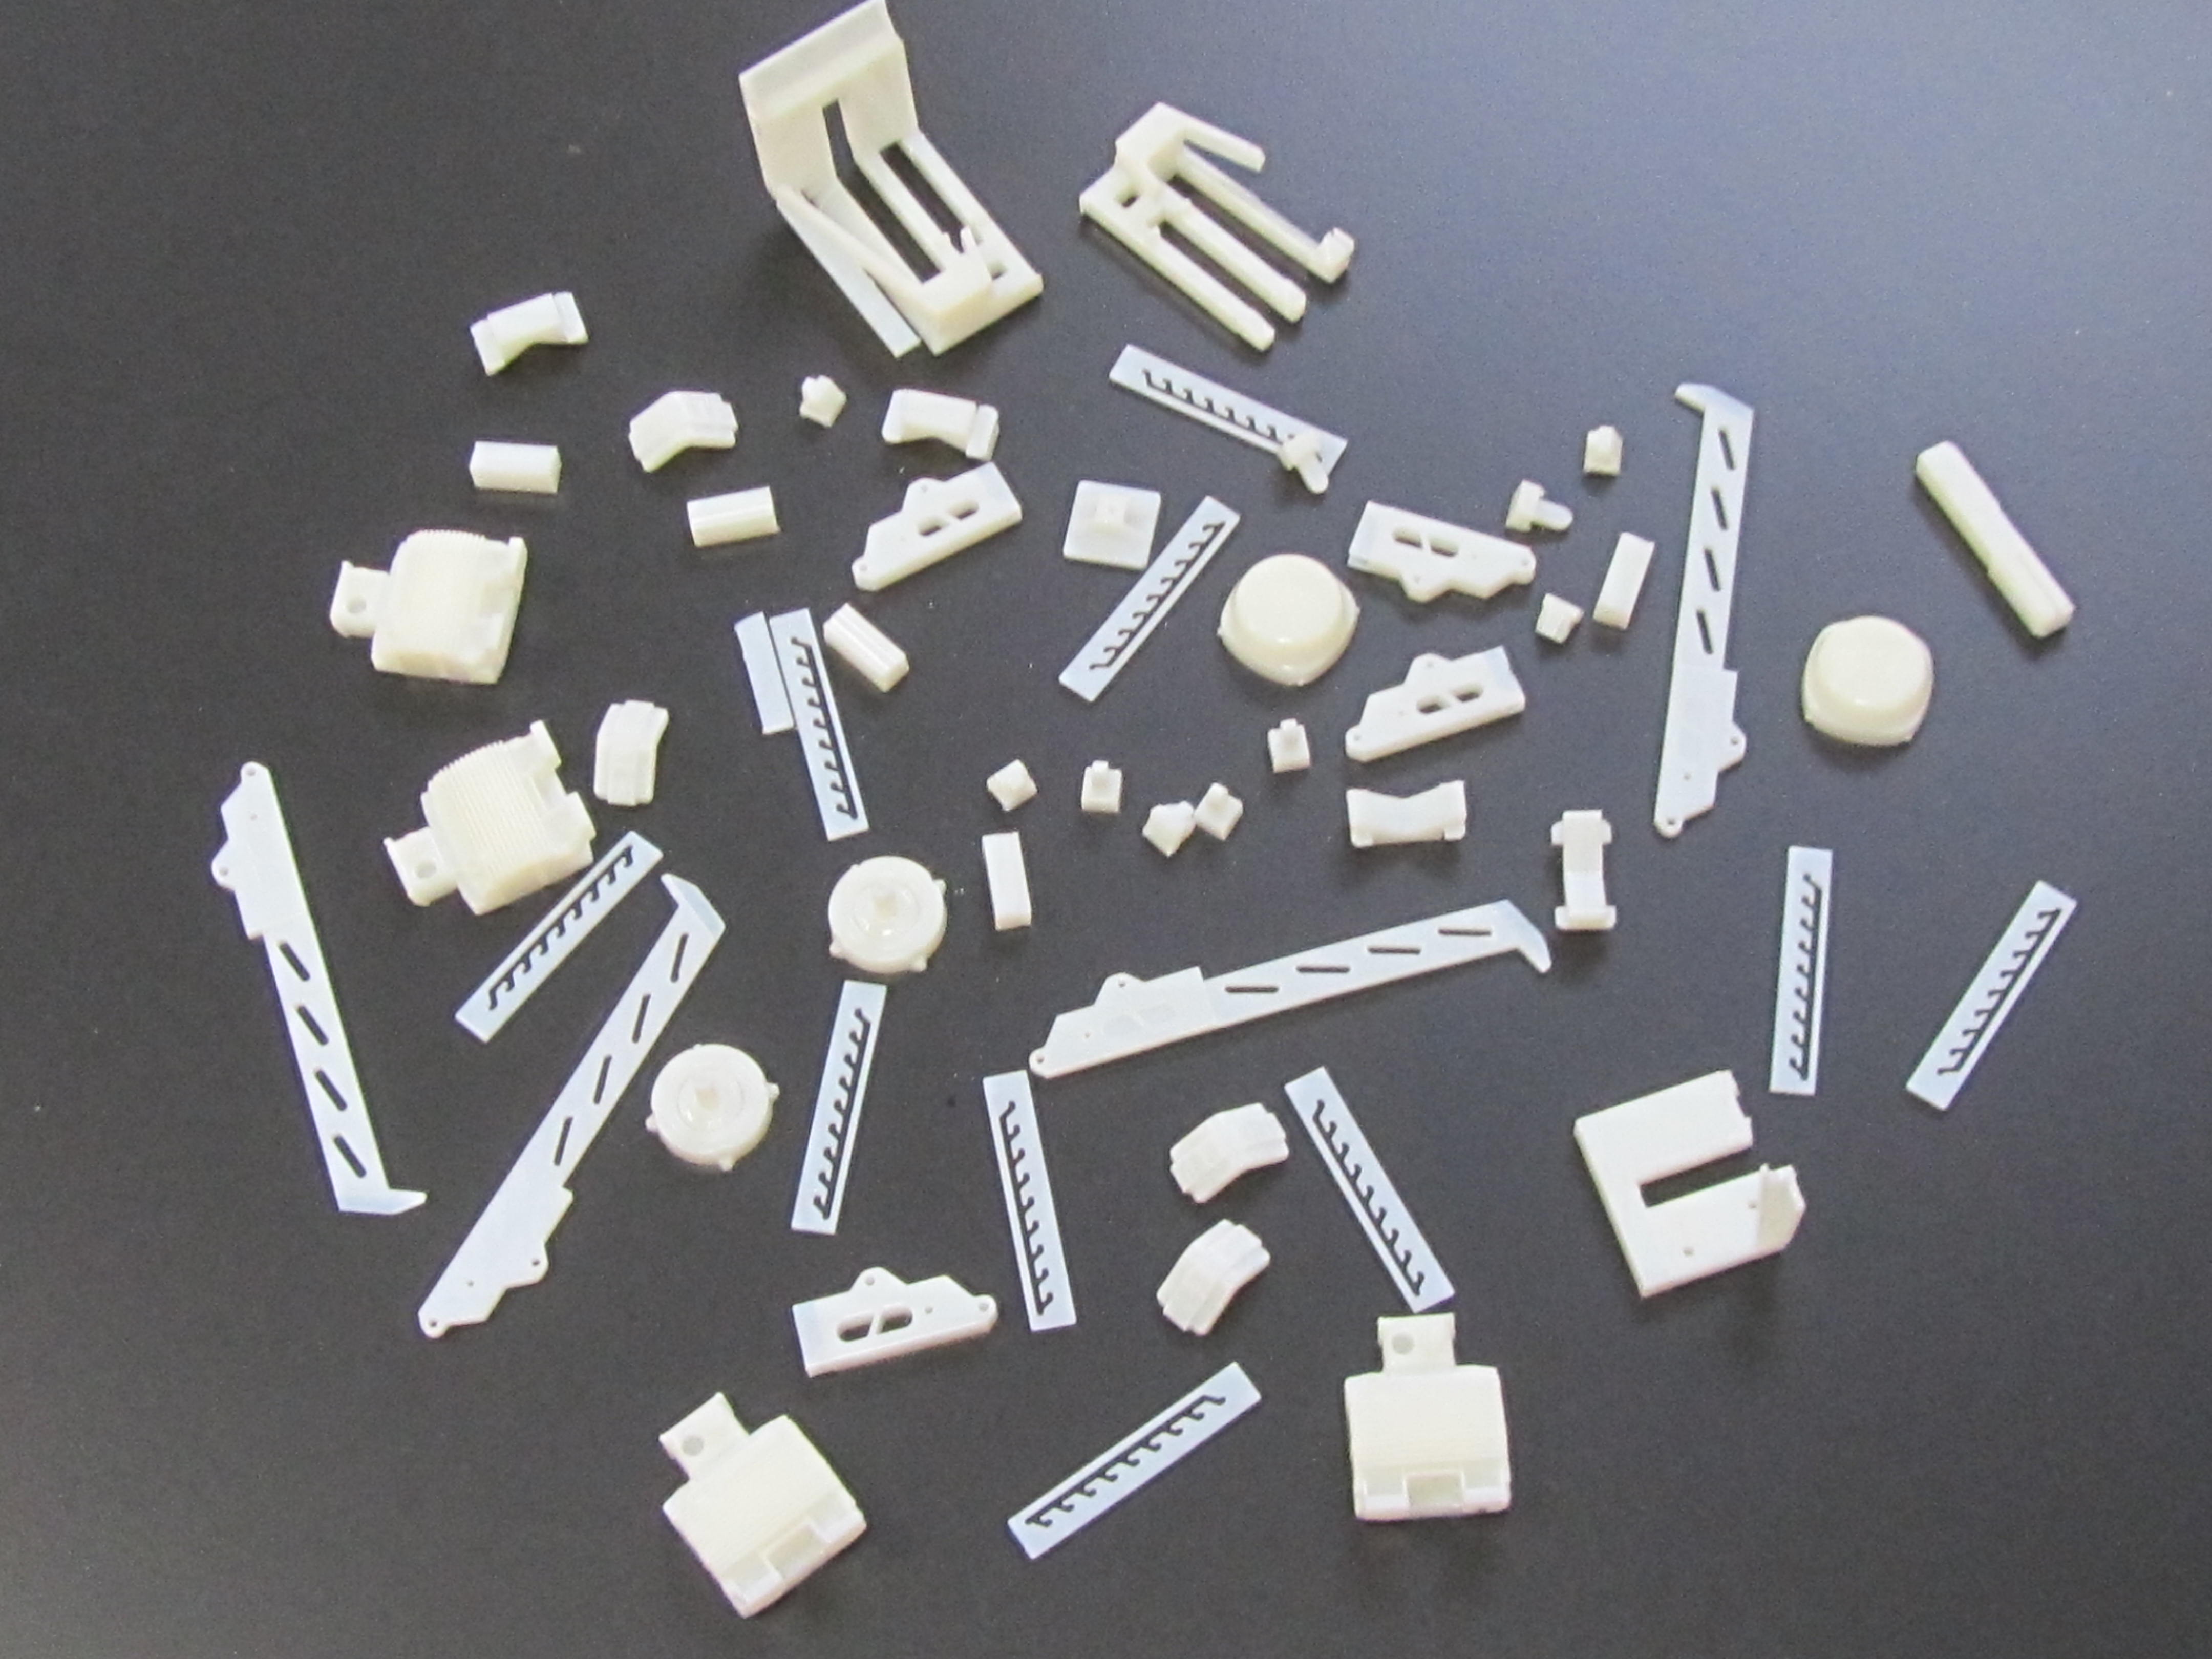
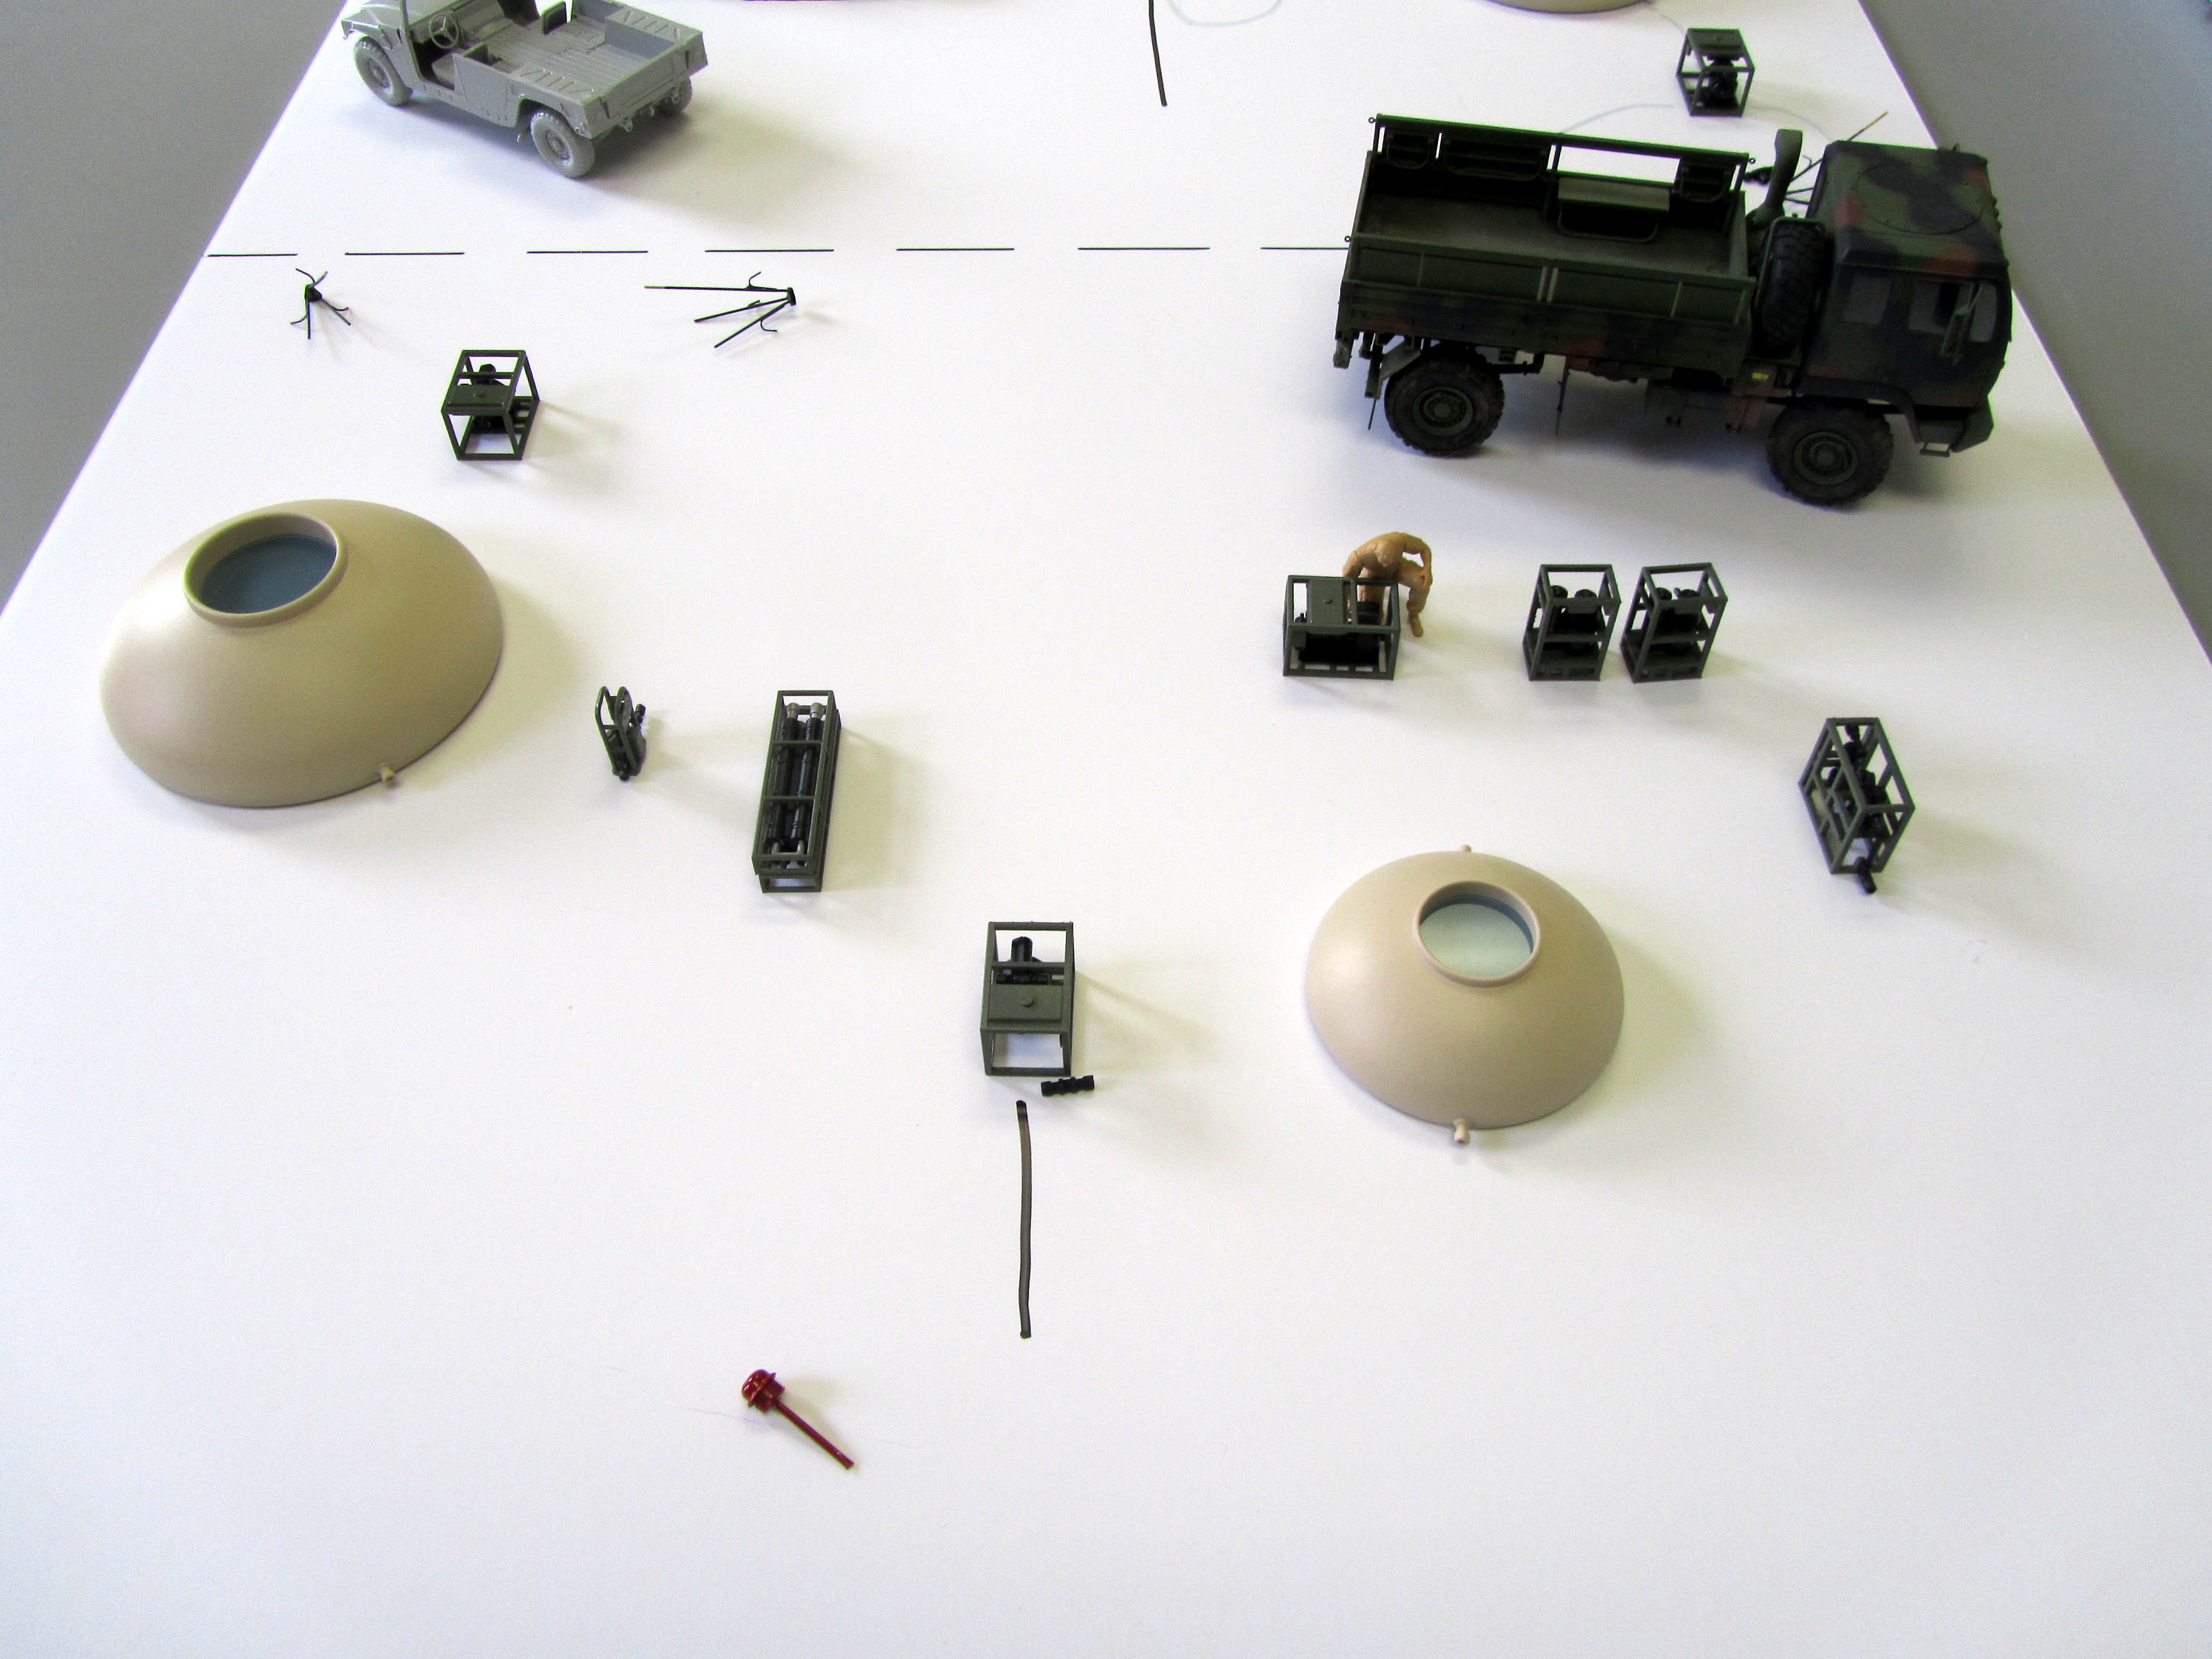
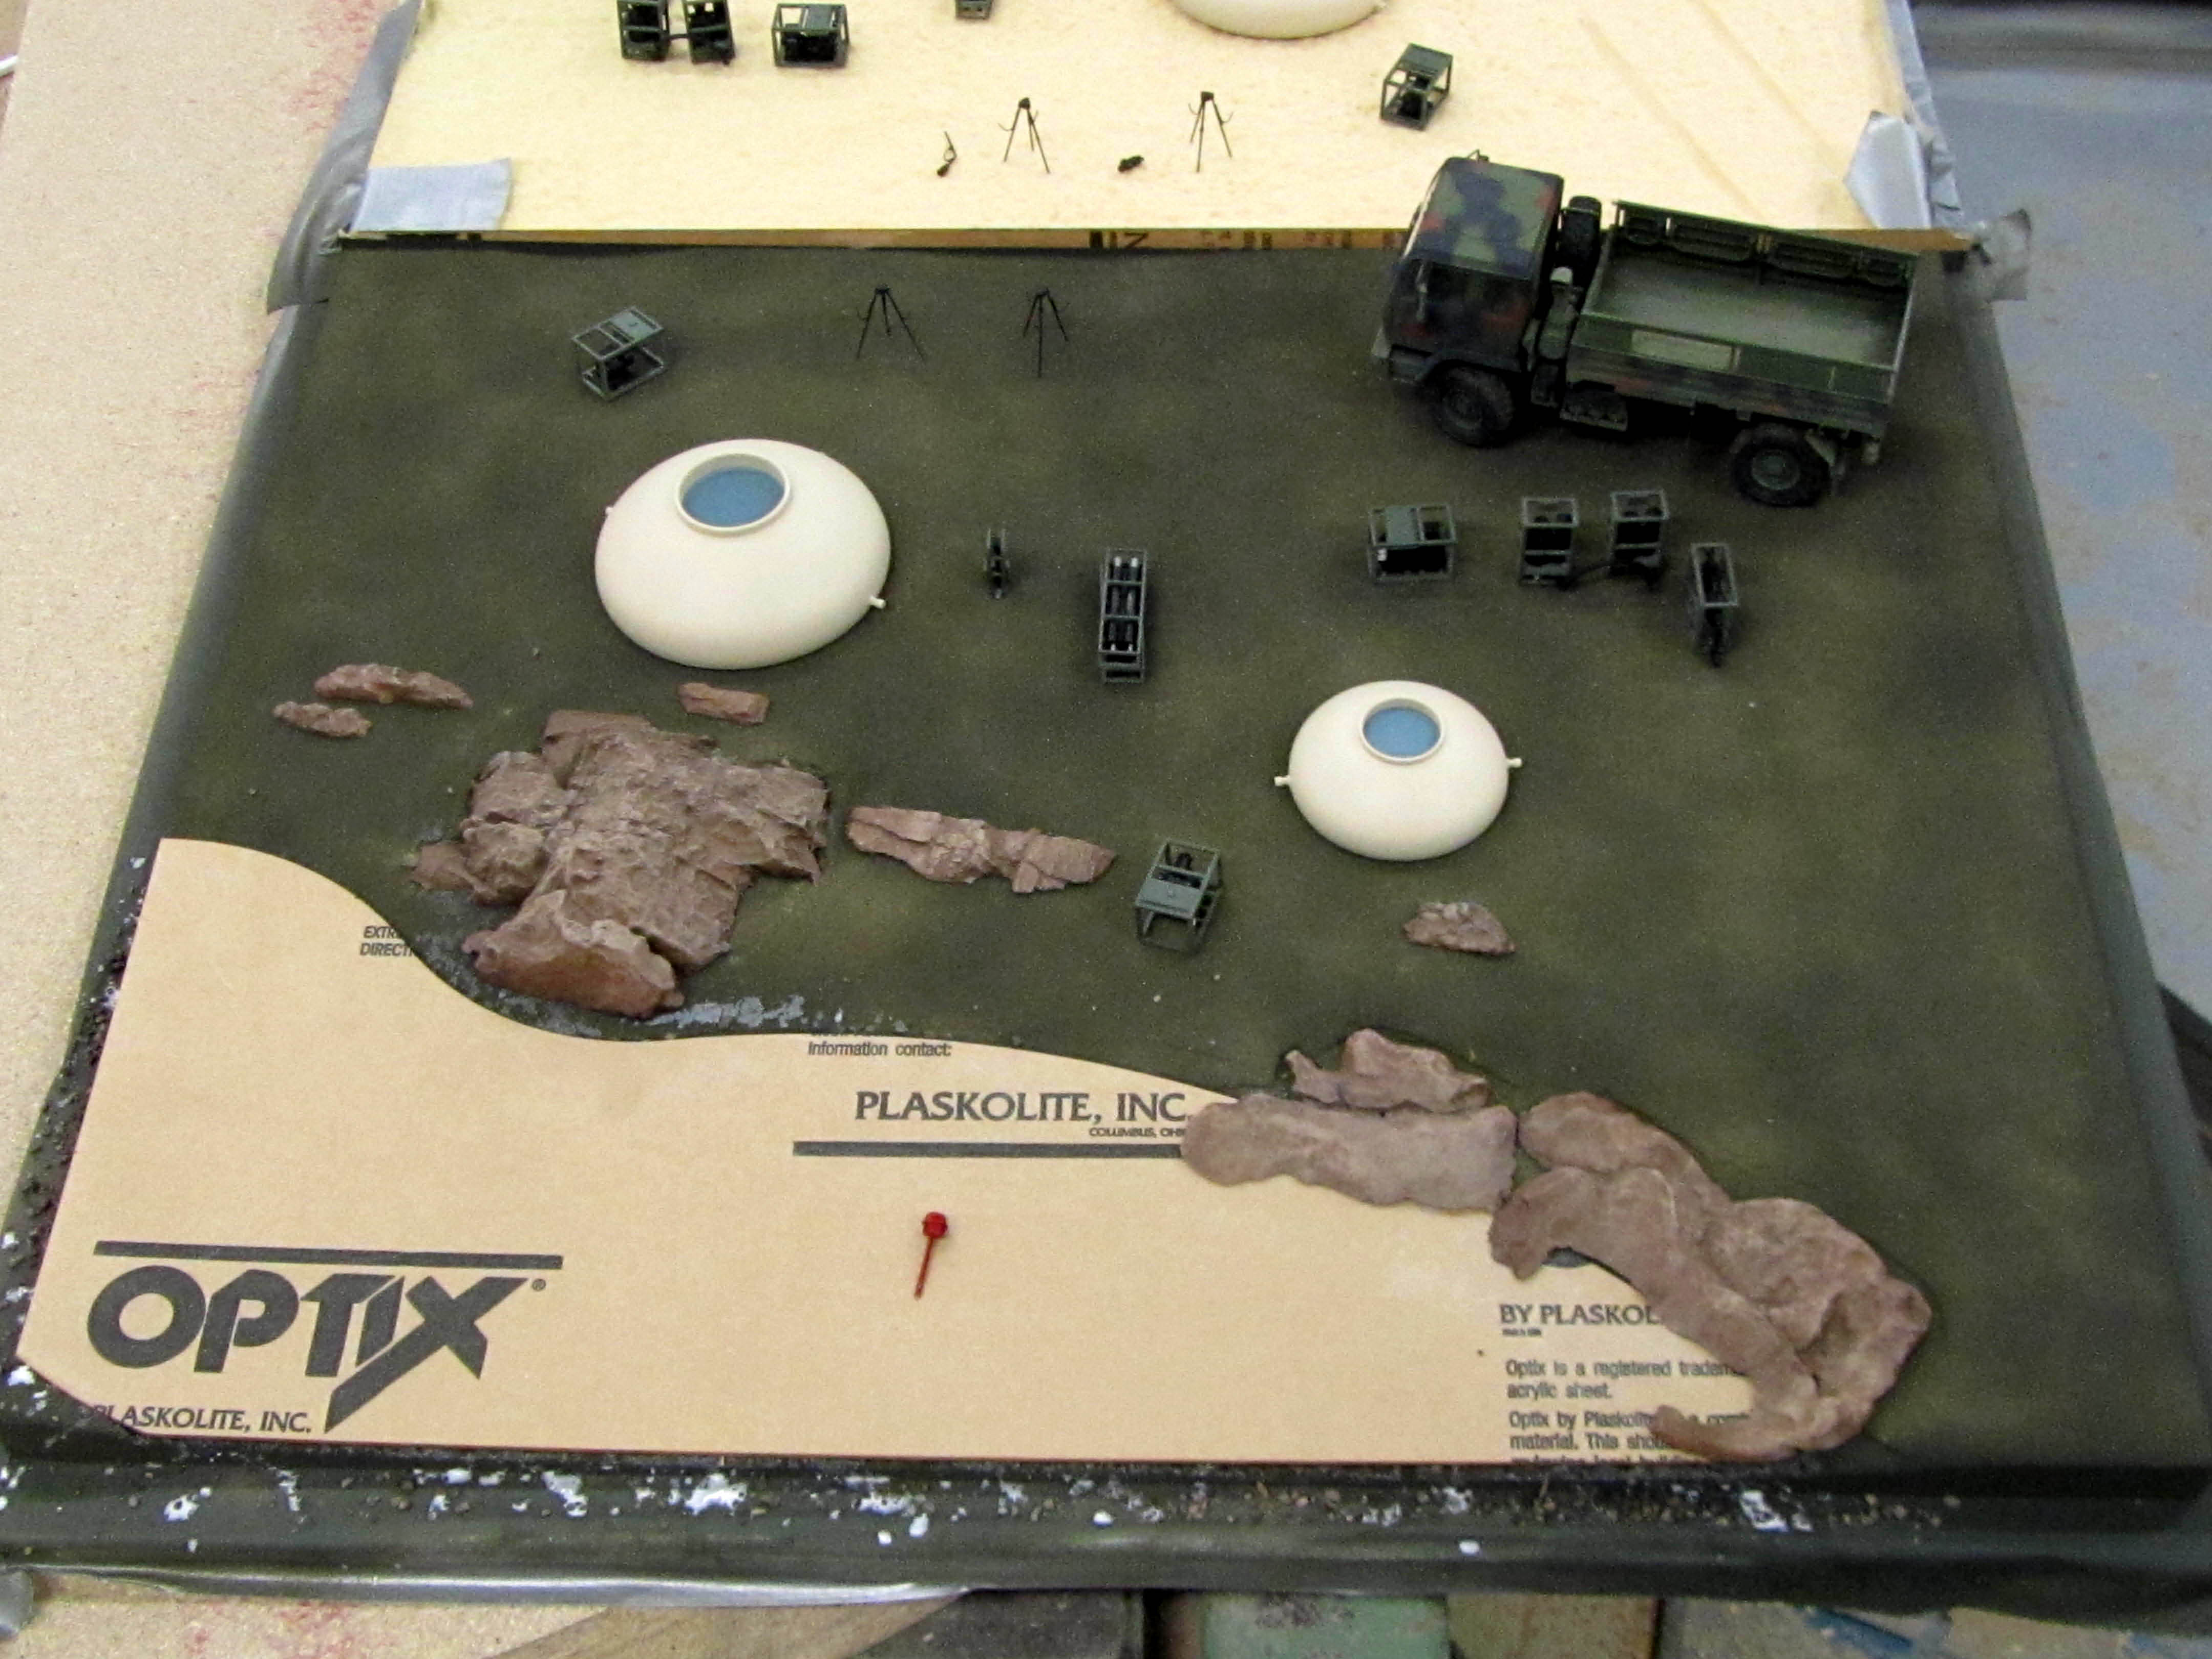
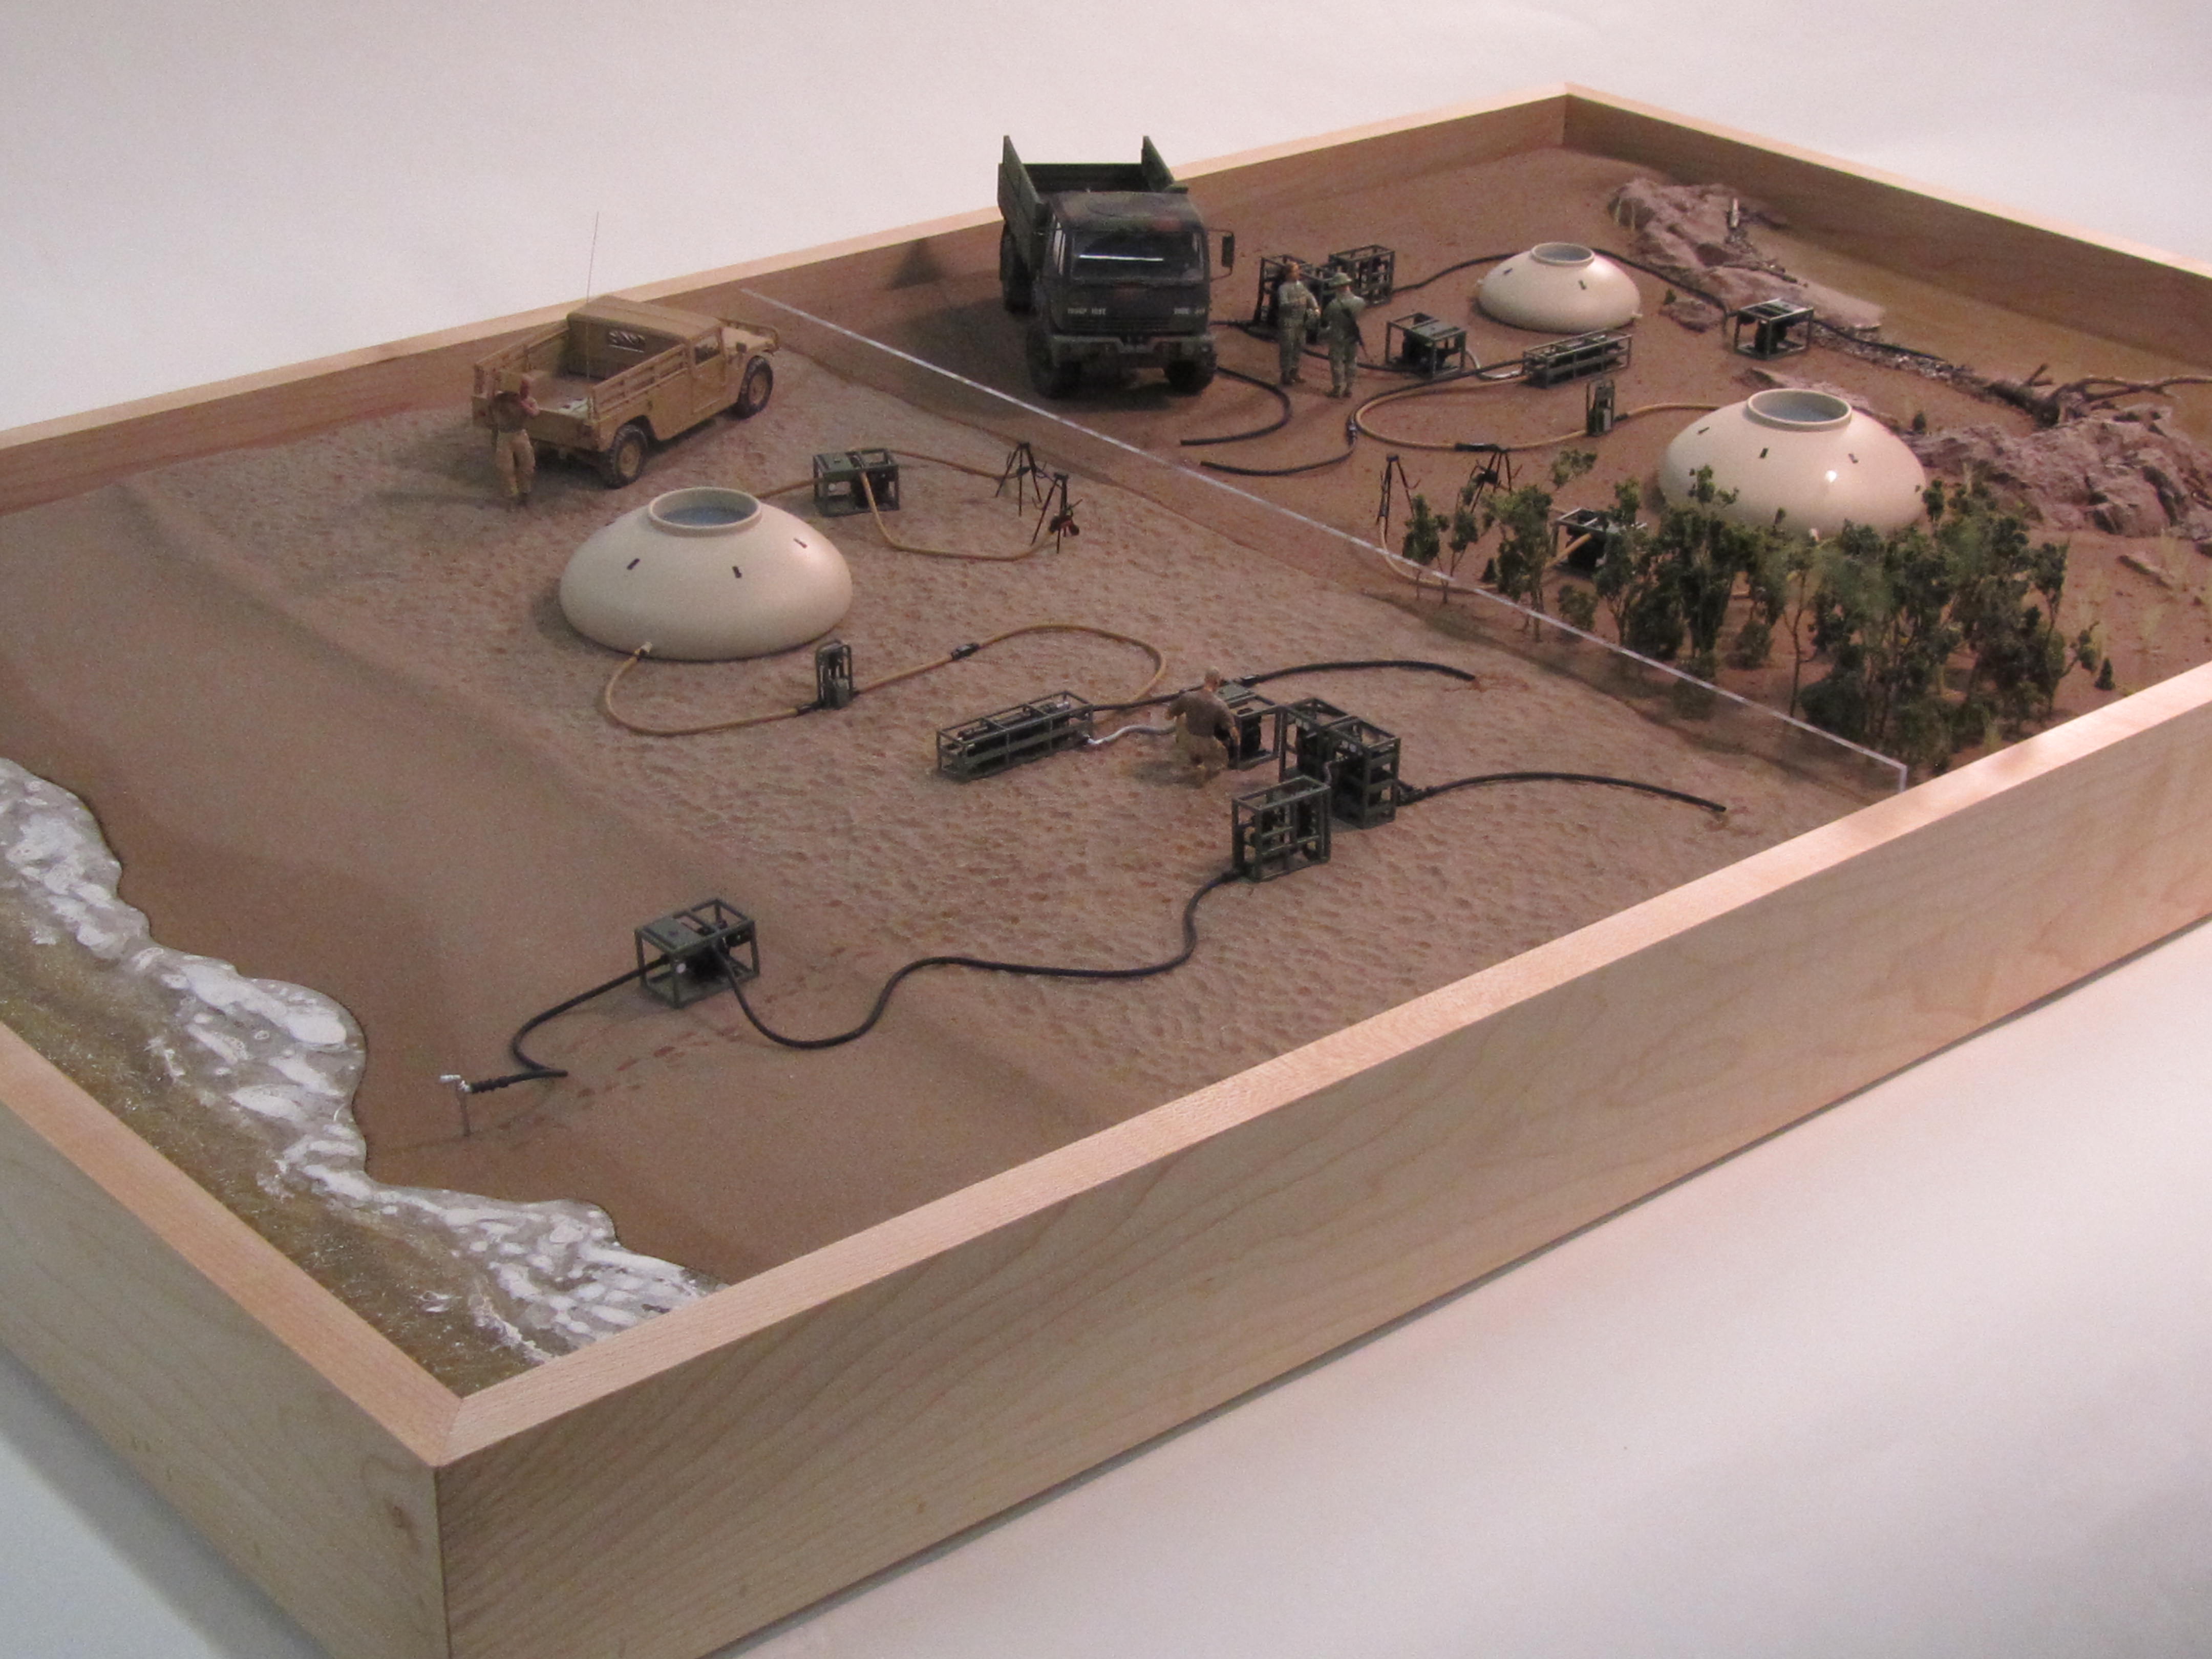
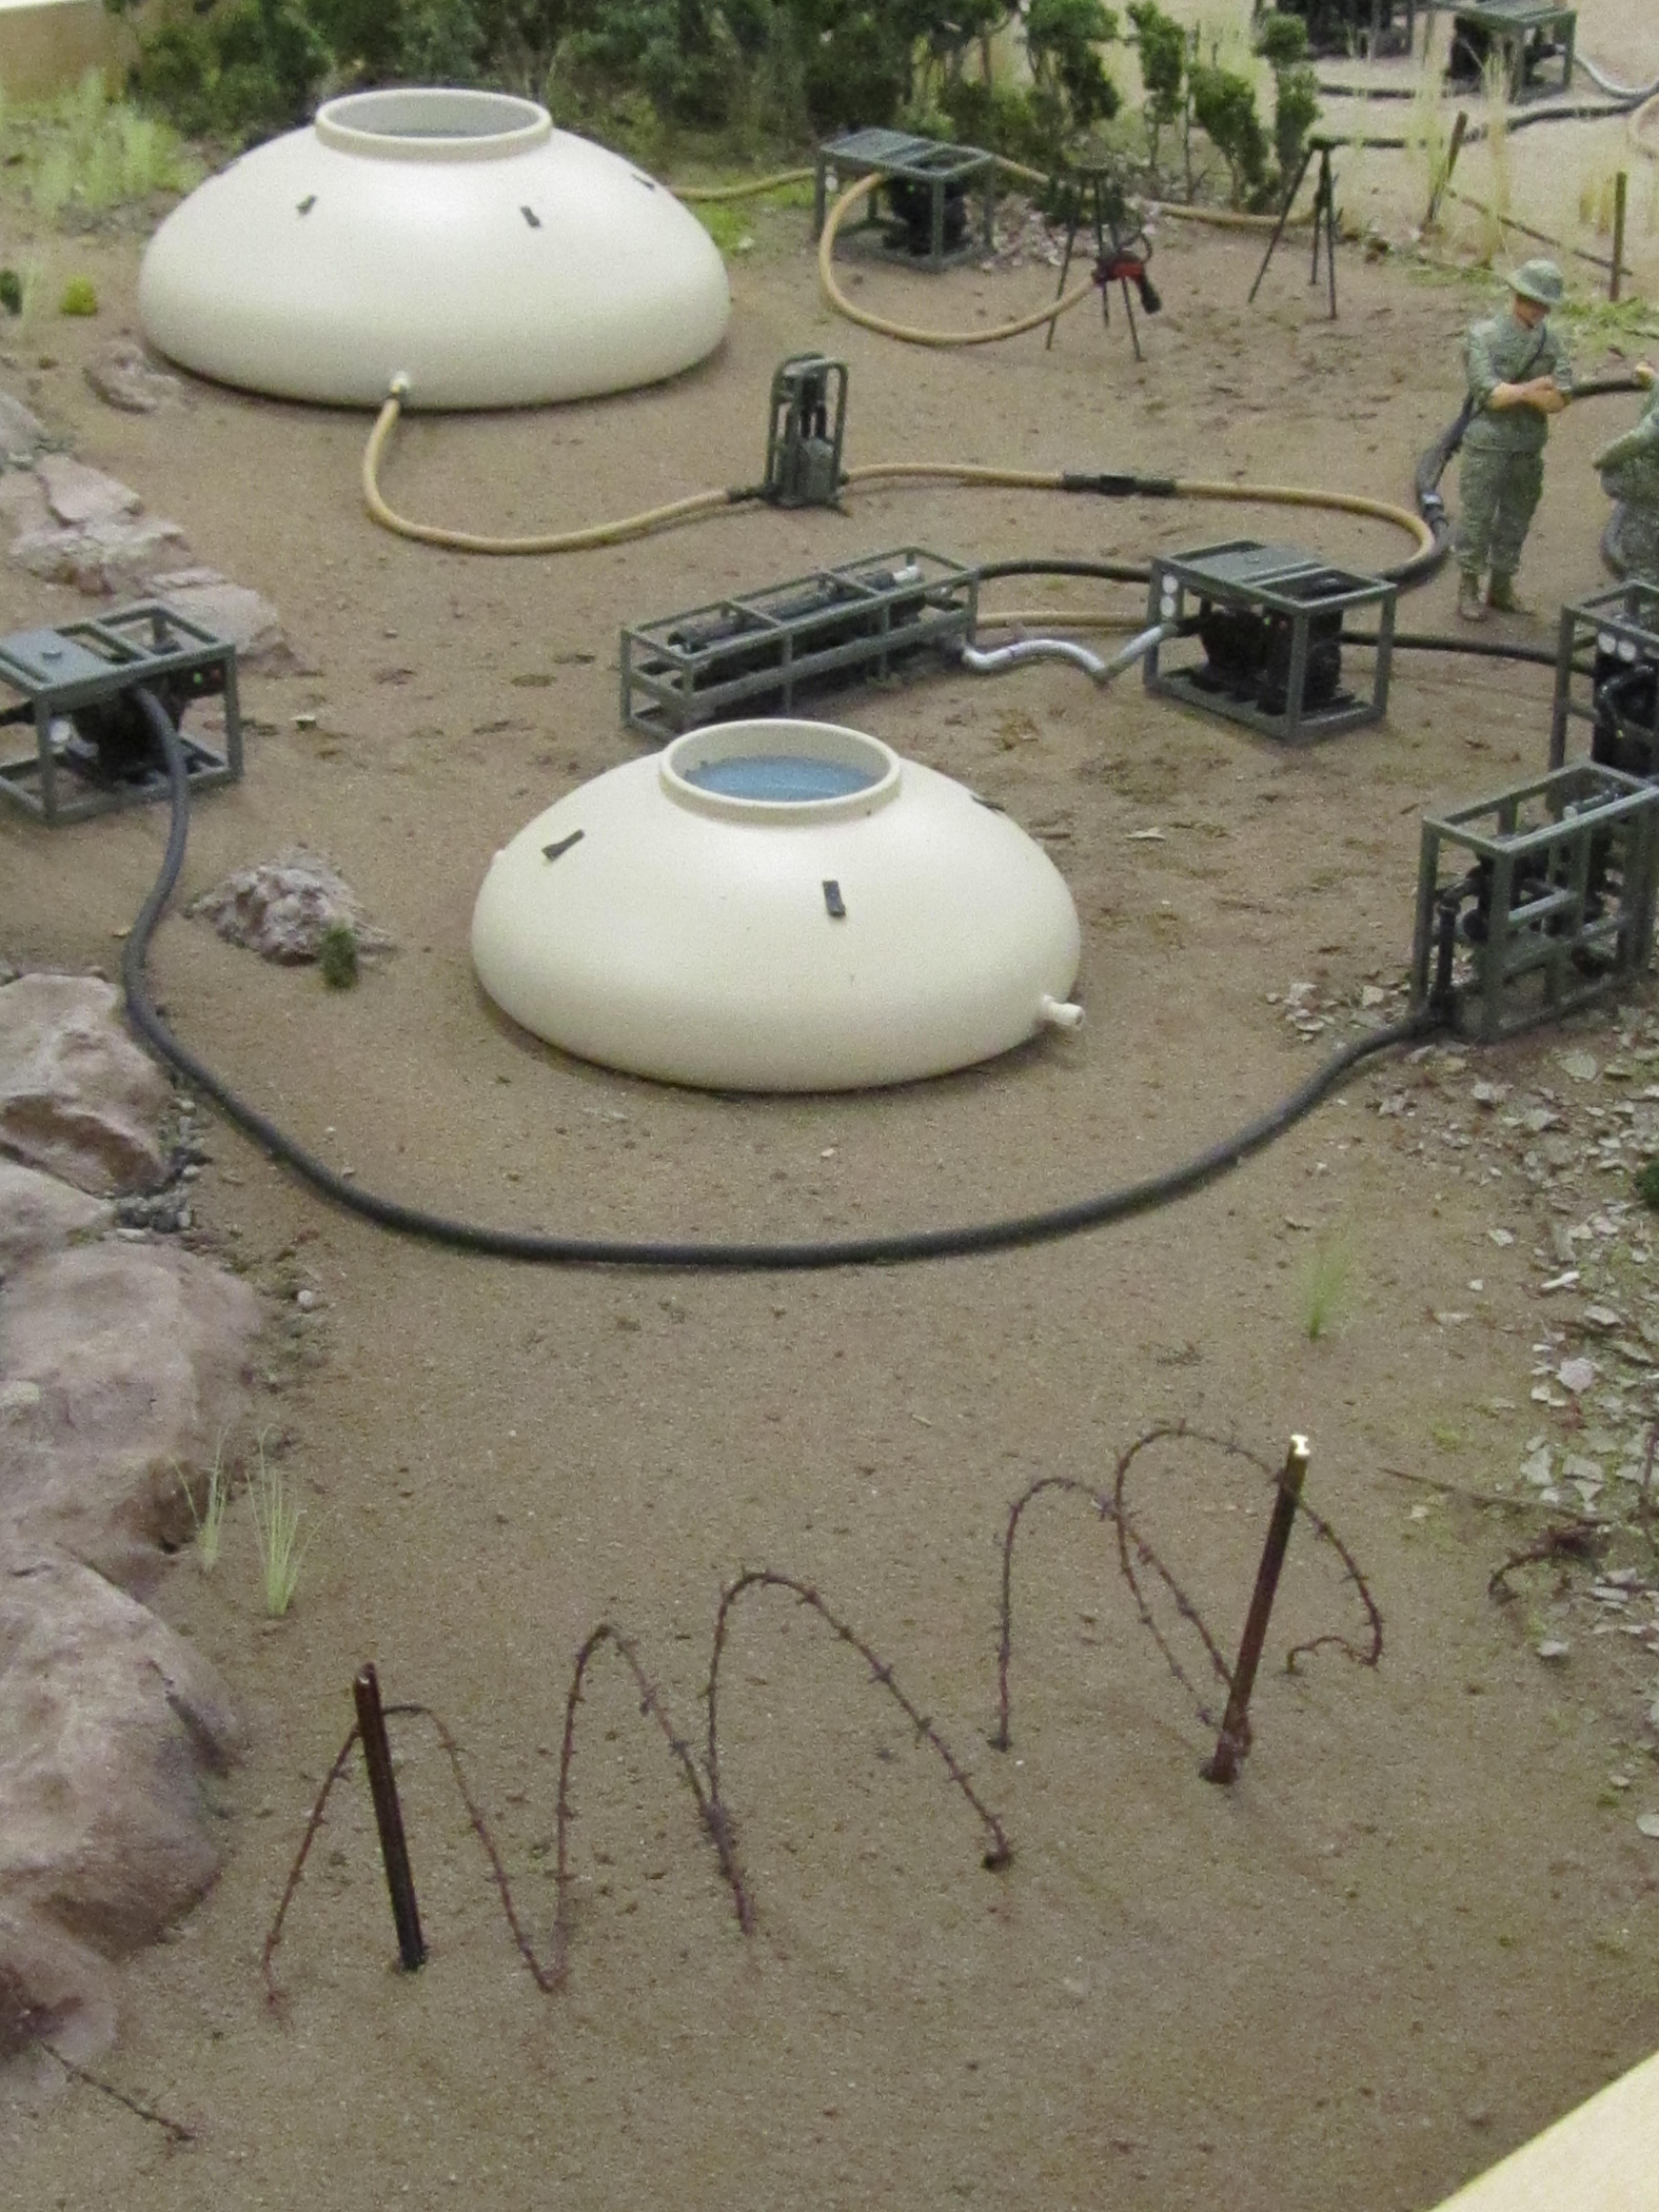
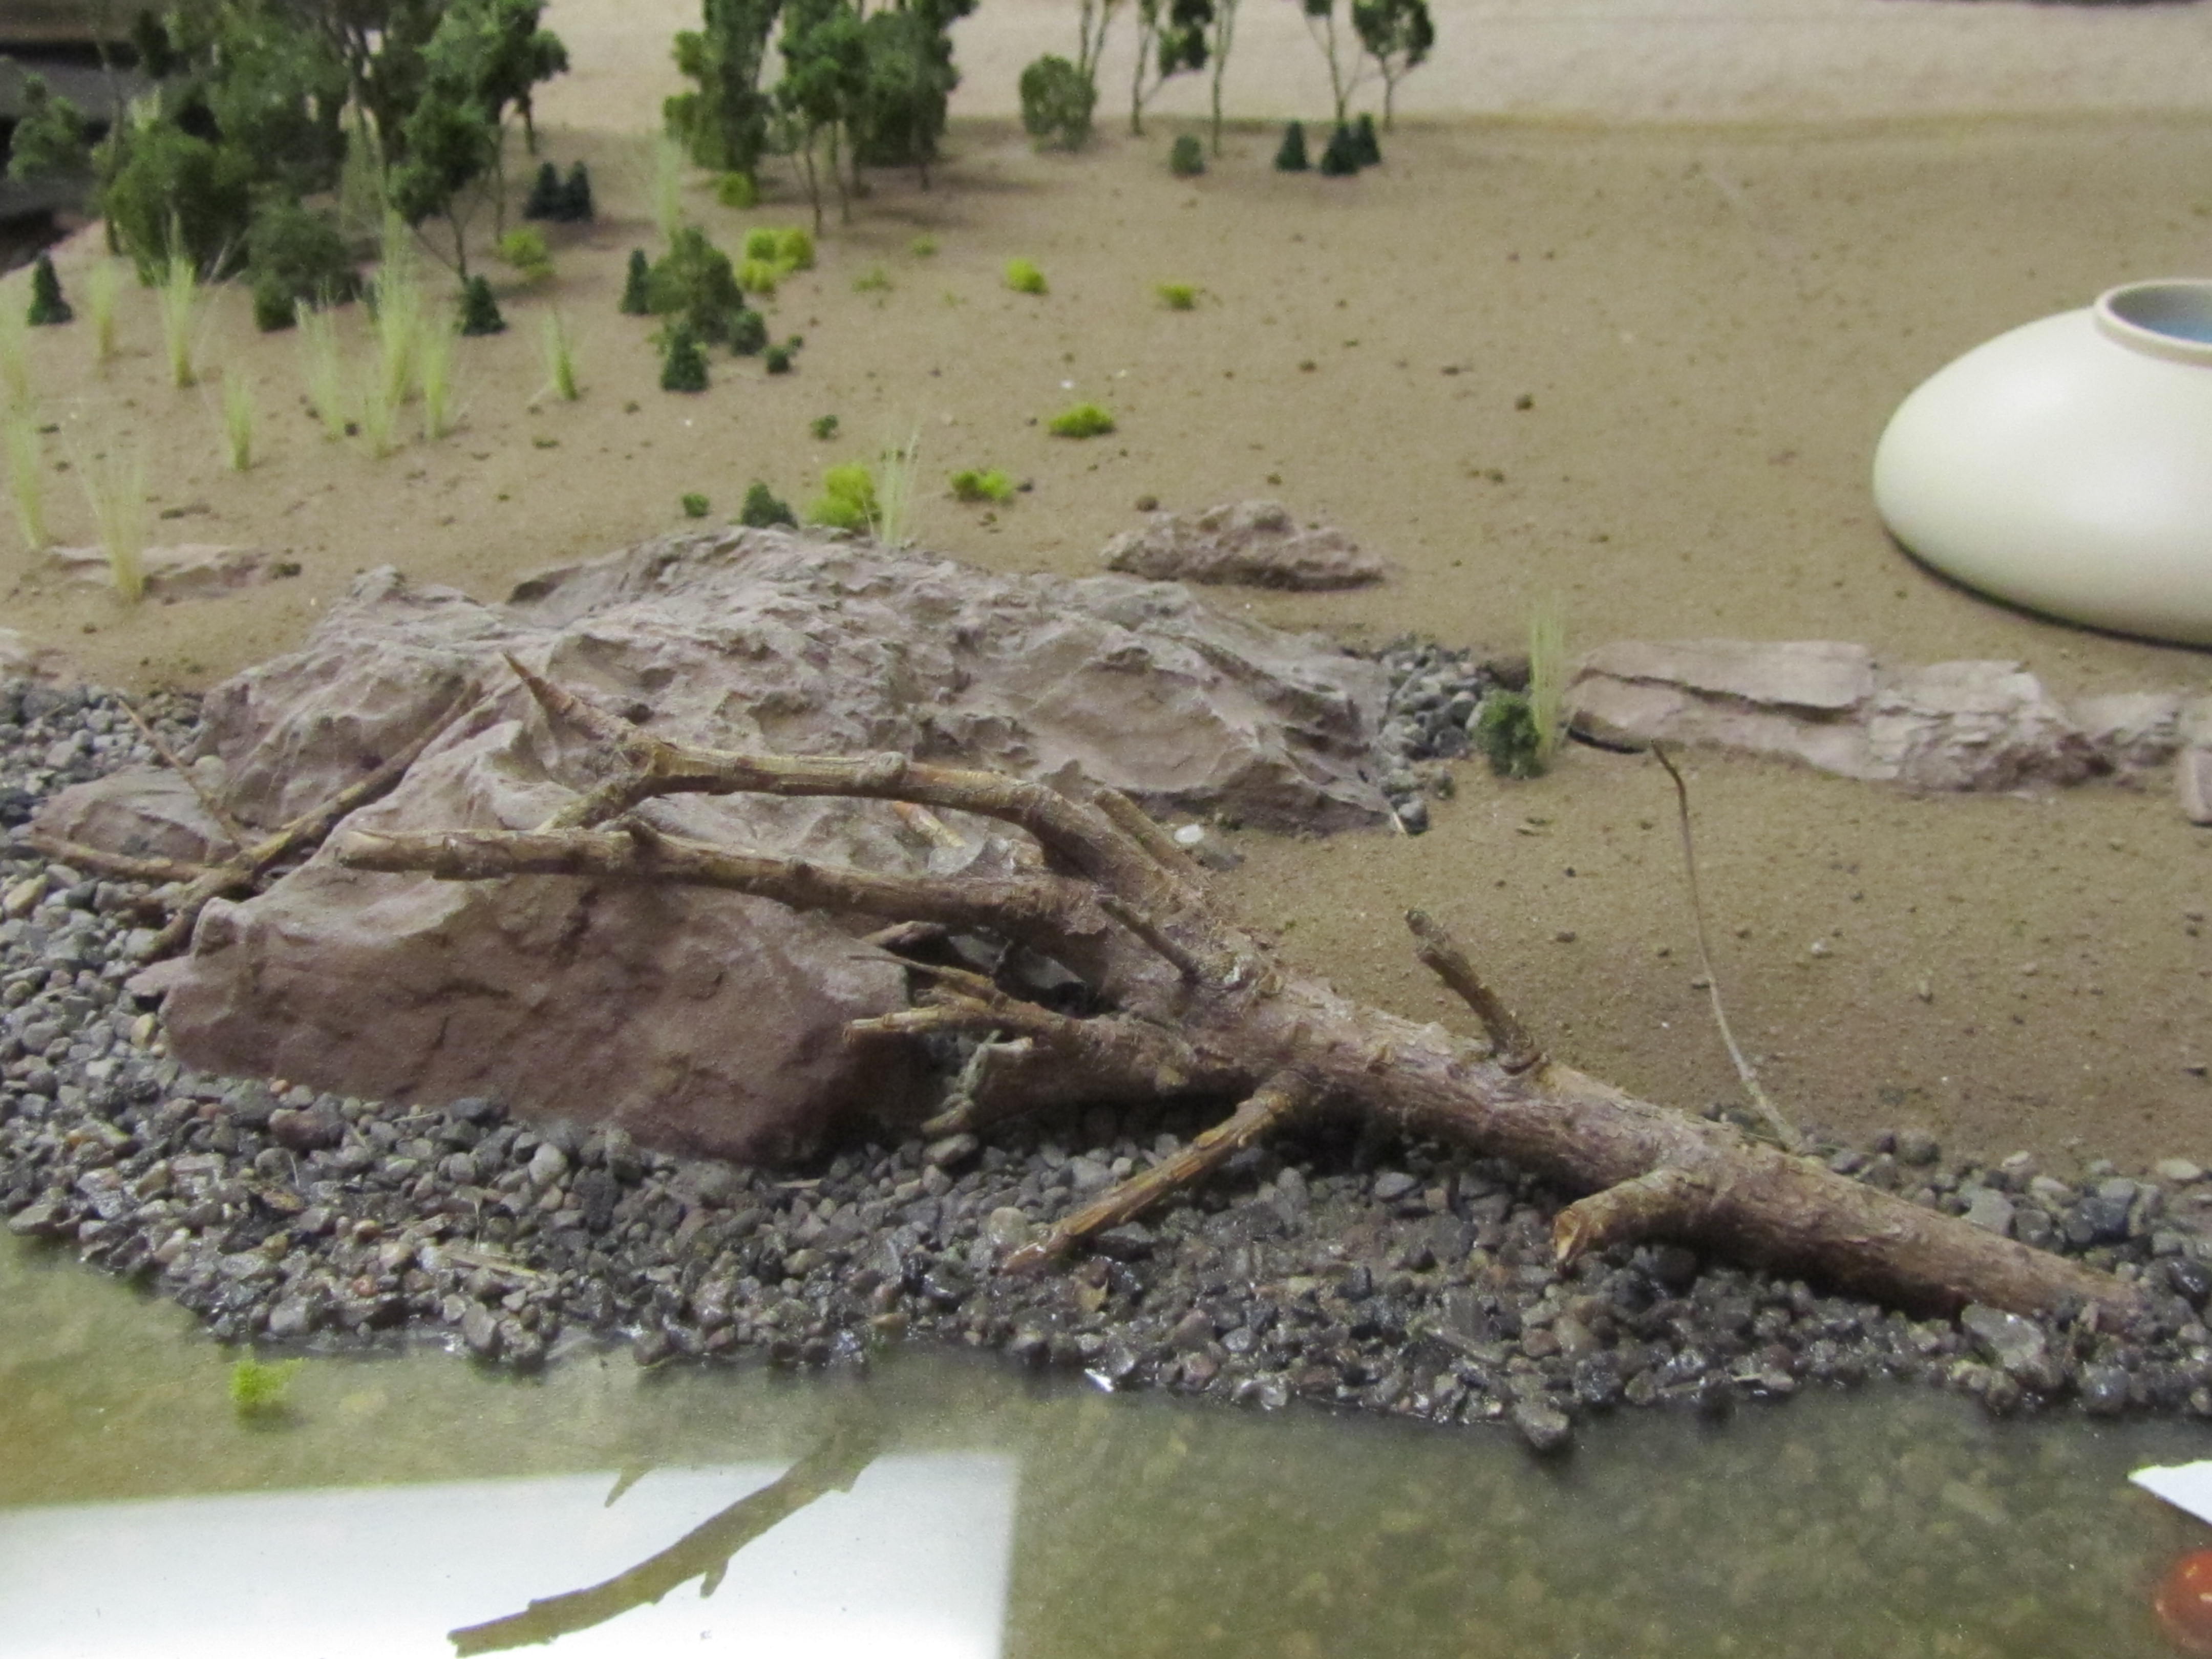
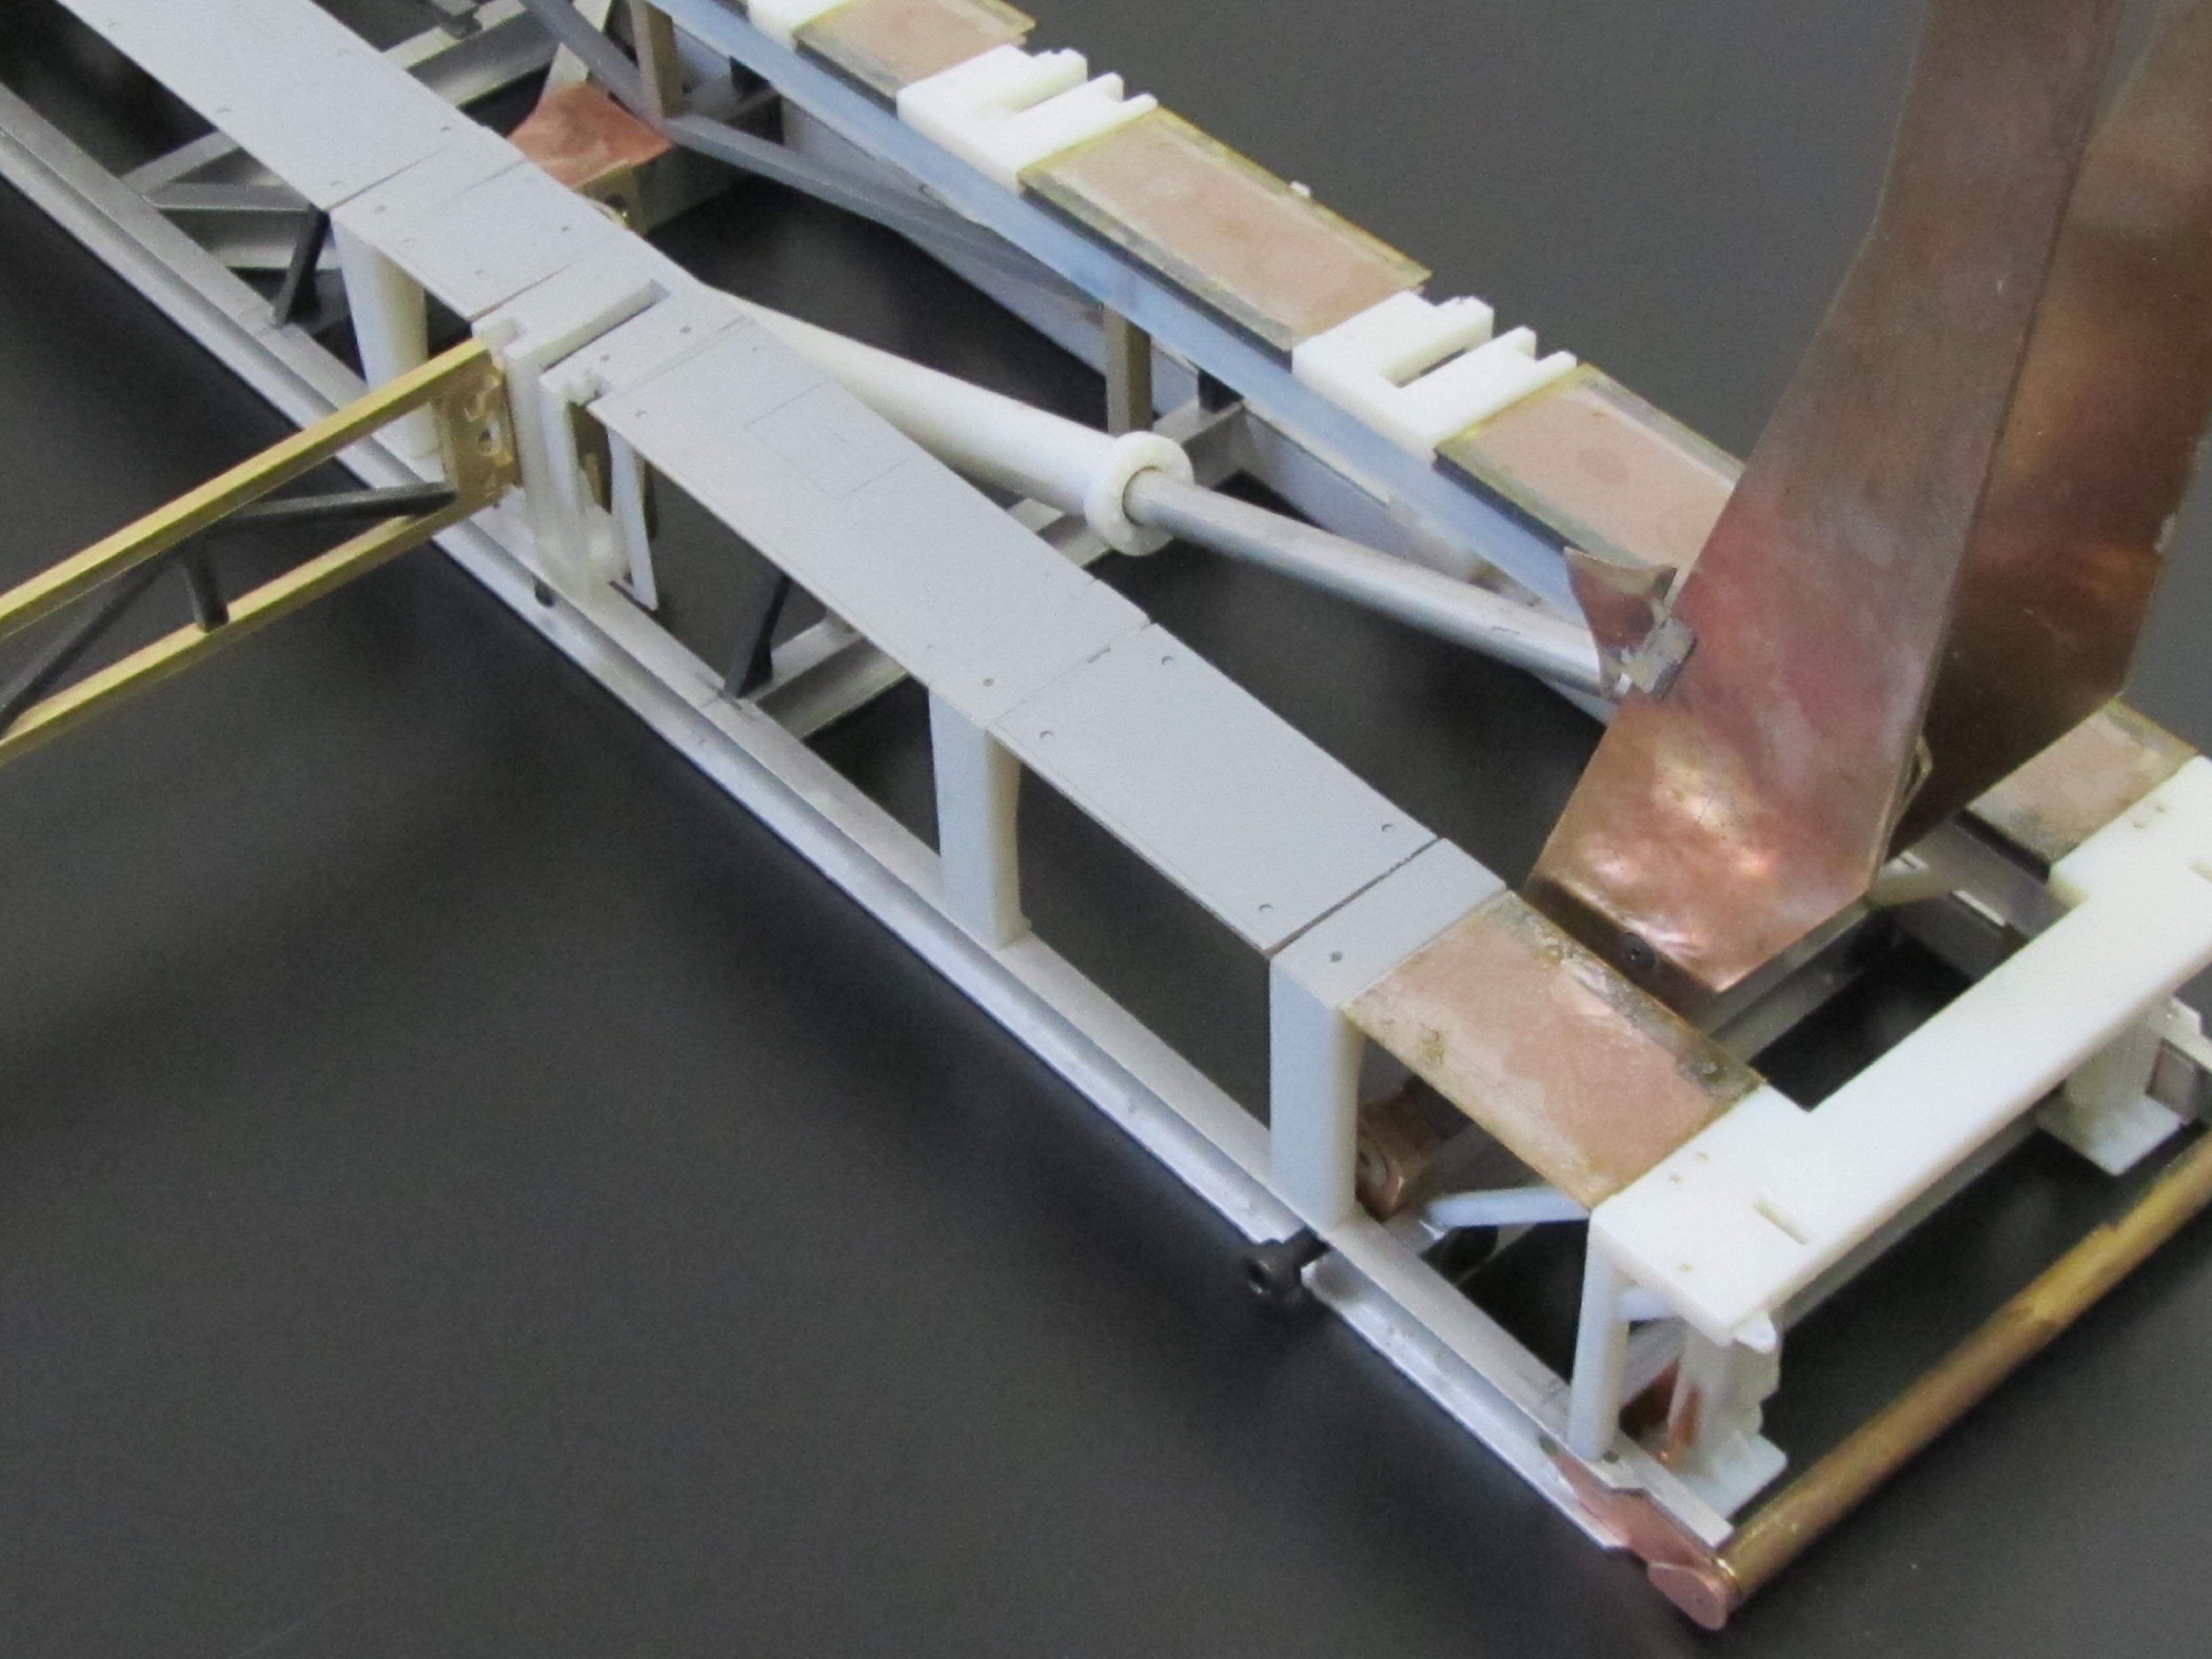
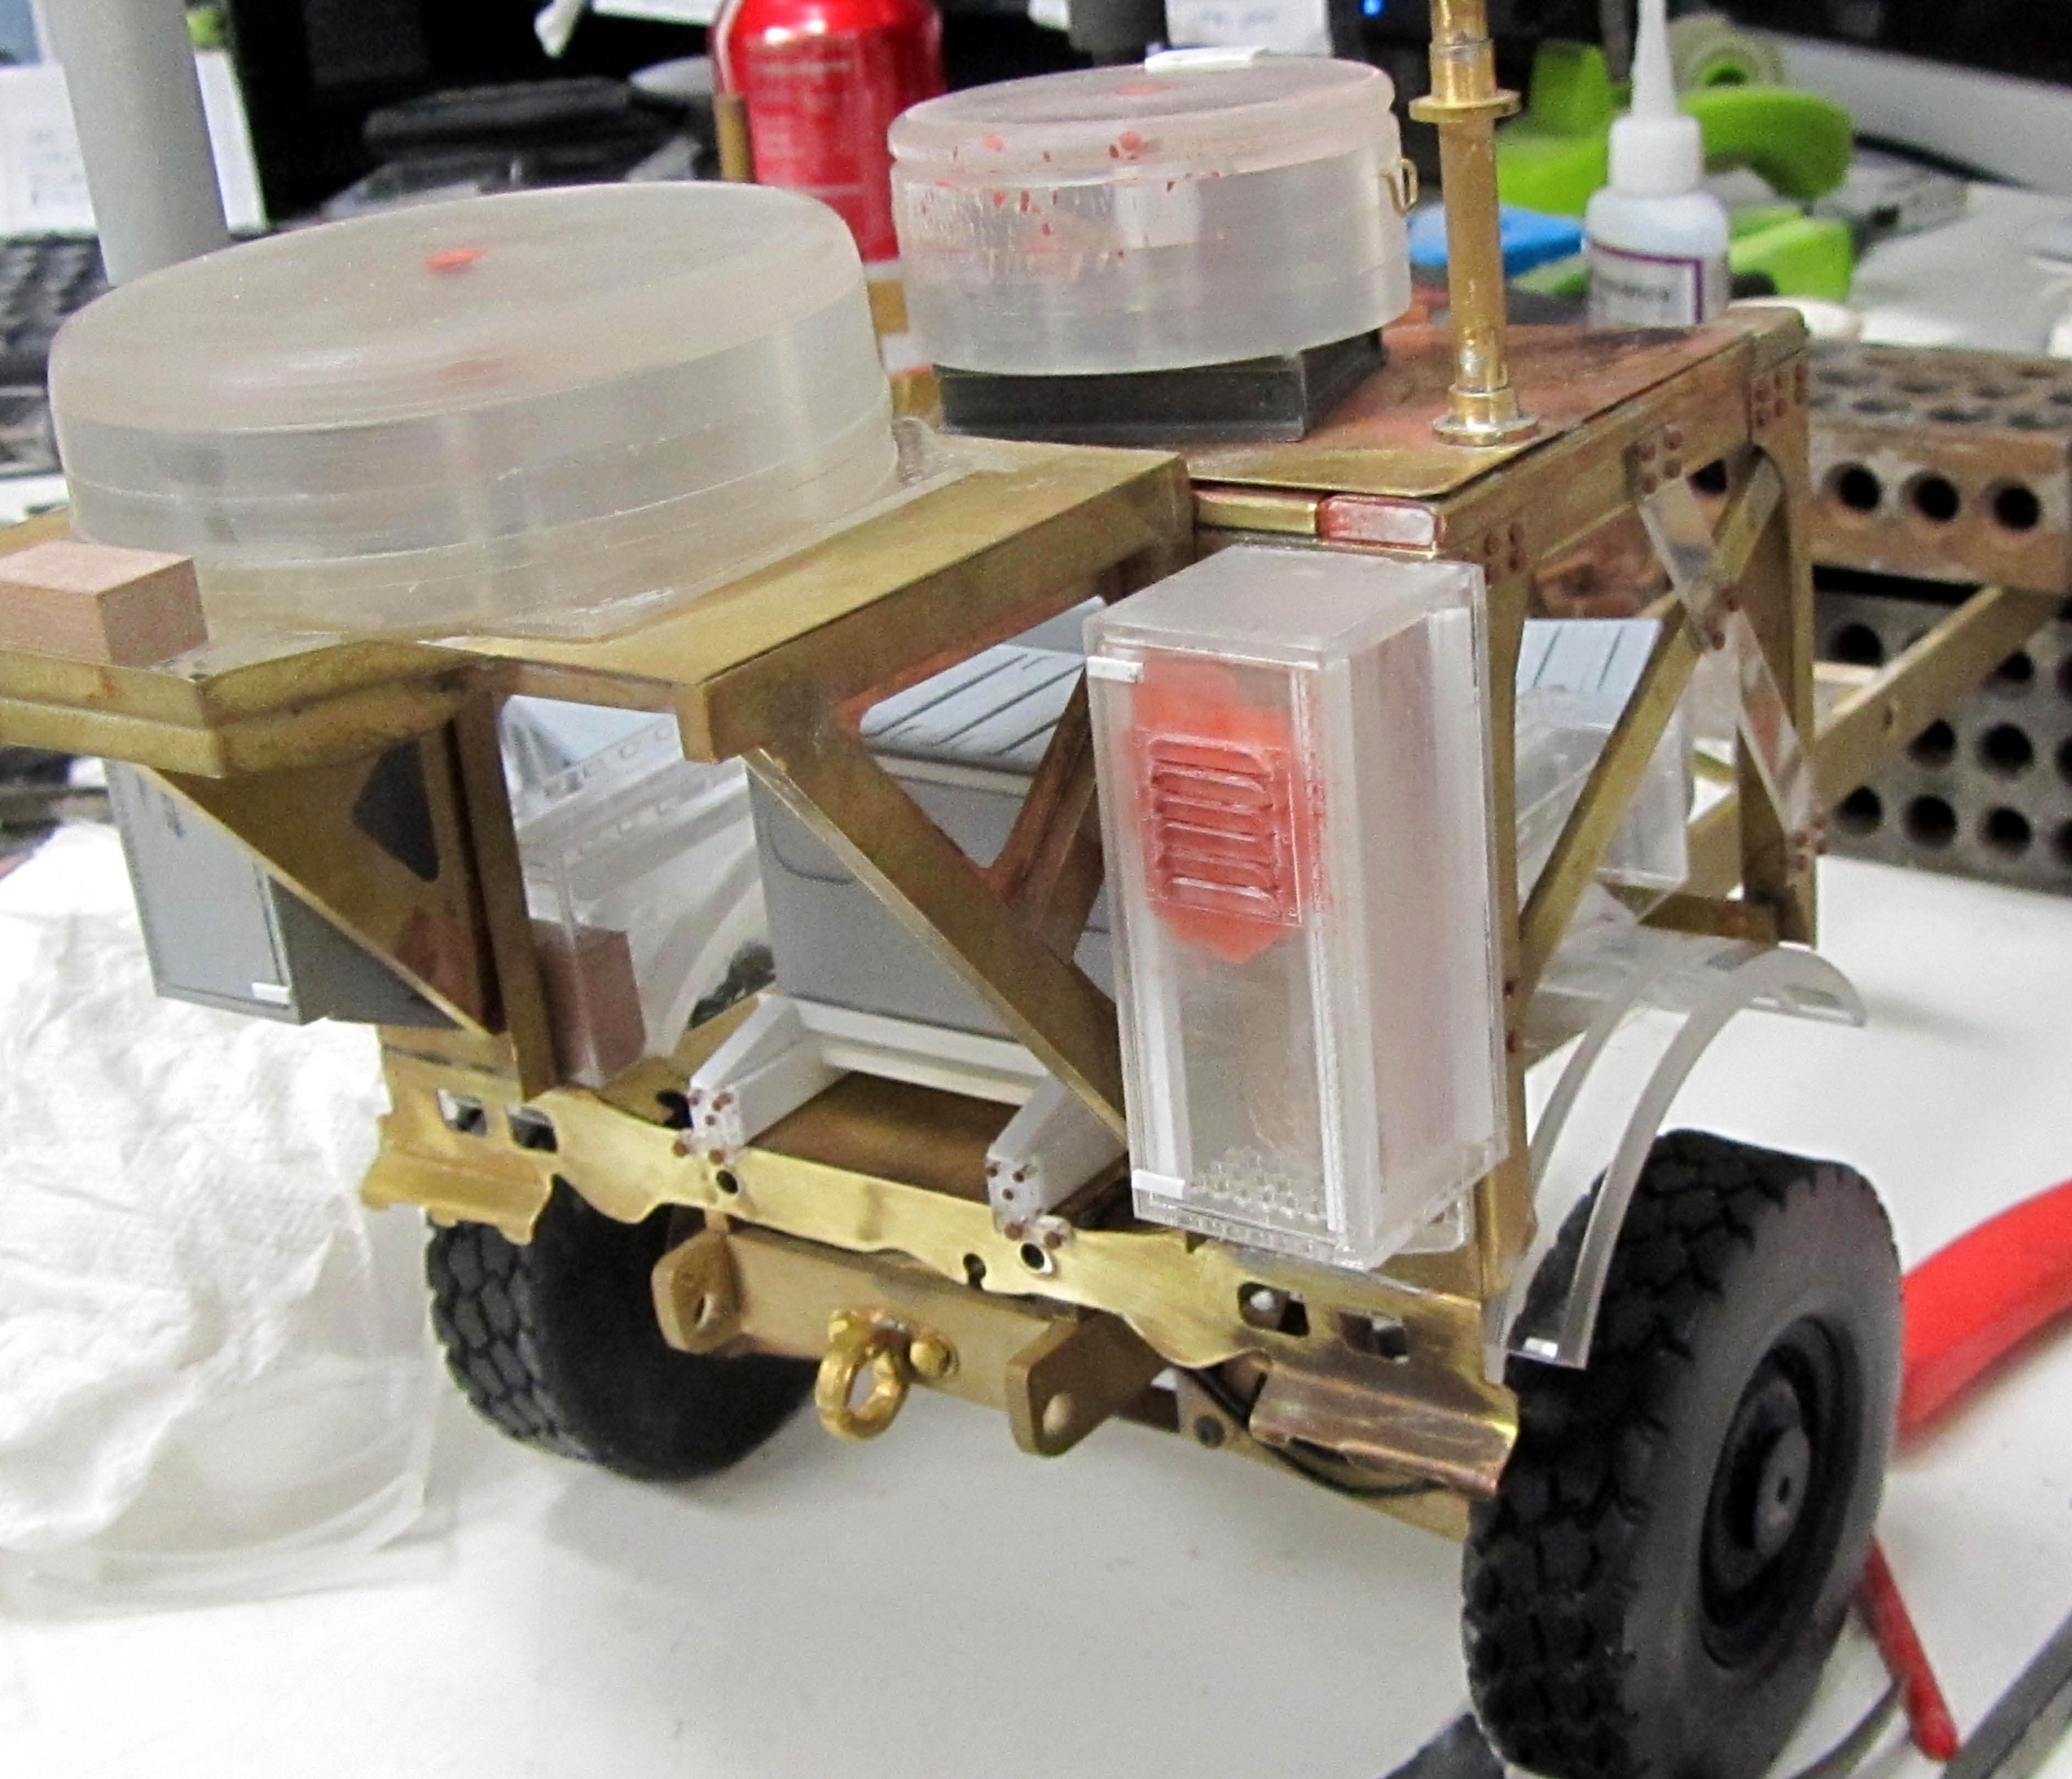
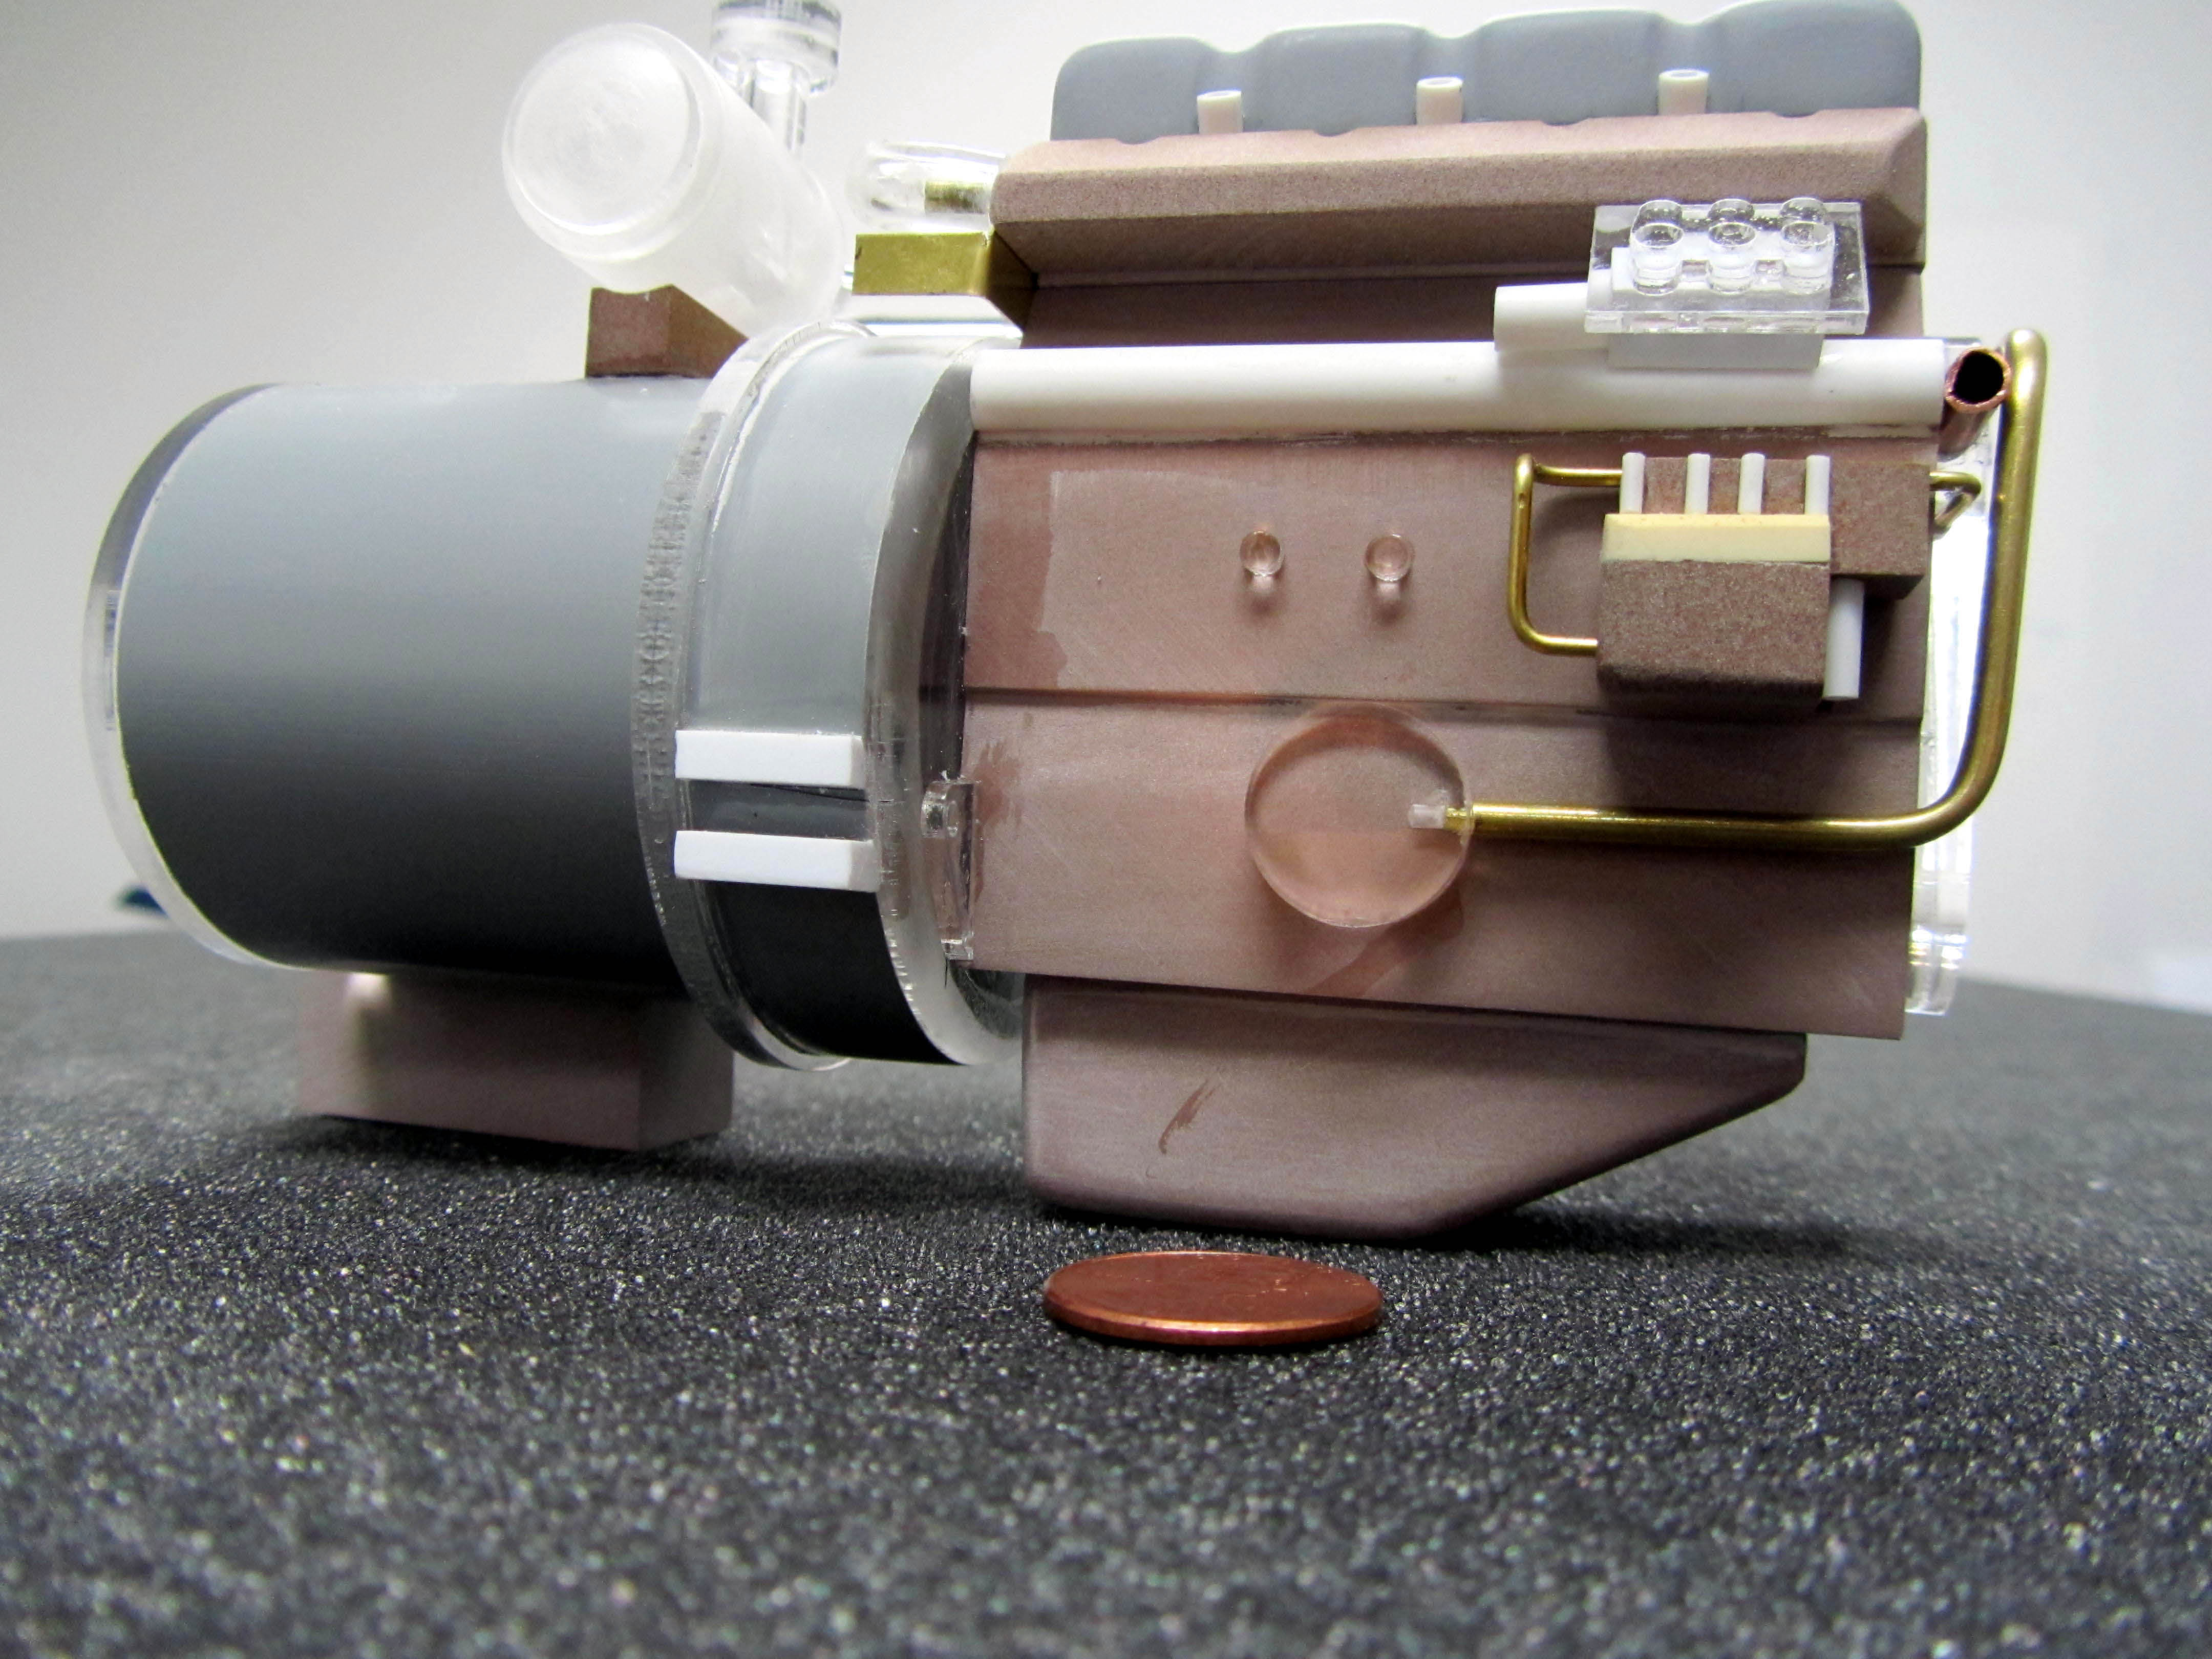
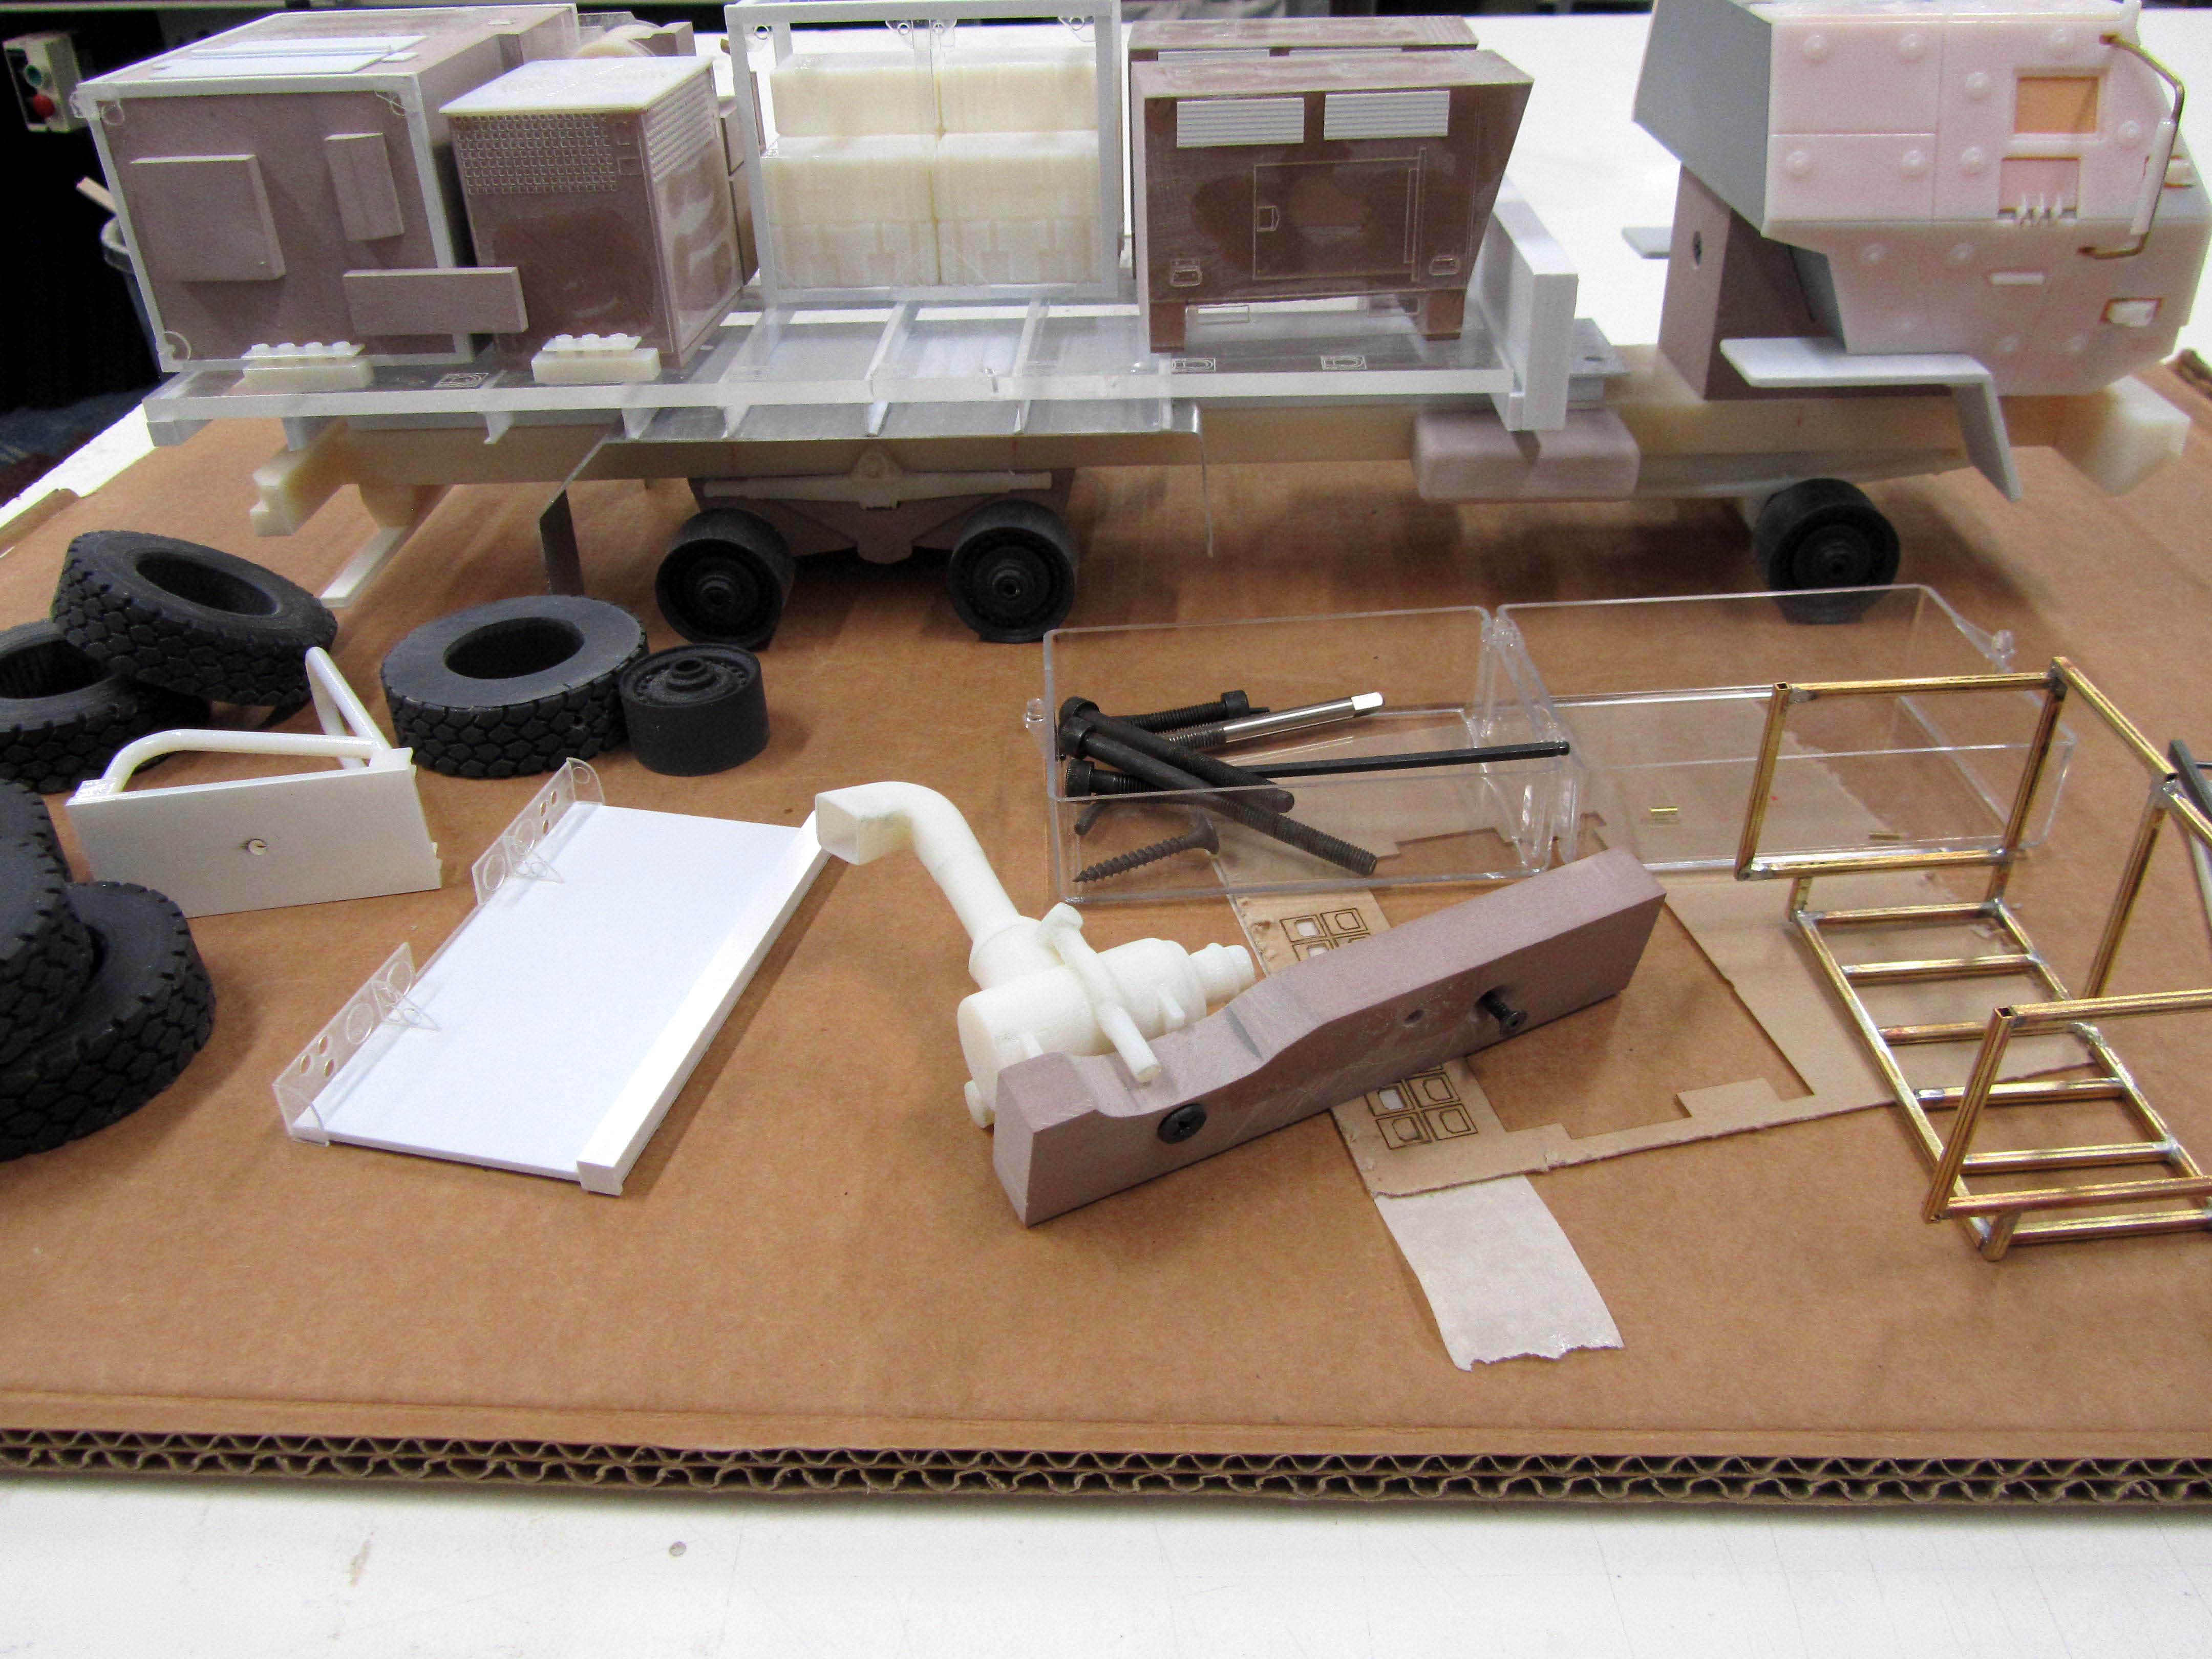
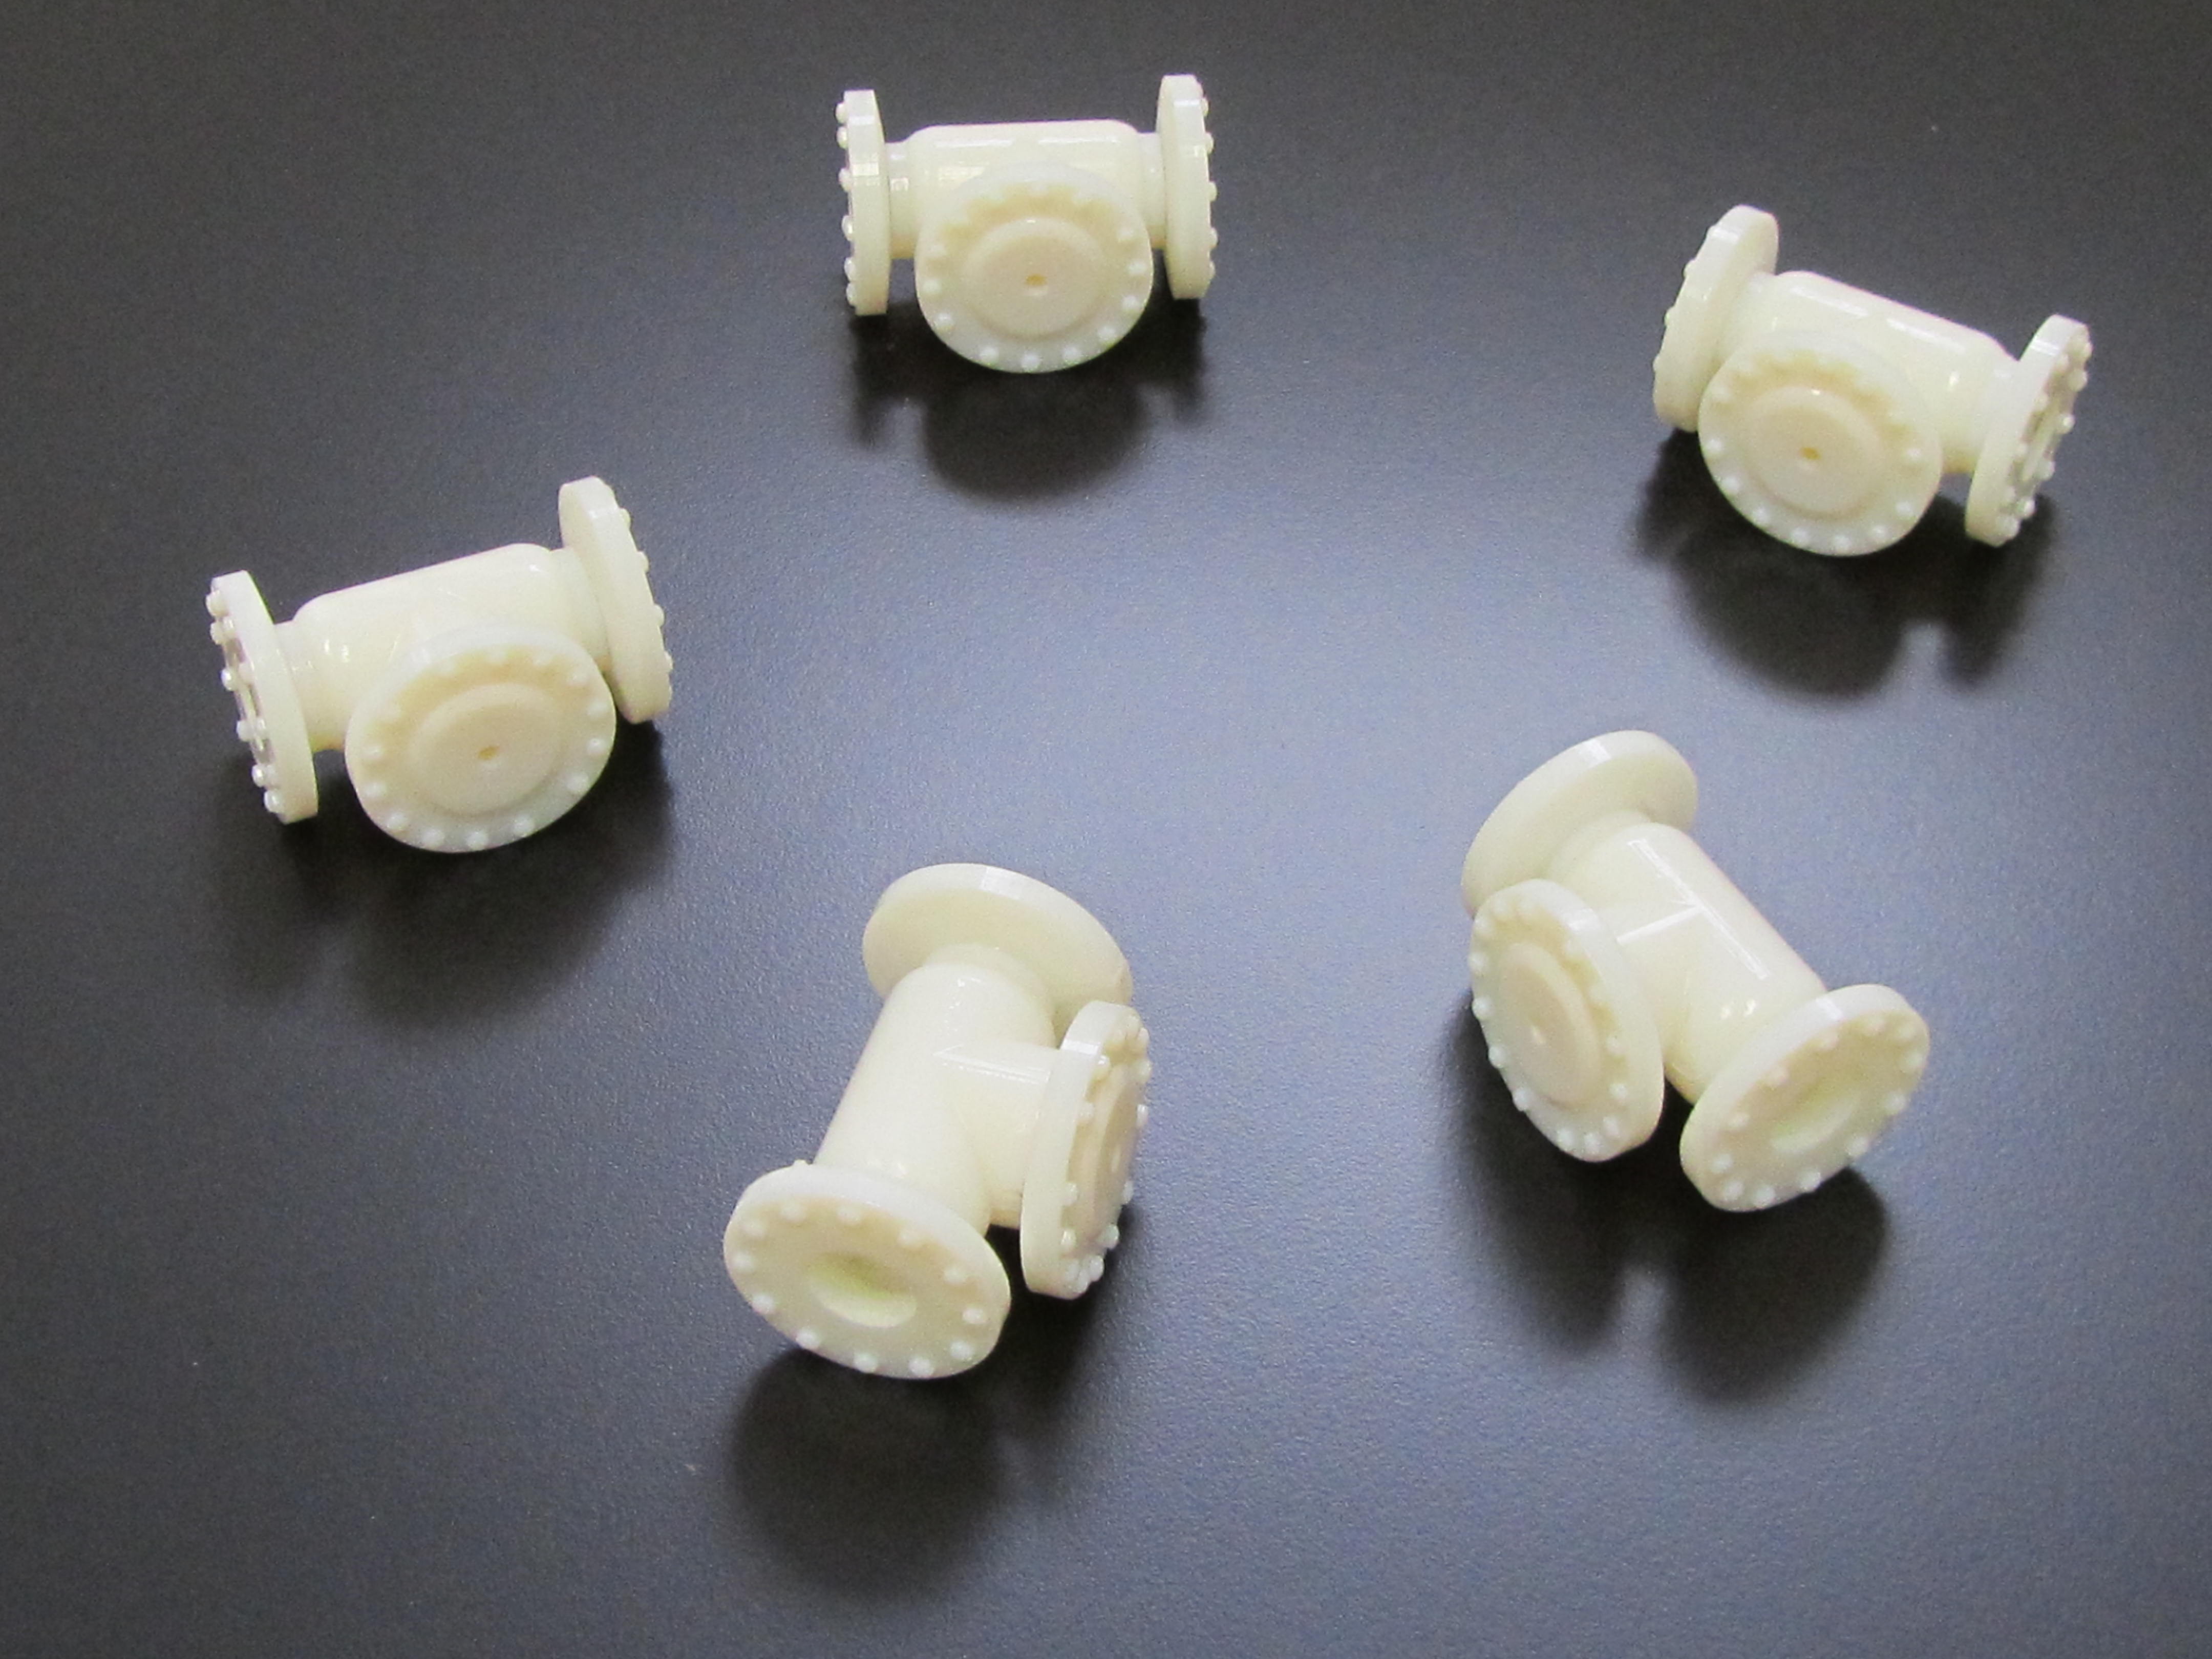
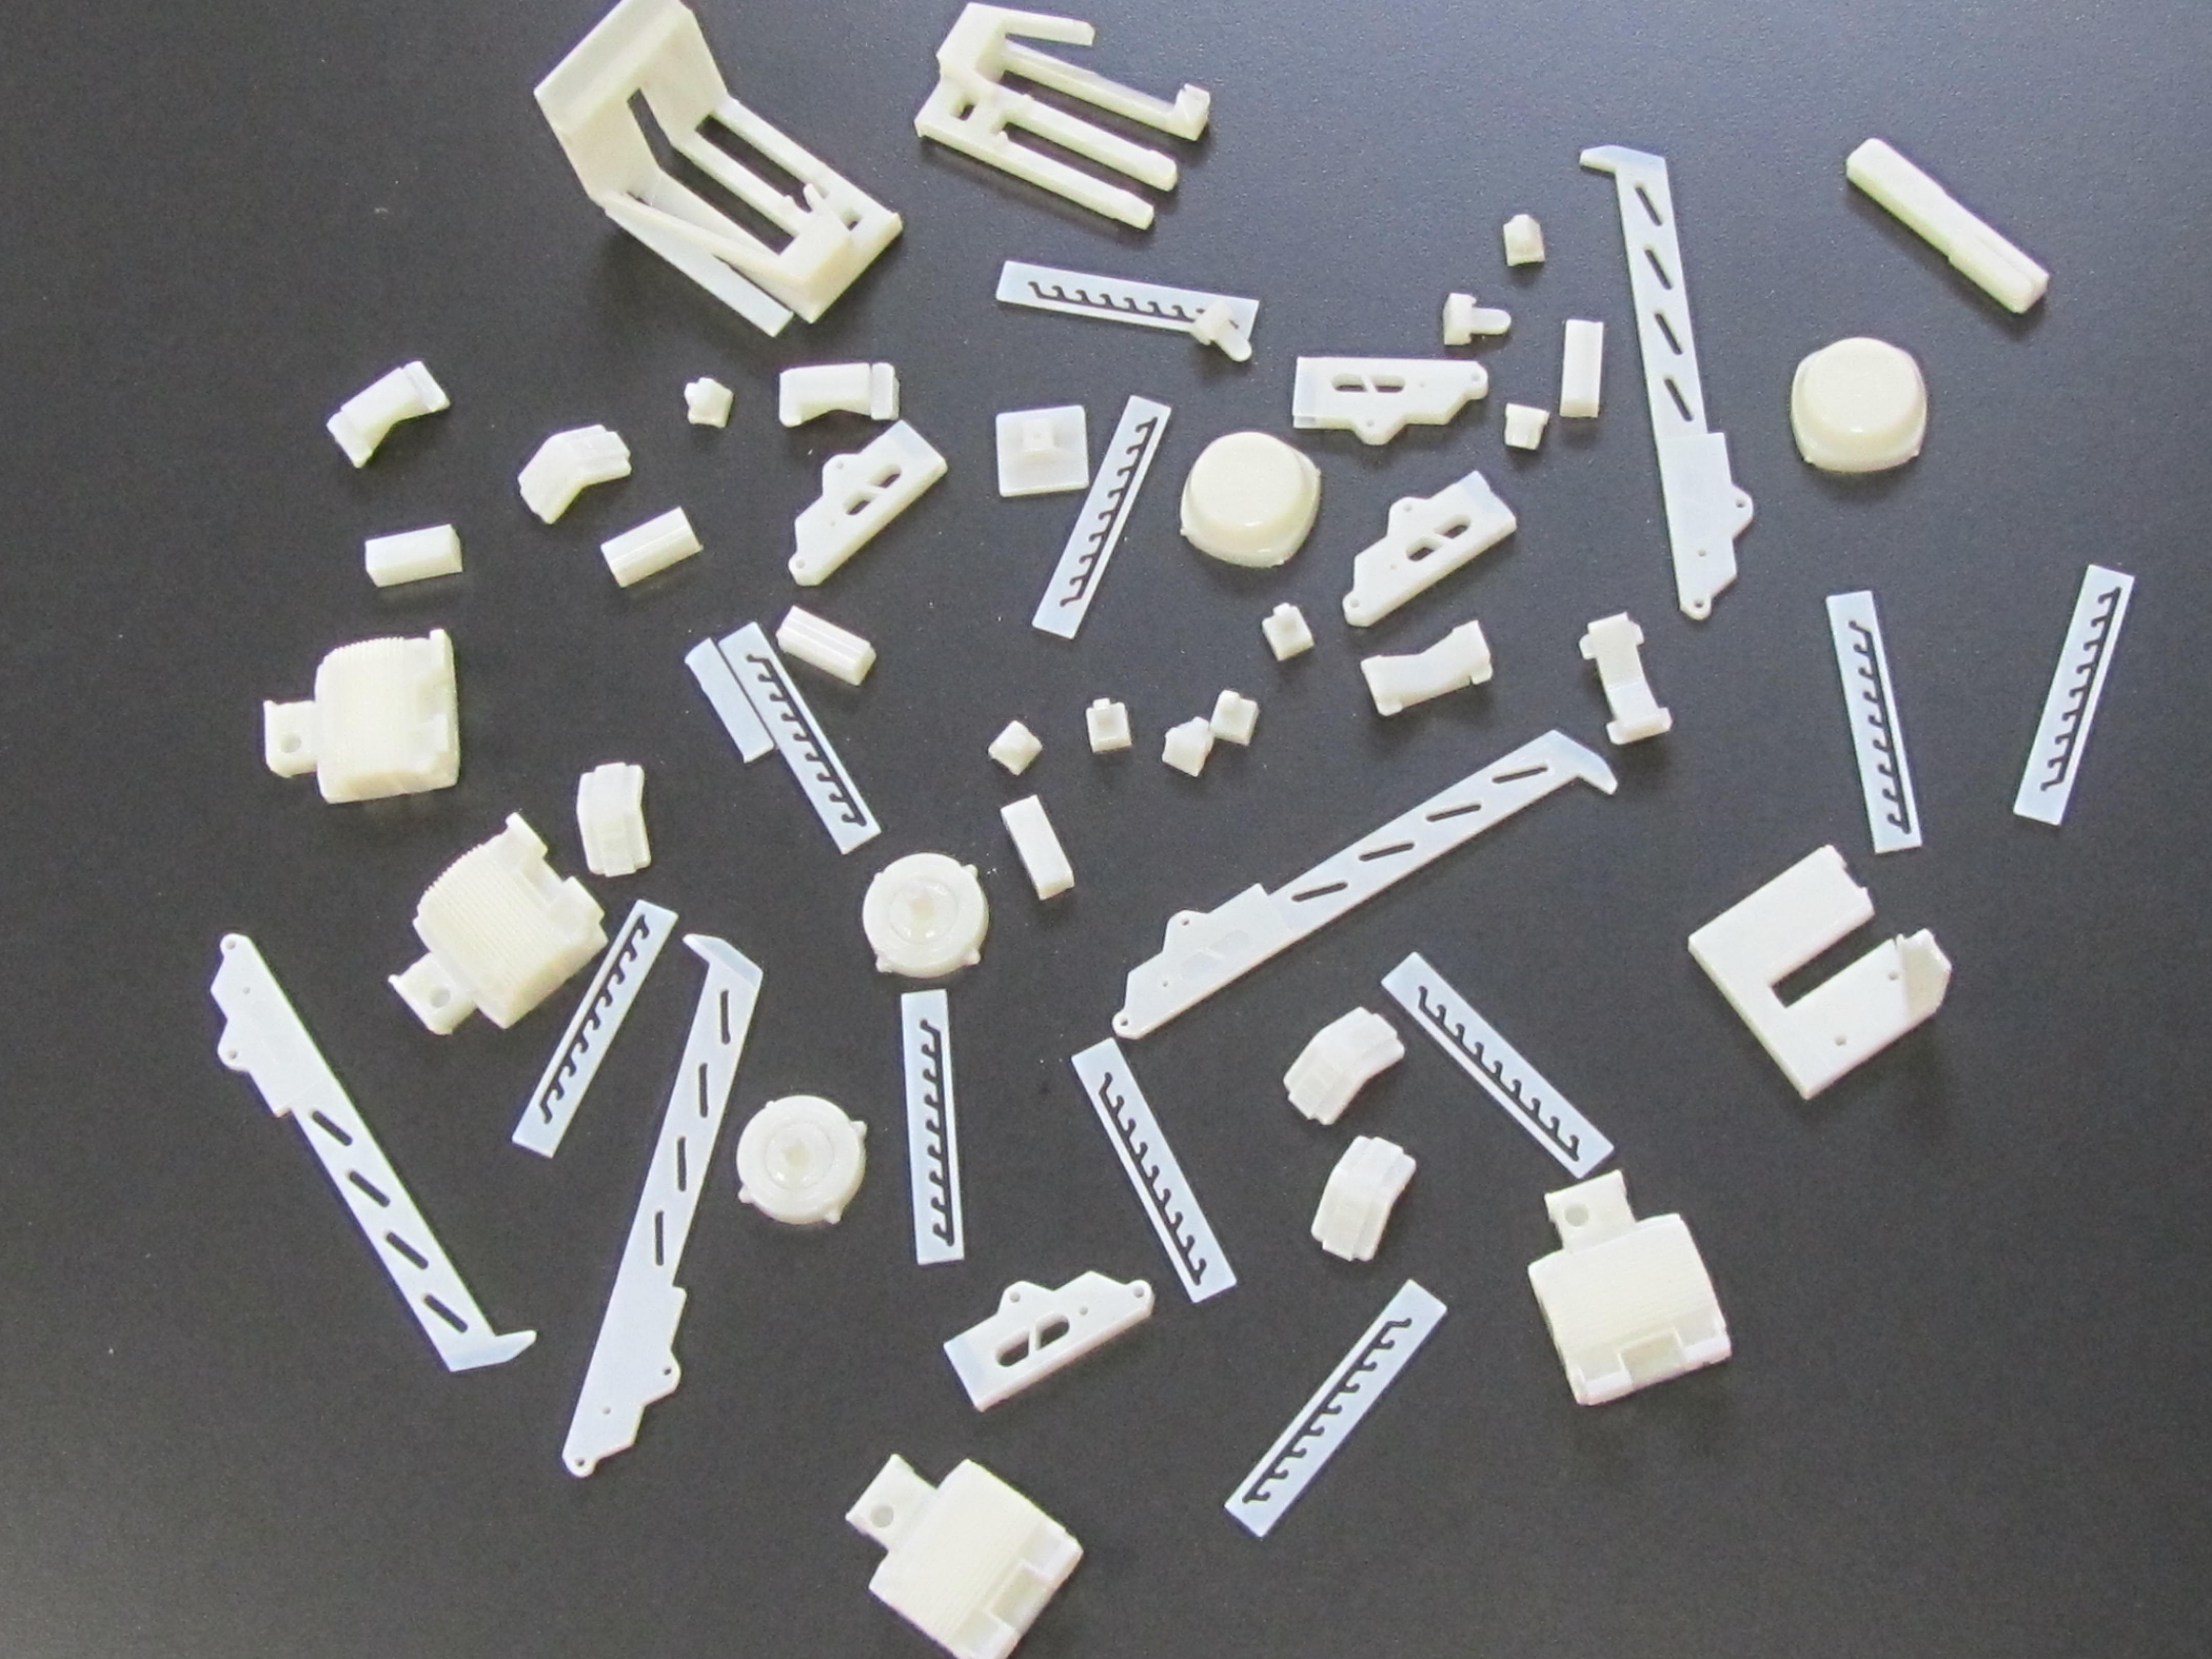
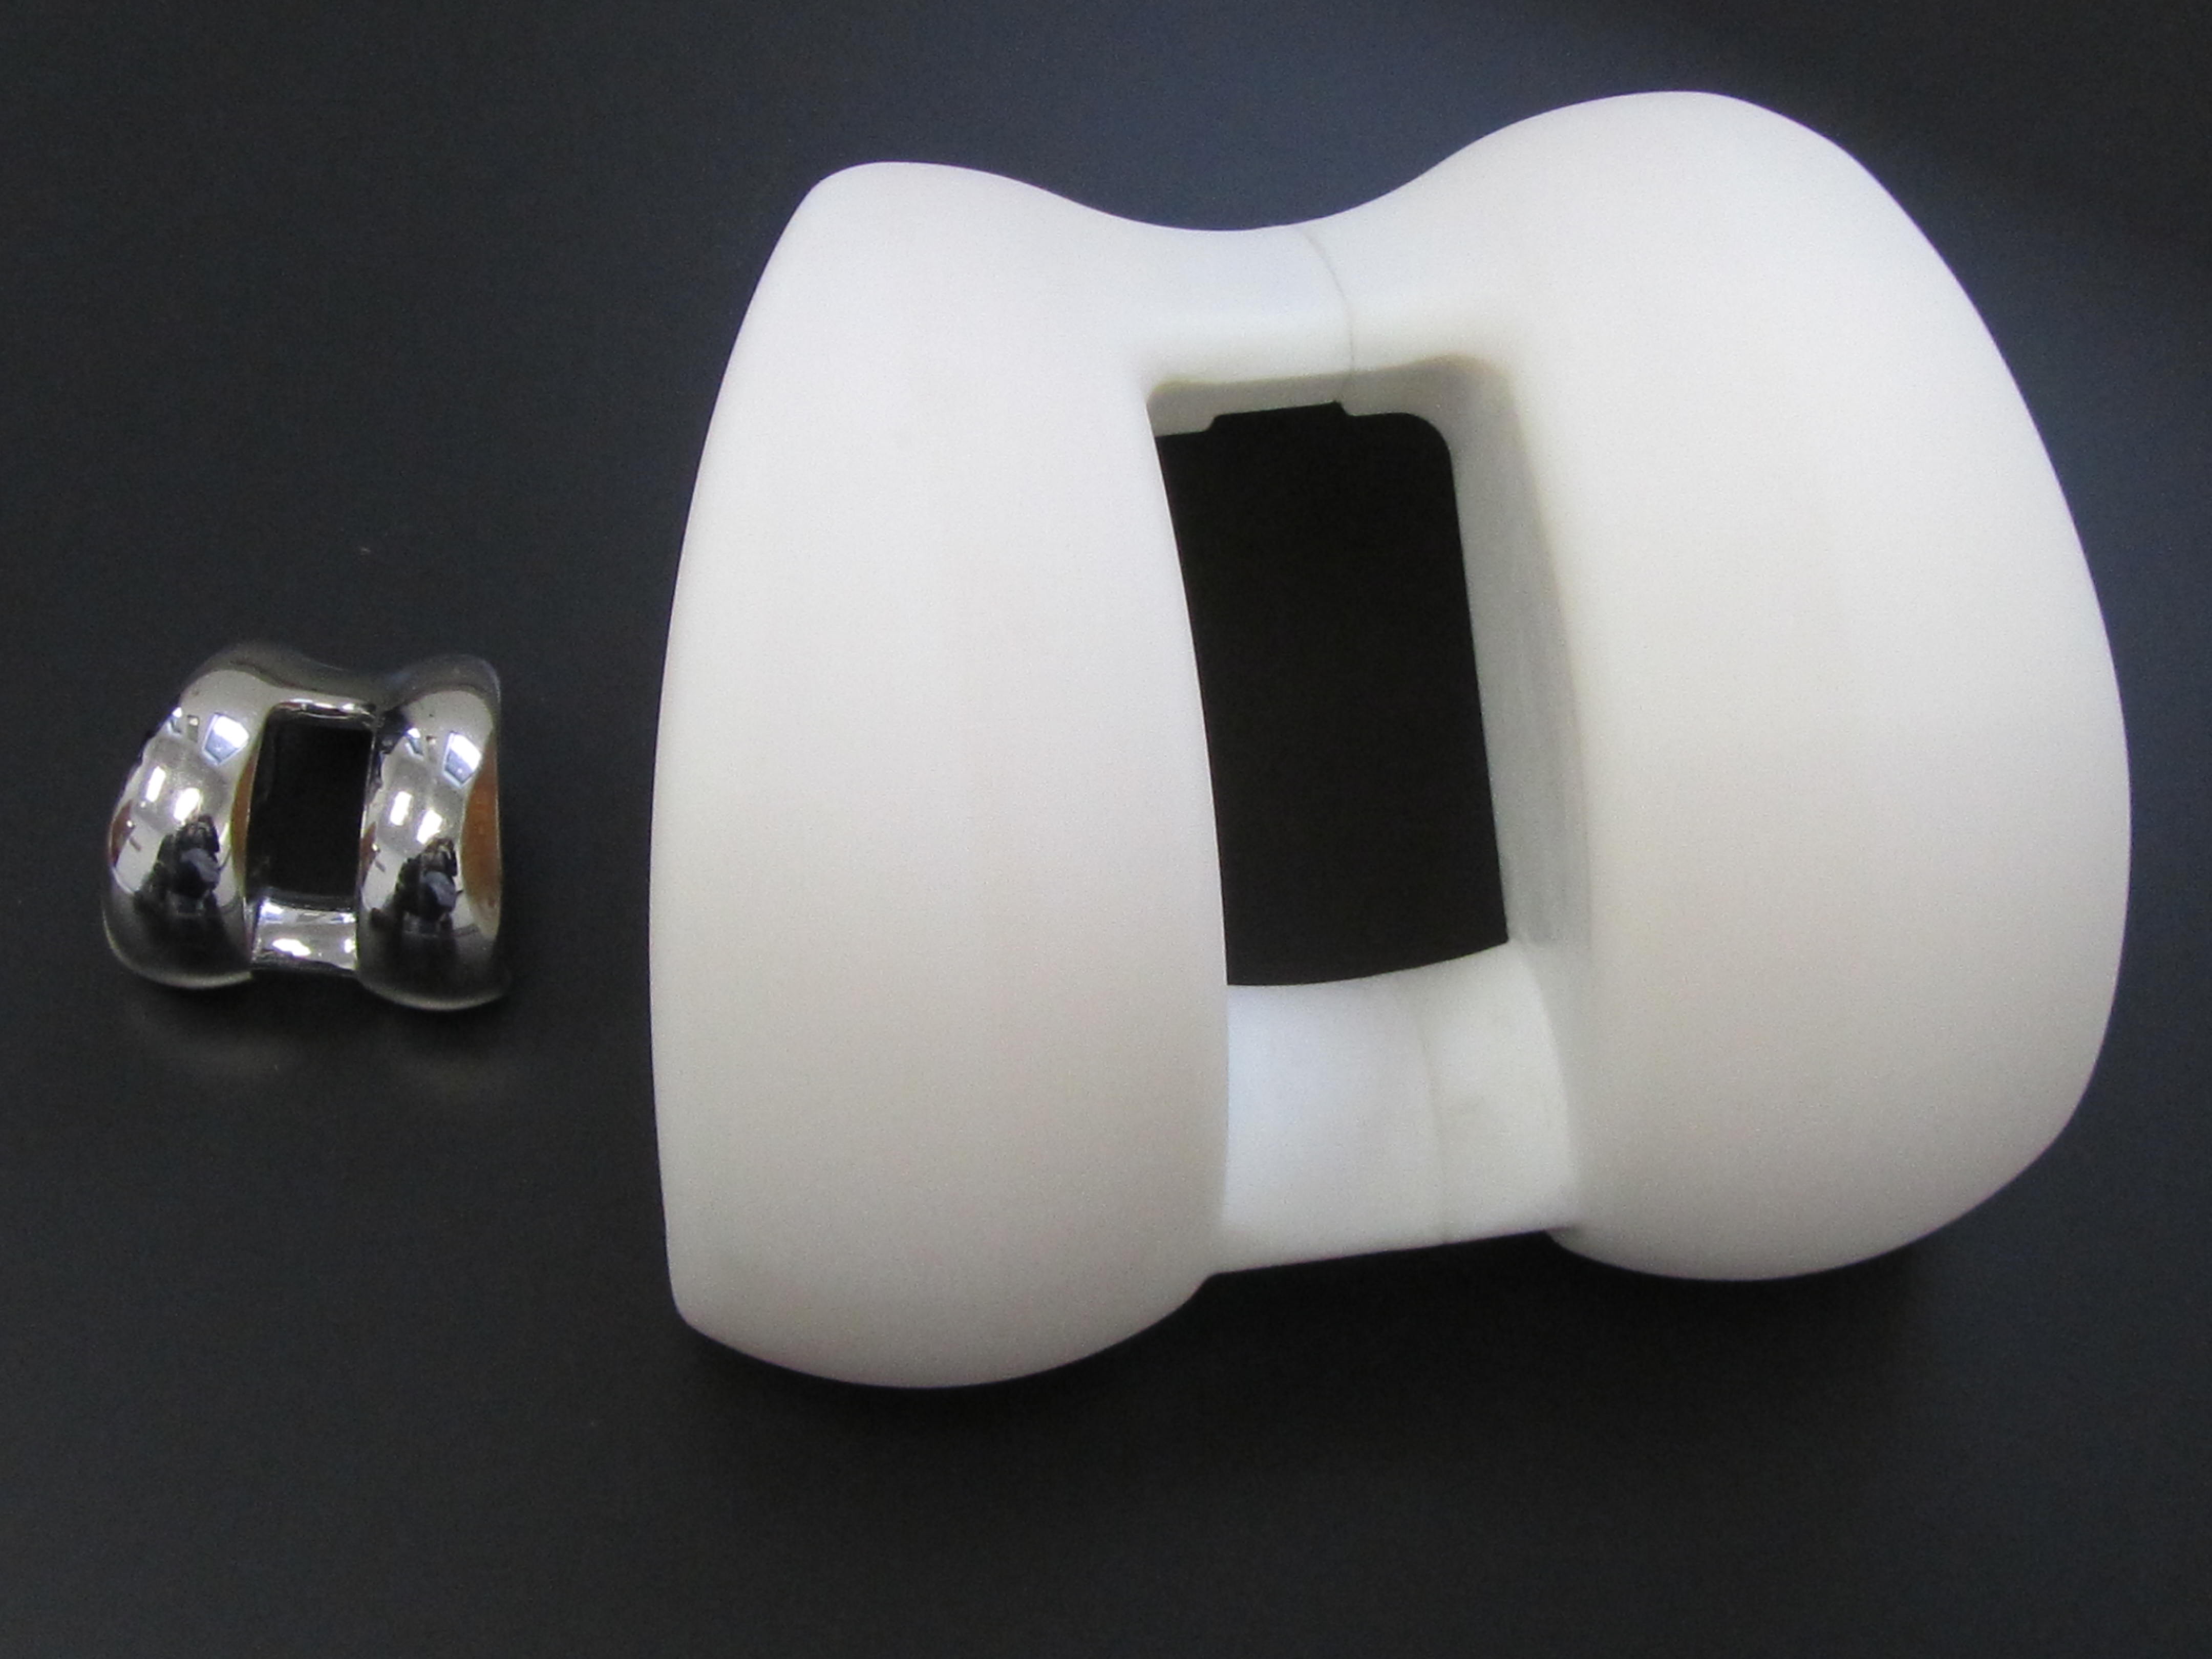
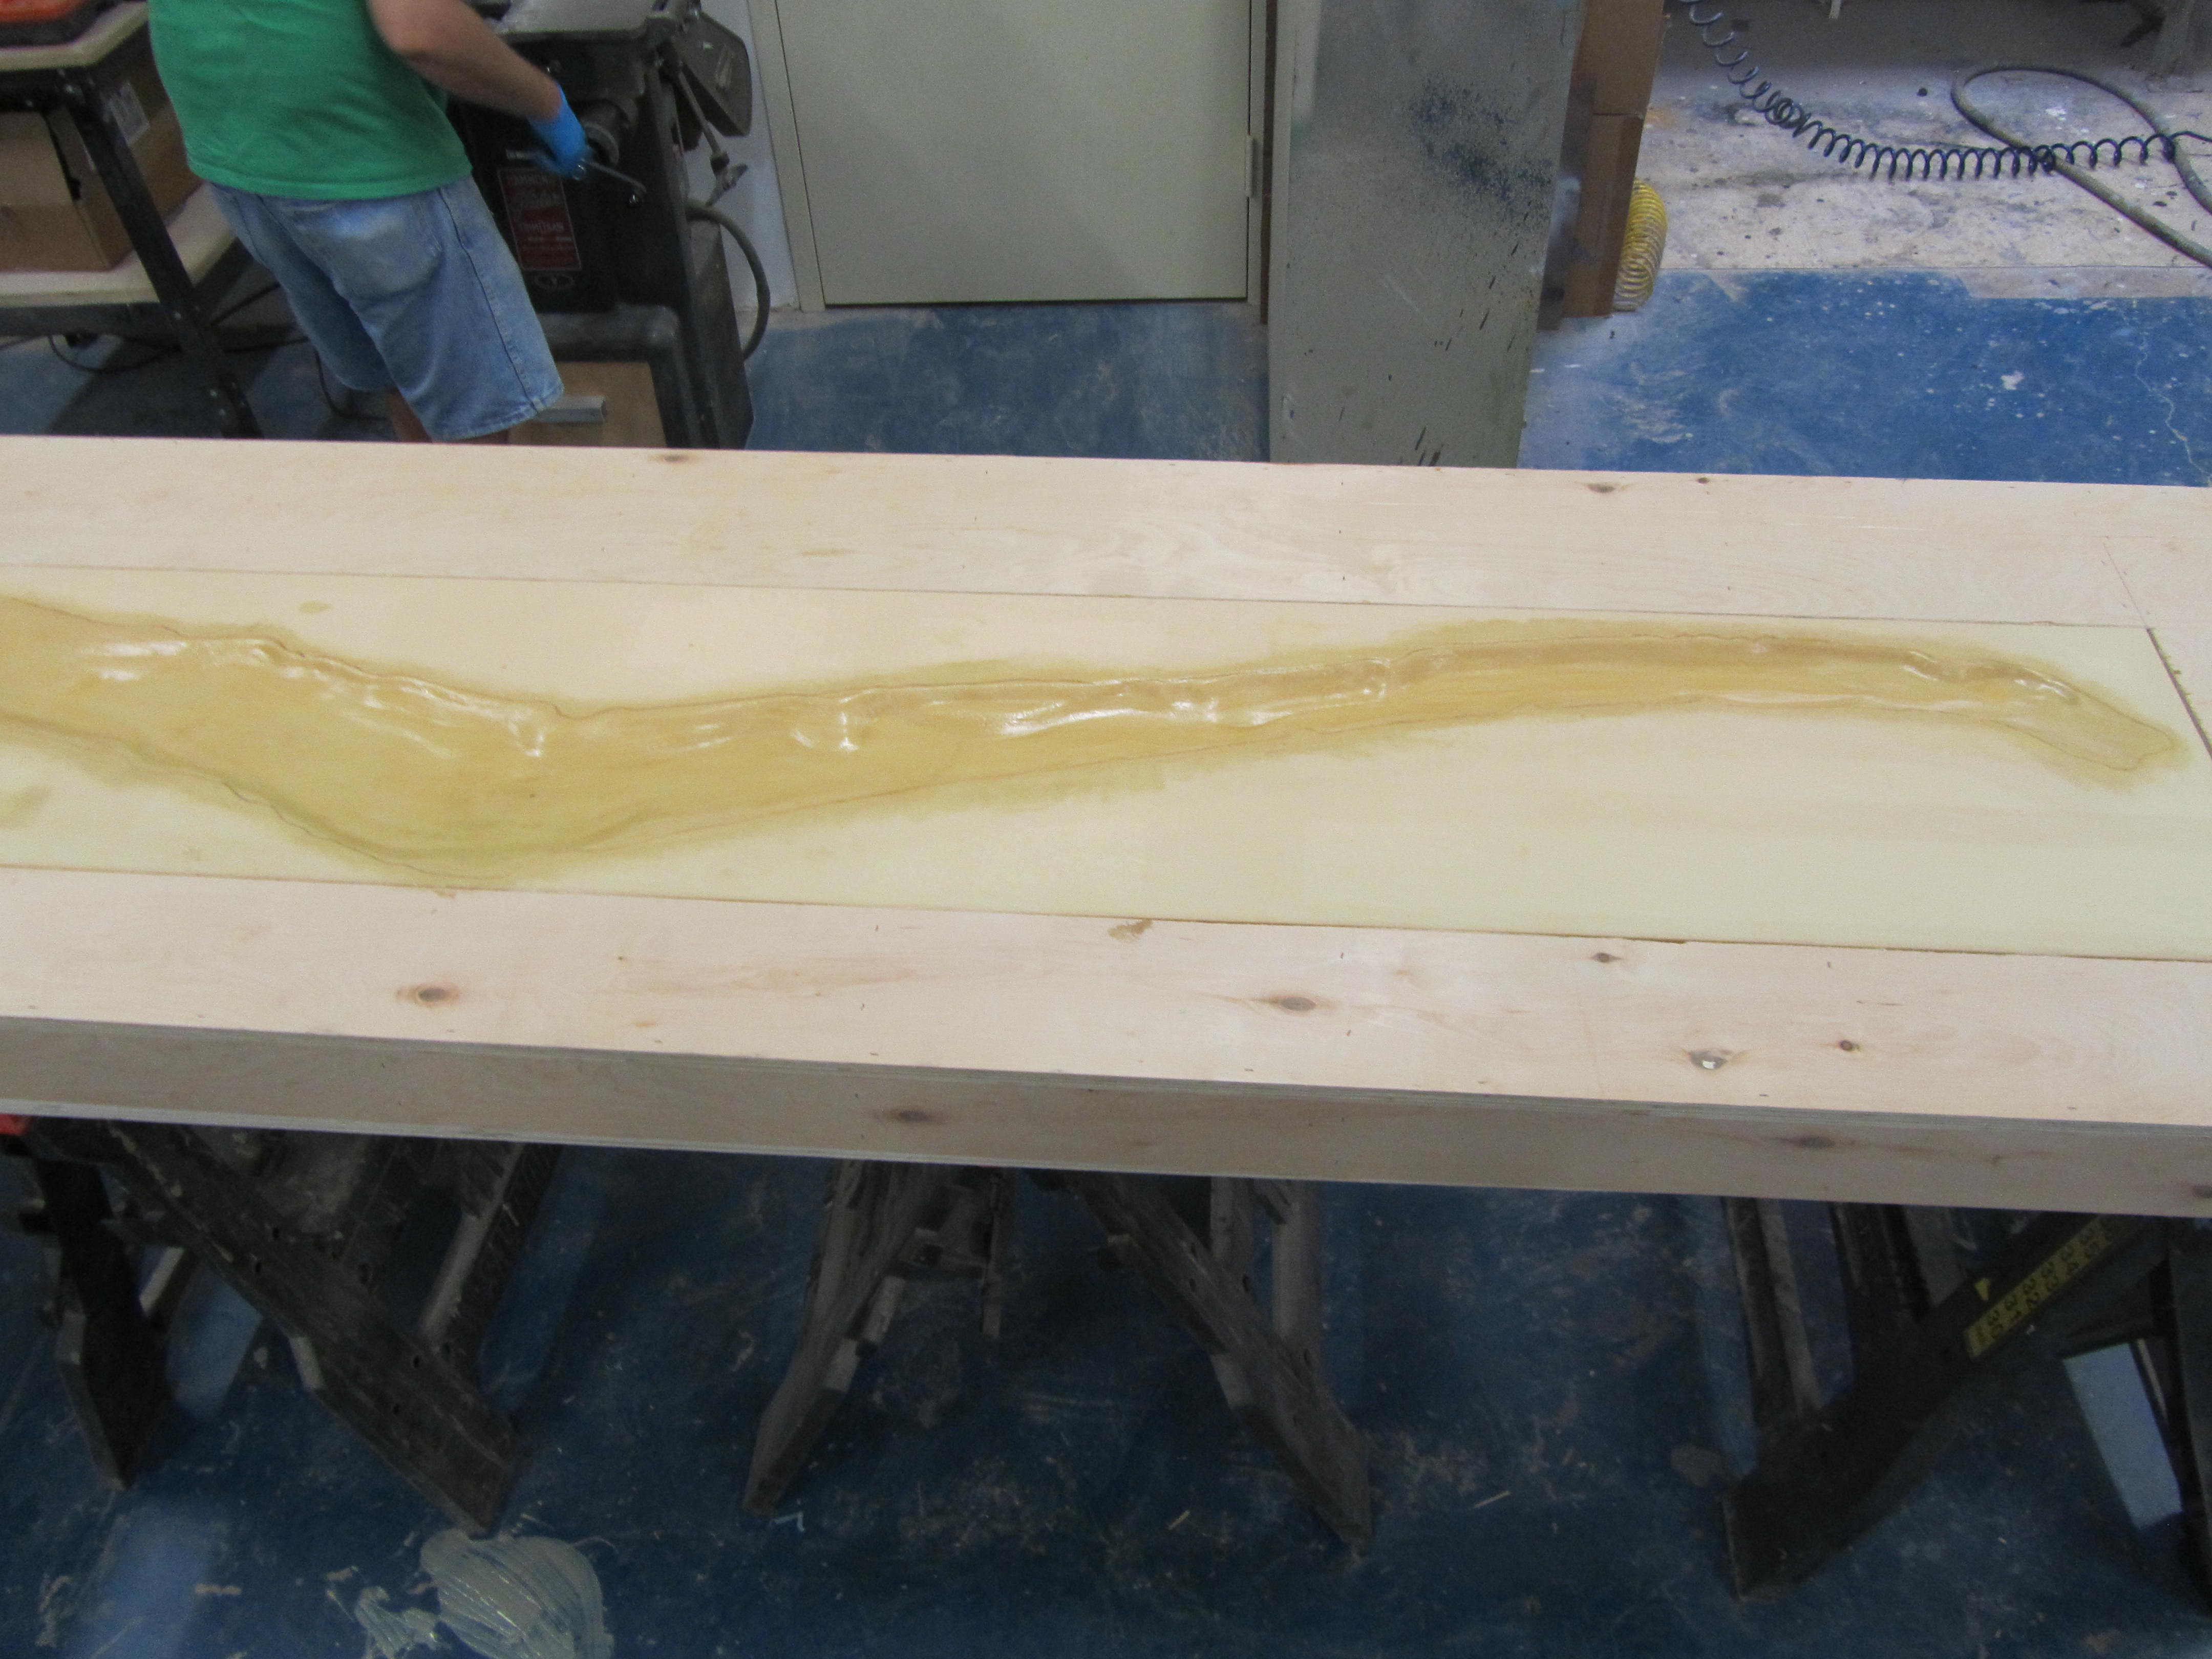
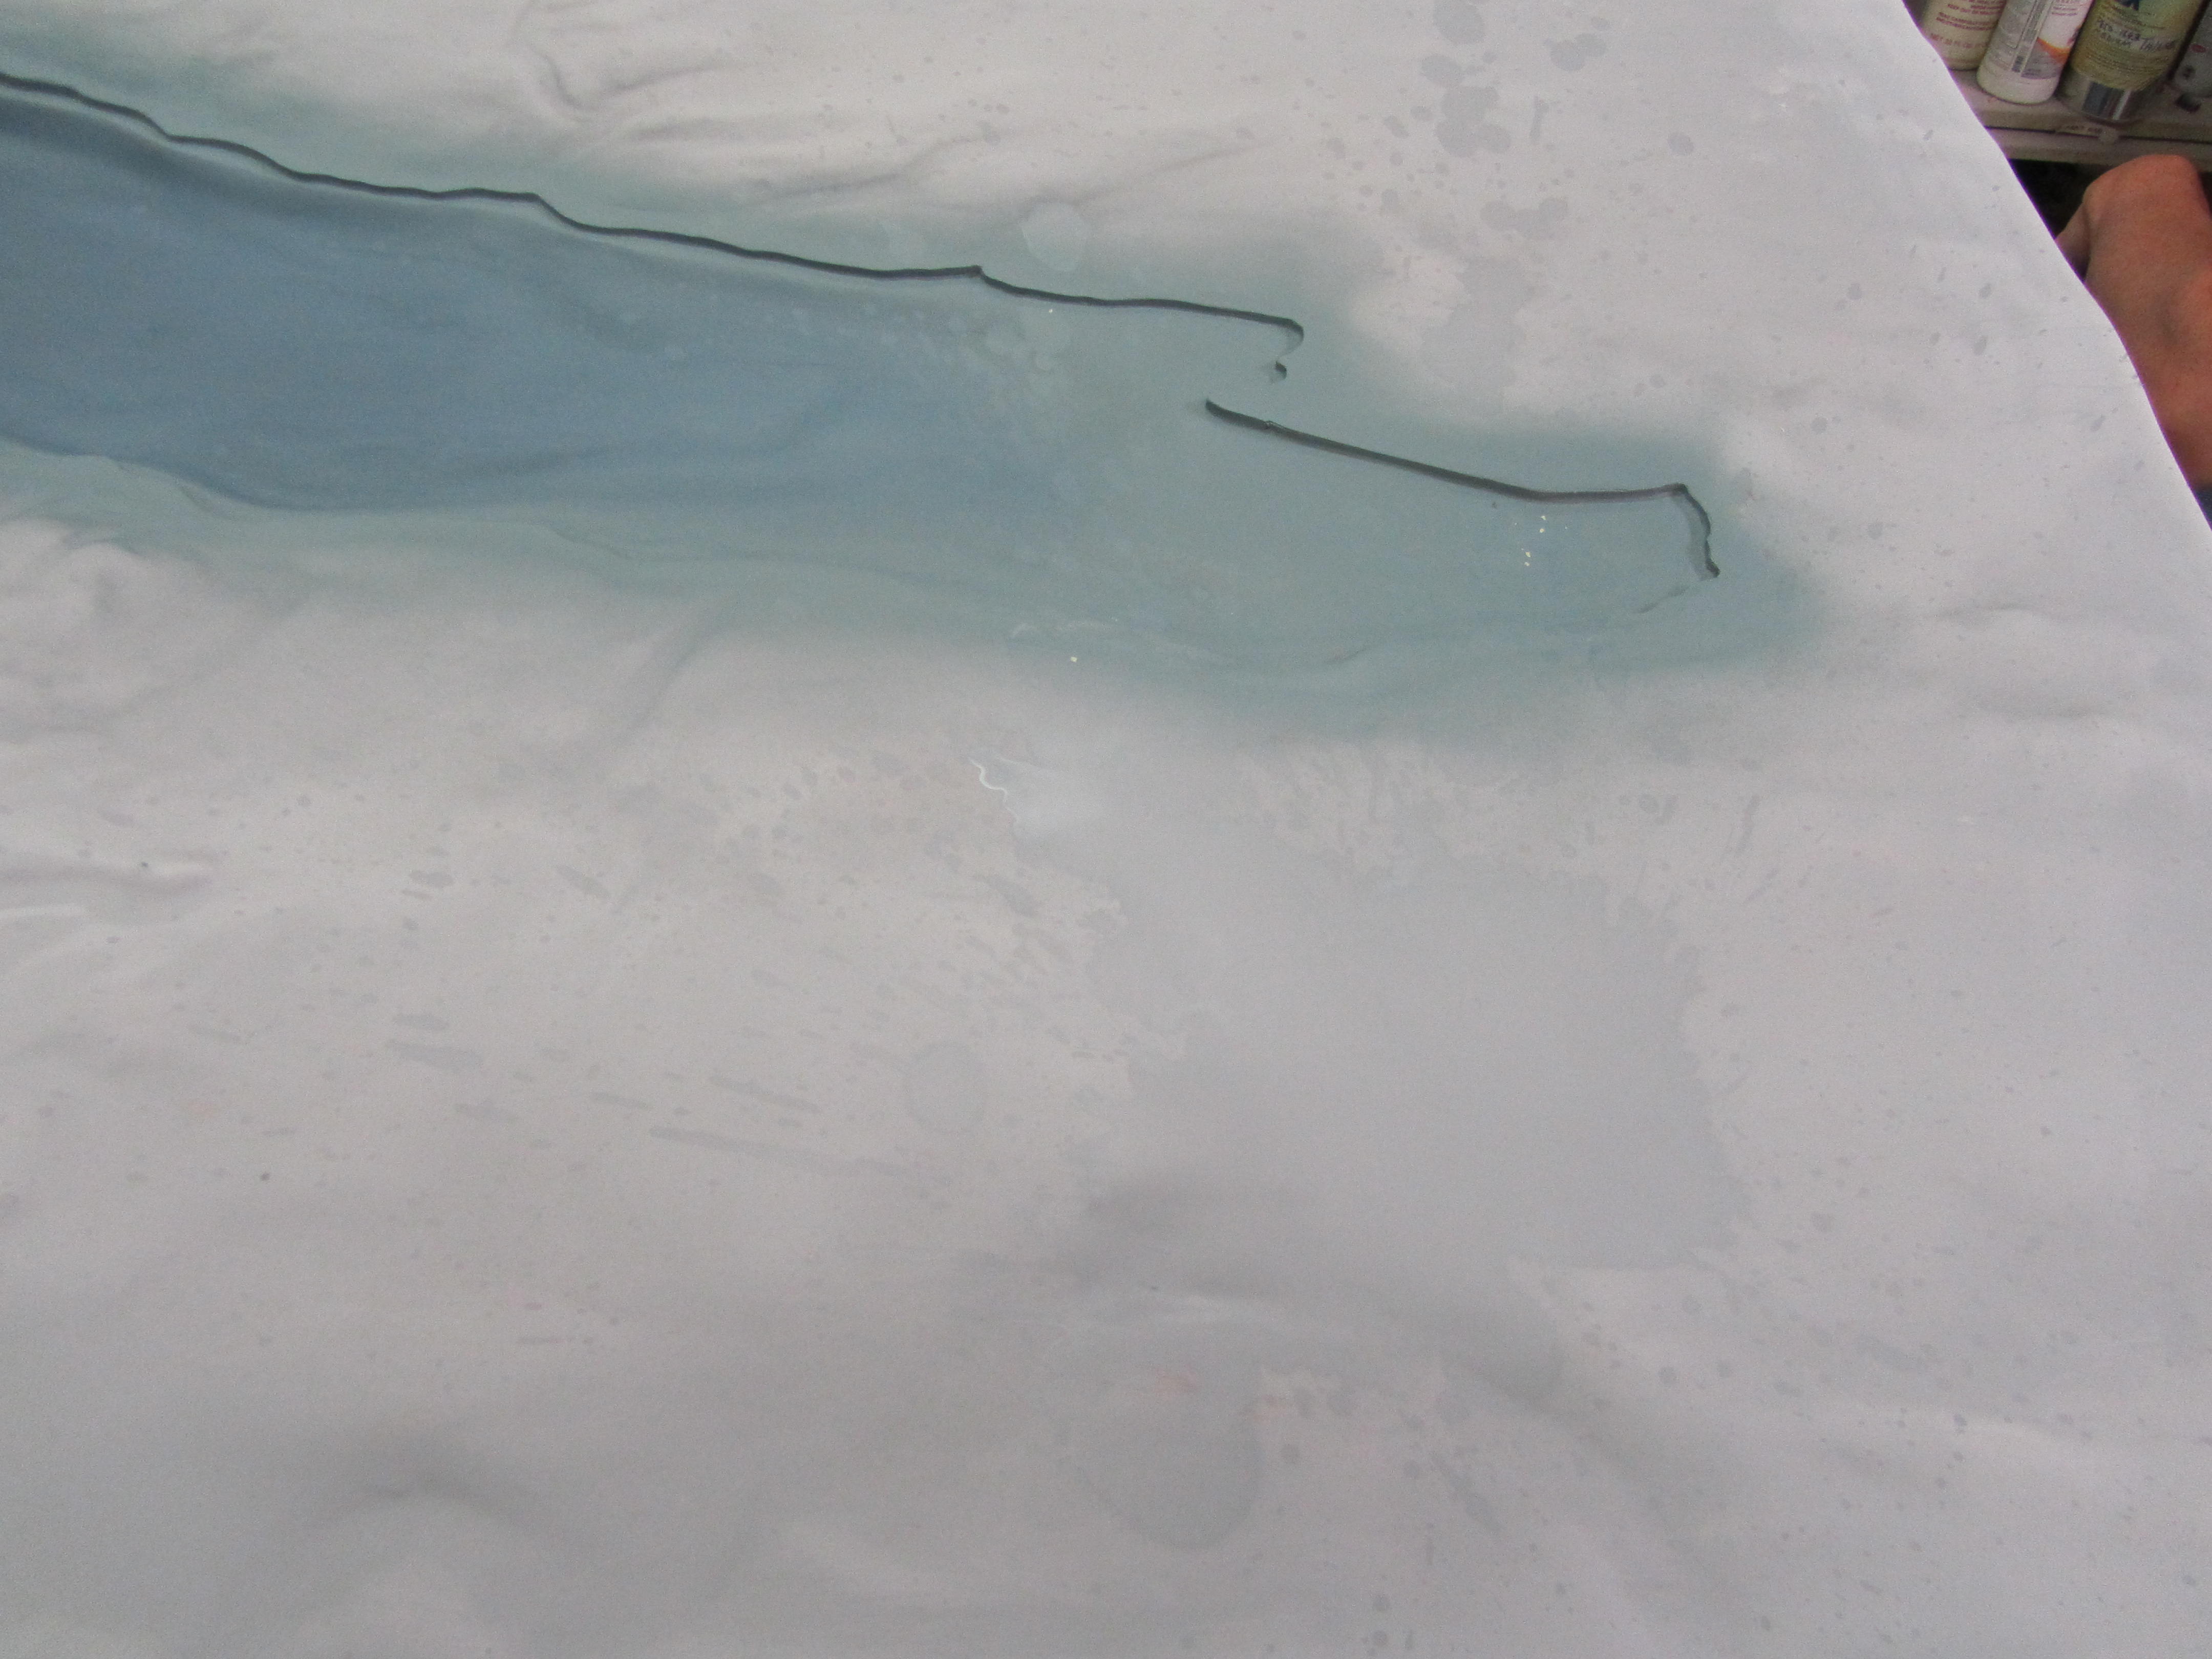
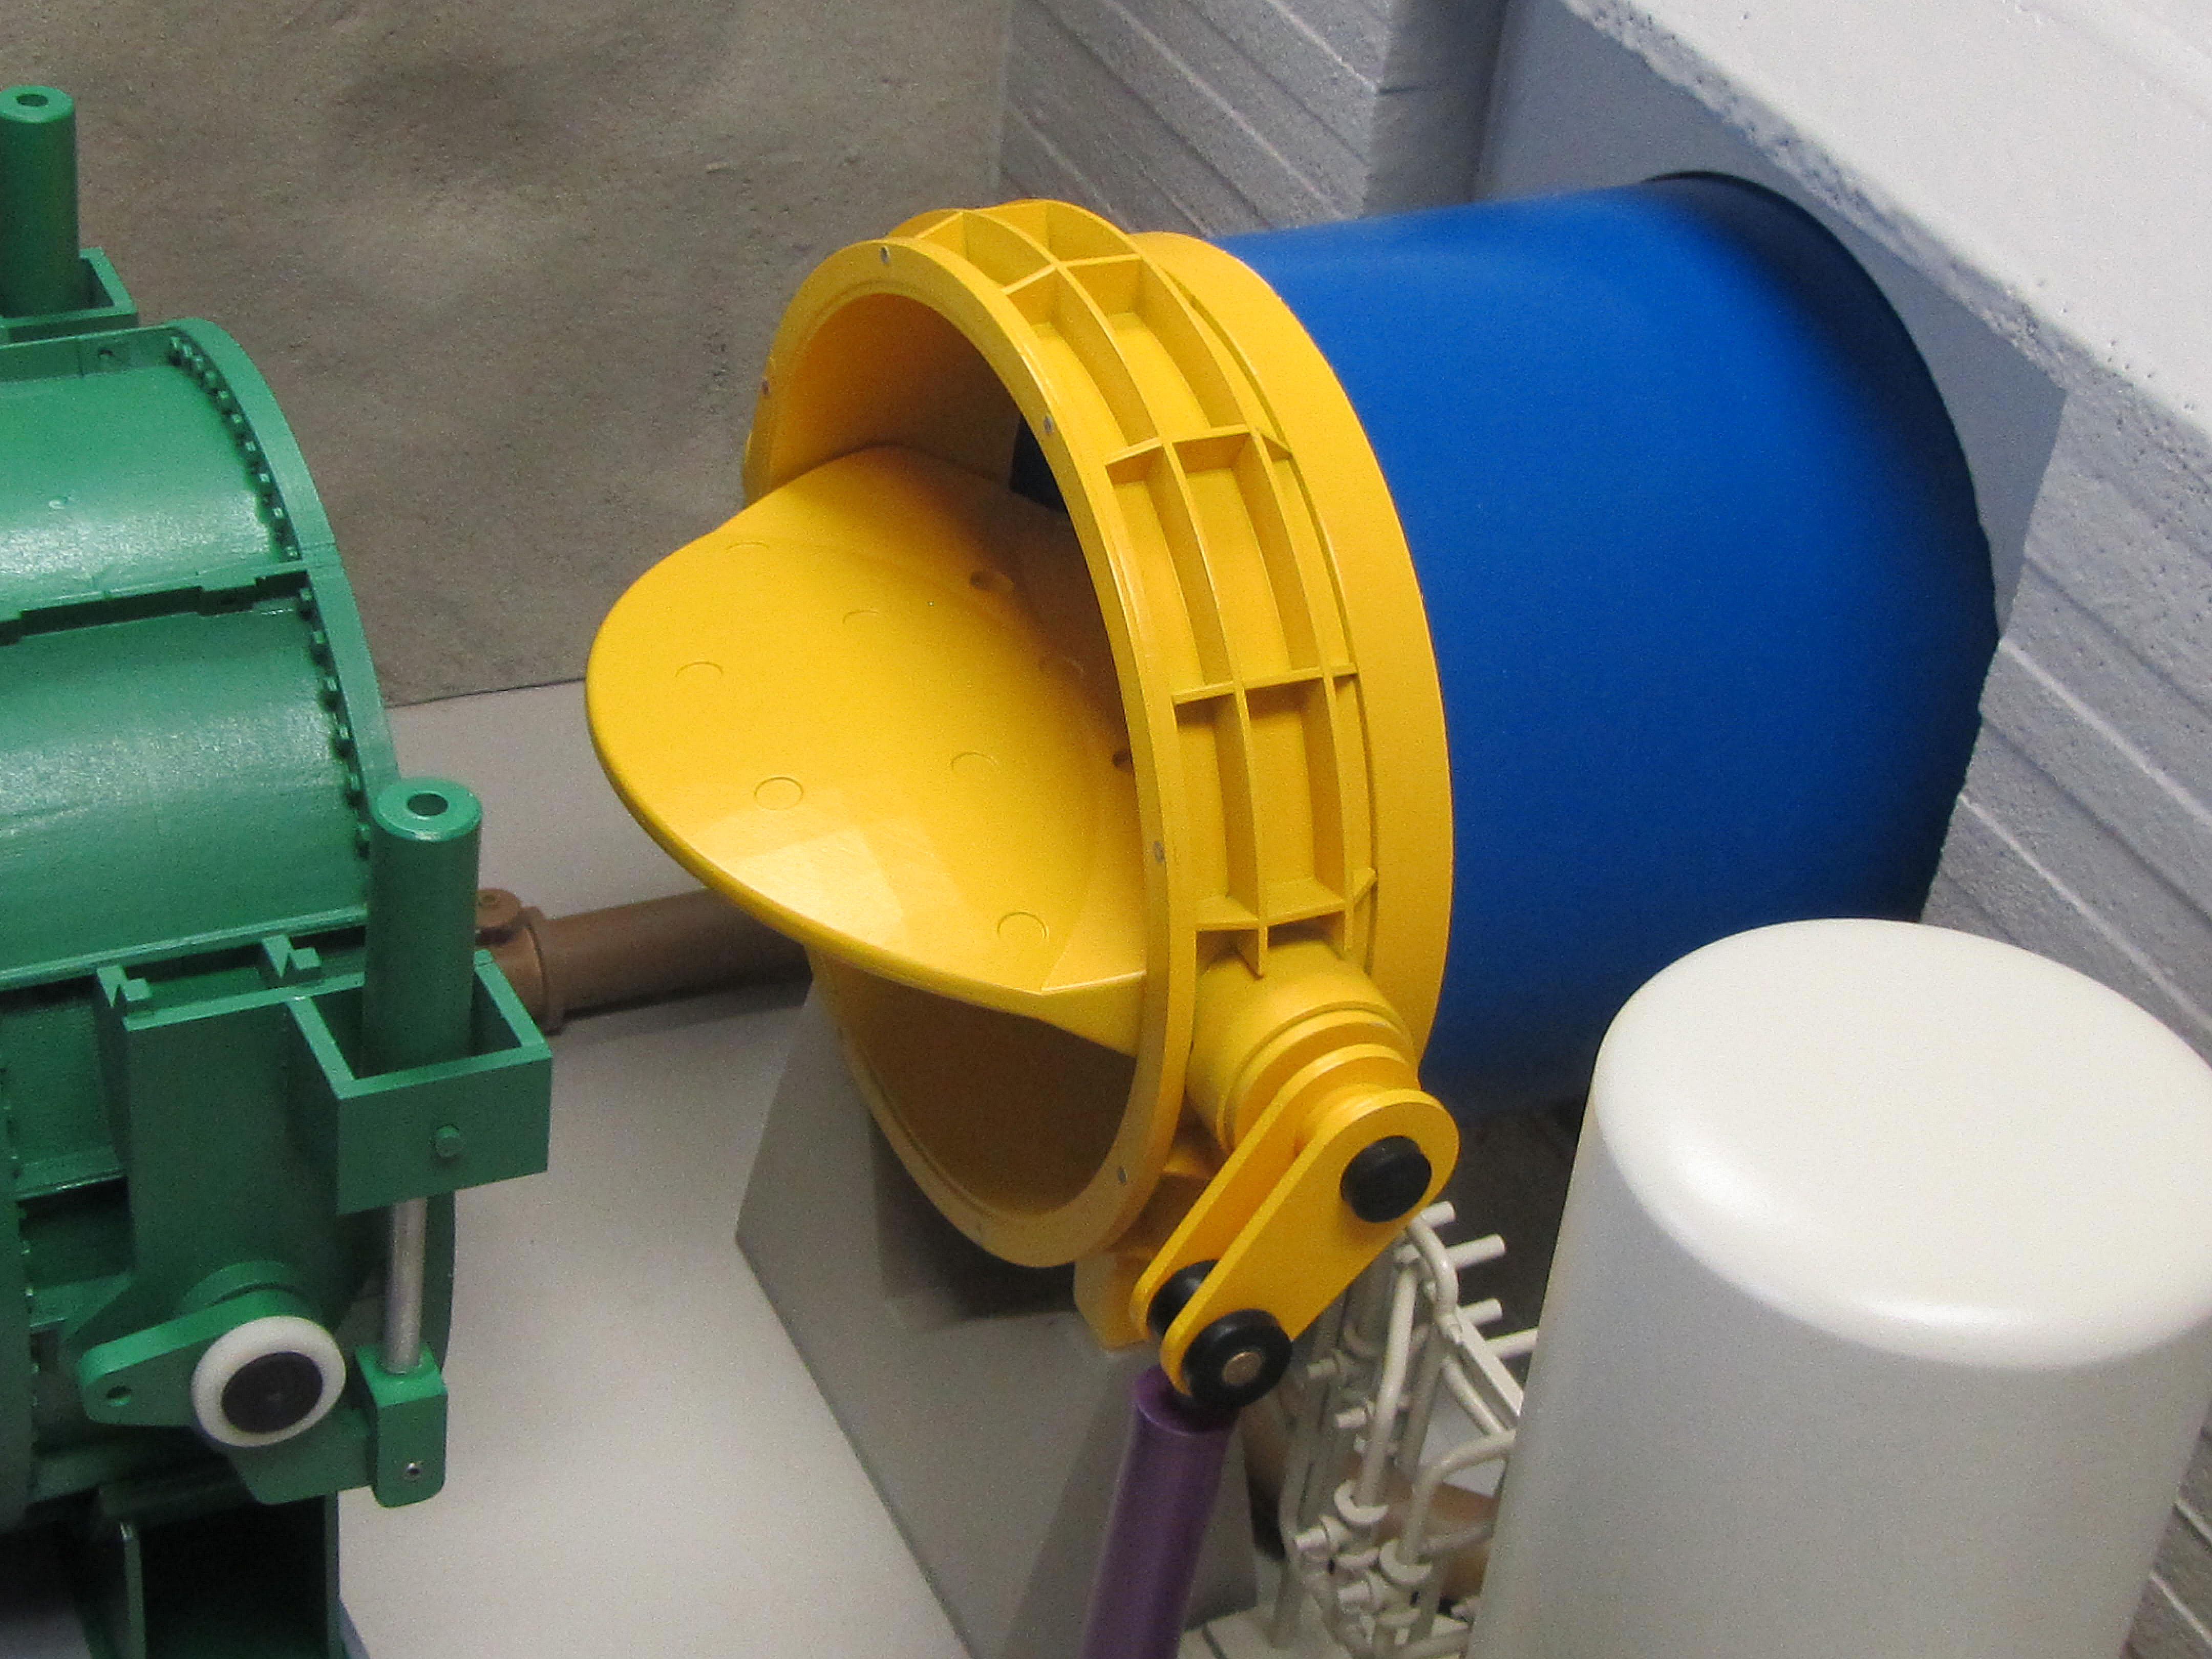
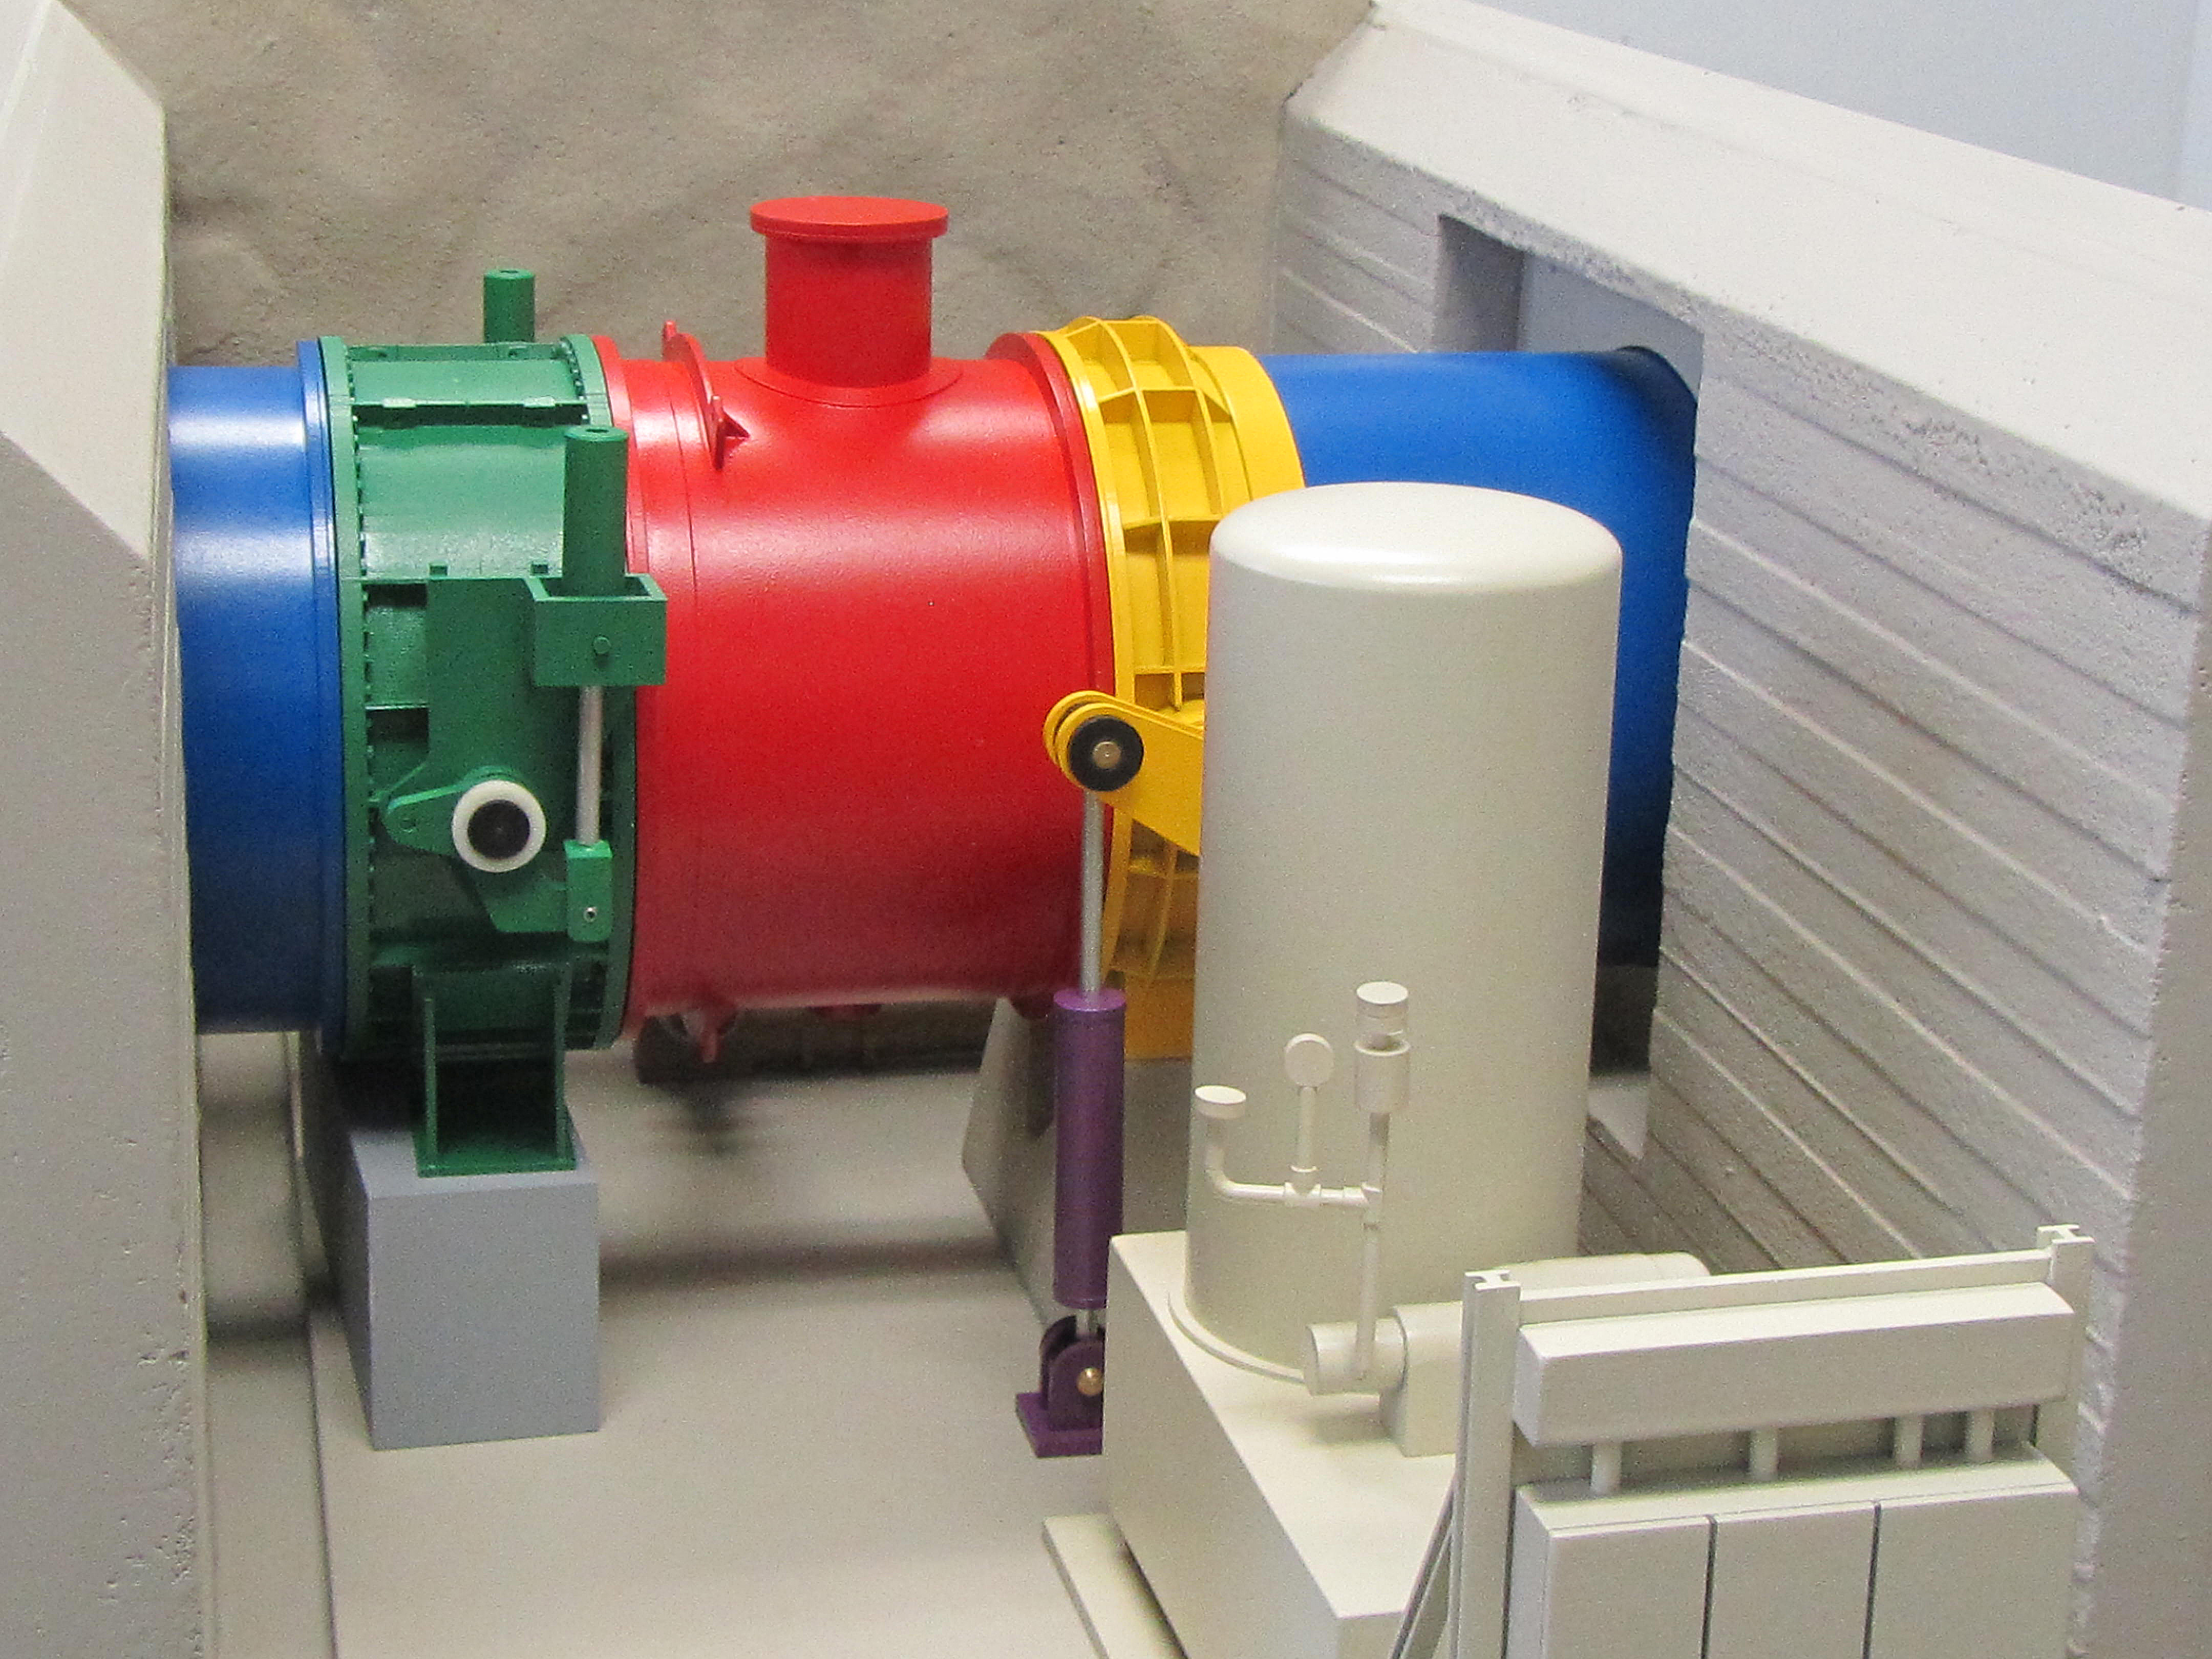
Our model shop works with all types of wood, several types of plastic, a variety of metals, molding compounds – even fabric. Just in the plastic category alone there are several different types, each with its own properties: ABS which is more resilient, acrylic which cuts beautifully on the laser but can break, resin which is the liquid plastic that the 3D printer uses, and styrene – an easily bonded staple of architectural models.

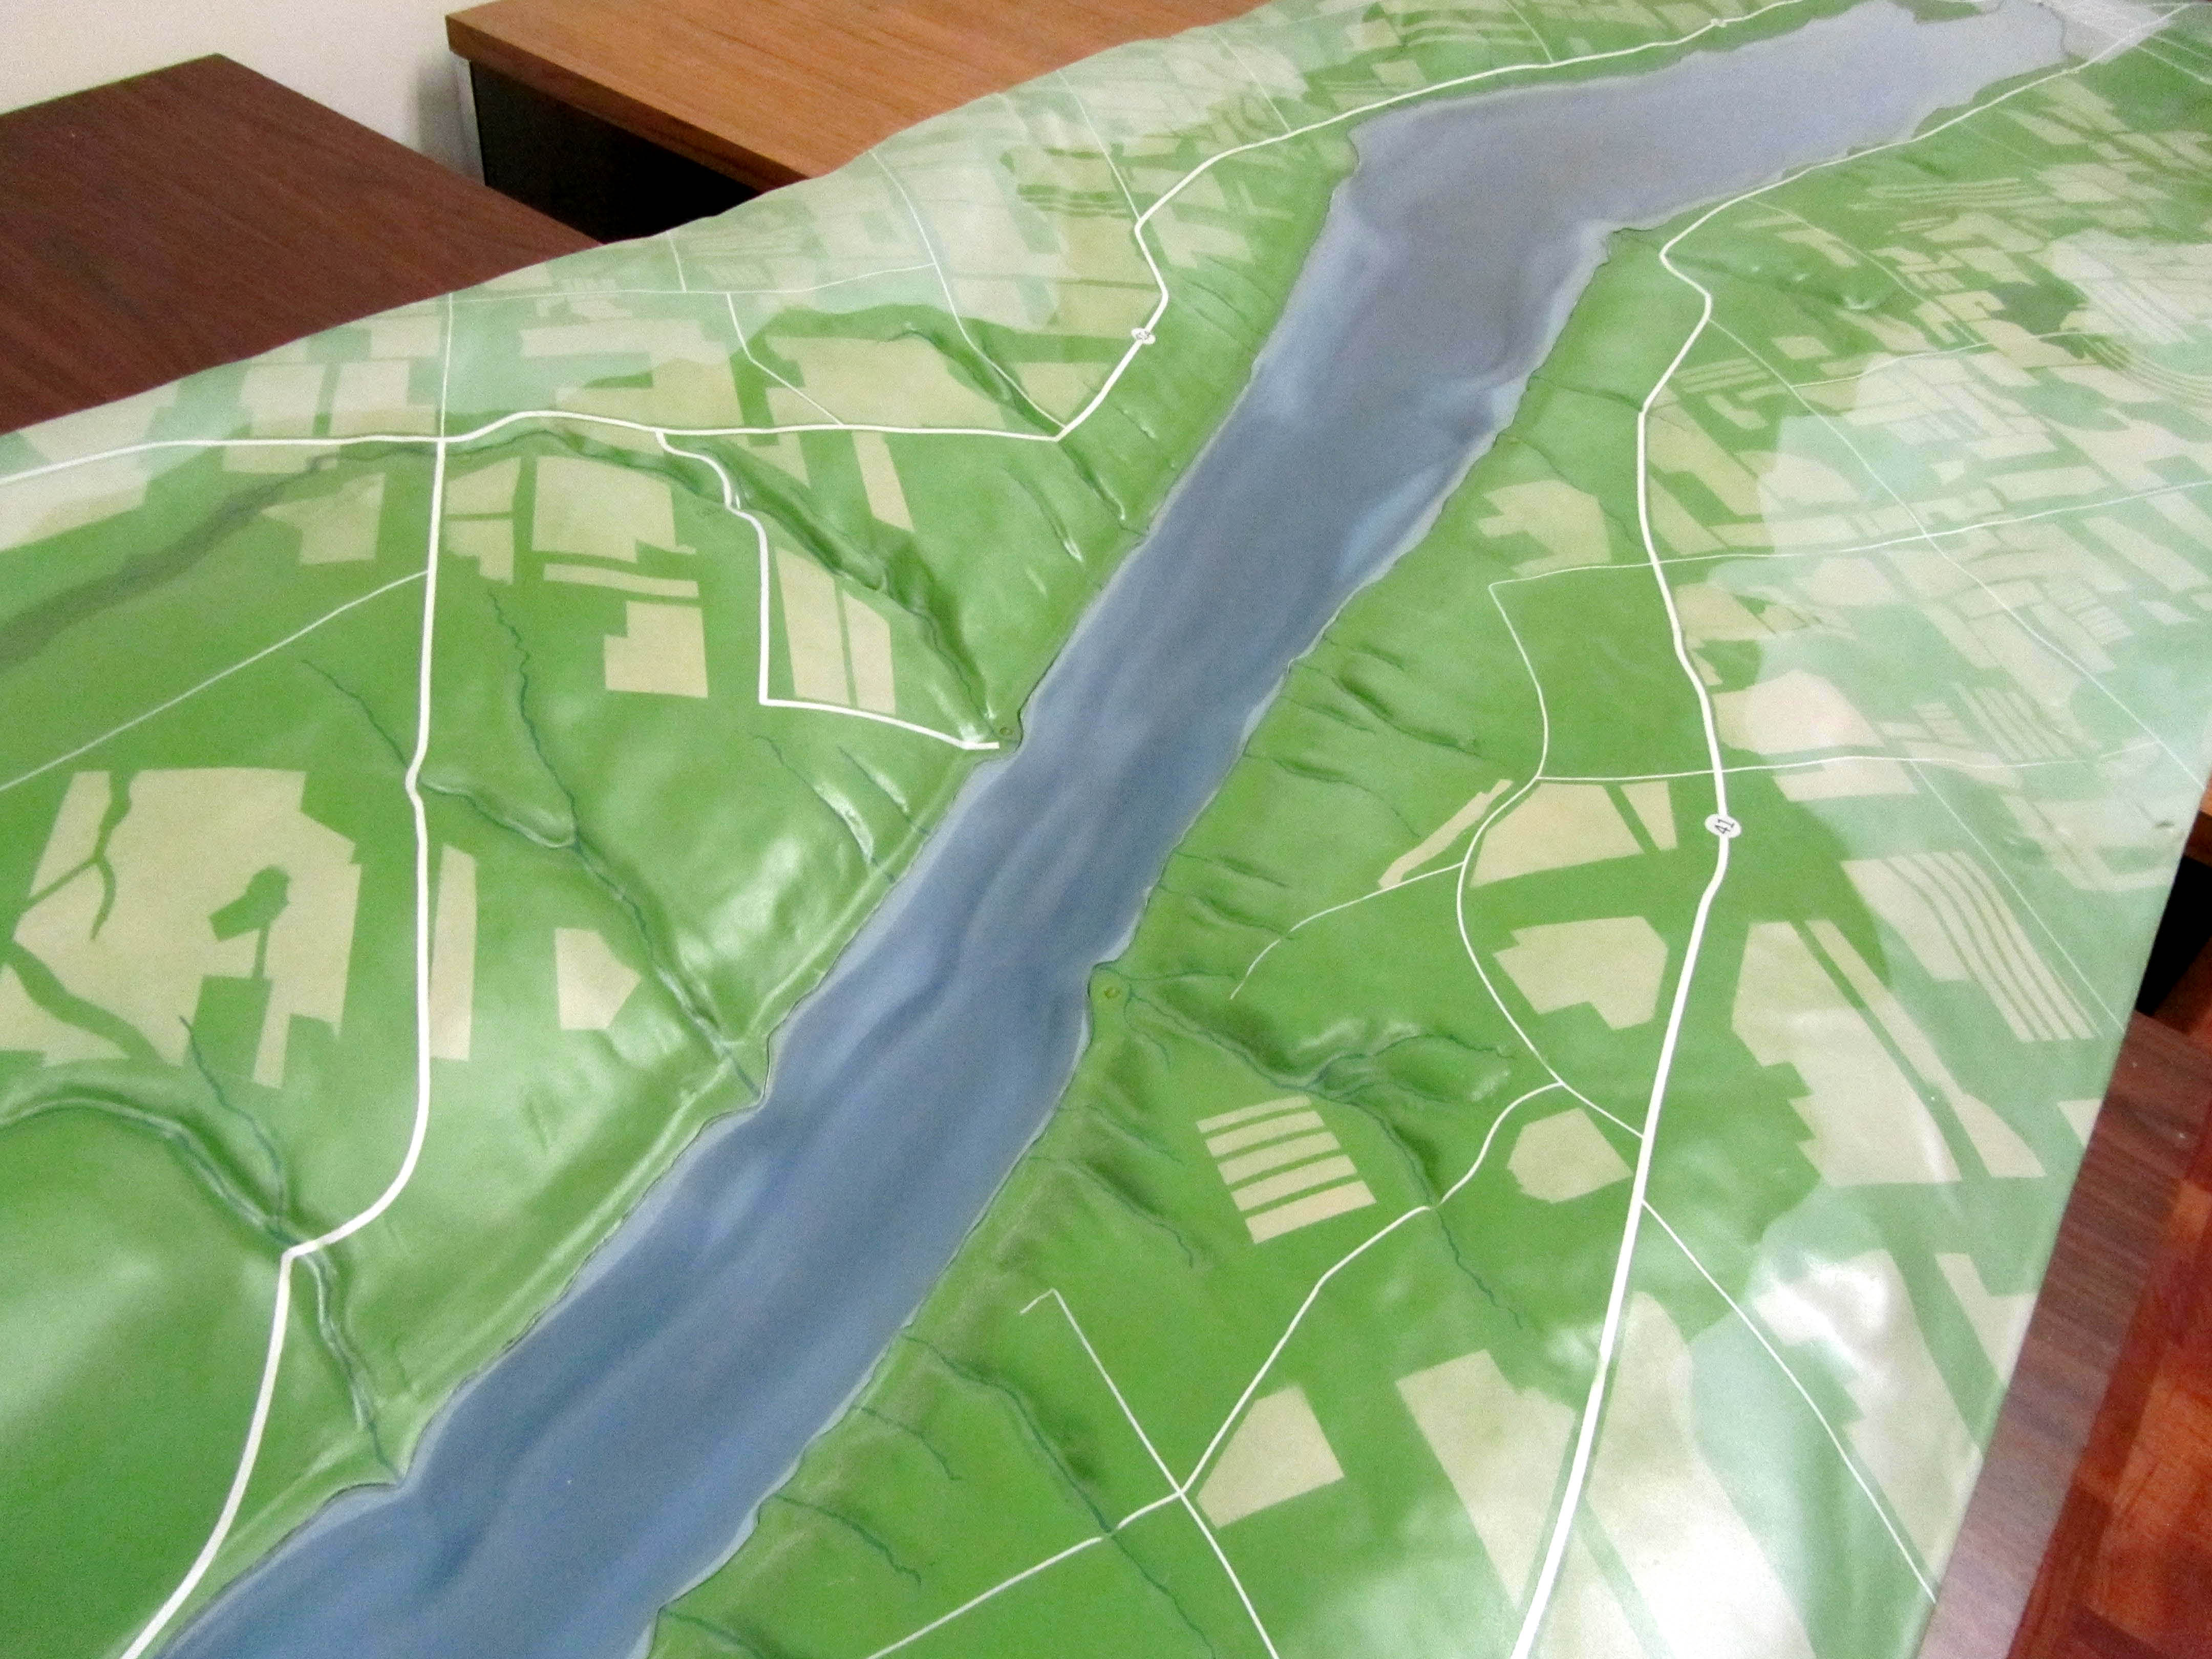
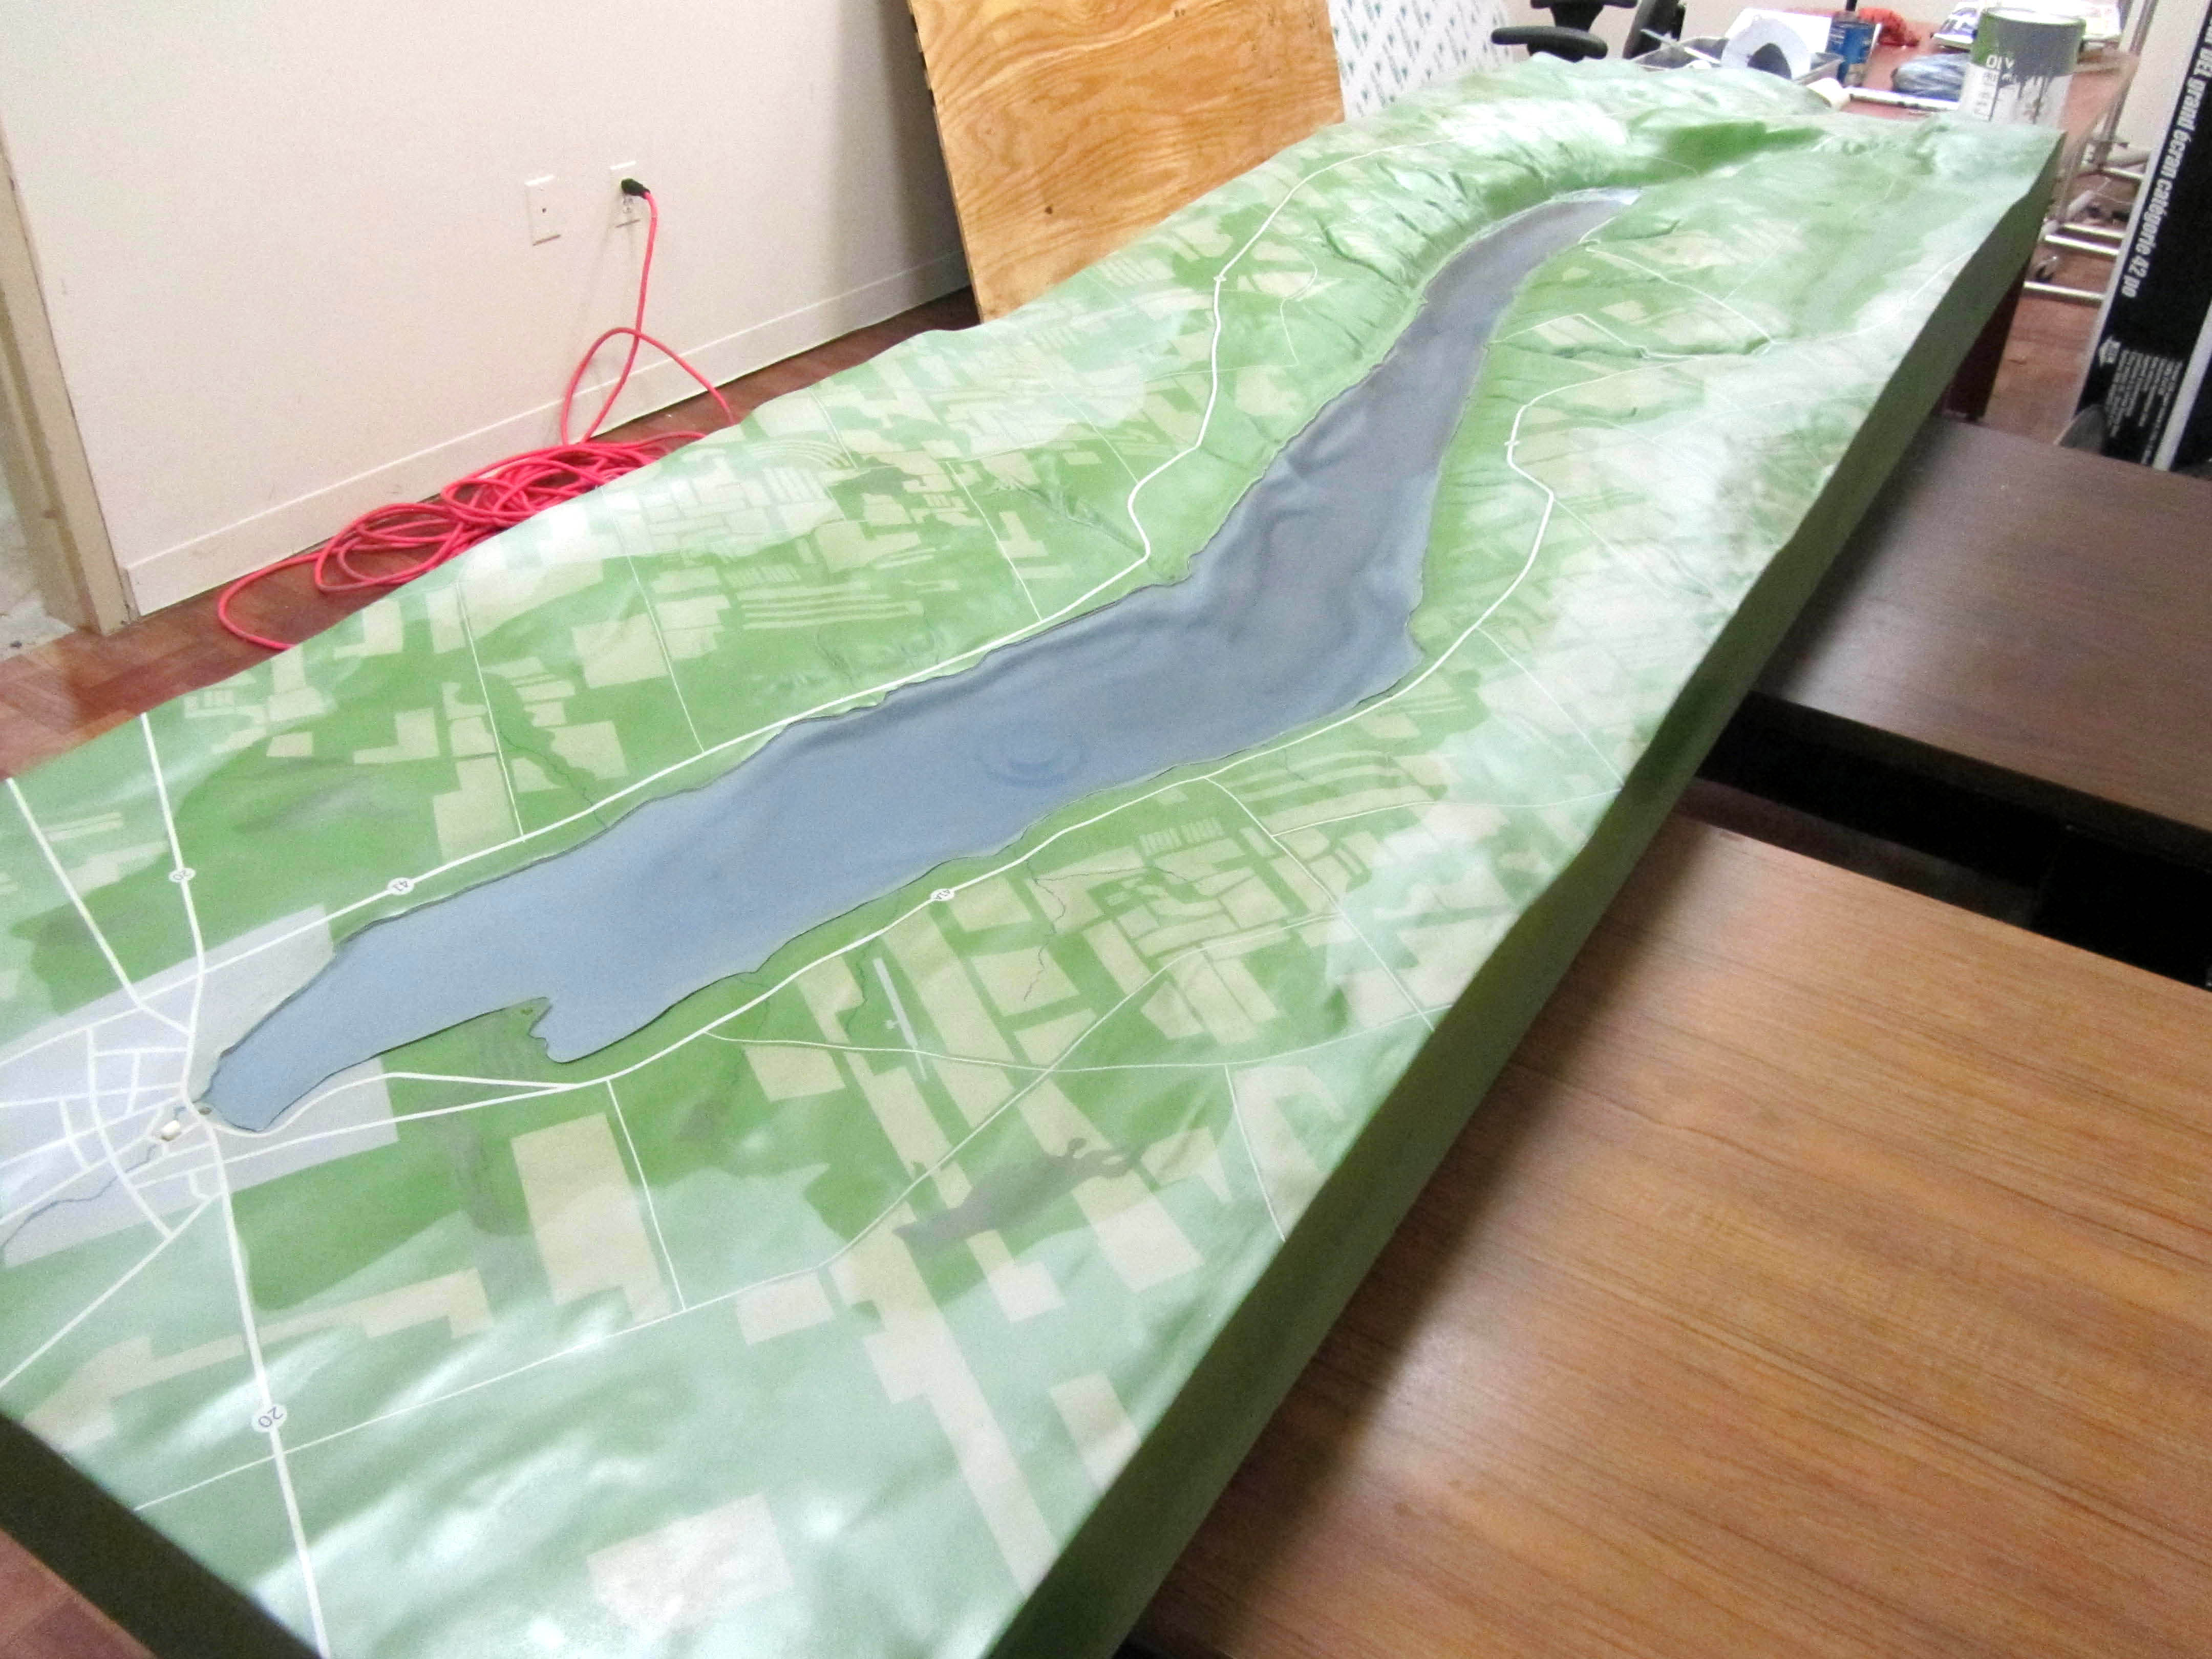
When determining what material to build with, a model maker has to decide what properties are best suited for the purpose intended. If the model will be displayed in a clear box and never touched, then delicate, intricate and the most realistic looking materials can be used. This is rare.

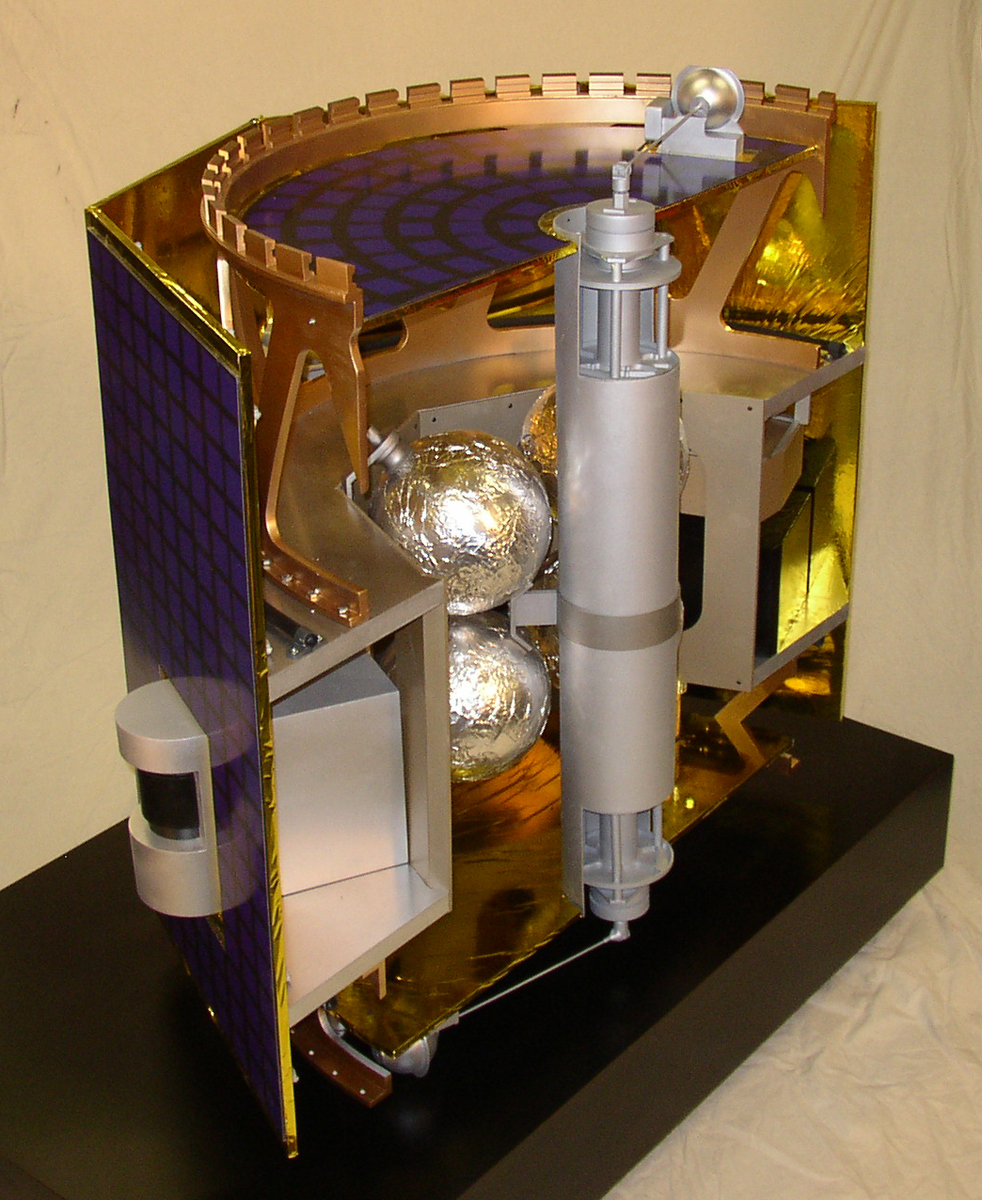
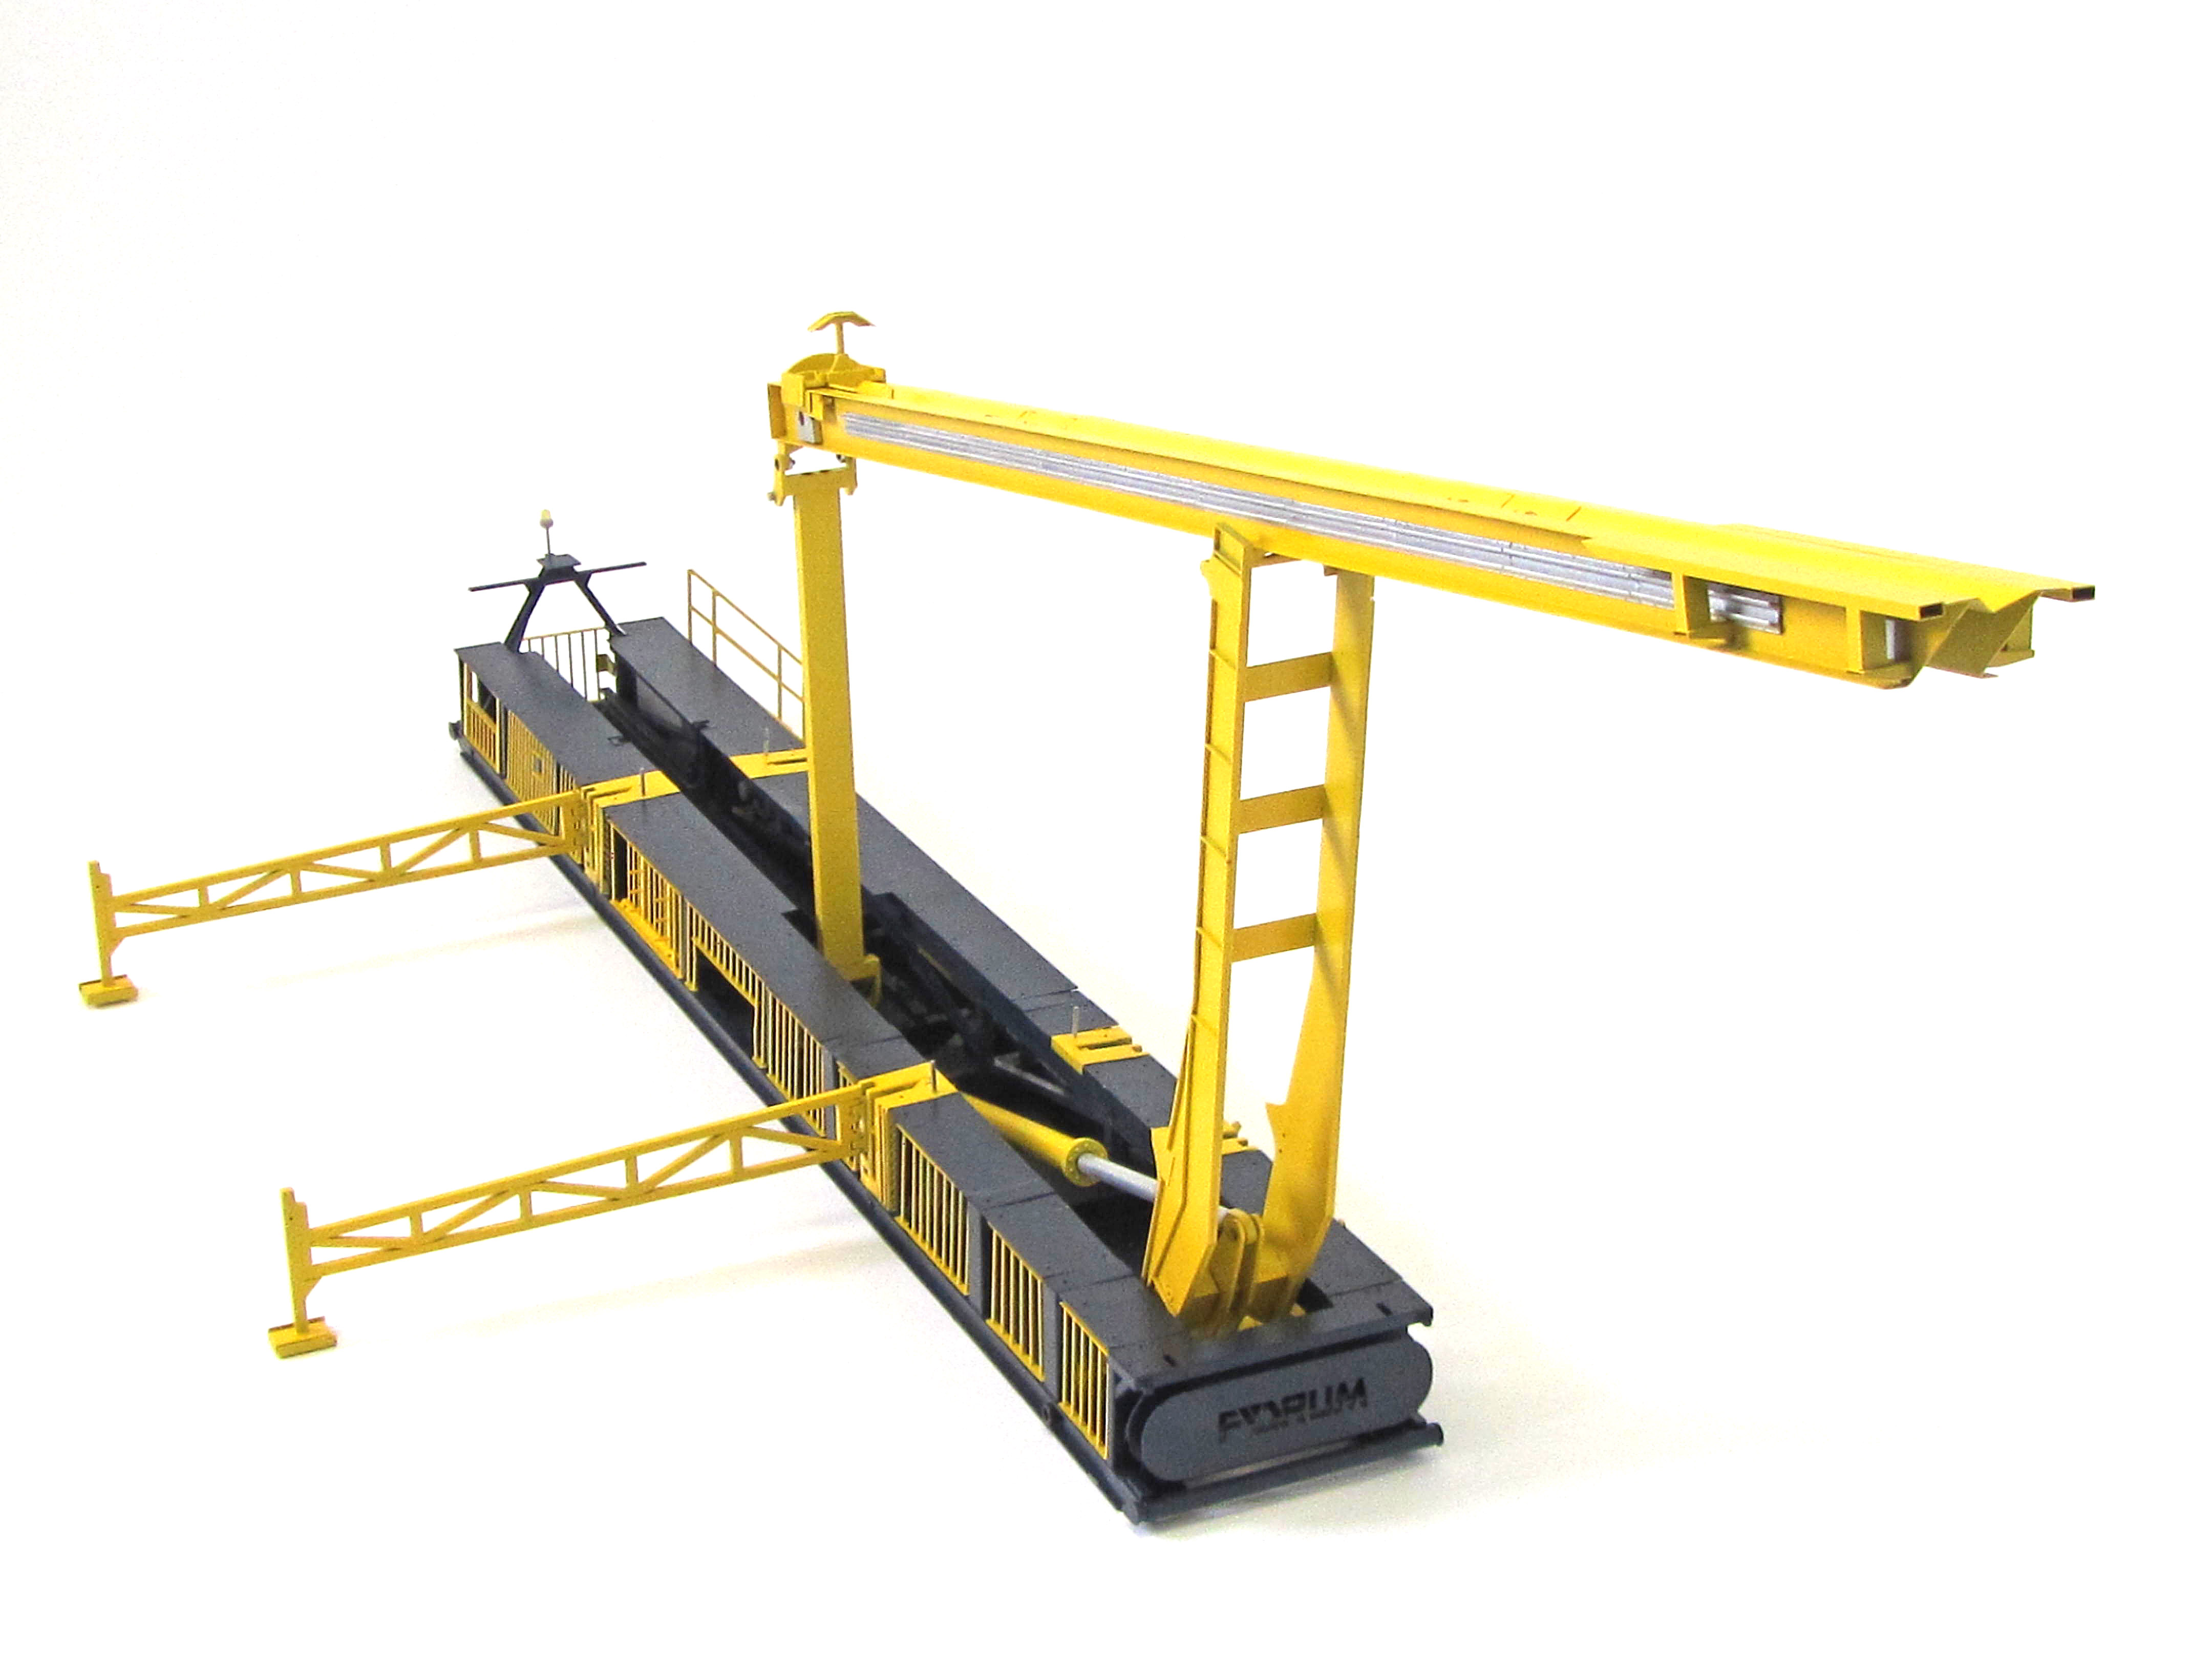
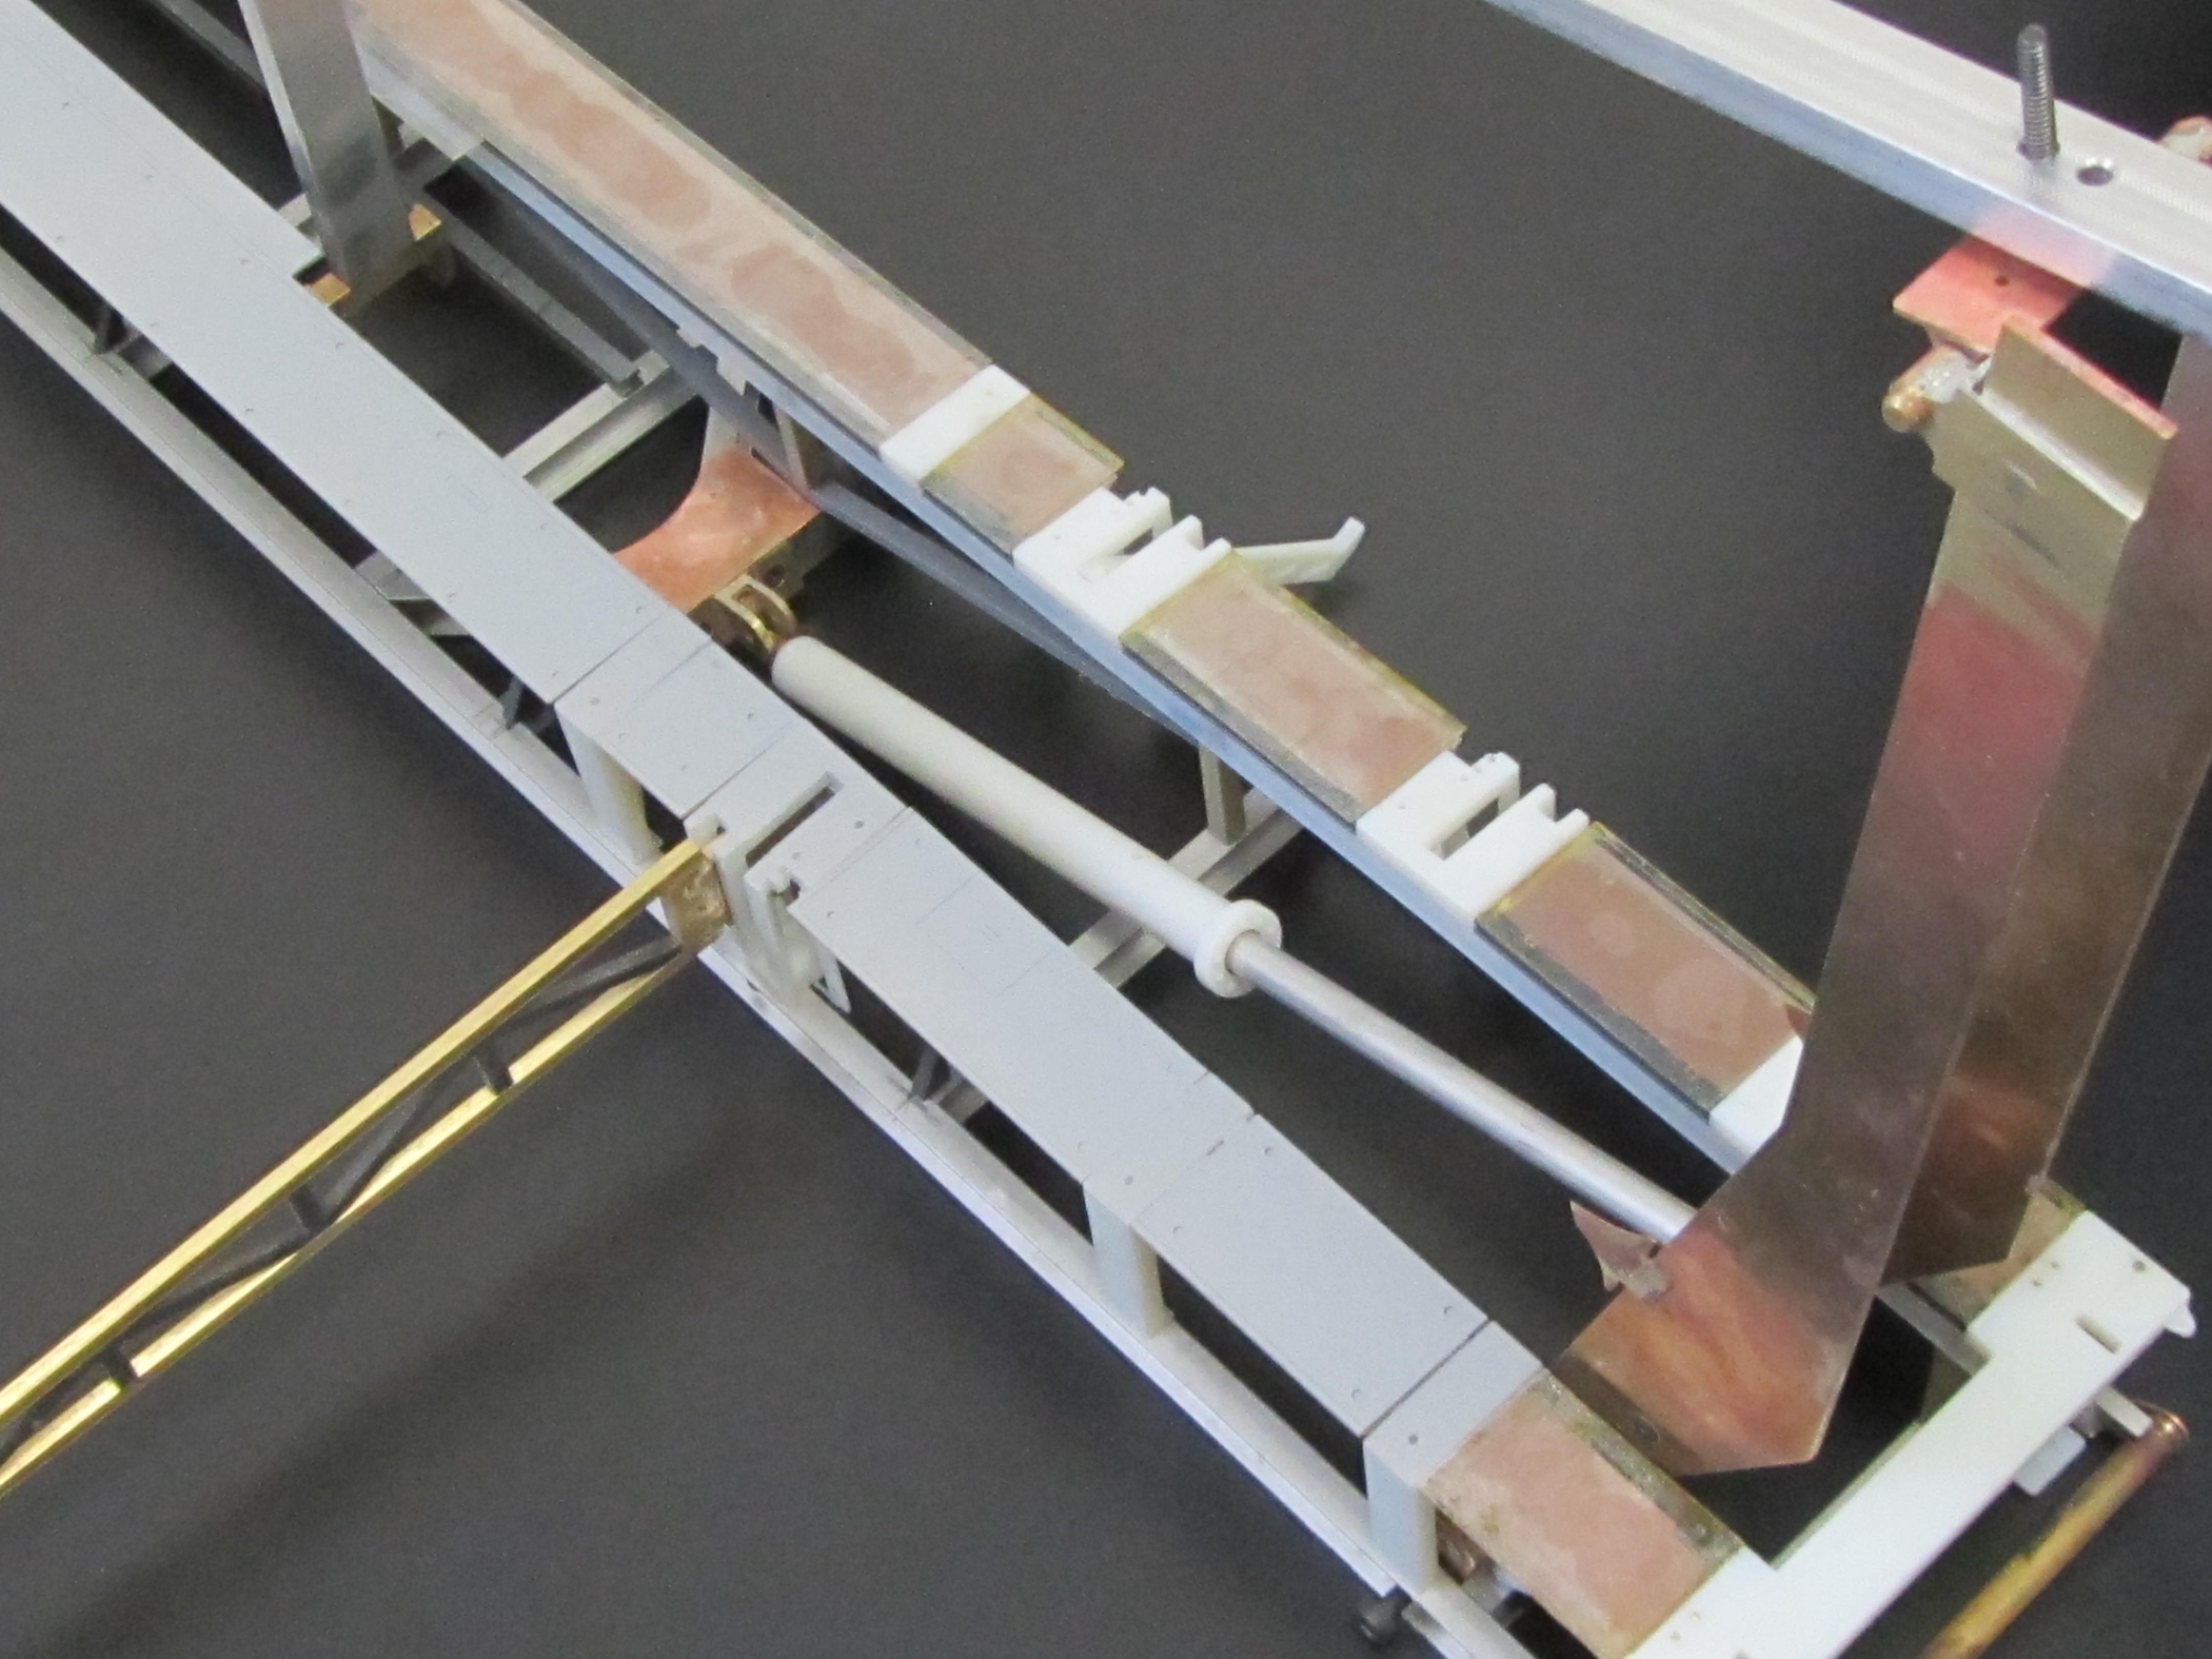
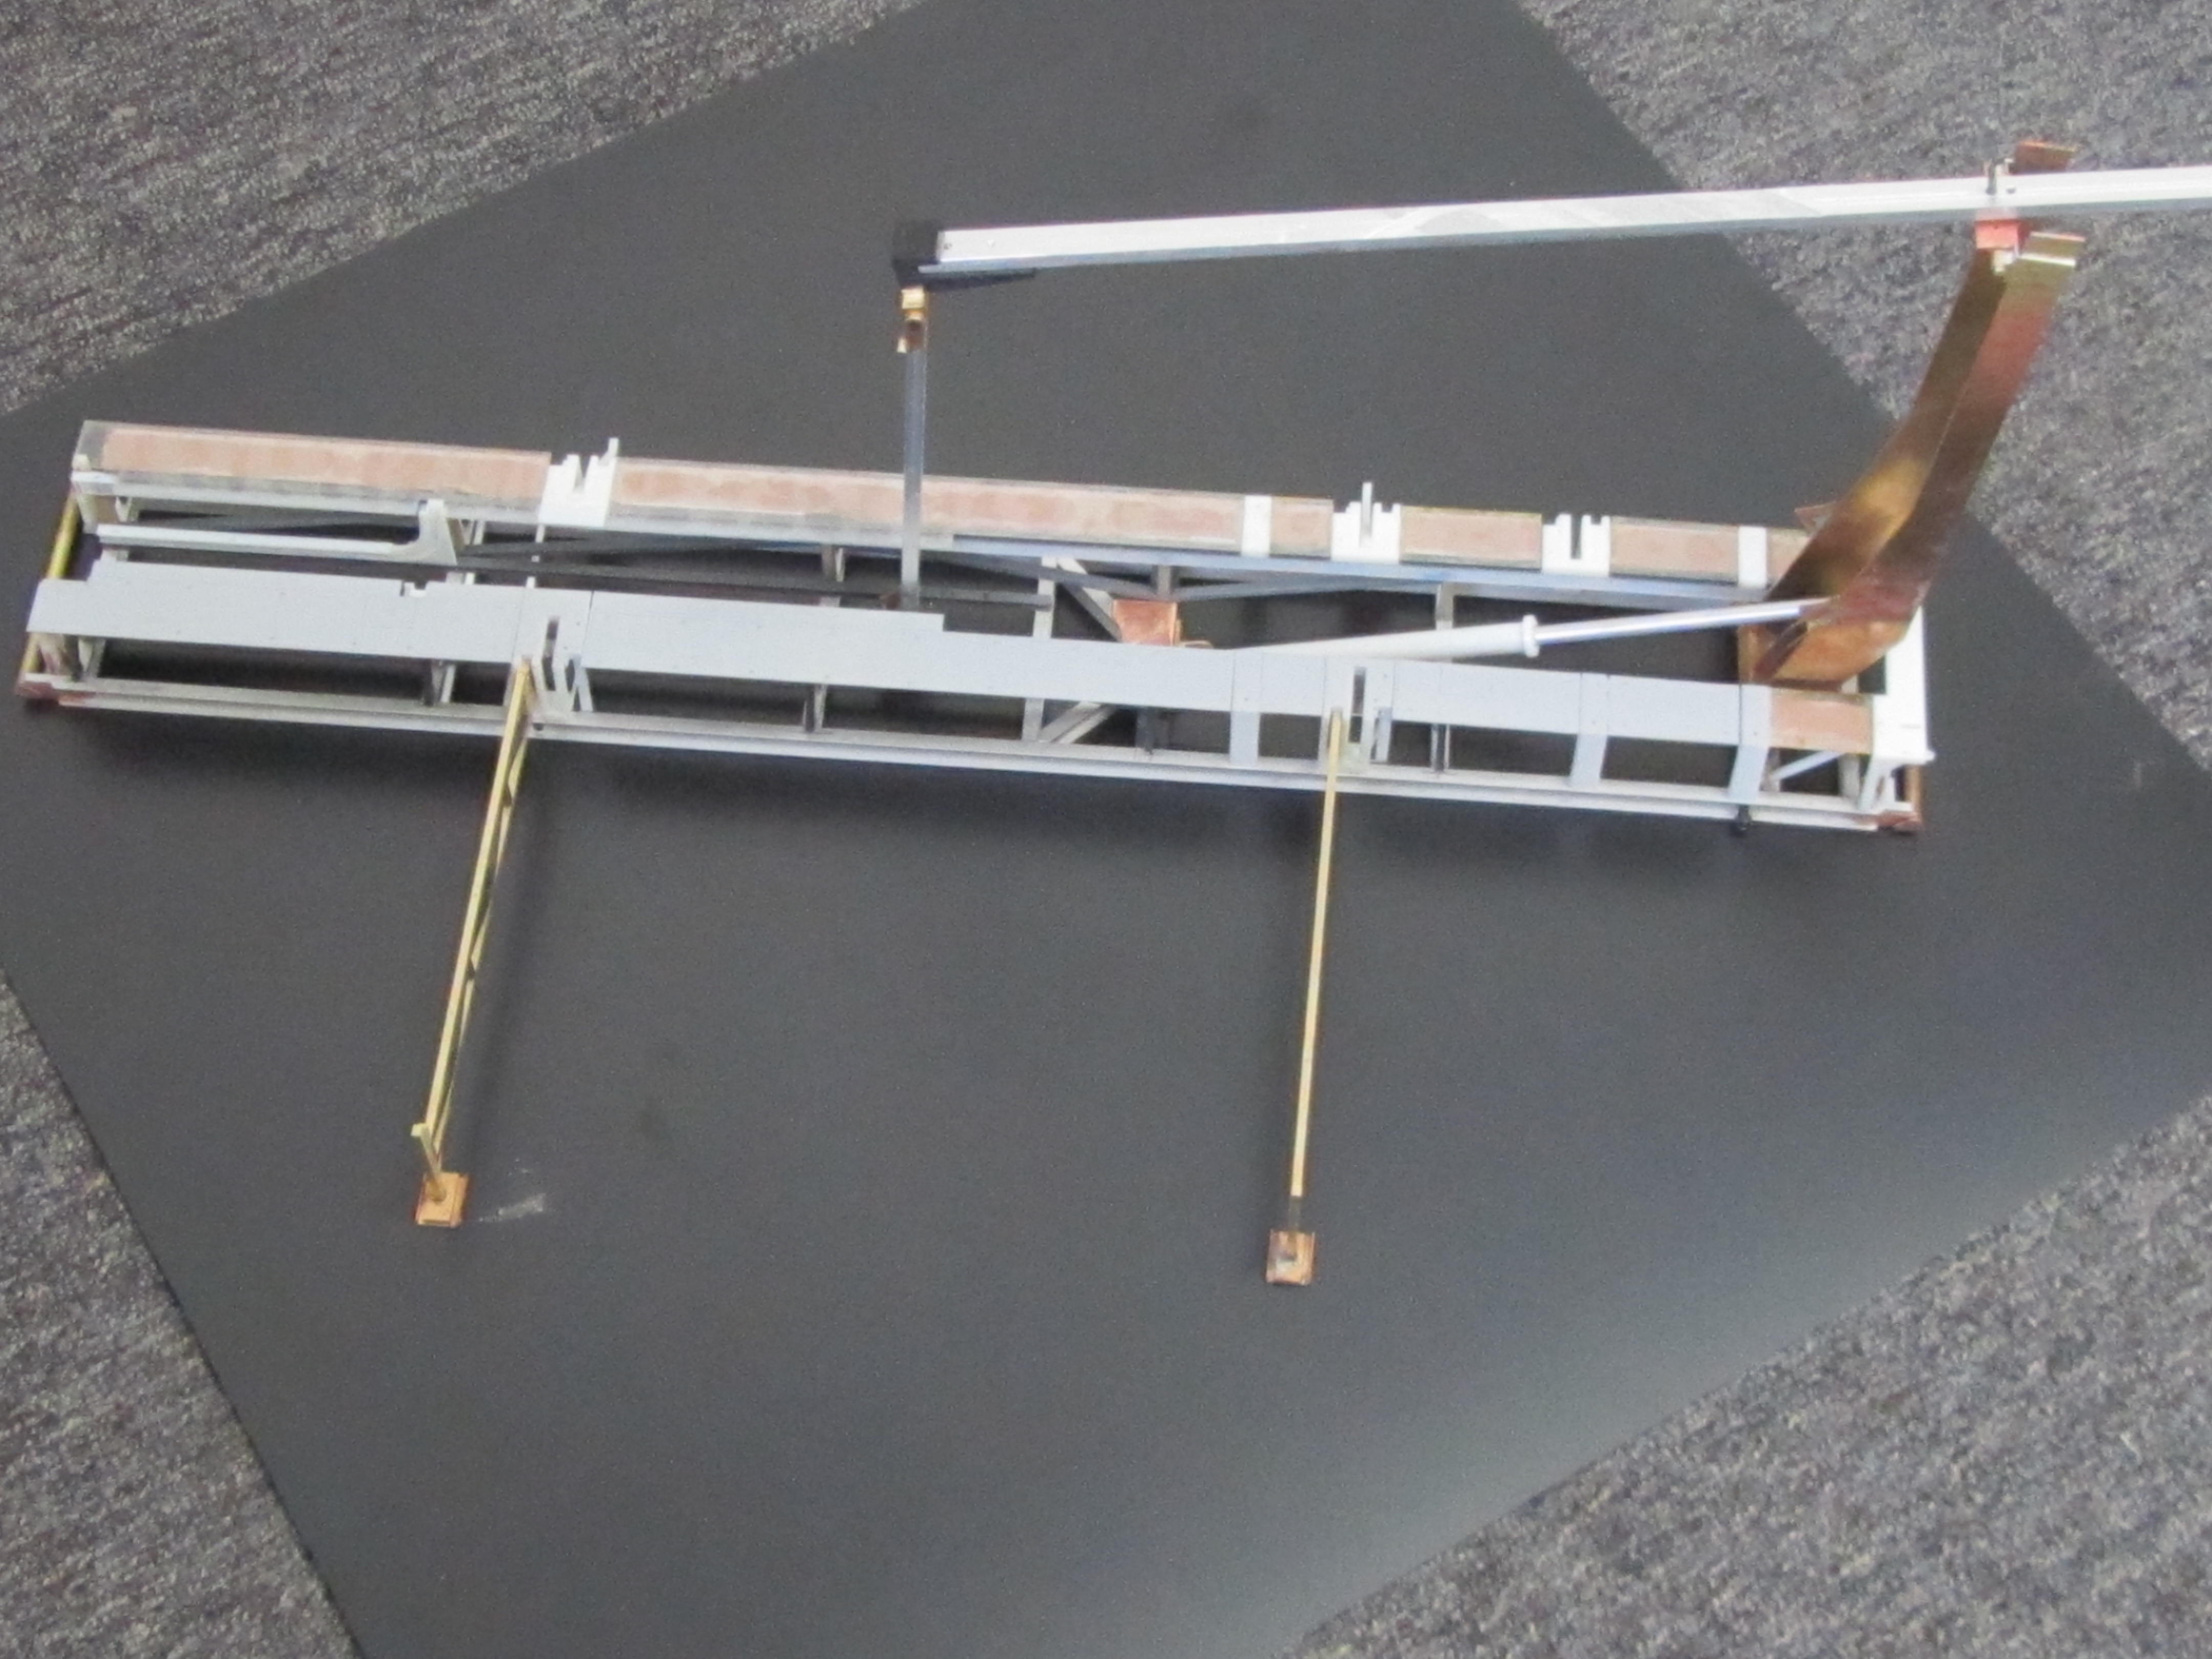
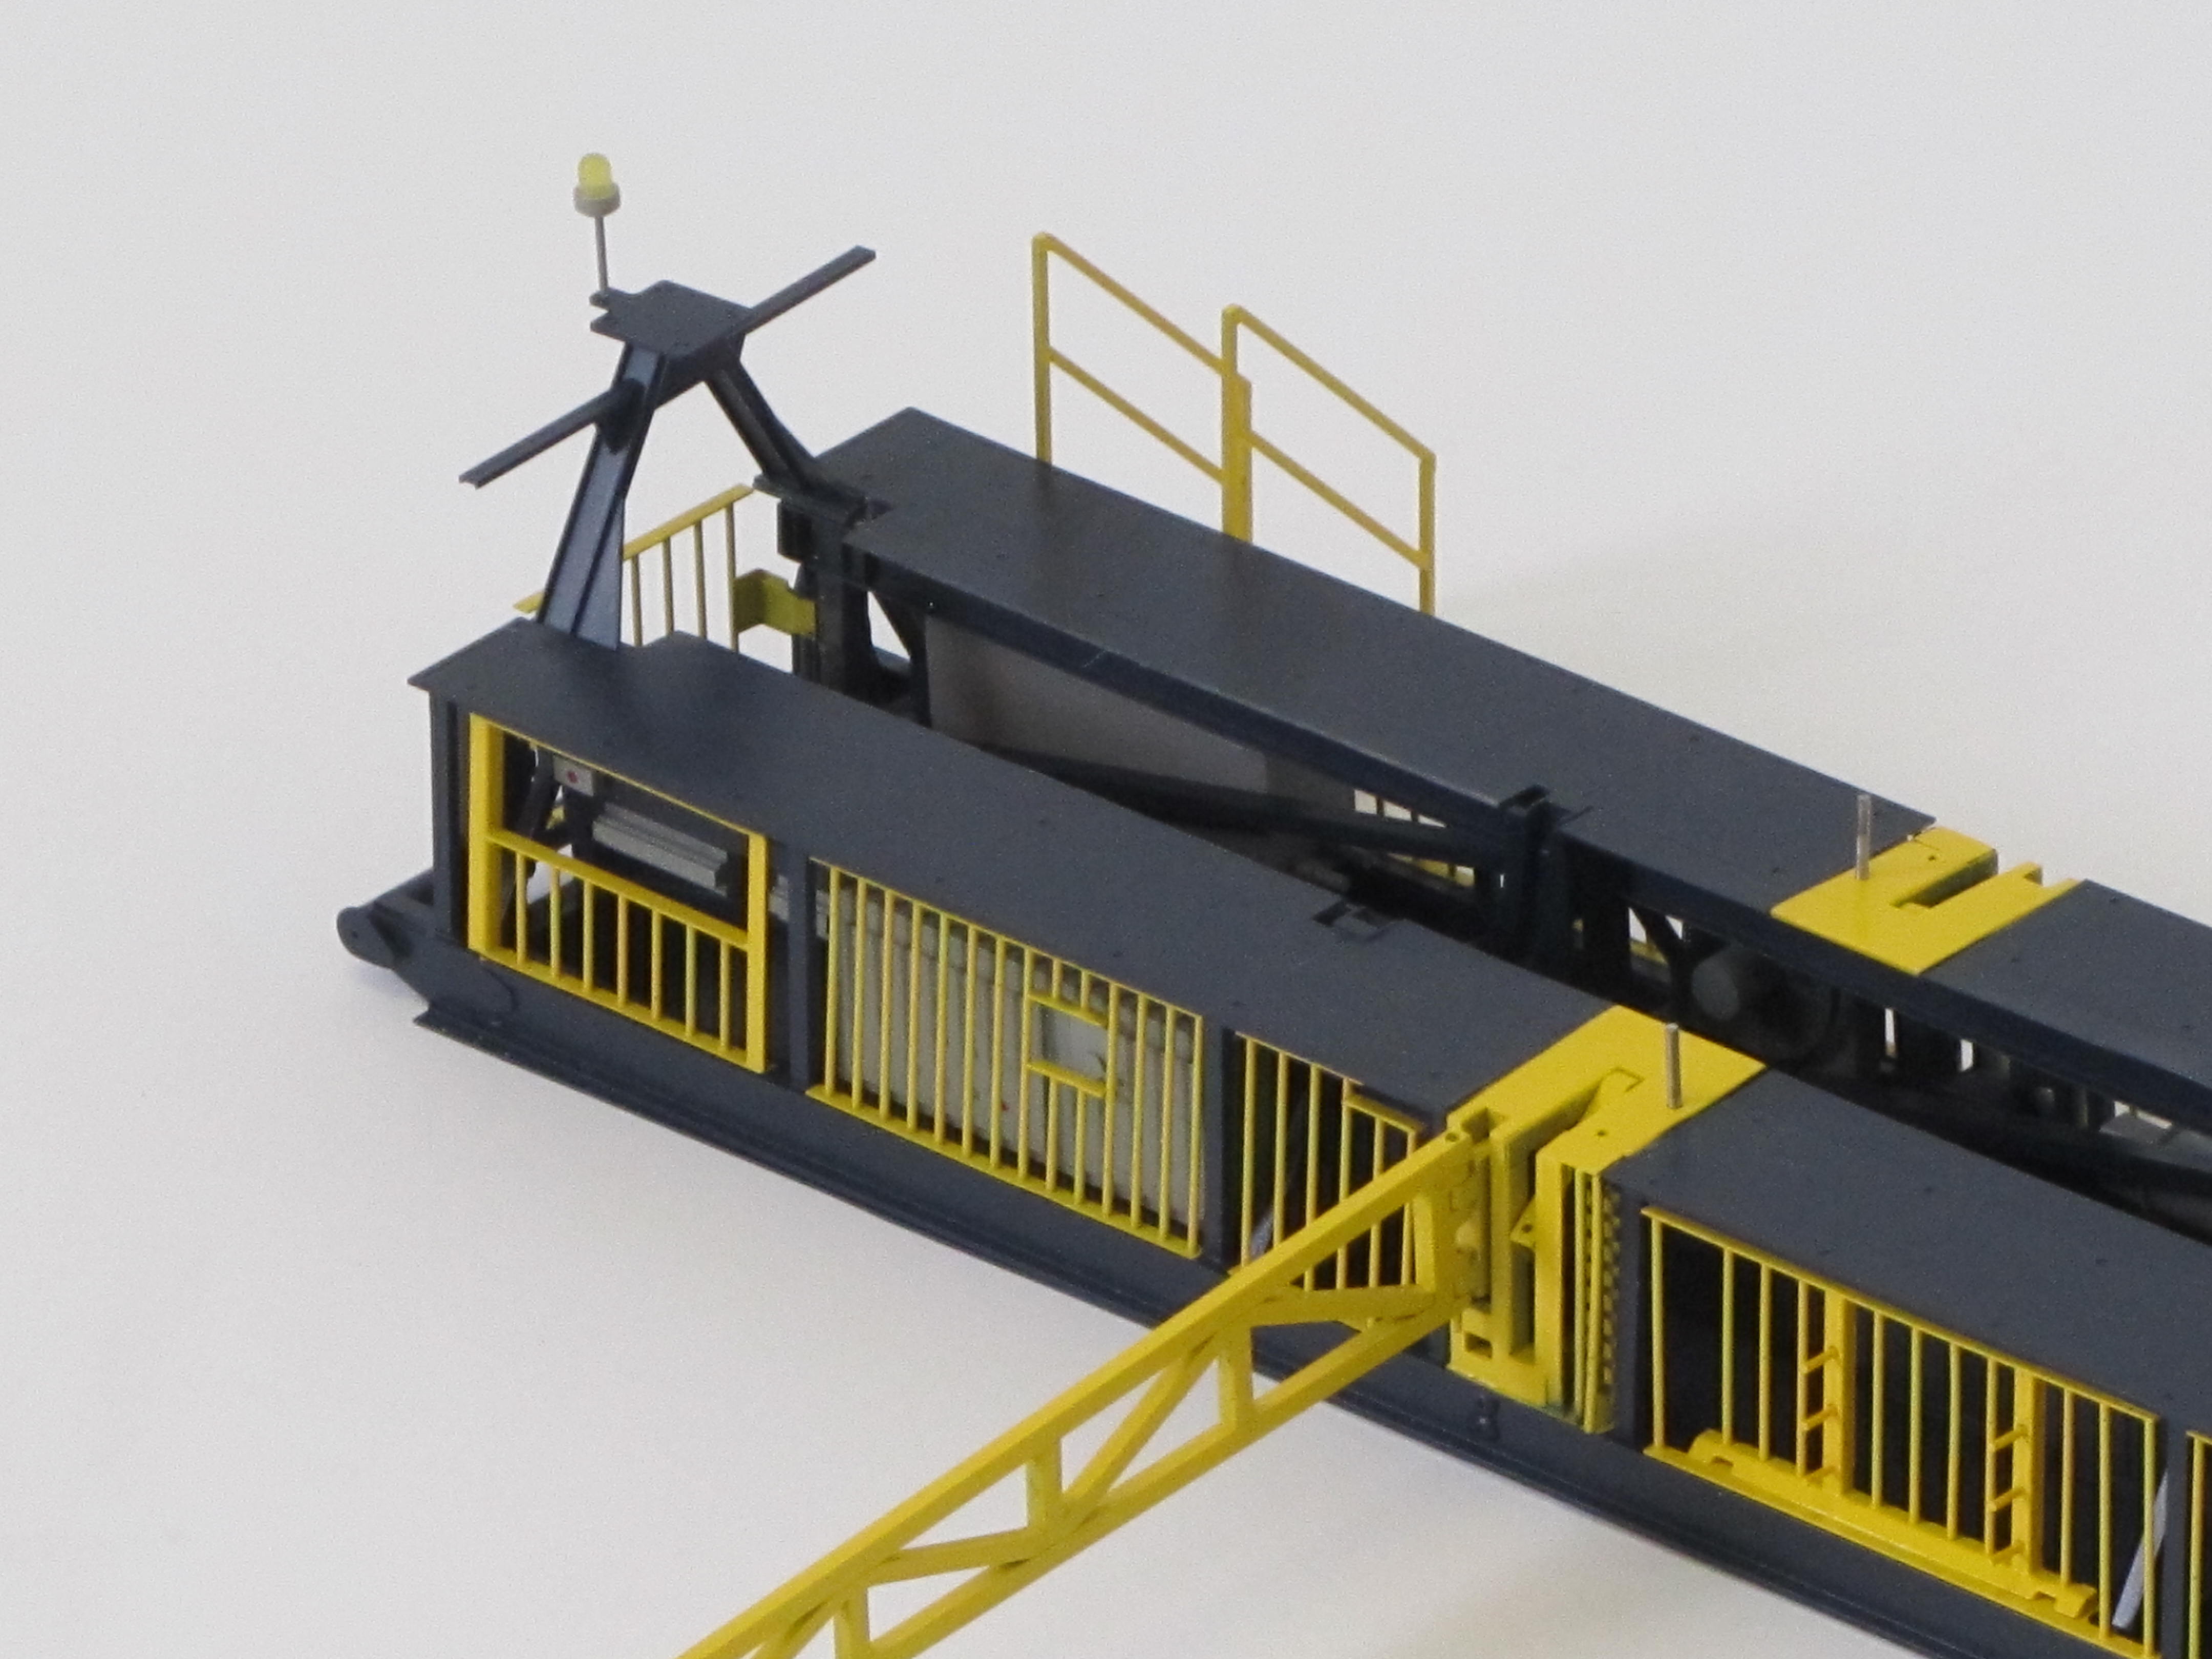
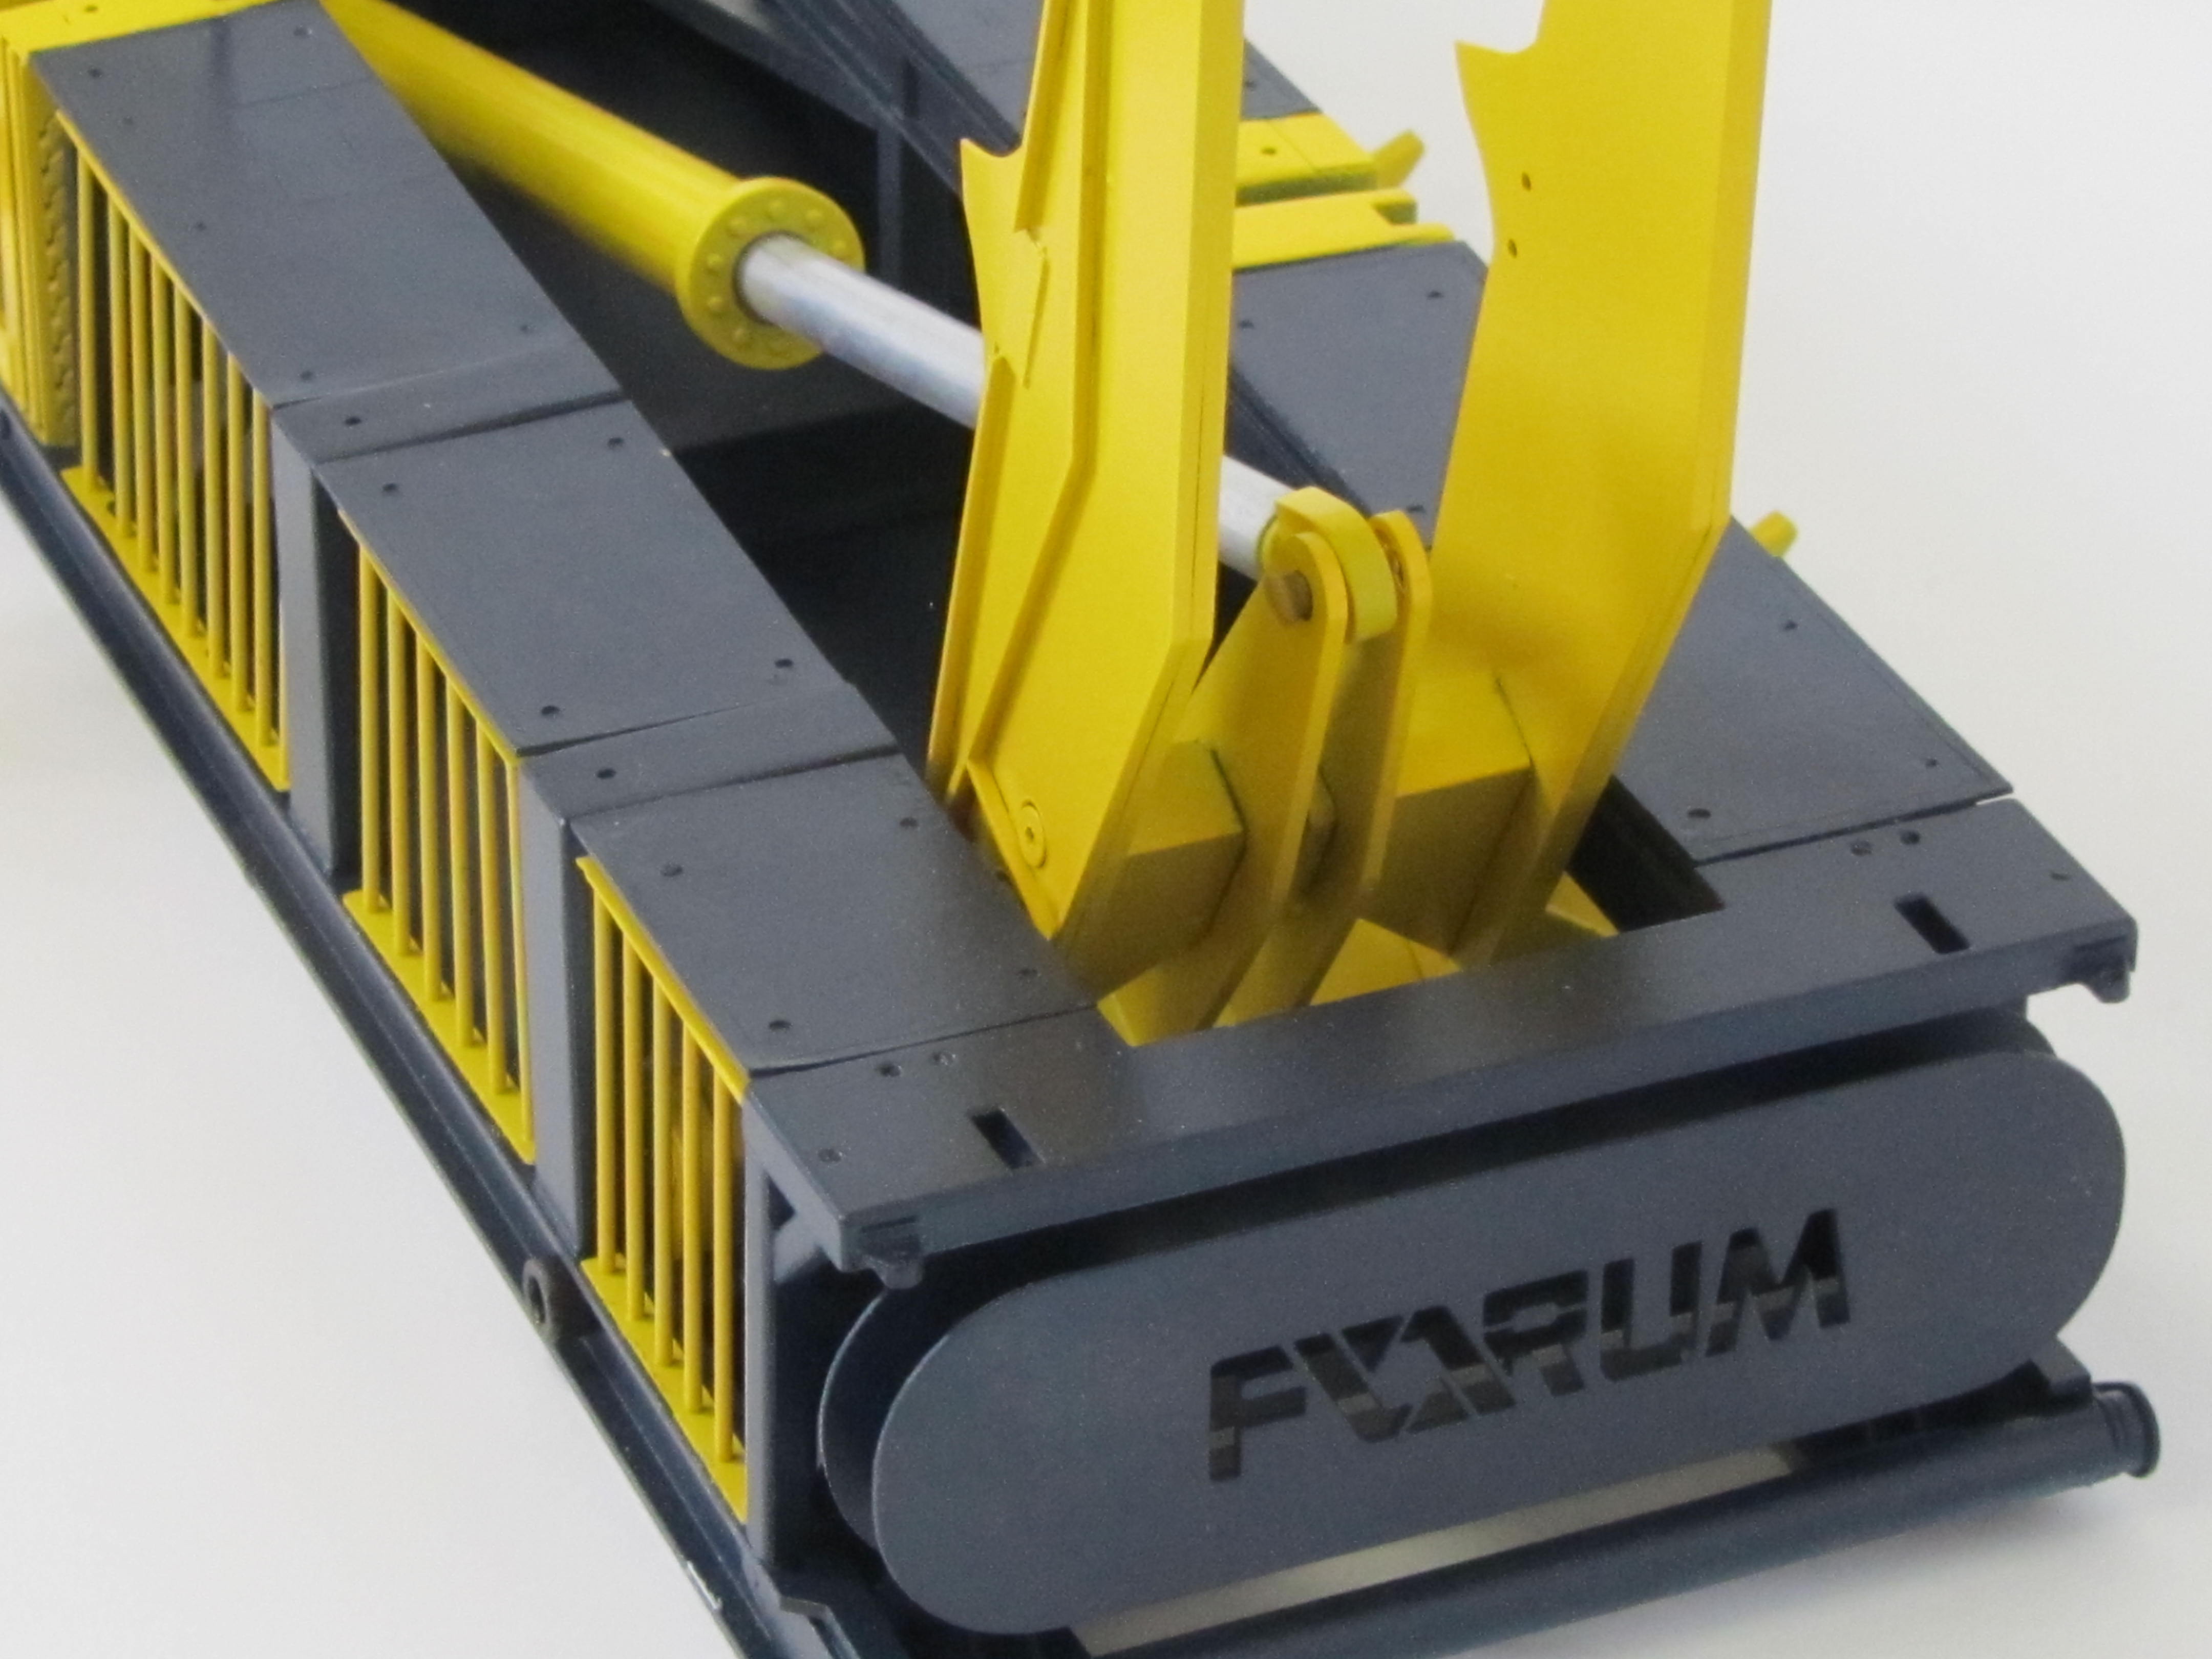
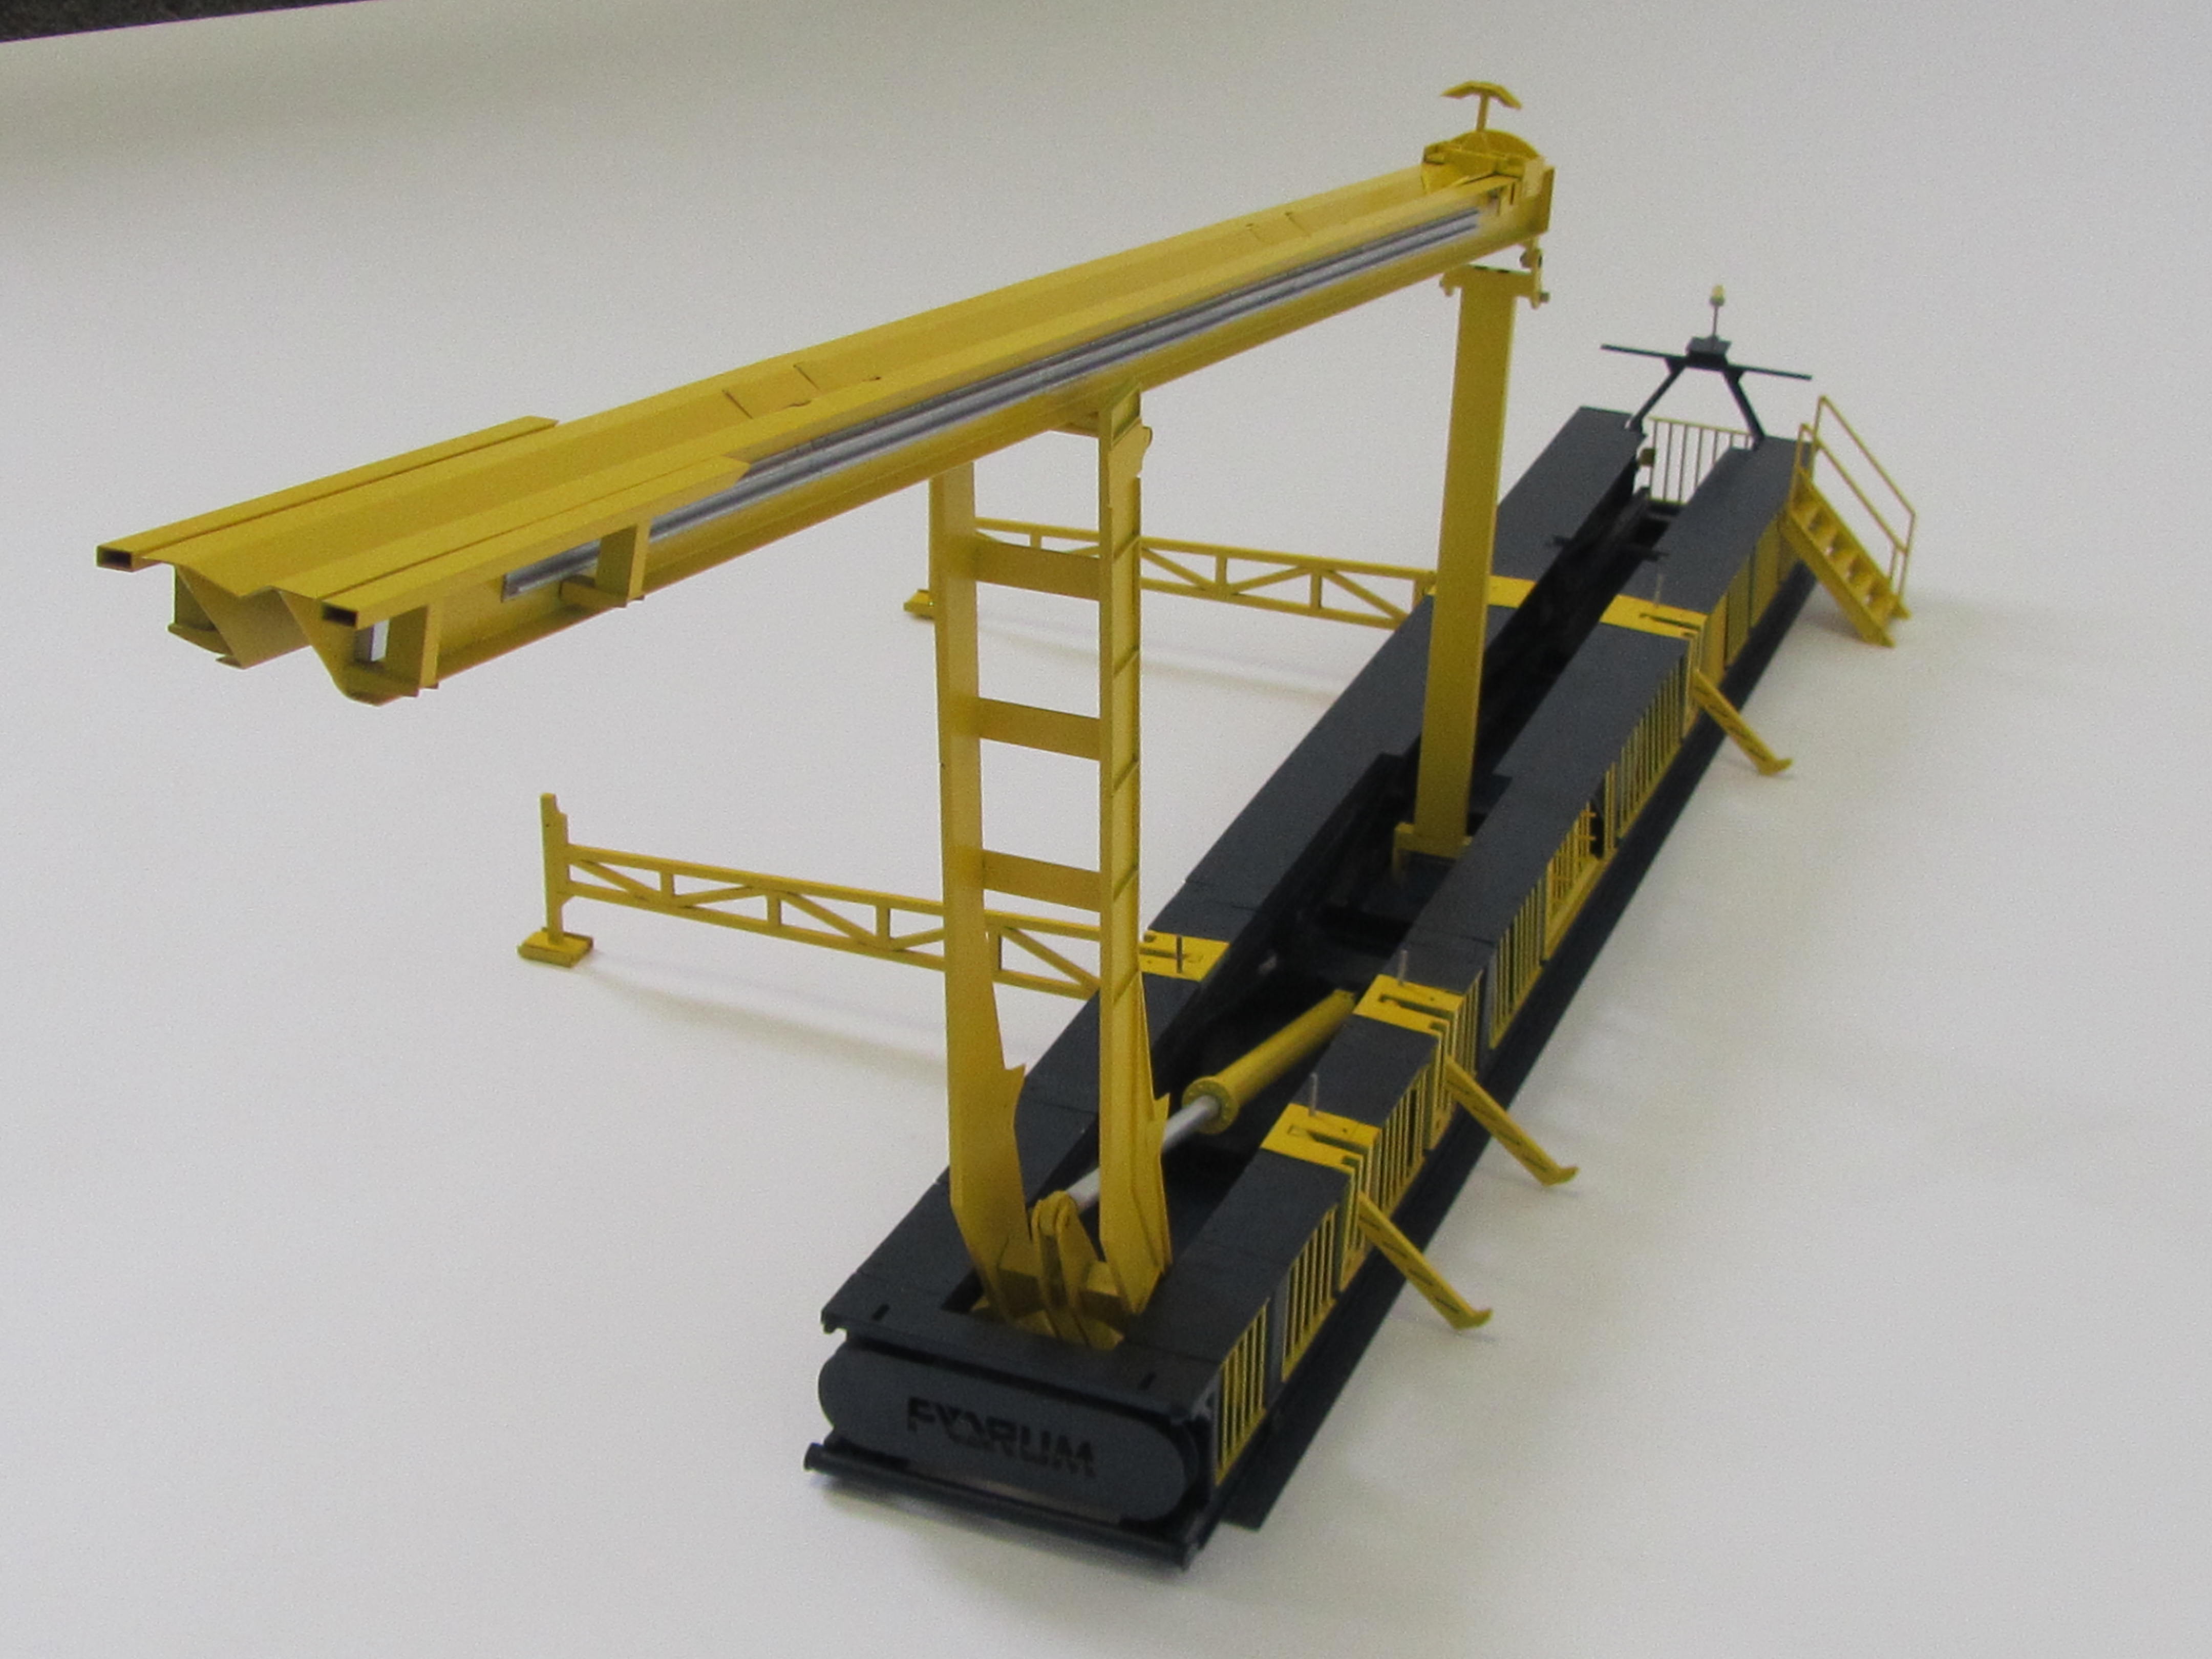
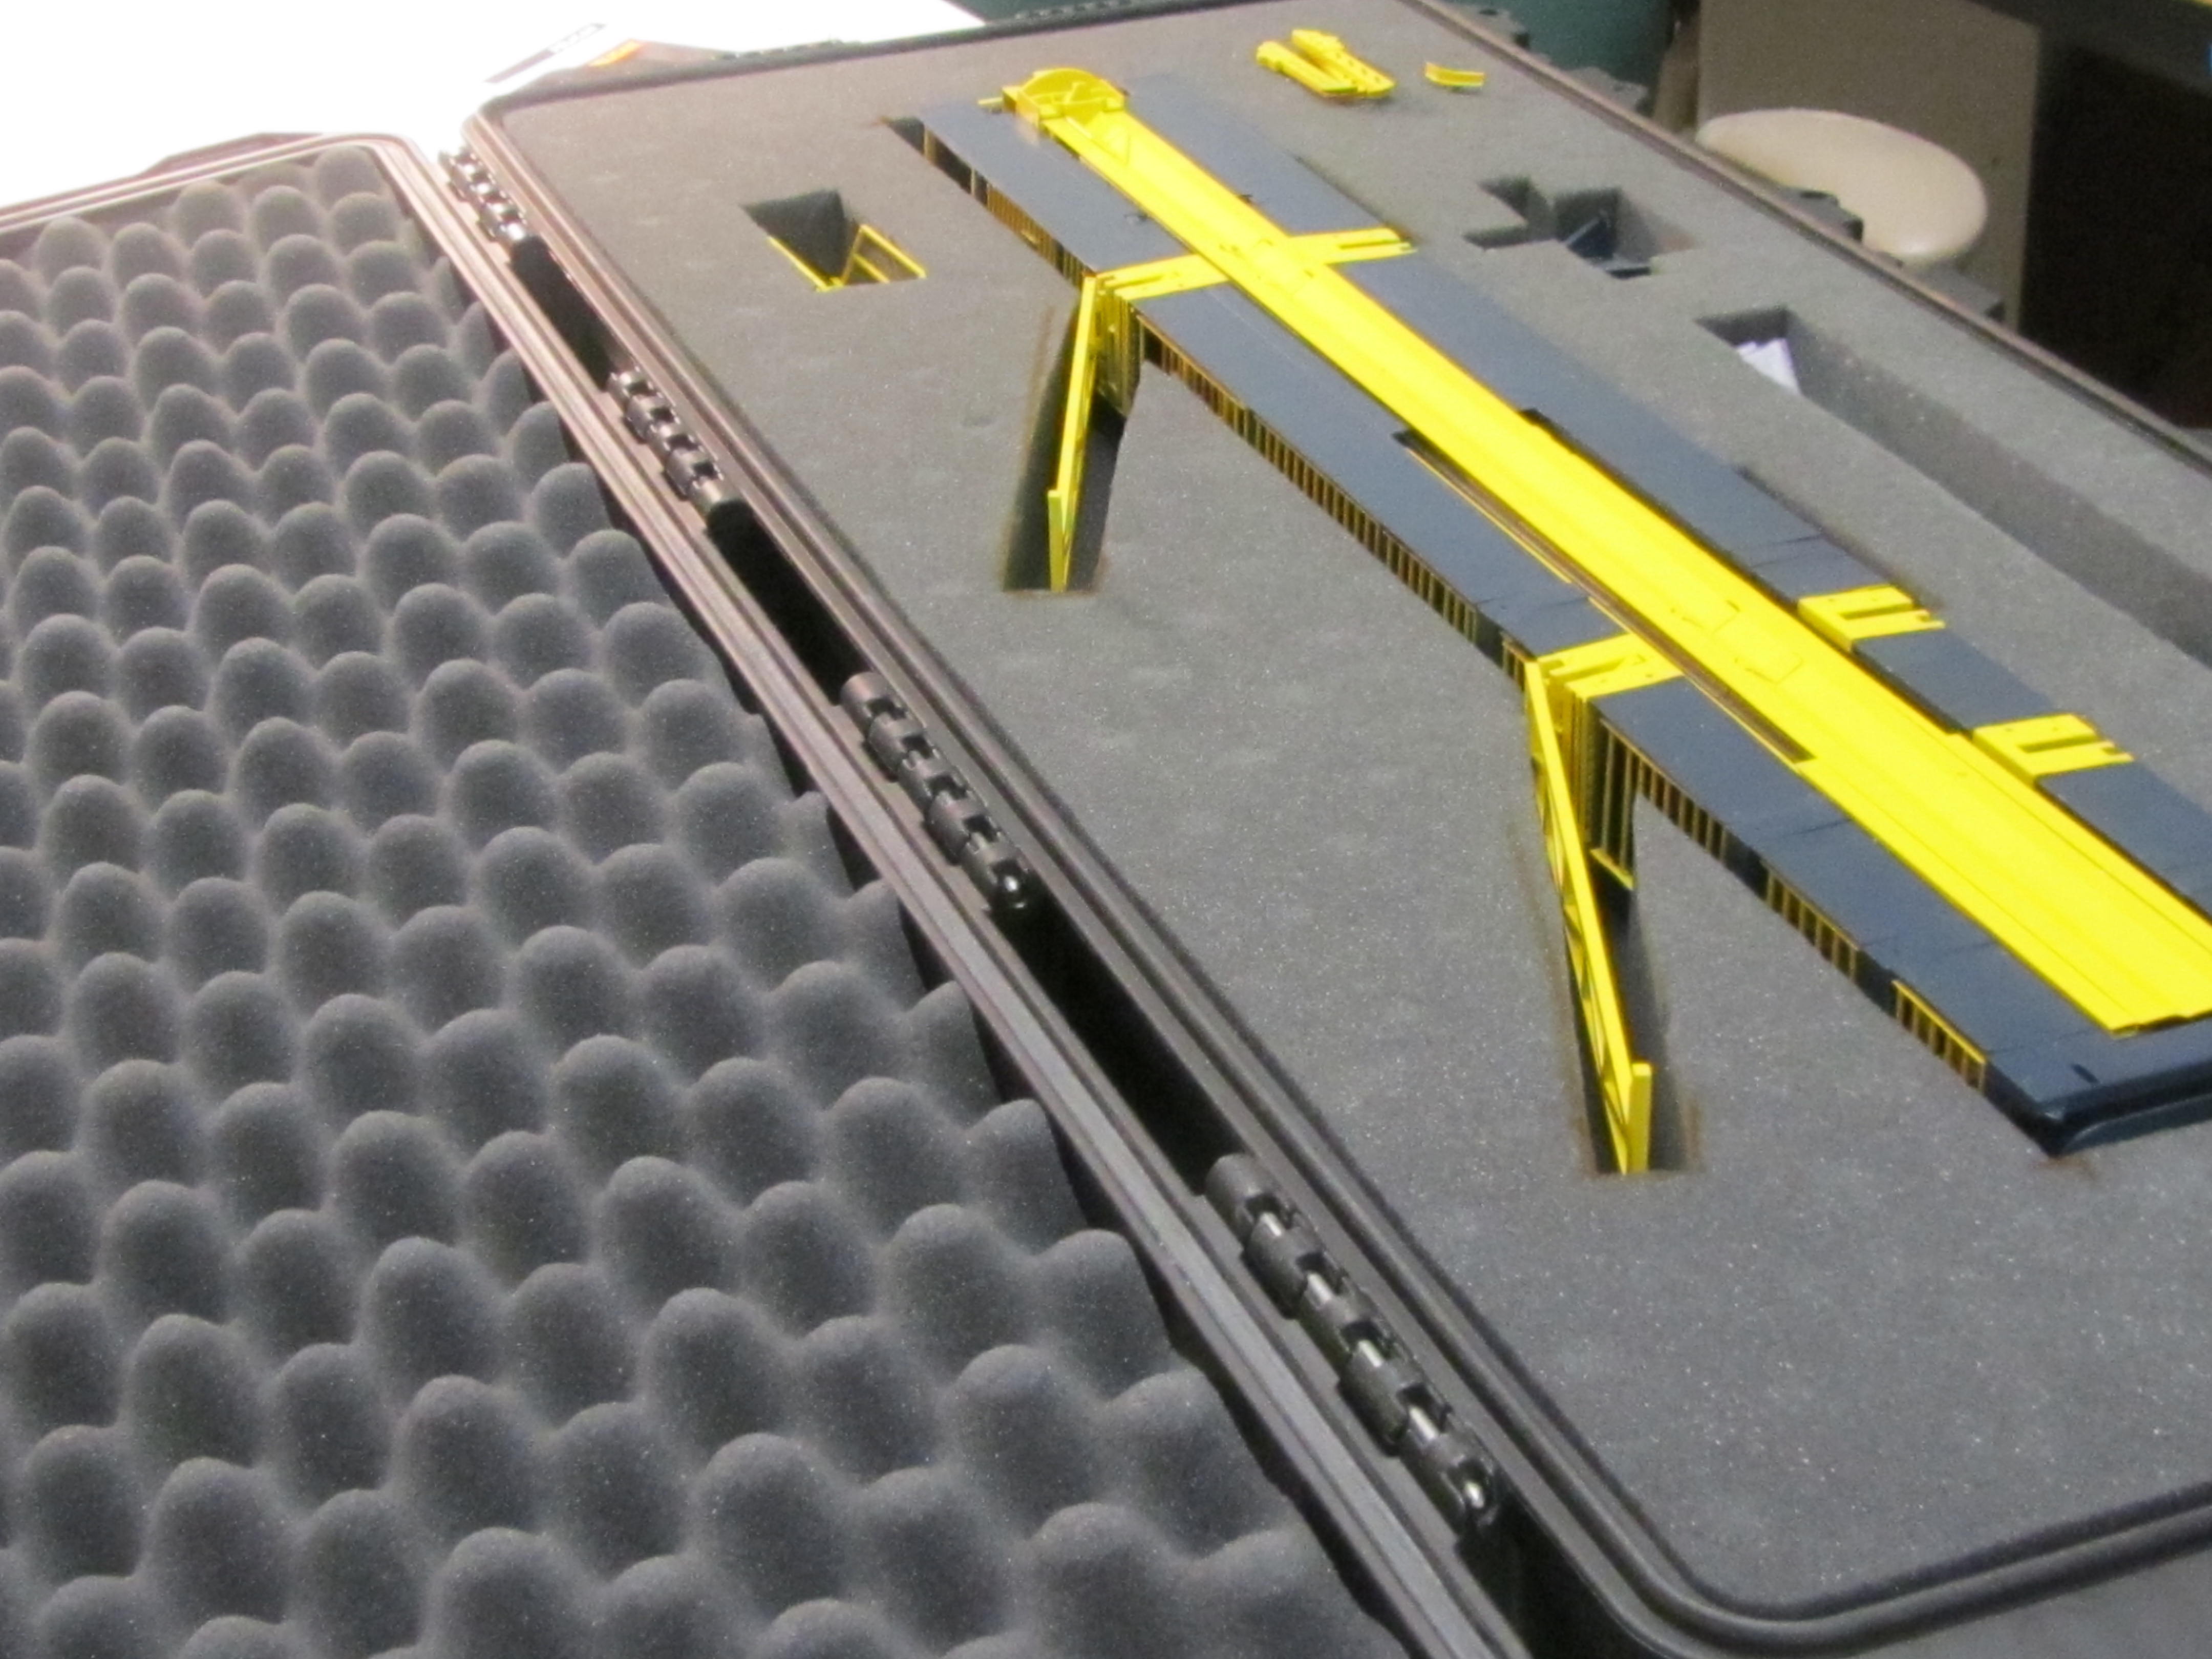
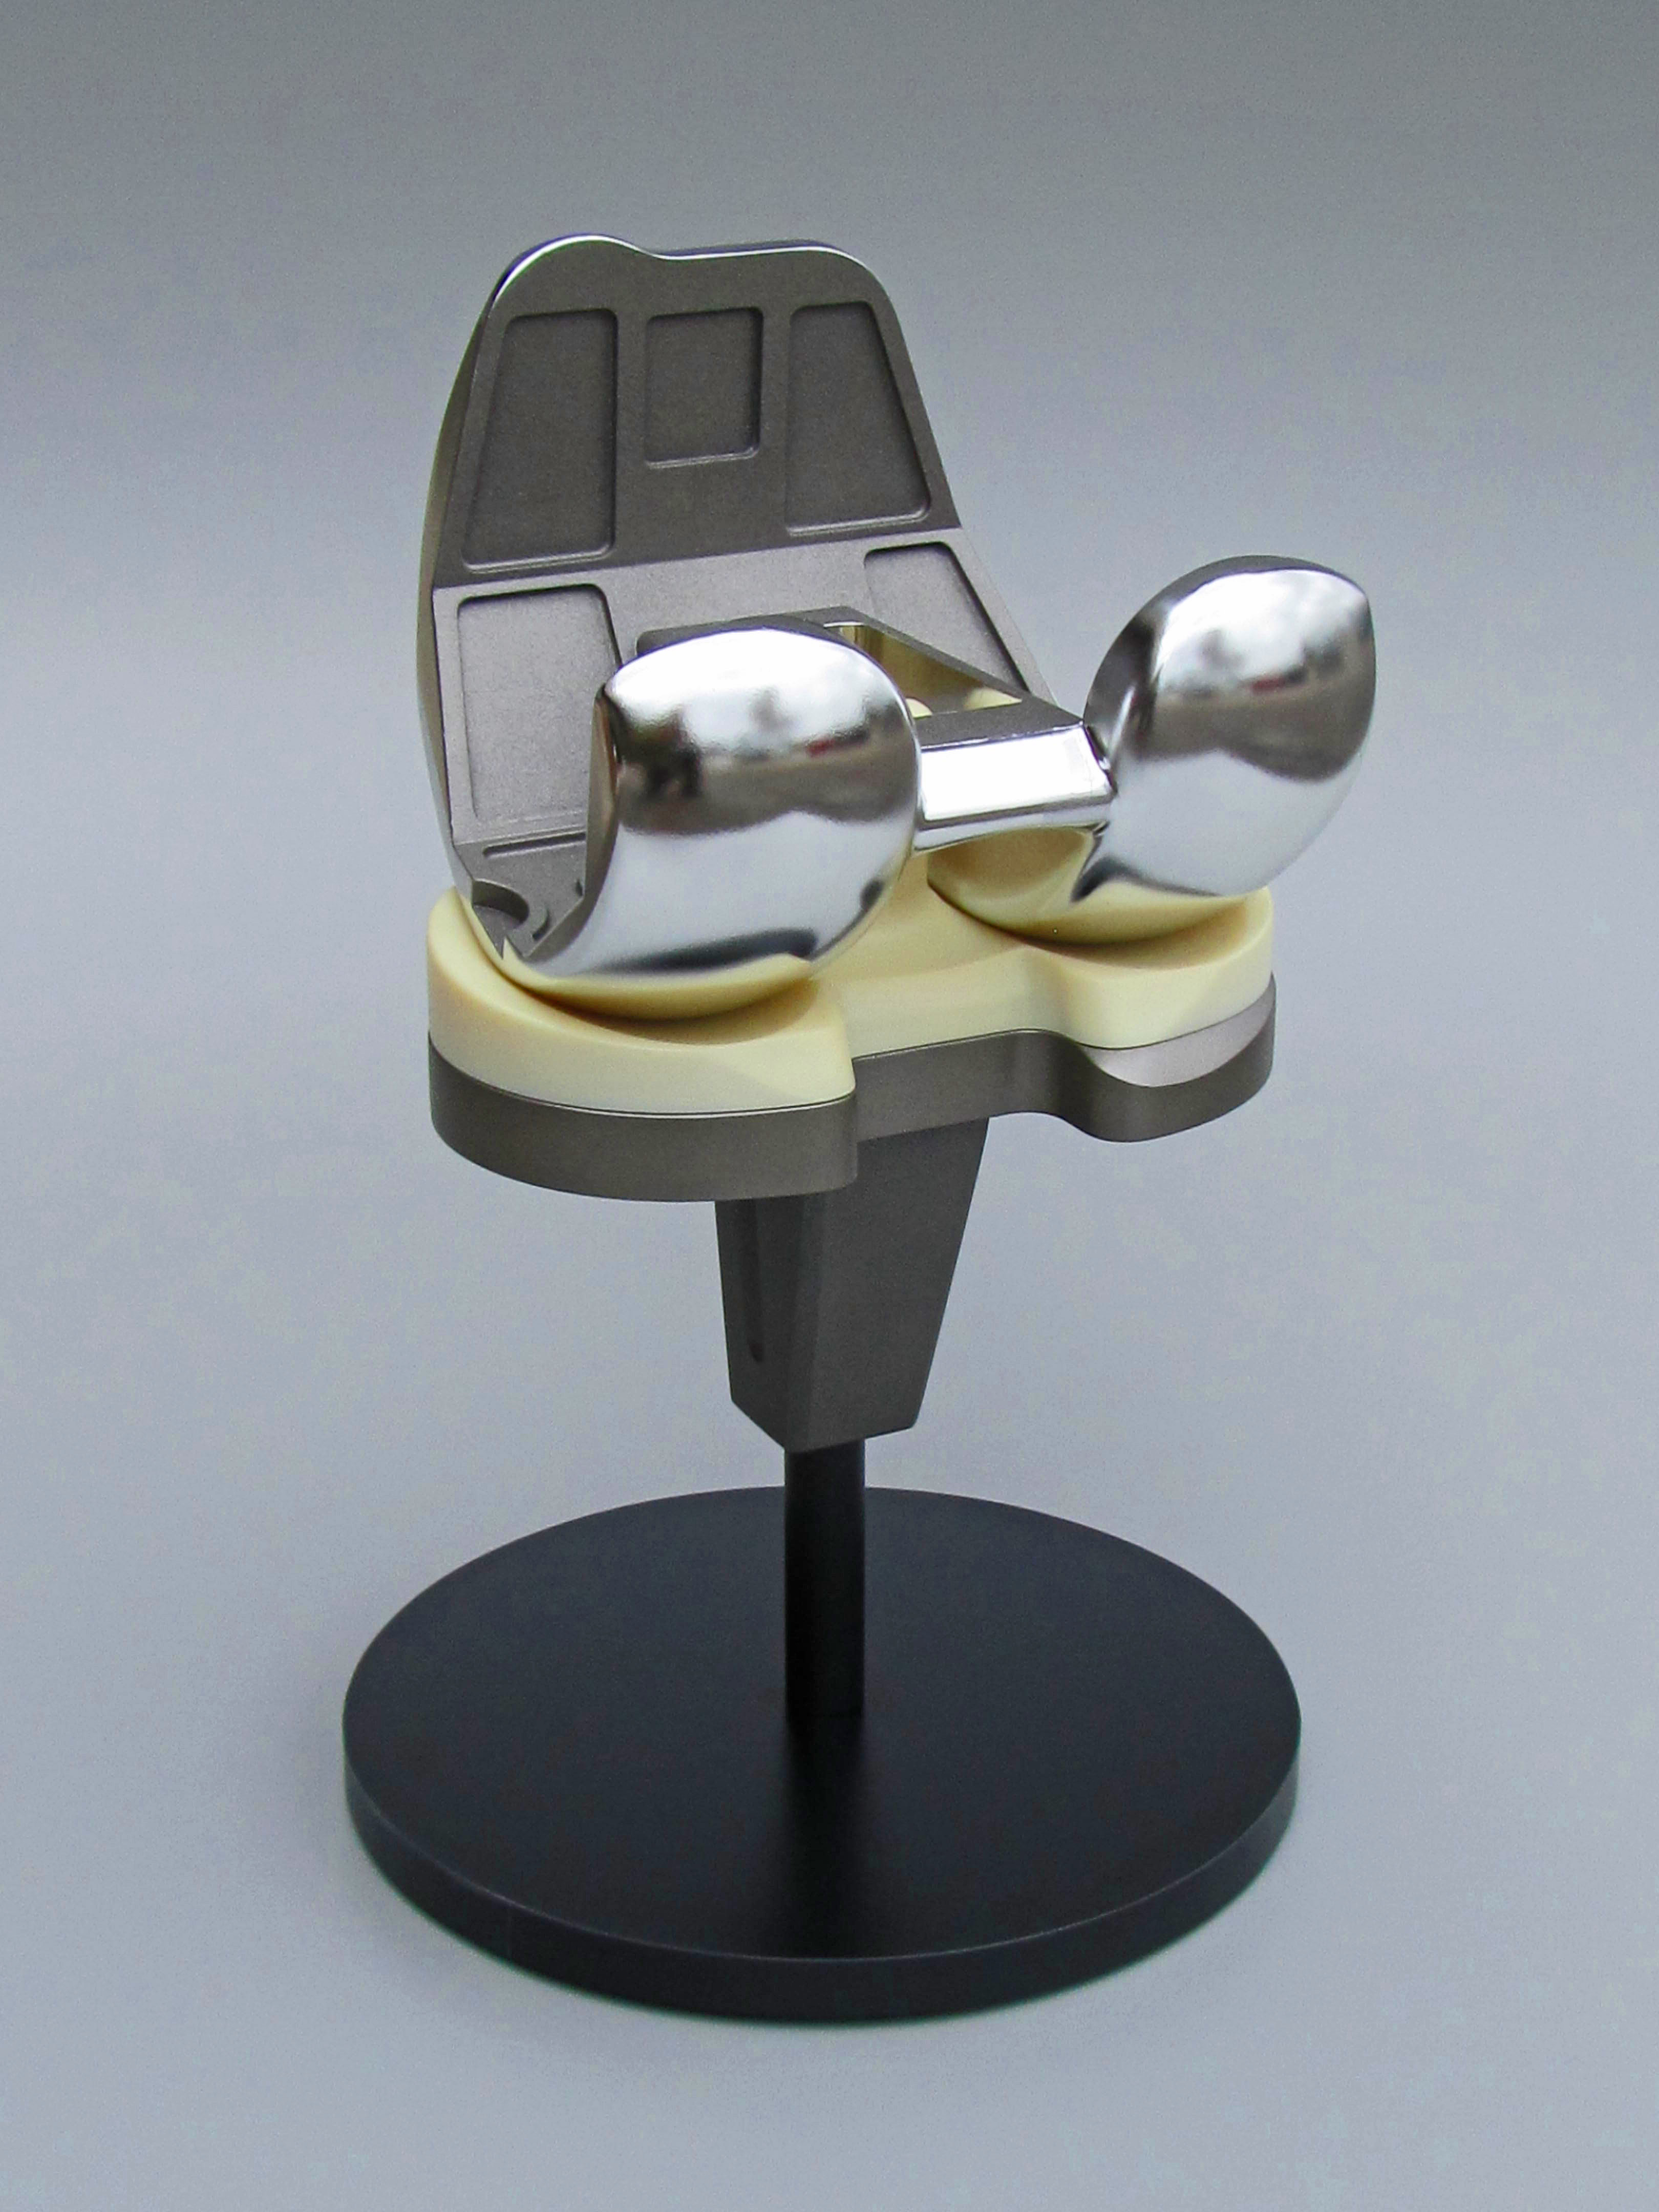
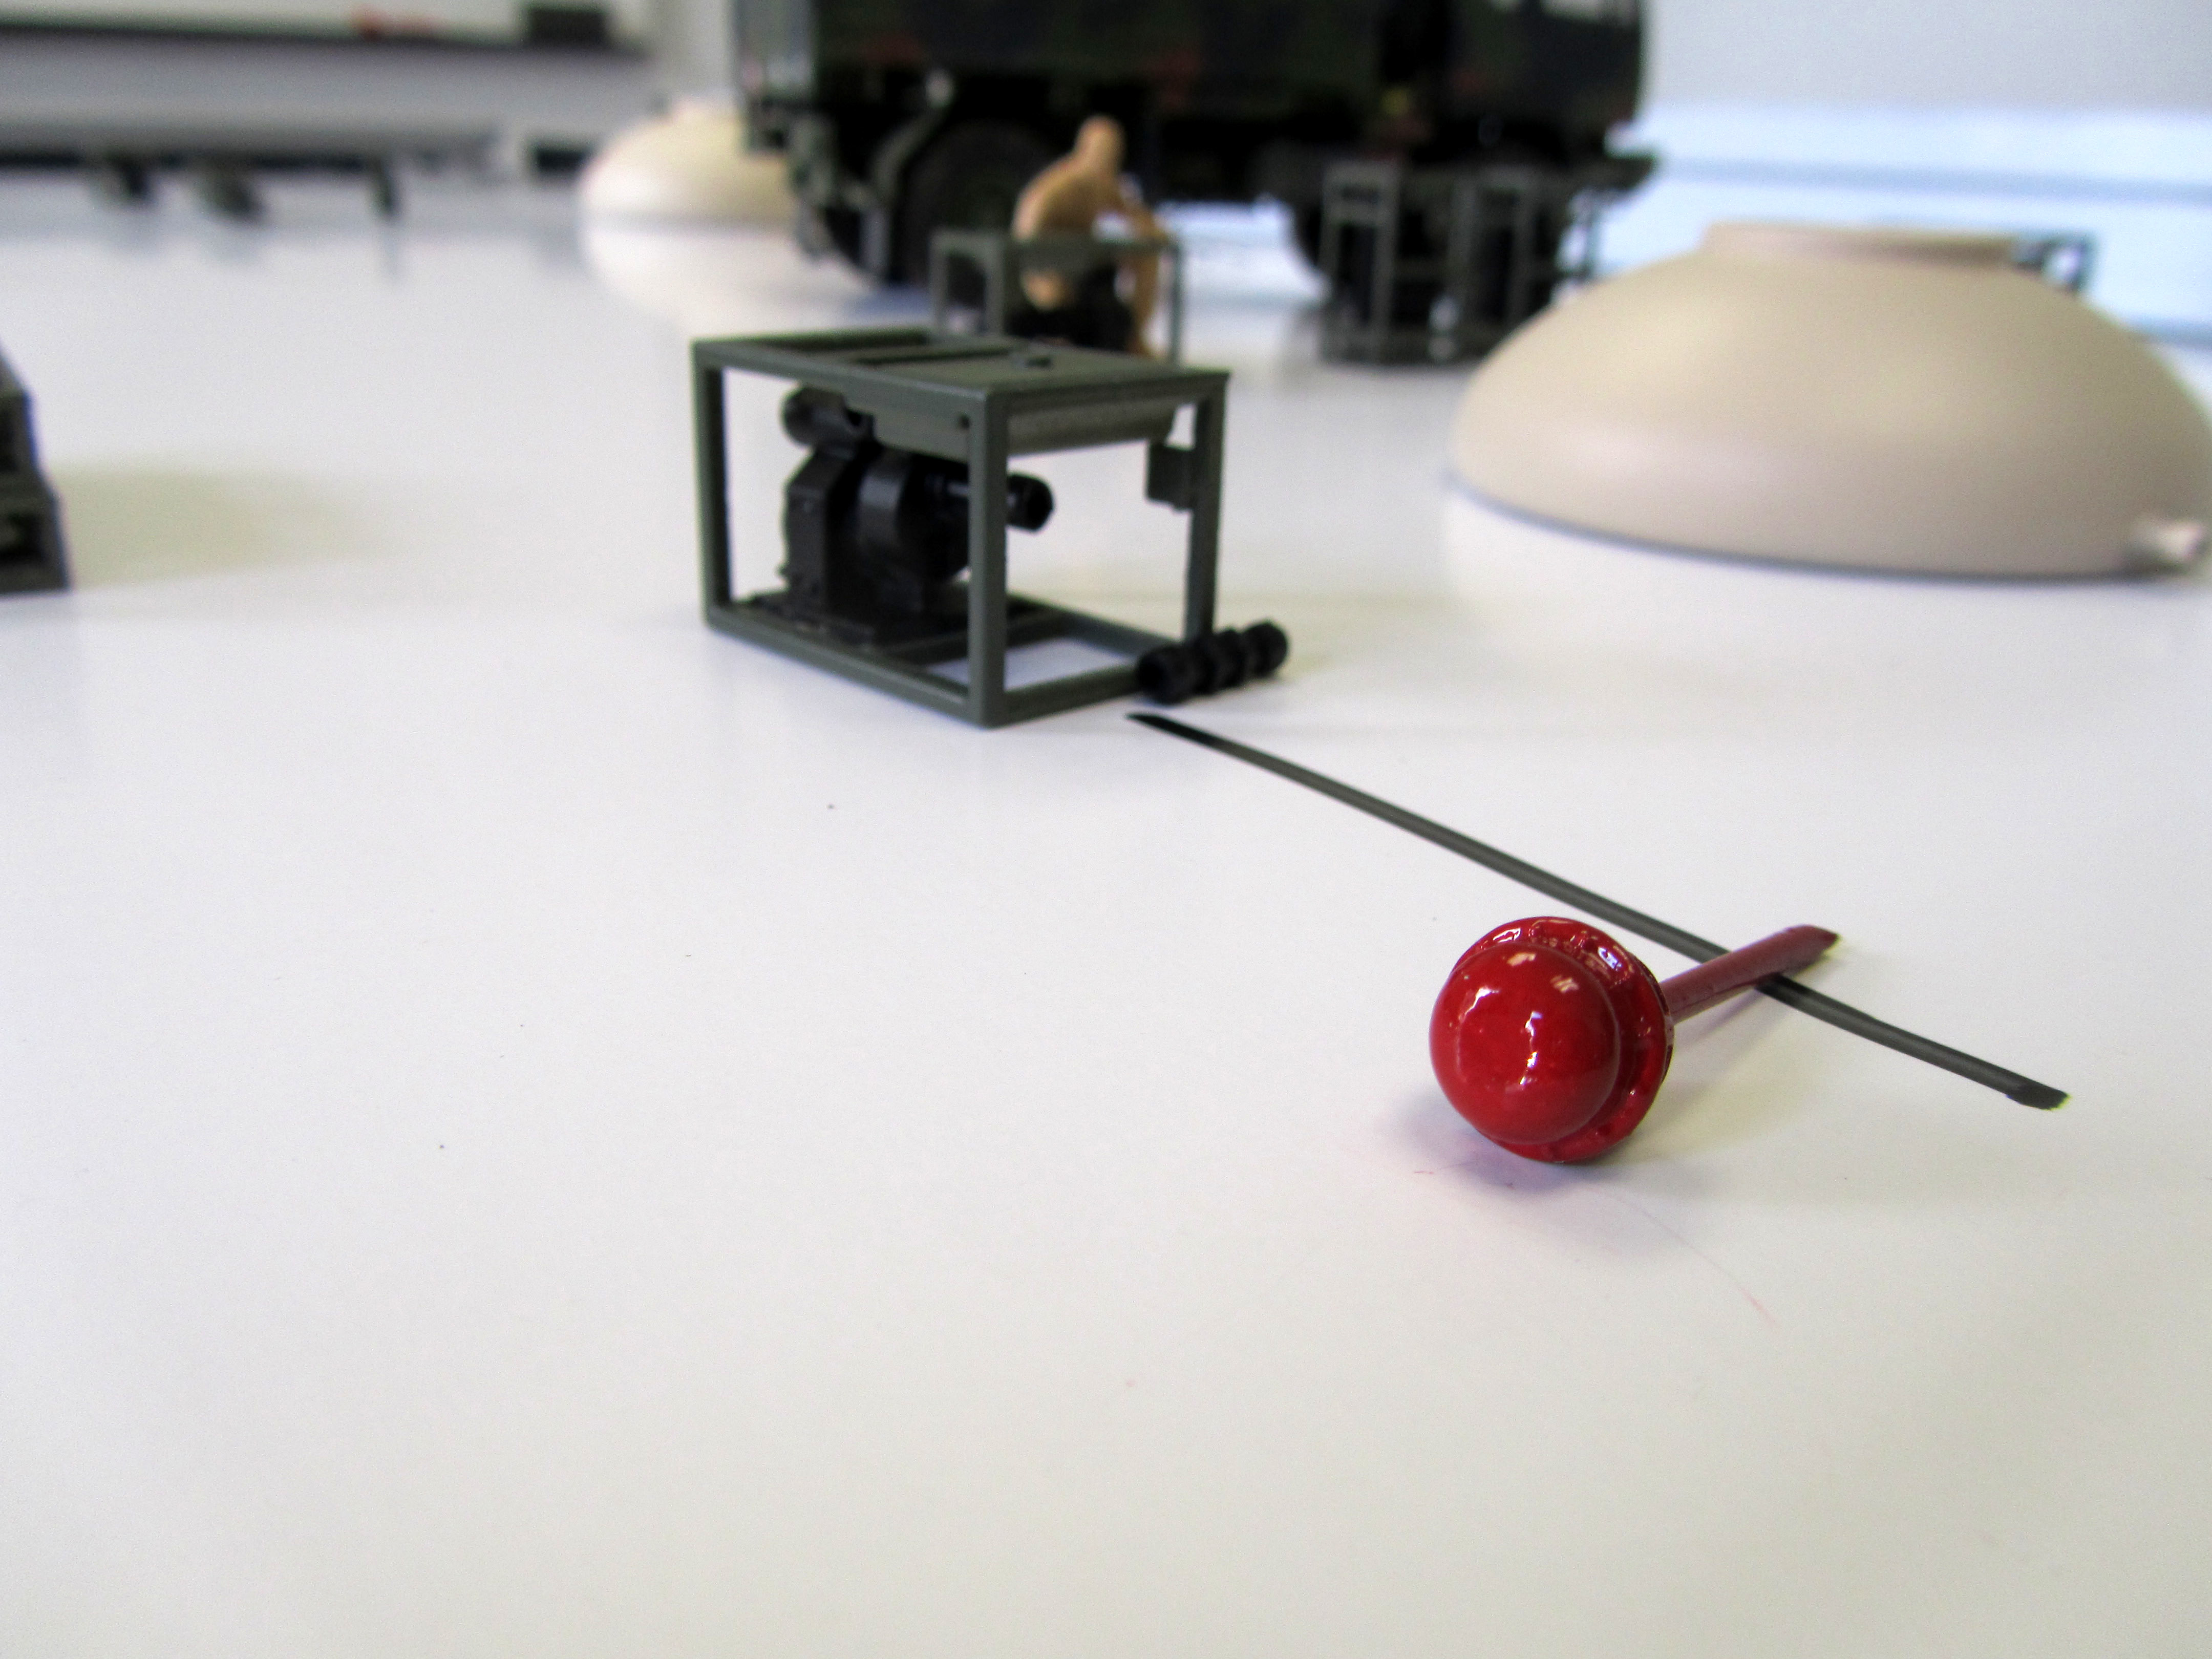
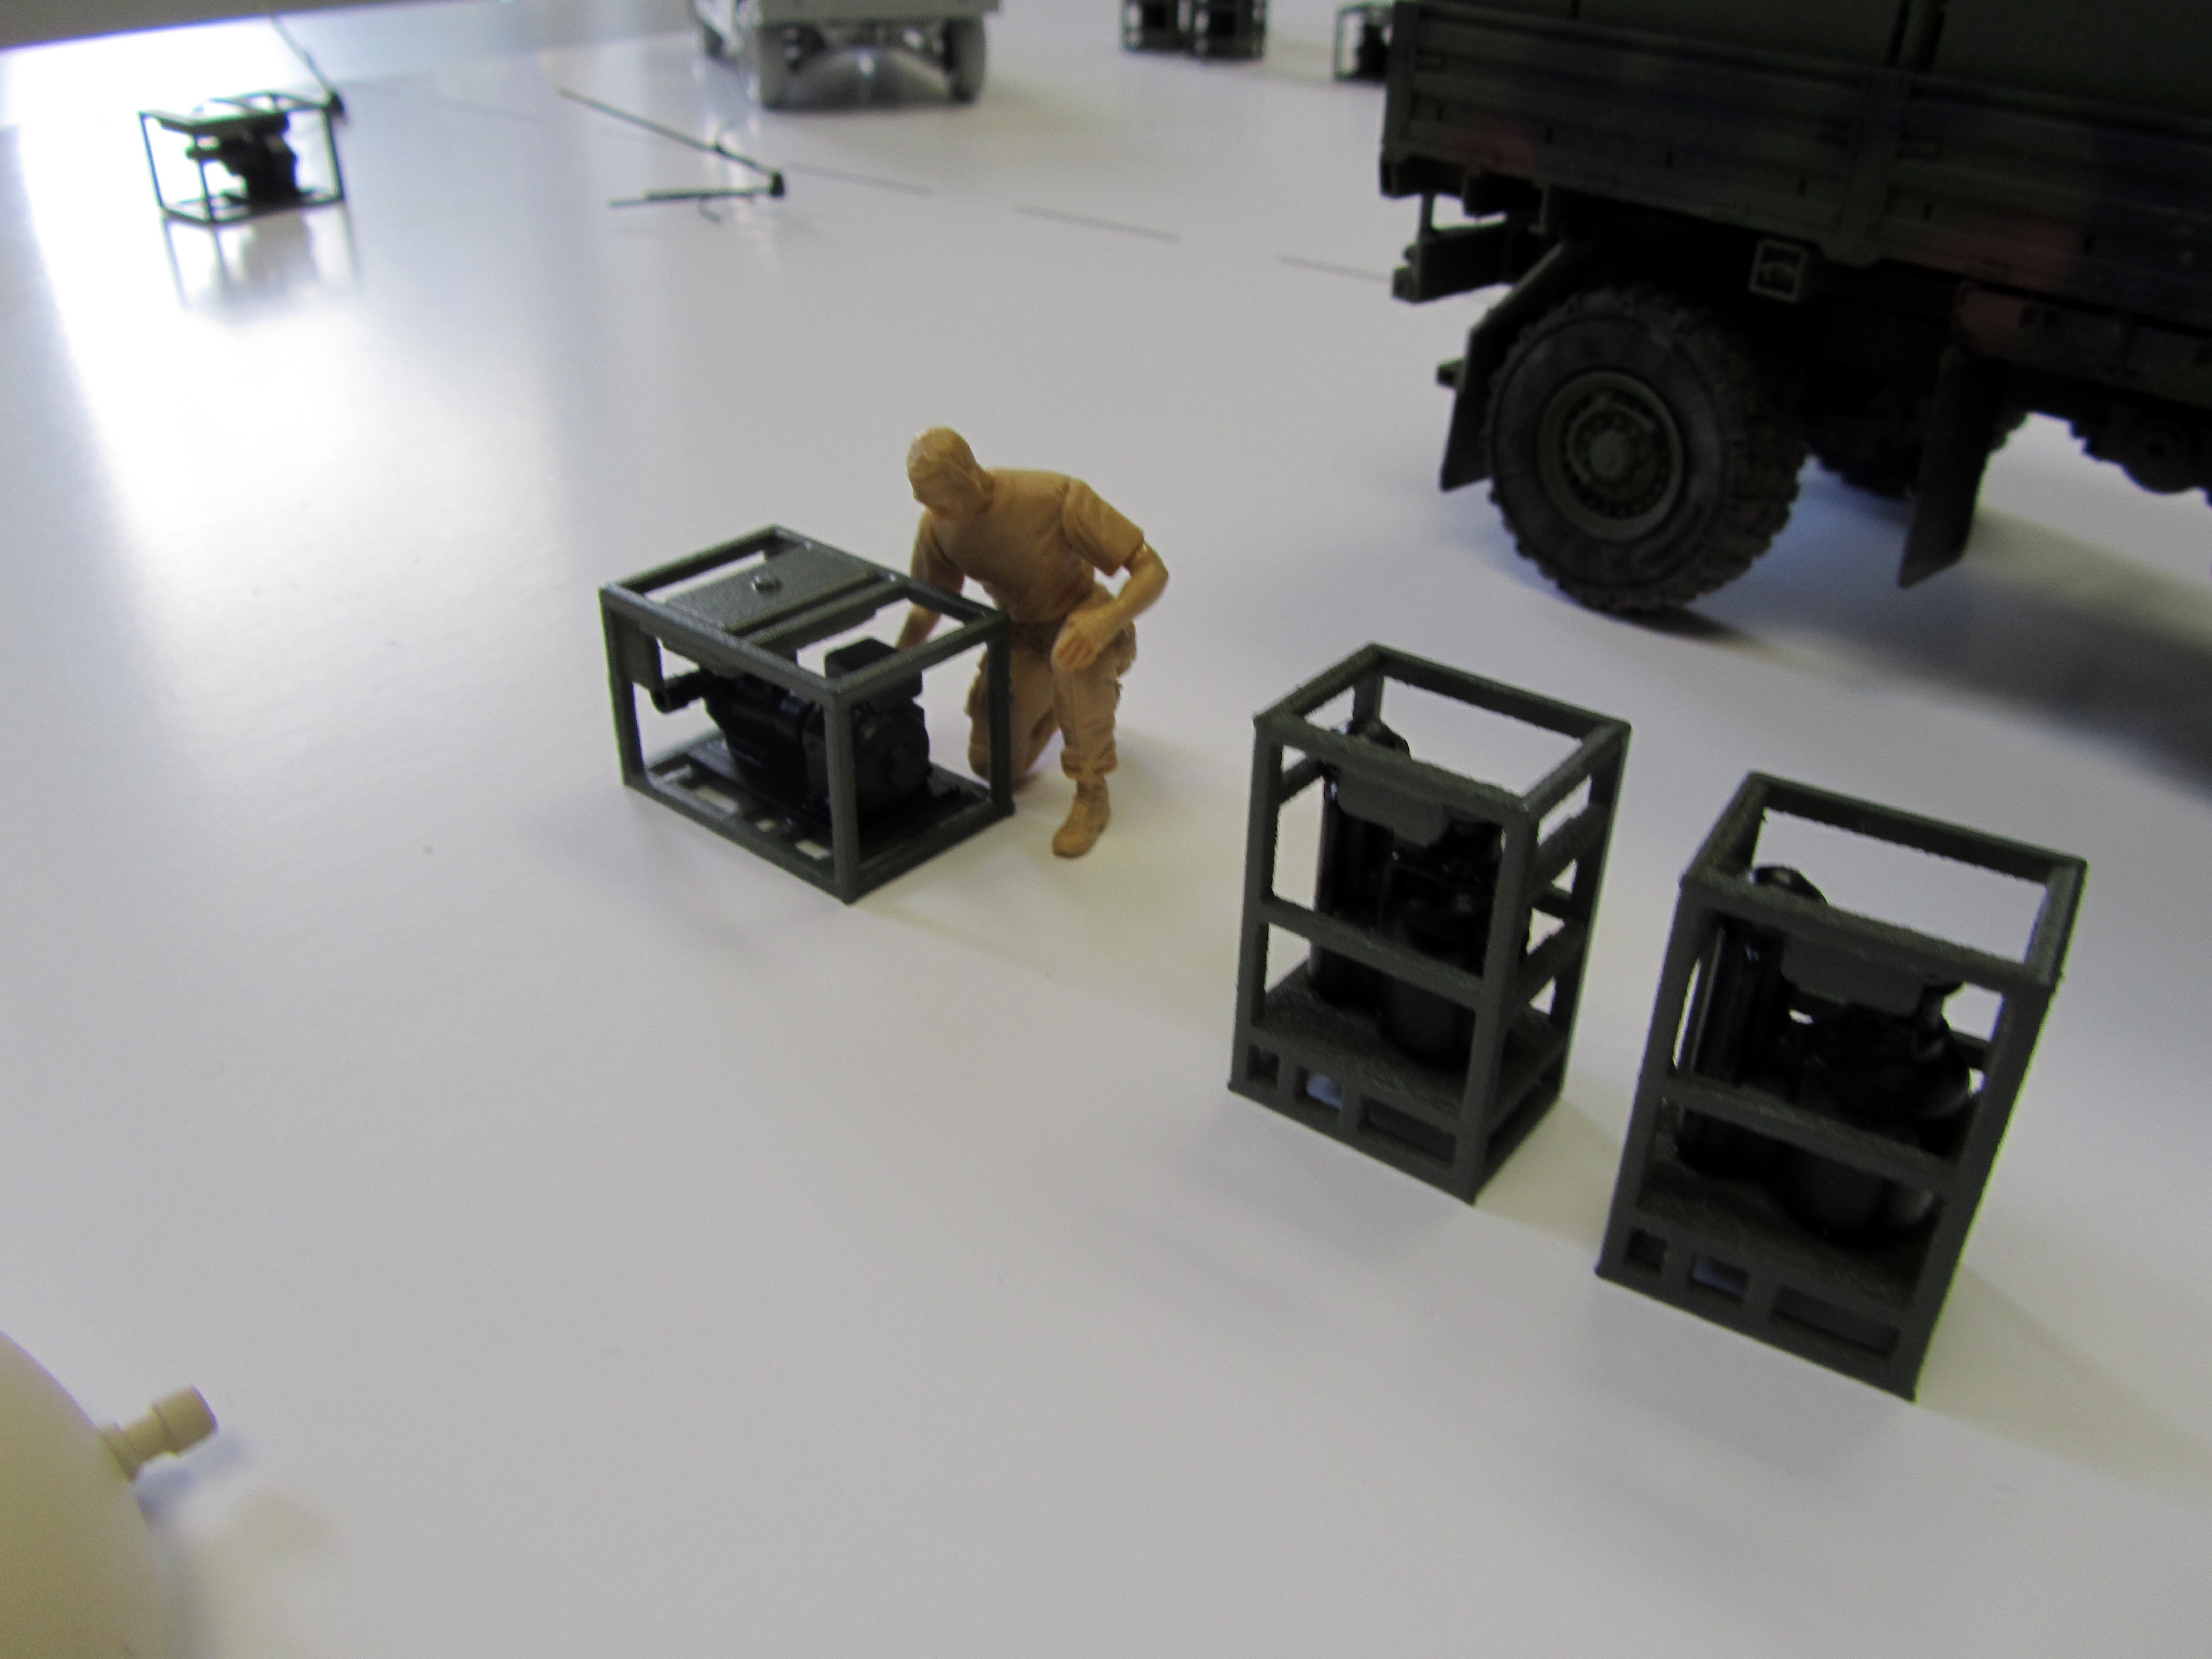
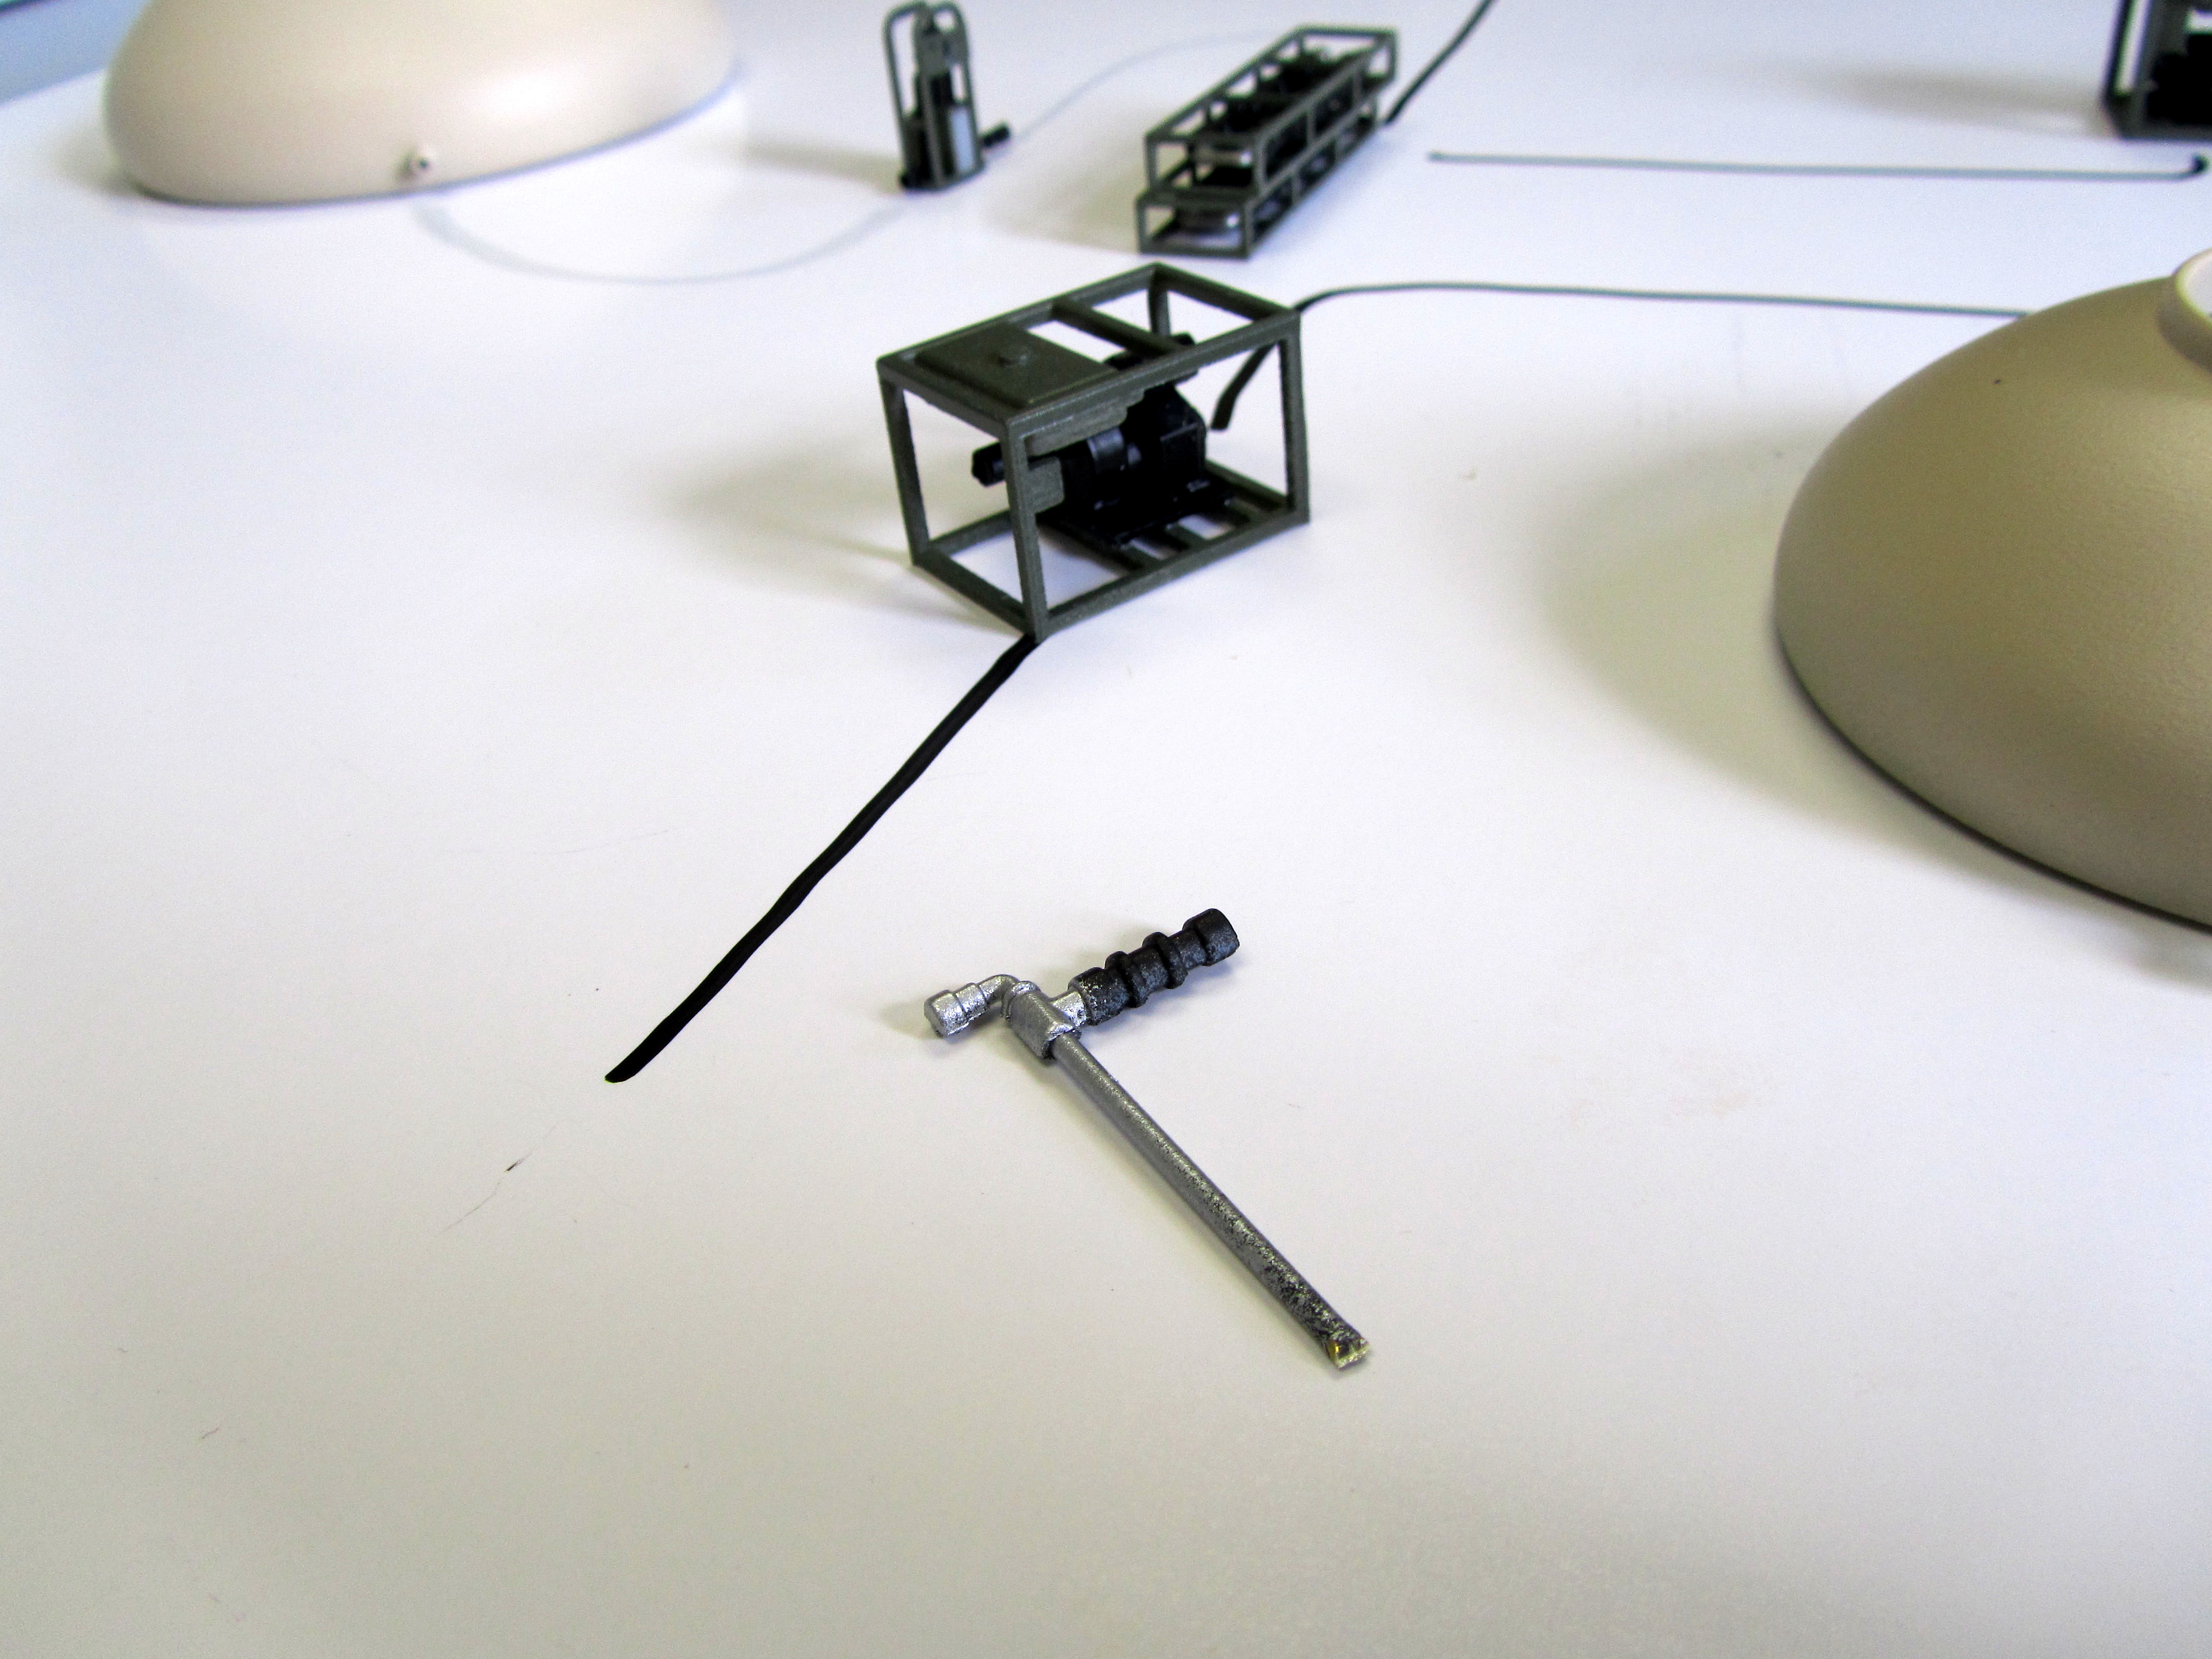
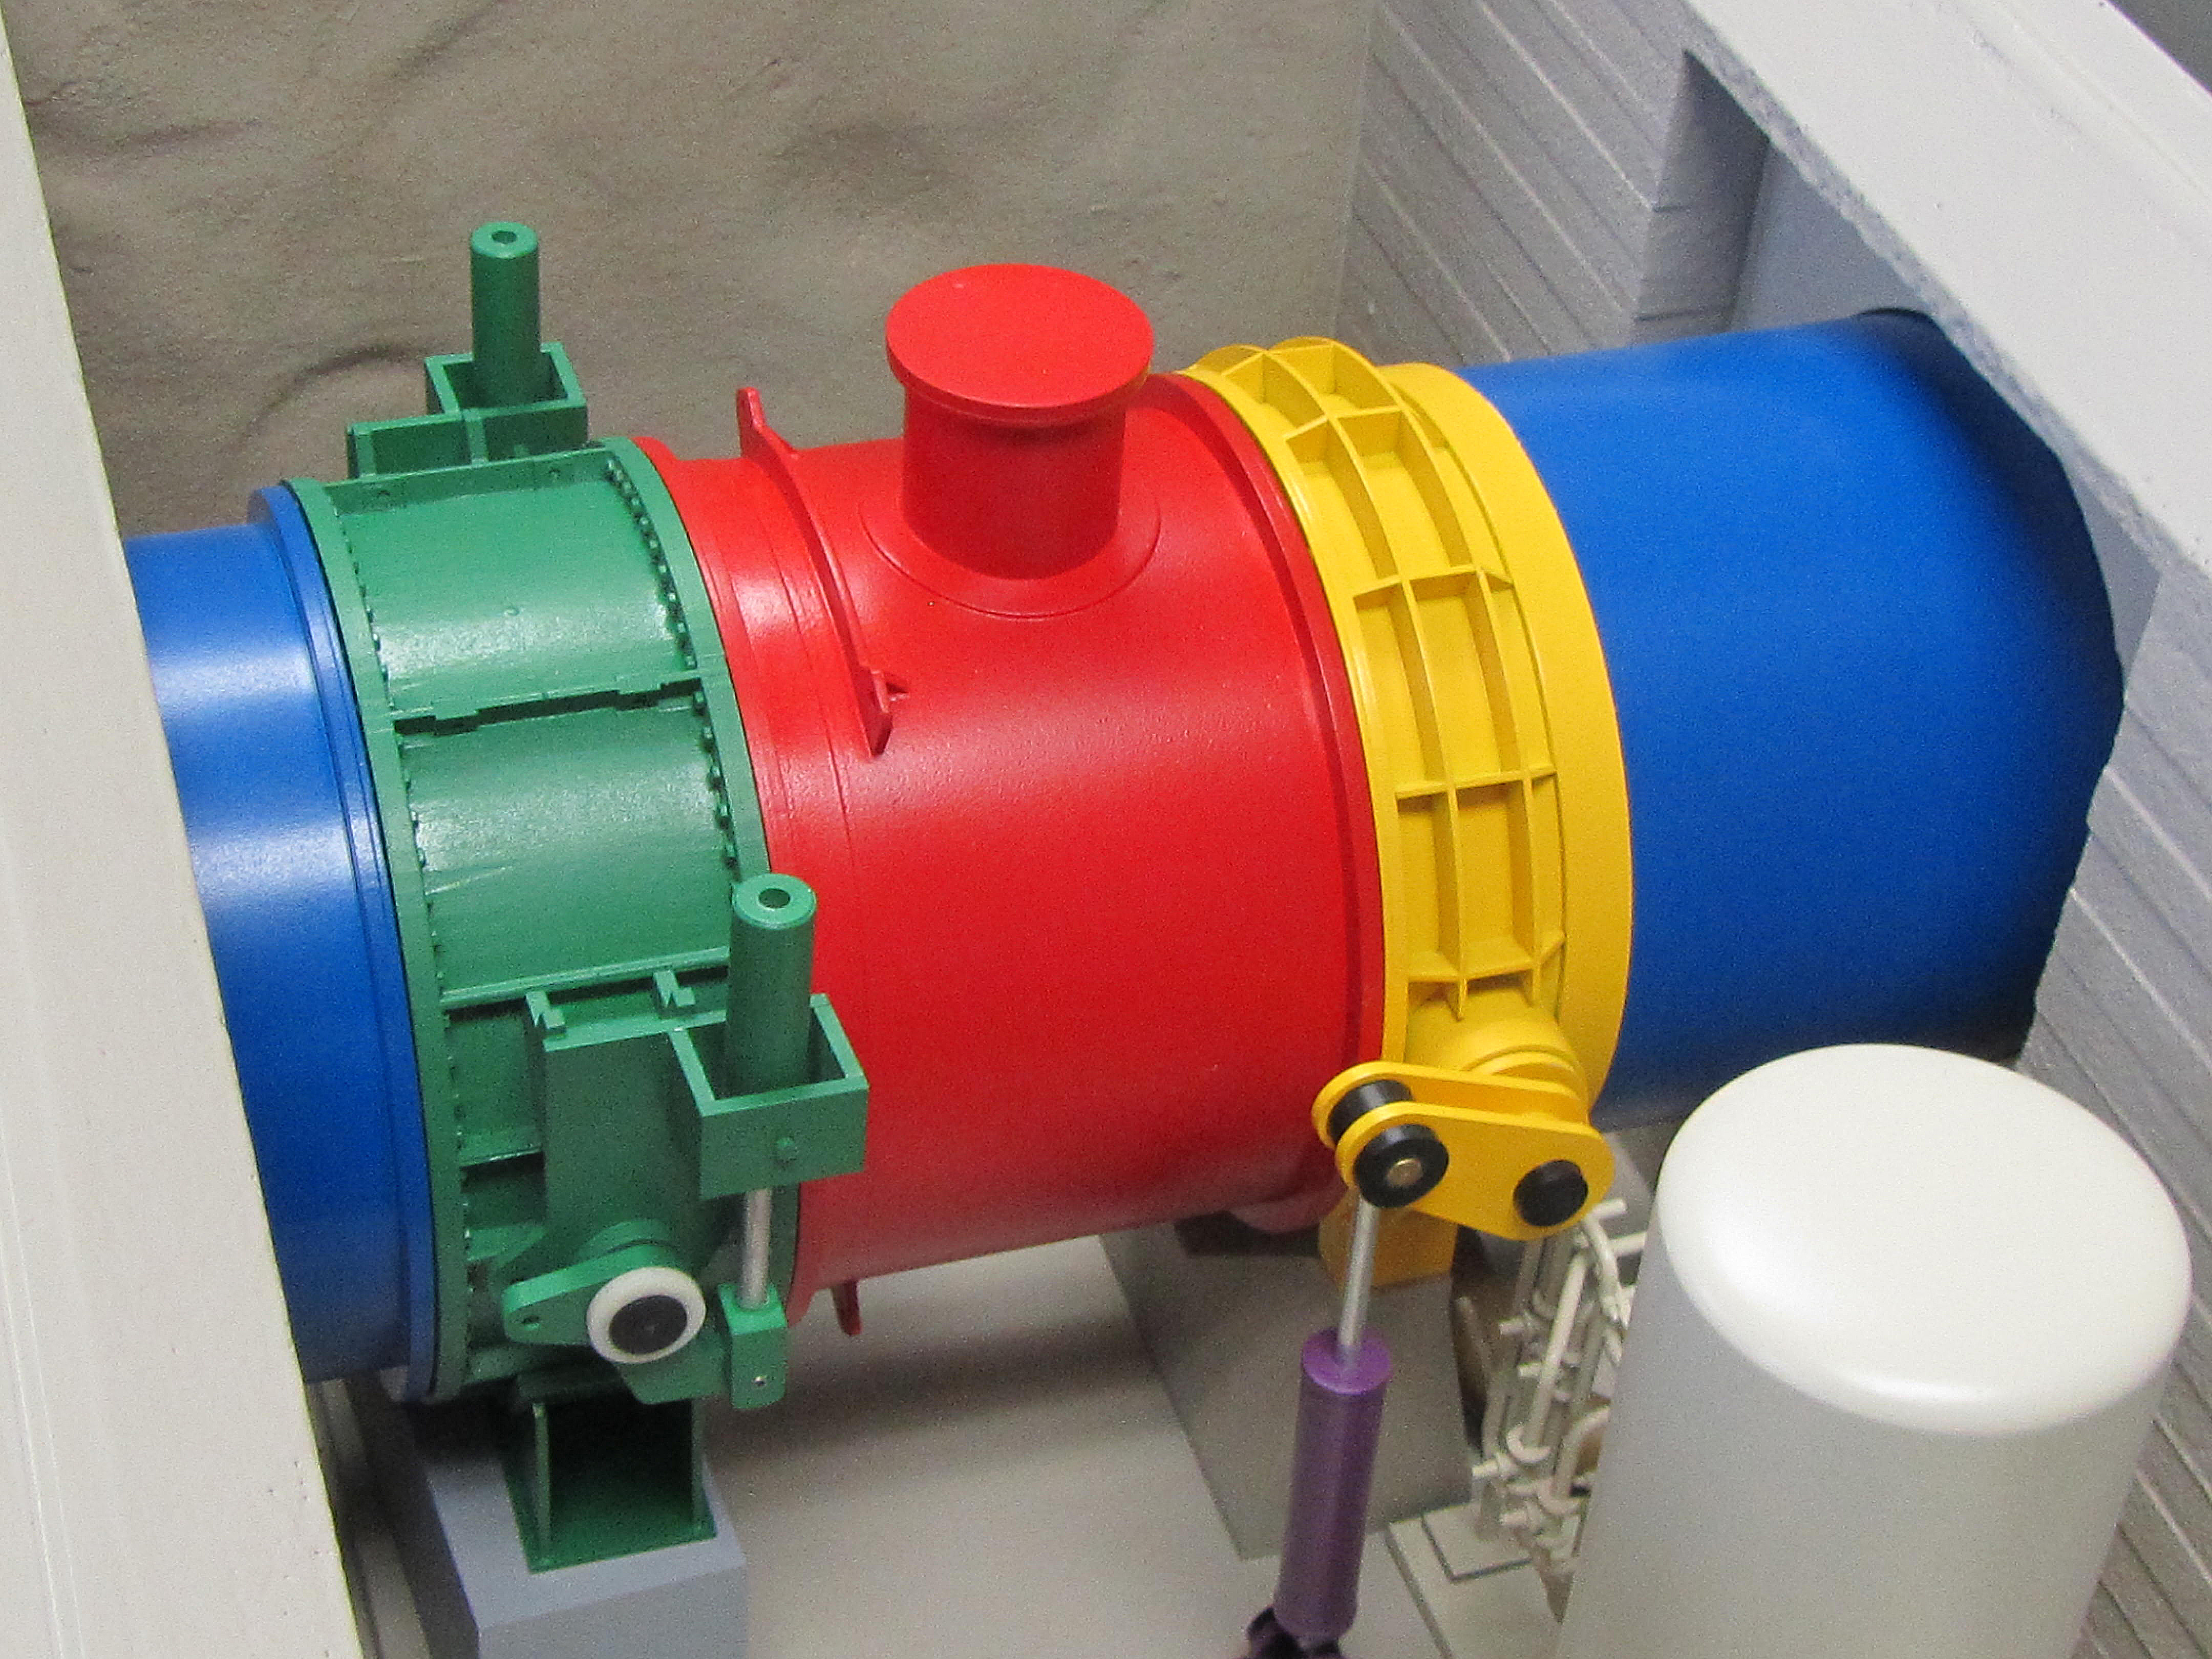
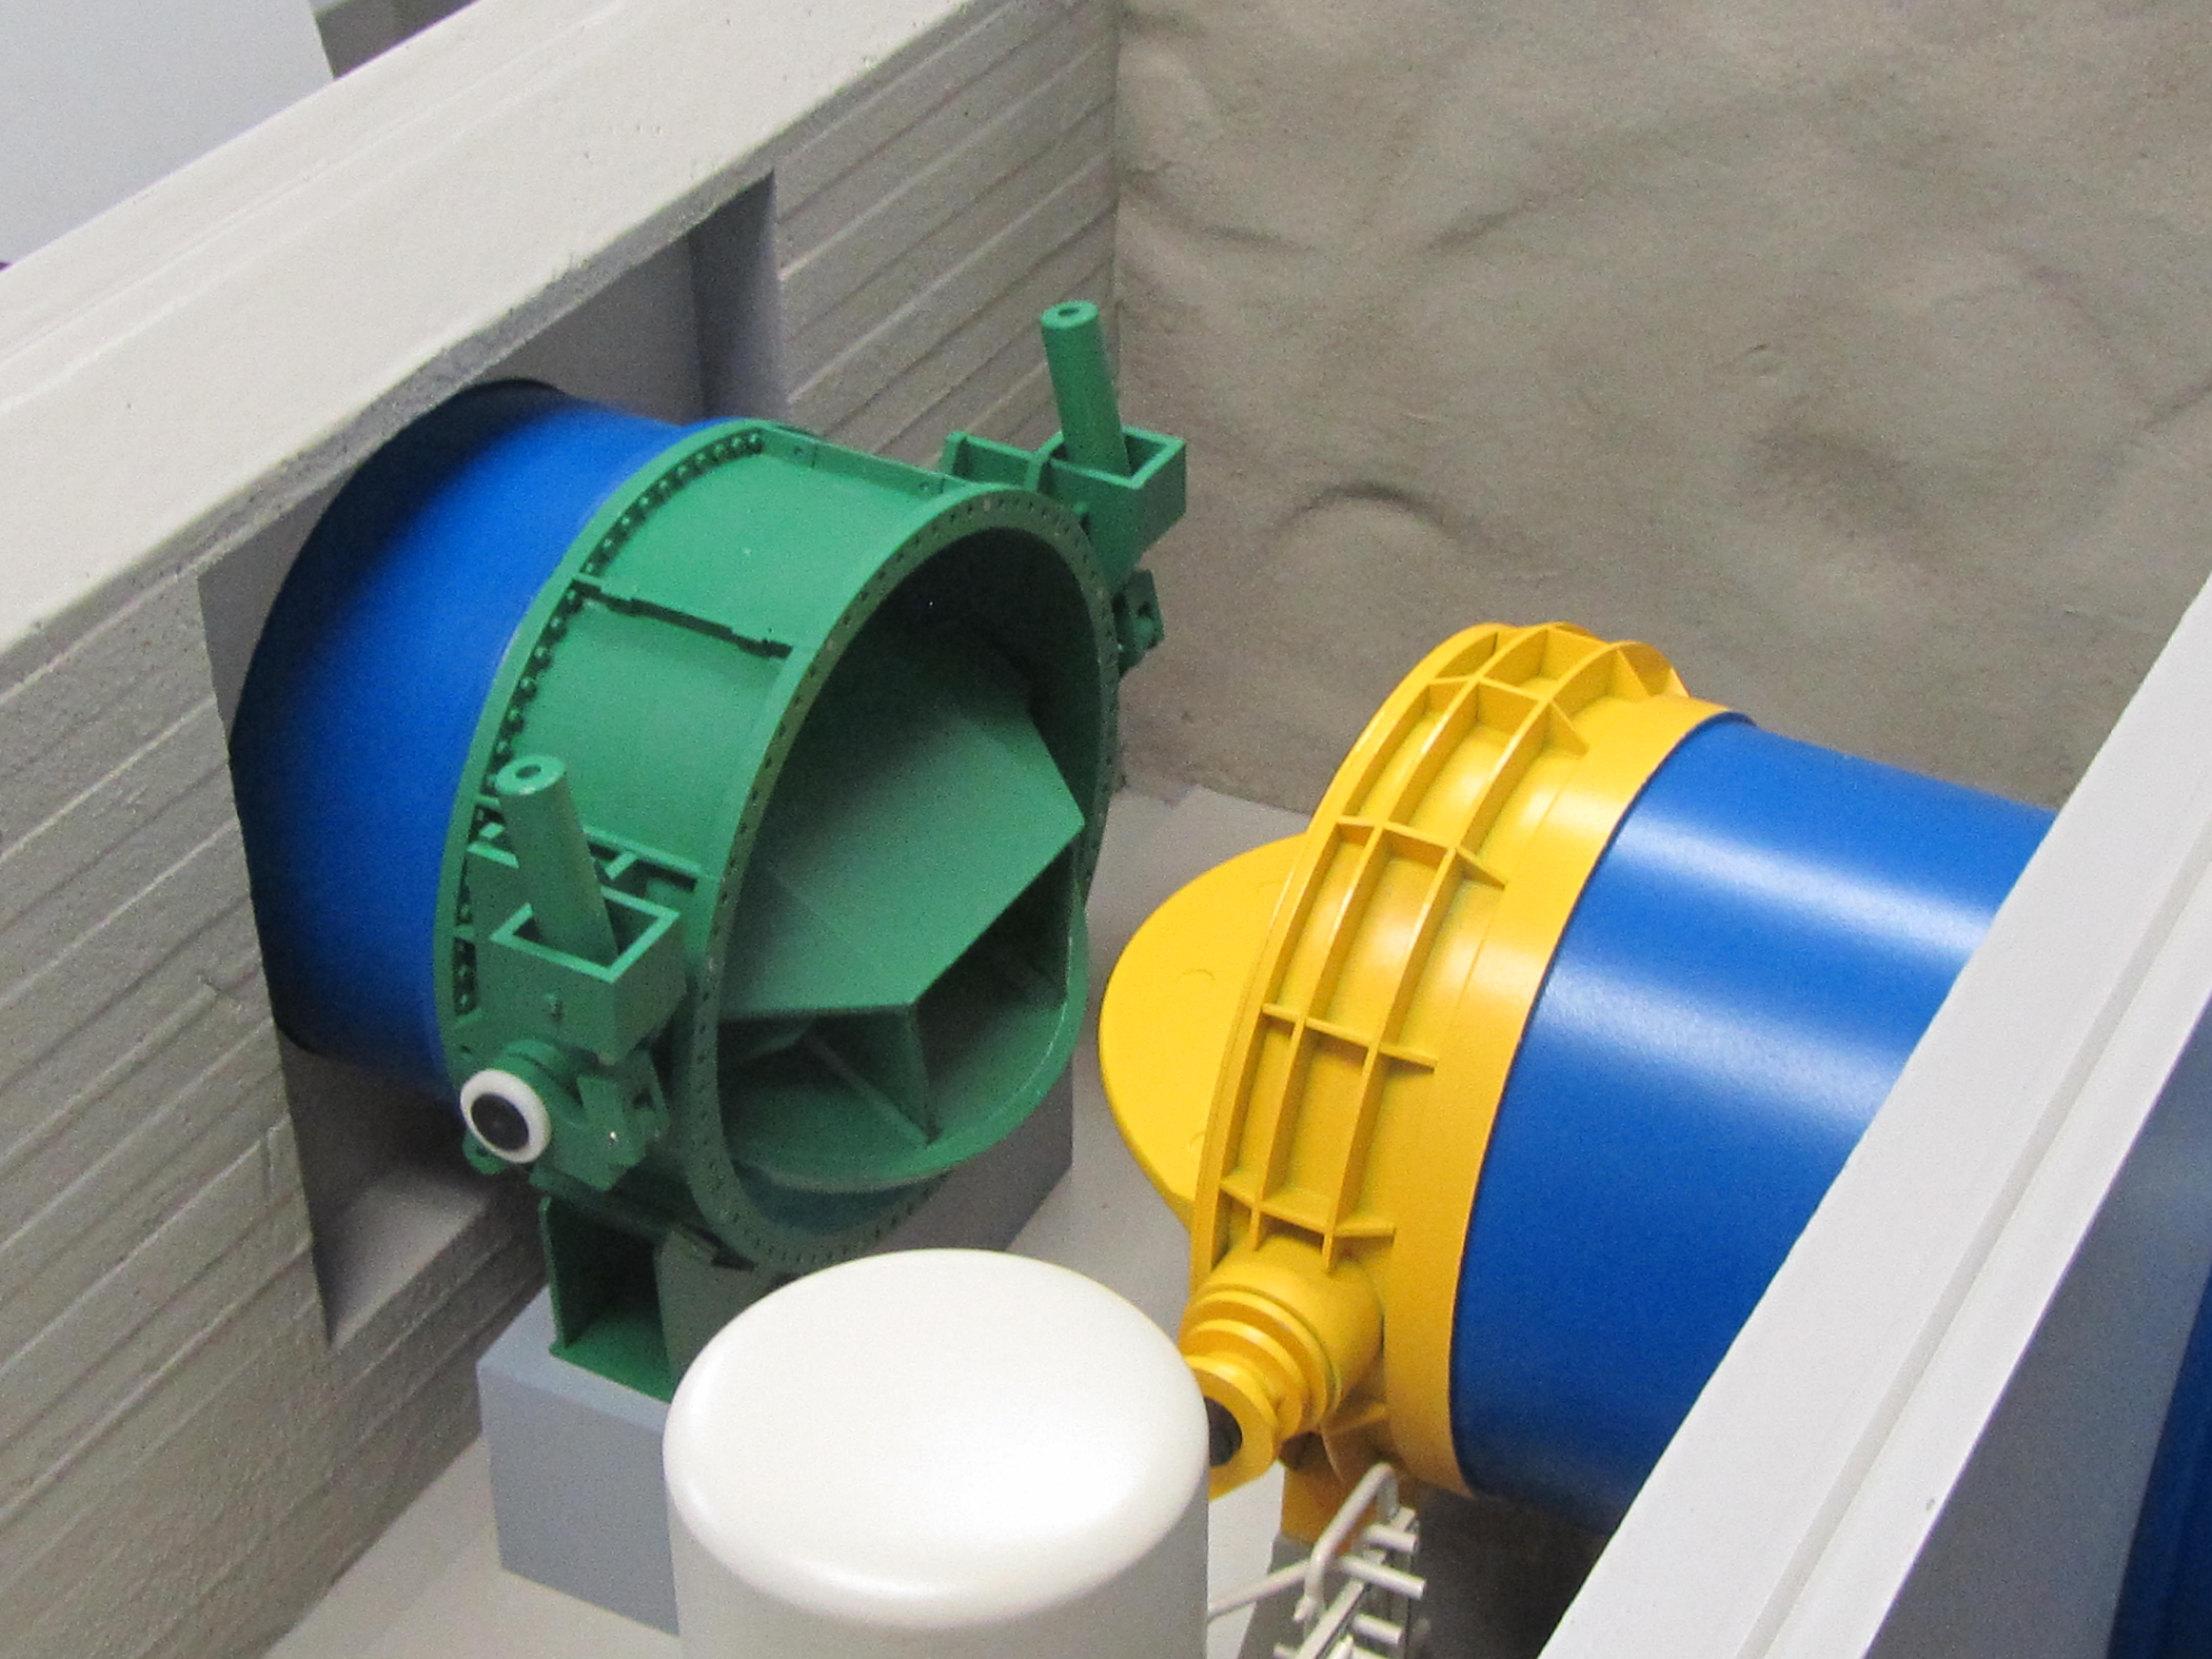
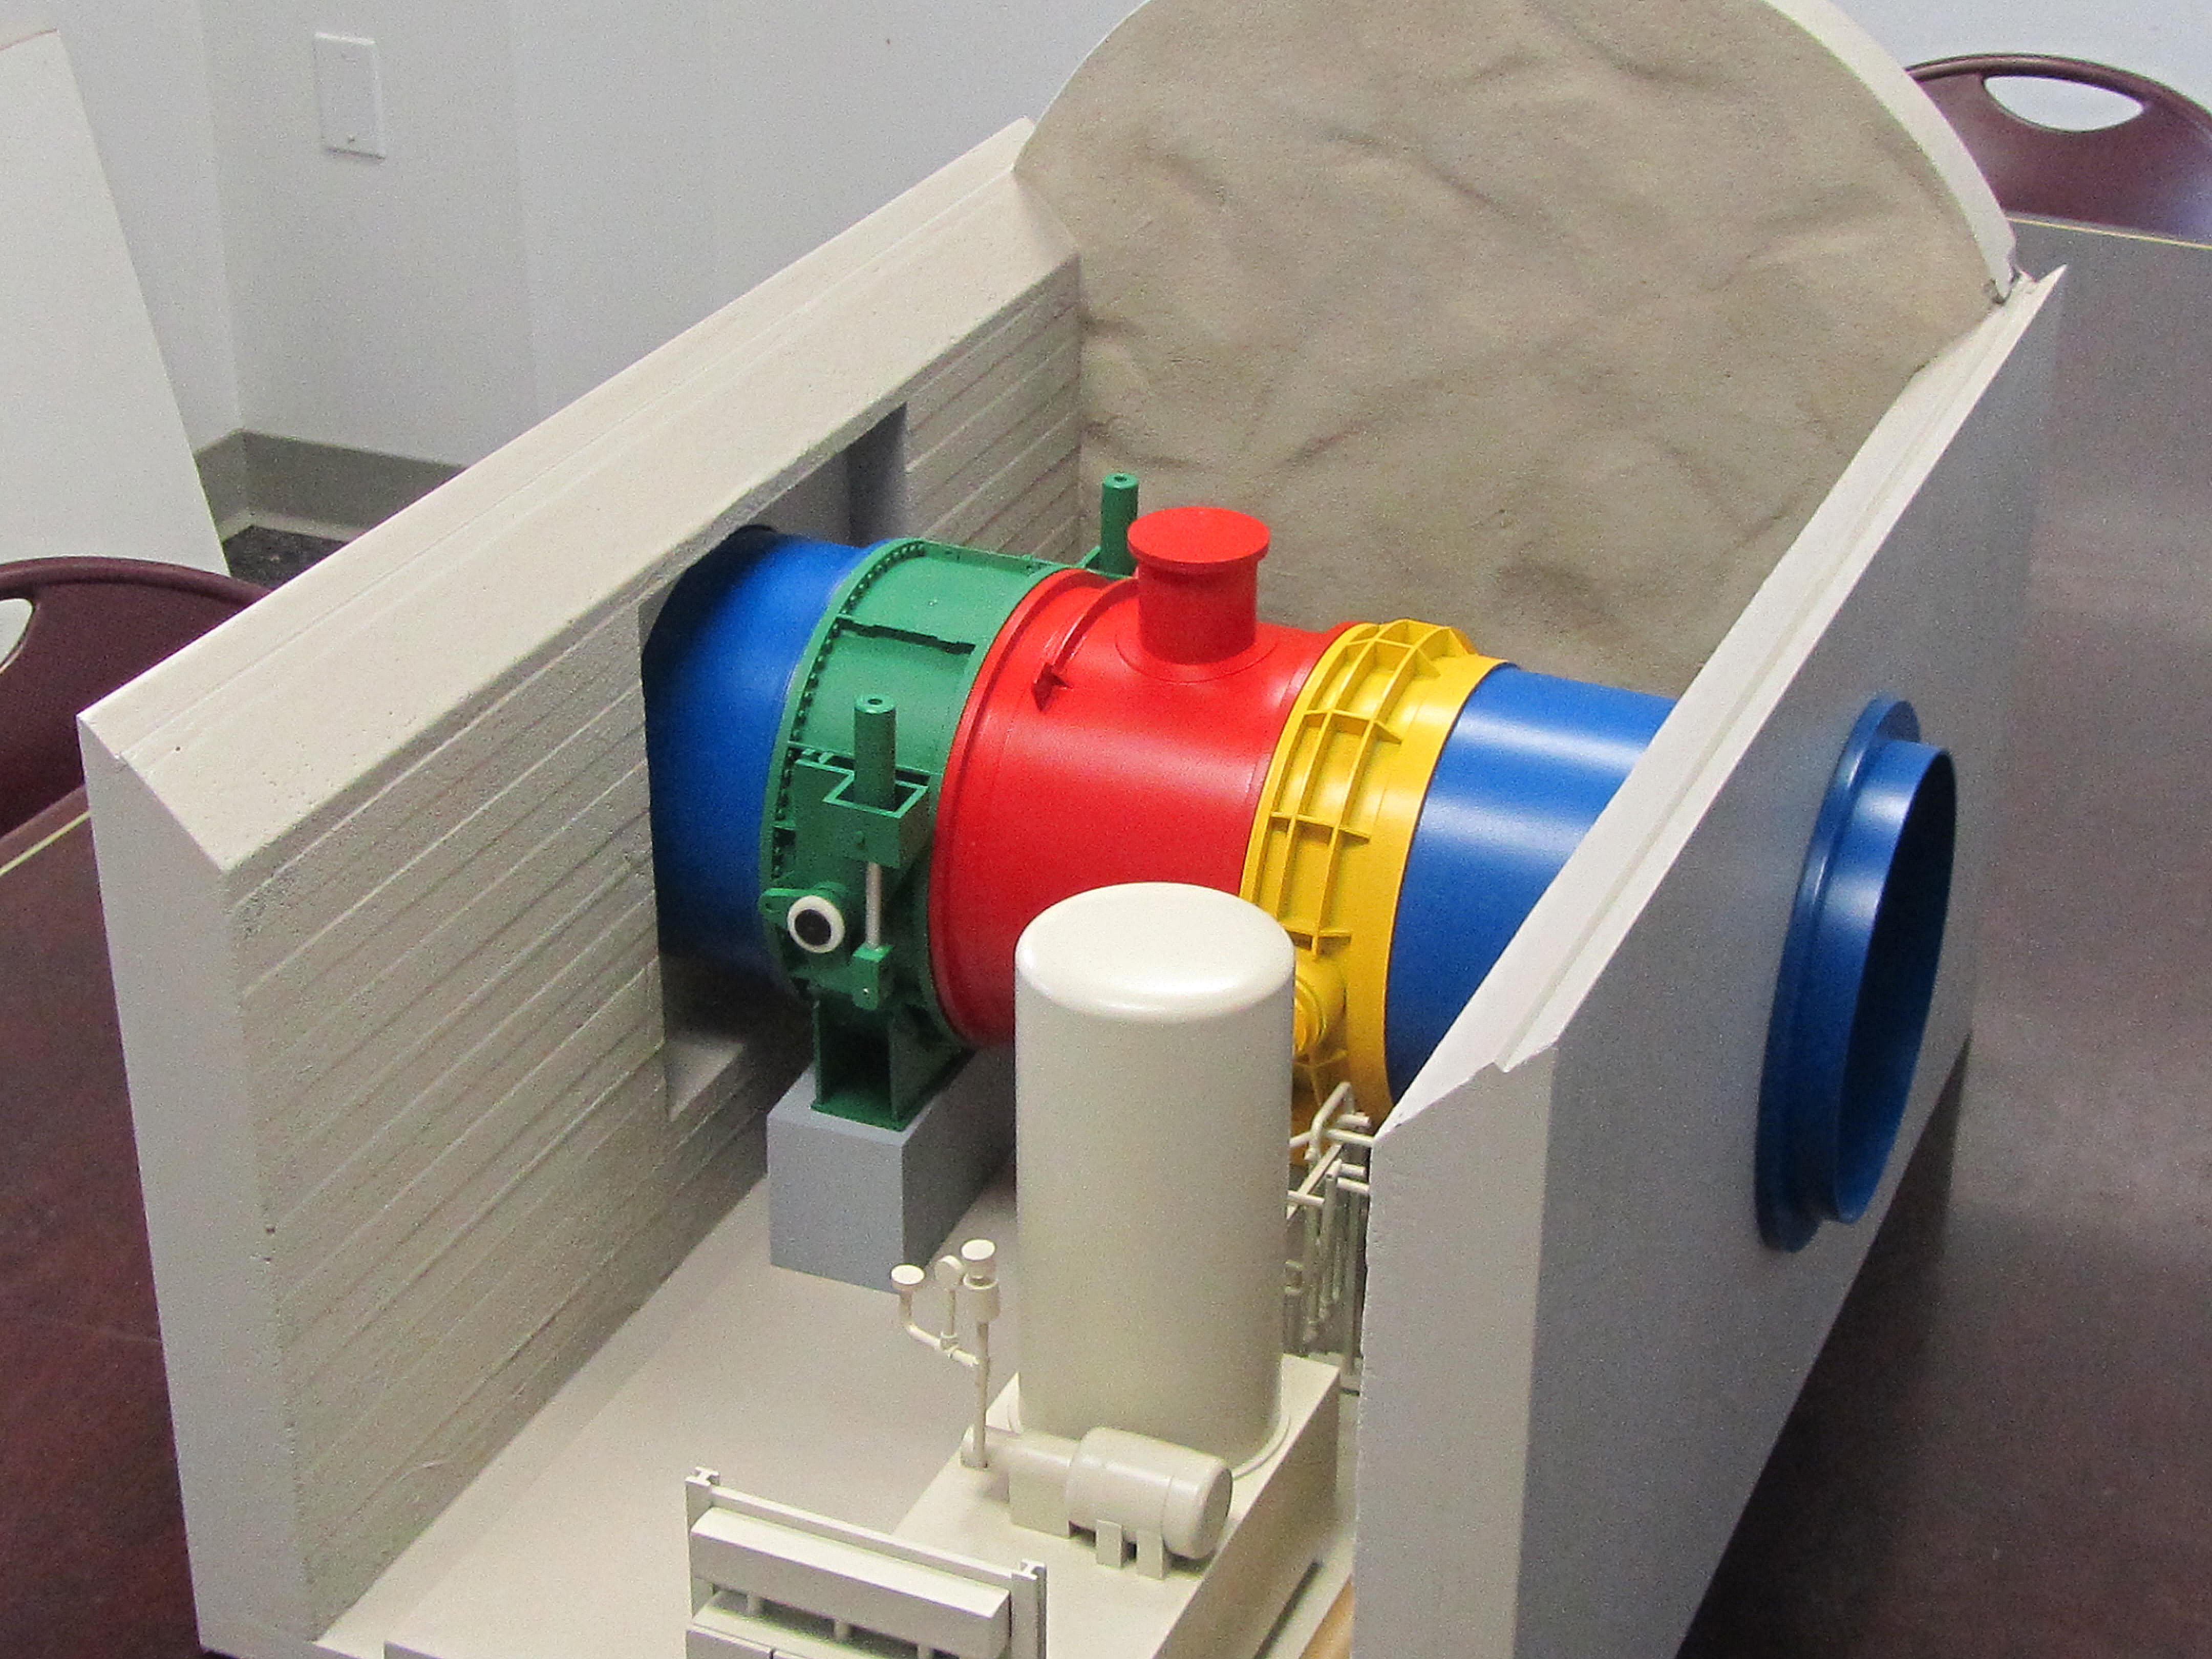
Most of our models are meant to be touched and handled by the viewer and need to be built with substances that can hold up to this kind of treatment. Often times this means a mixture of different plastics and metals. The metal ends up providing a solid skeleton for the model that more detailed pieces can be “hung” from.

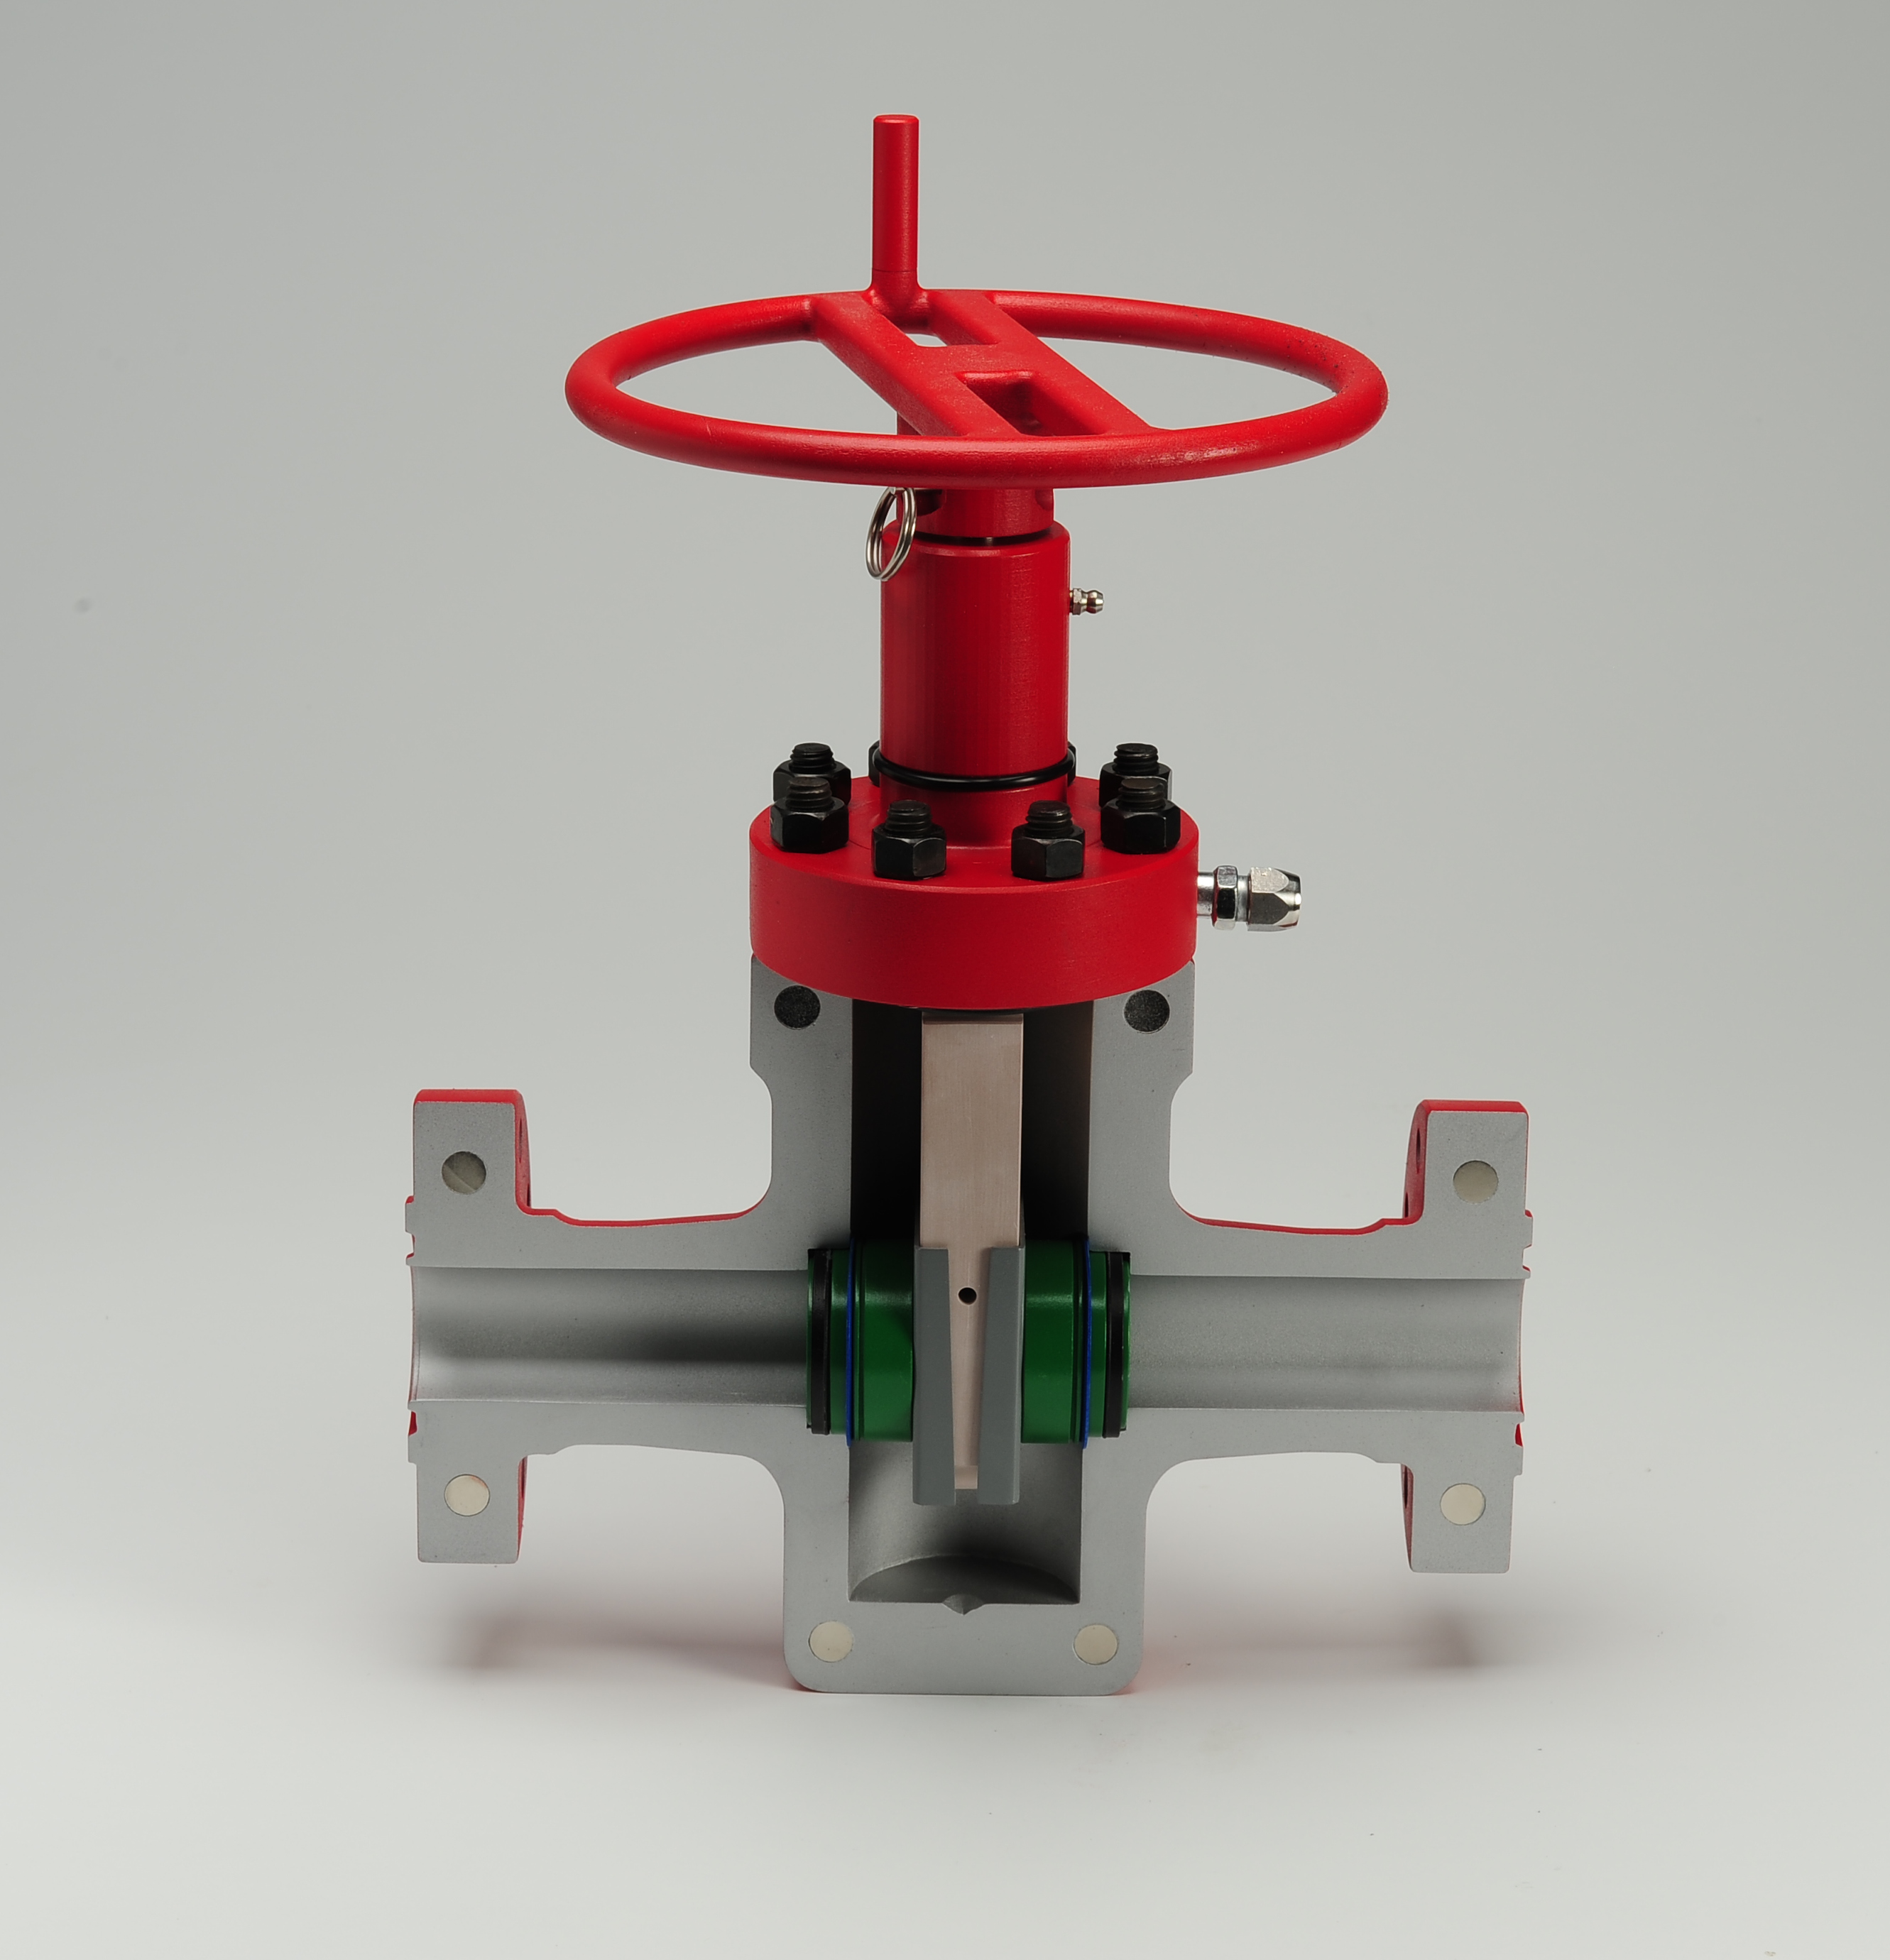
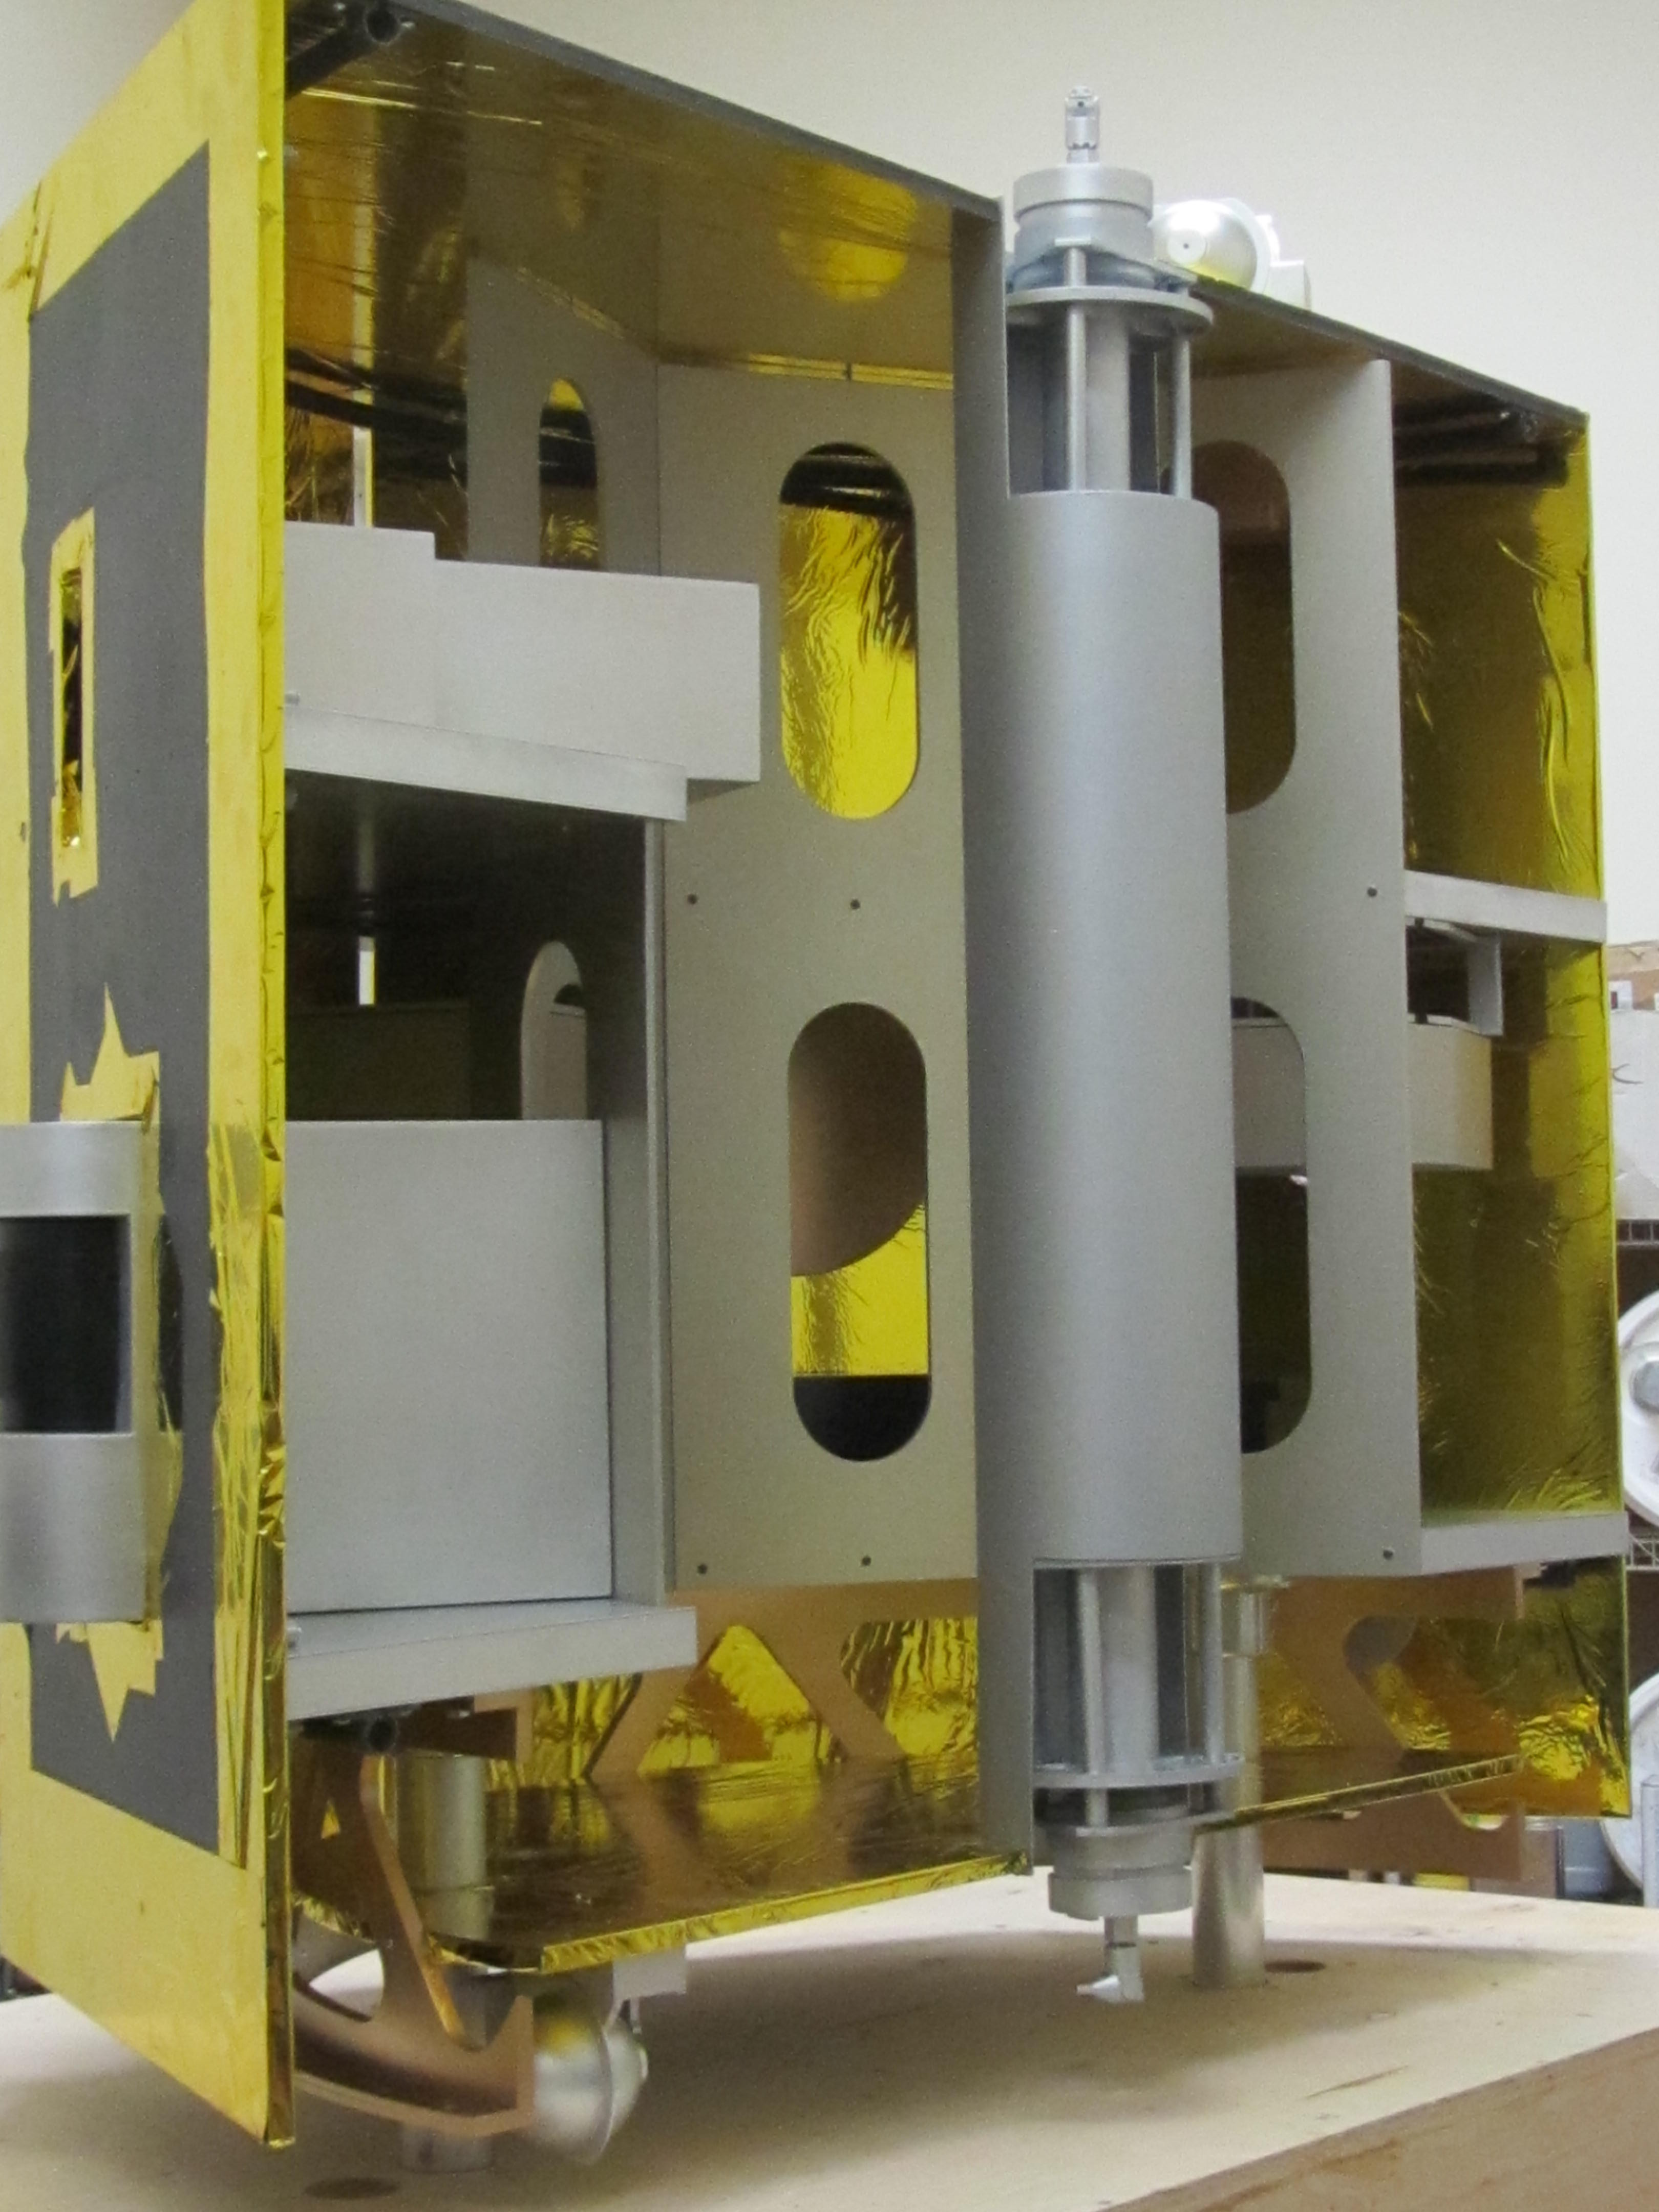
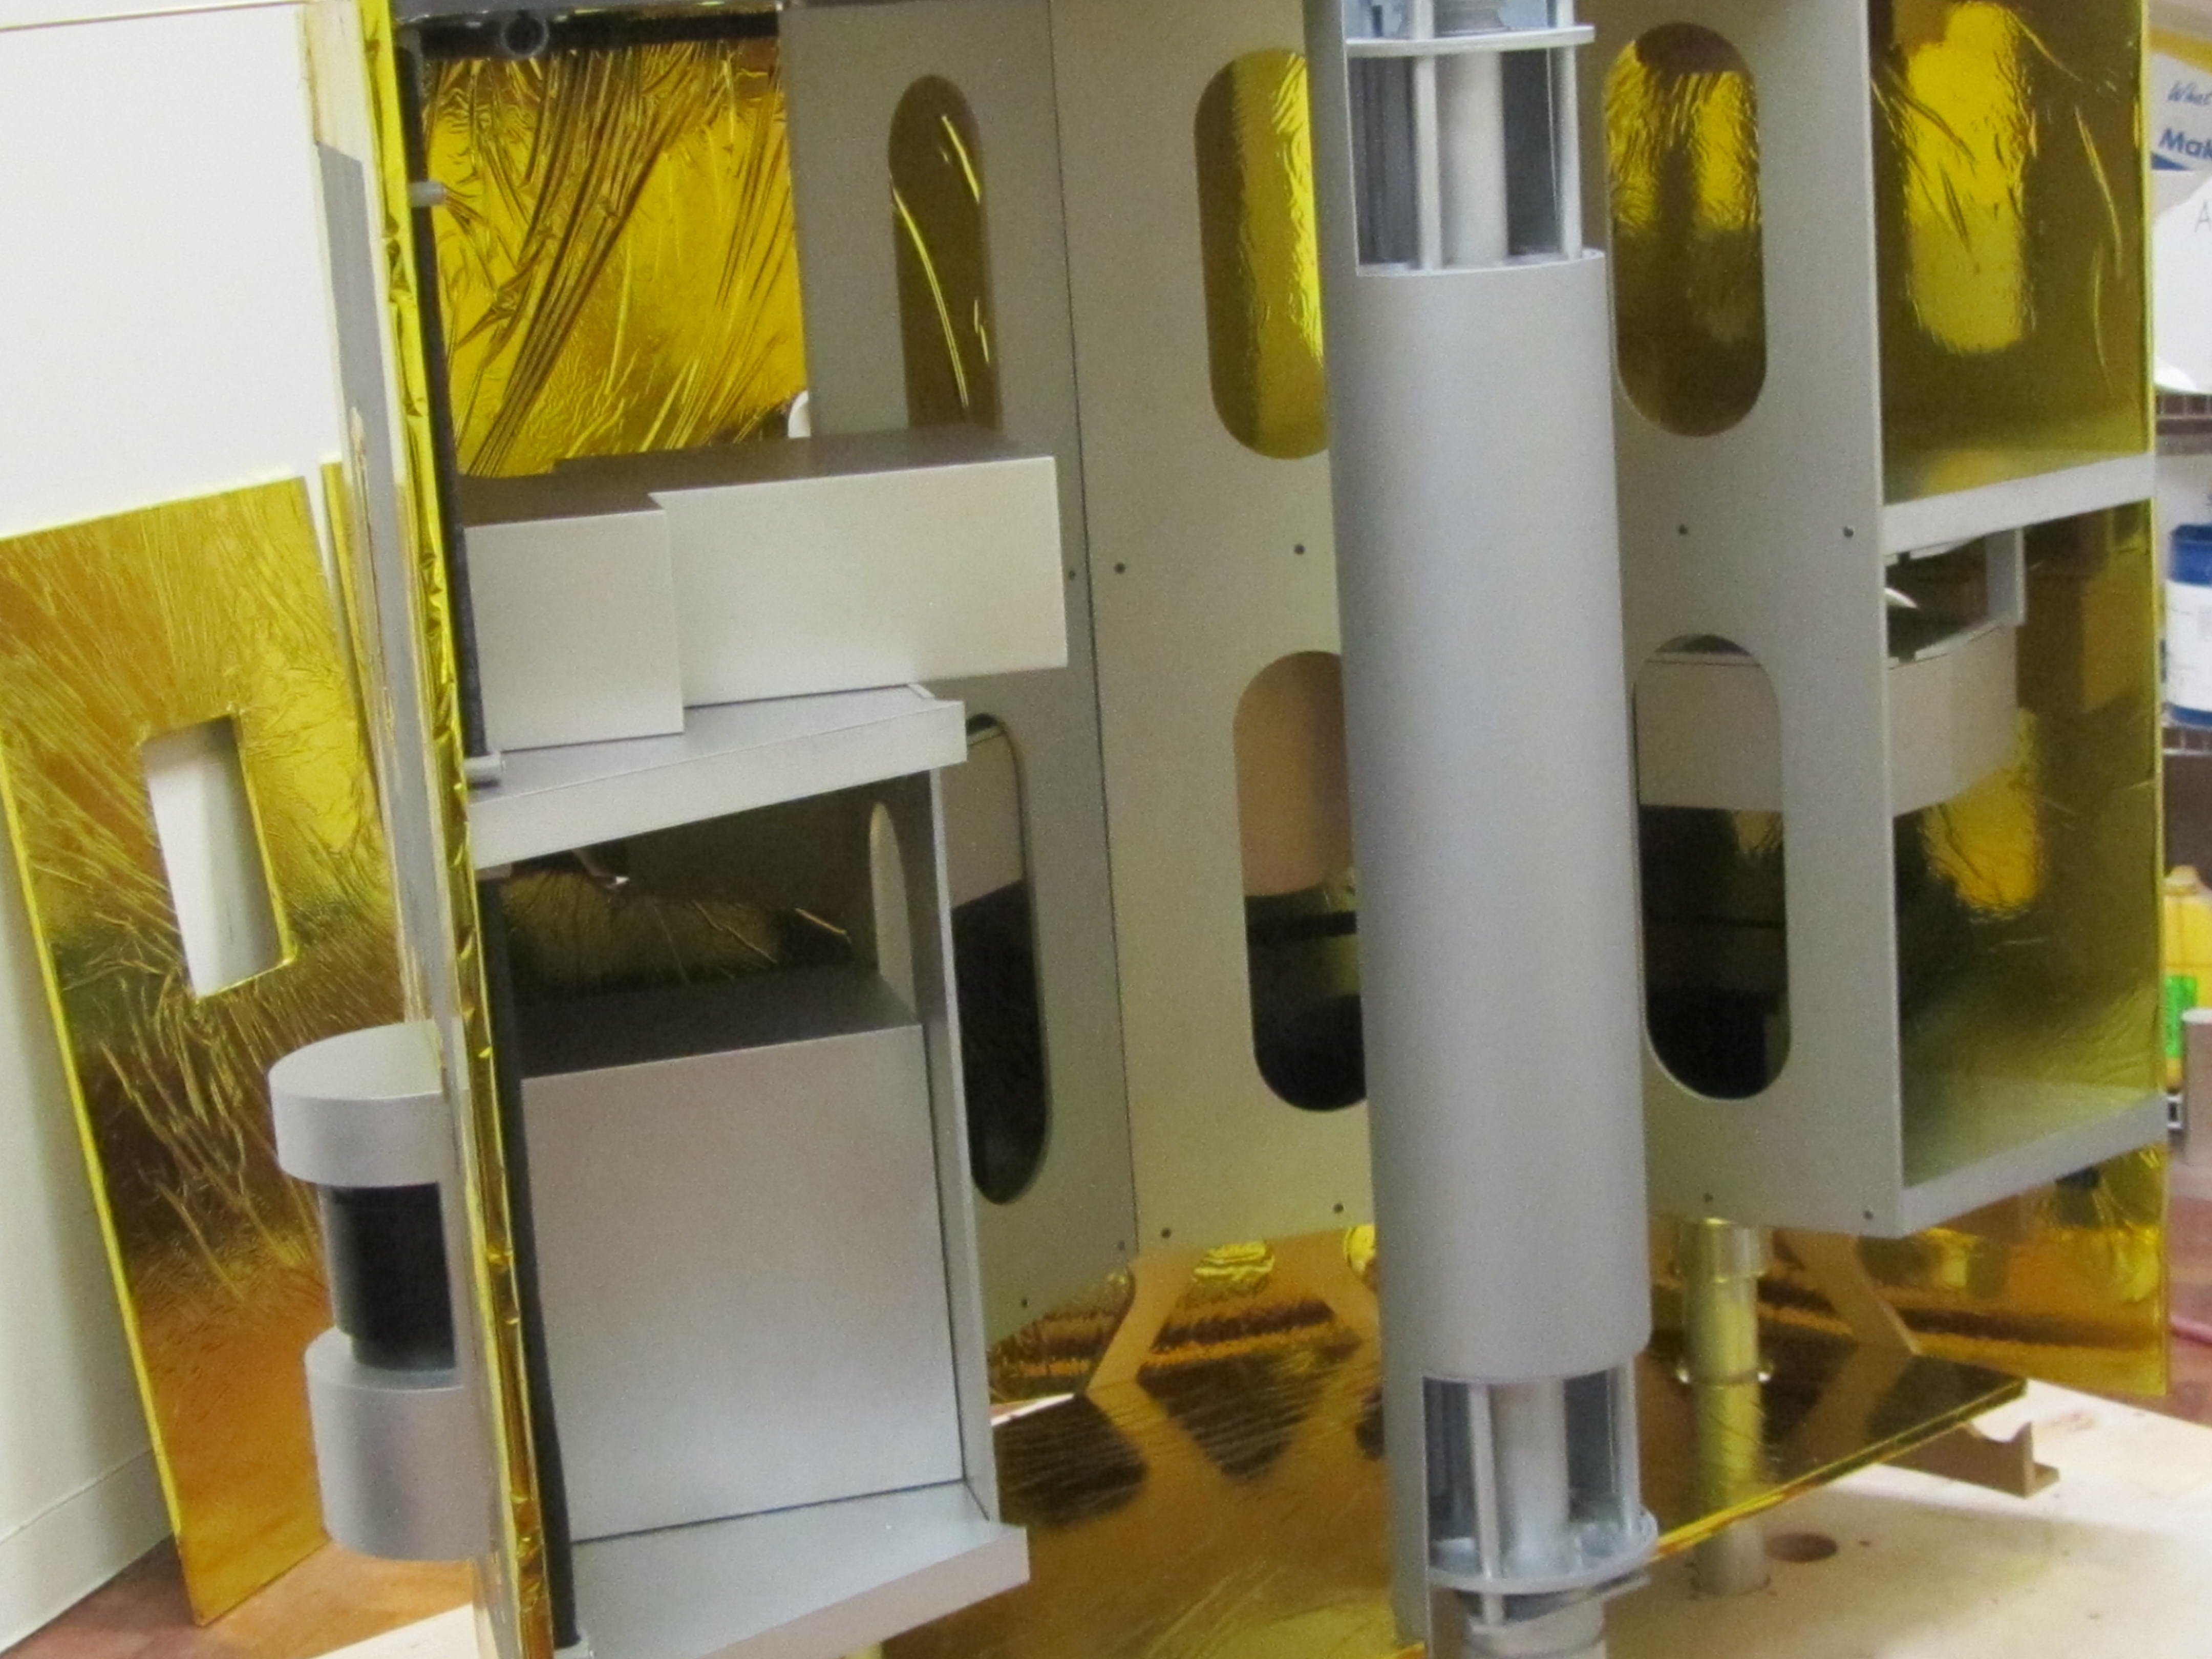
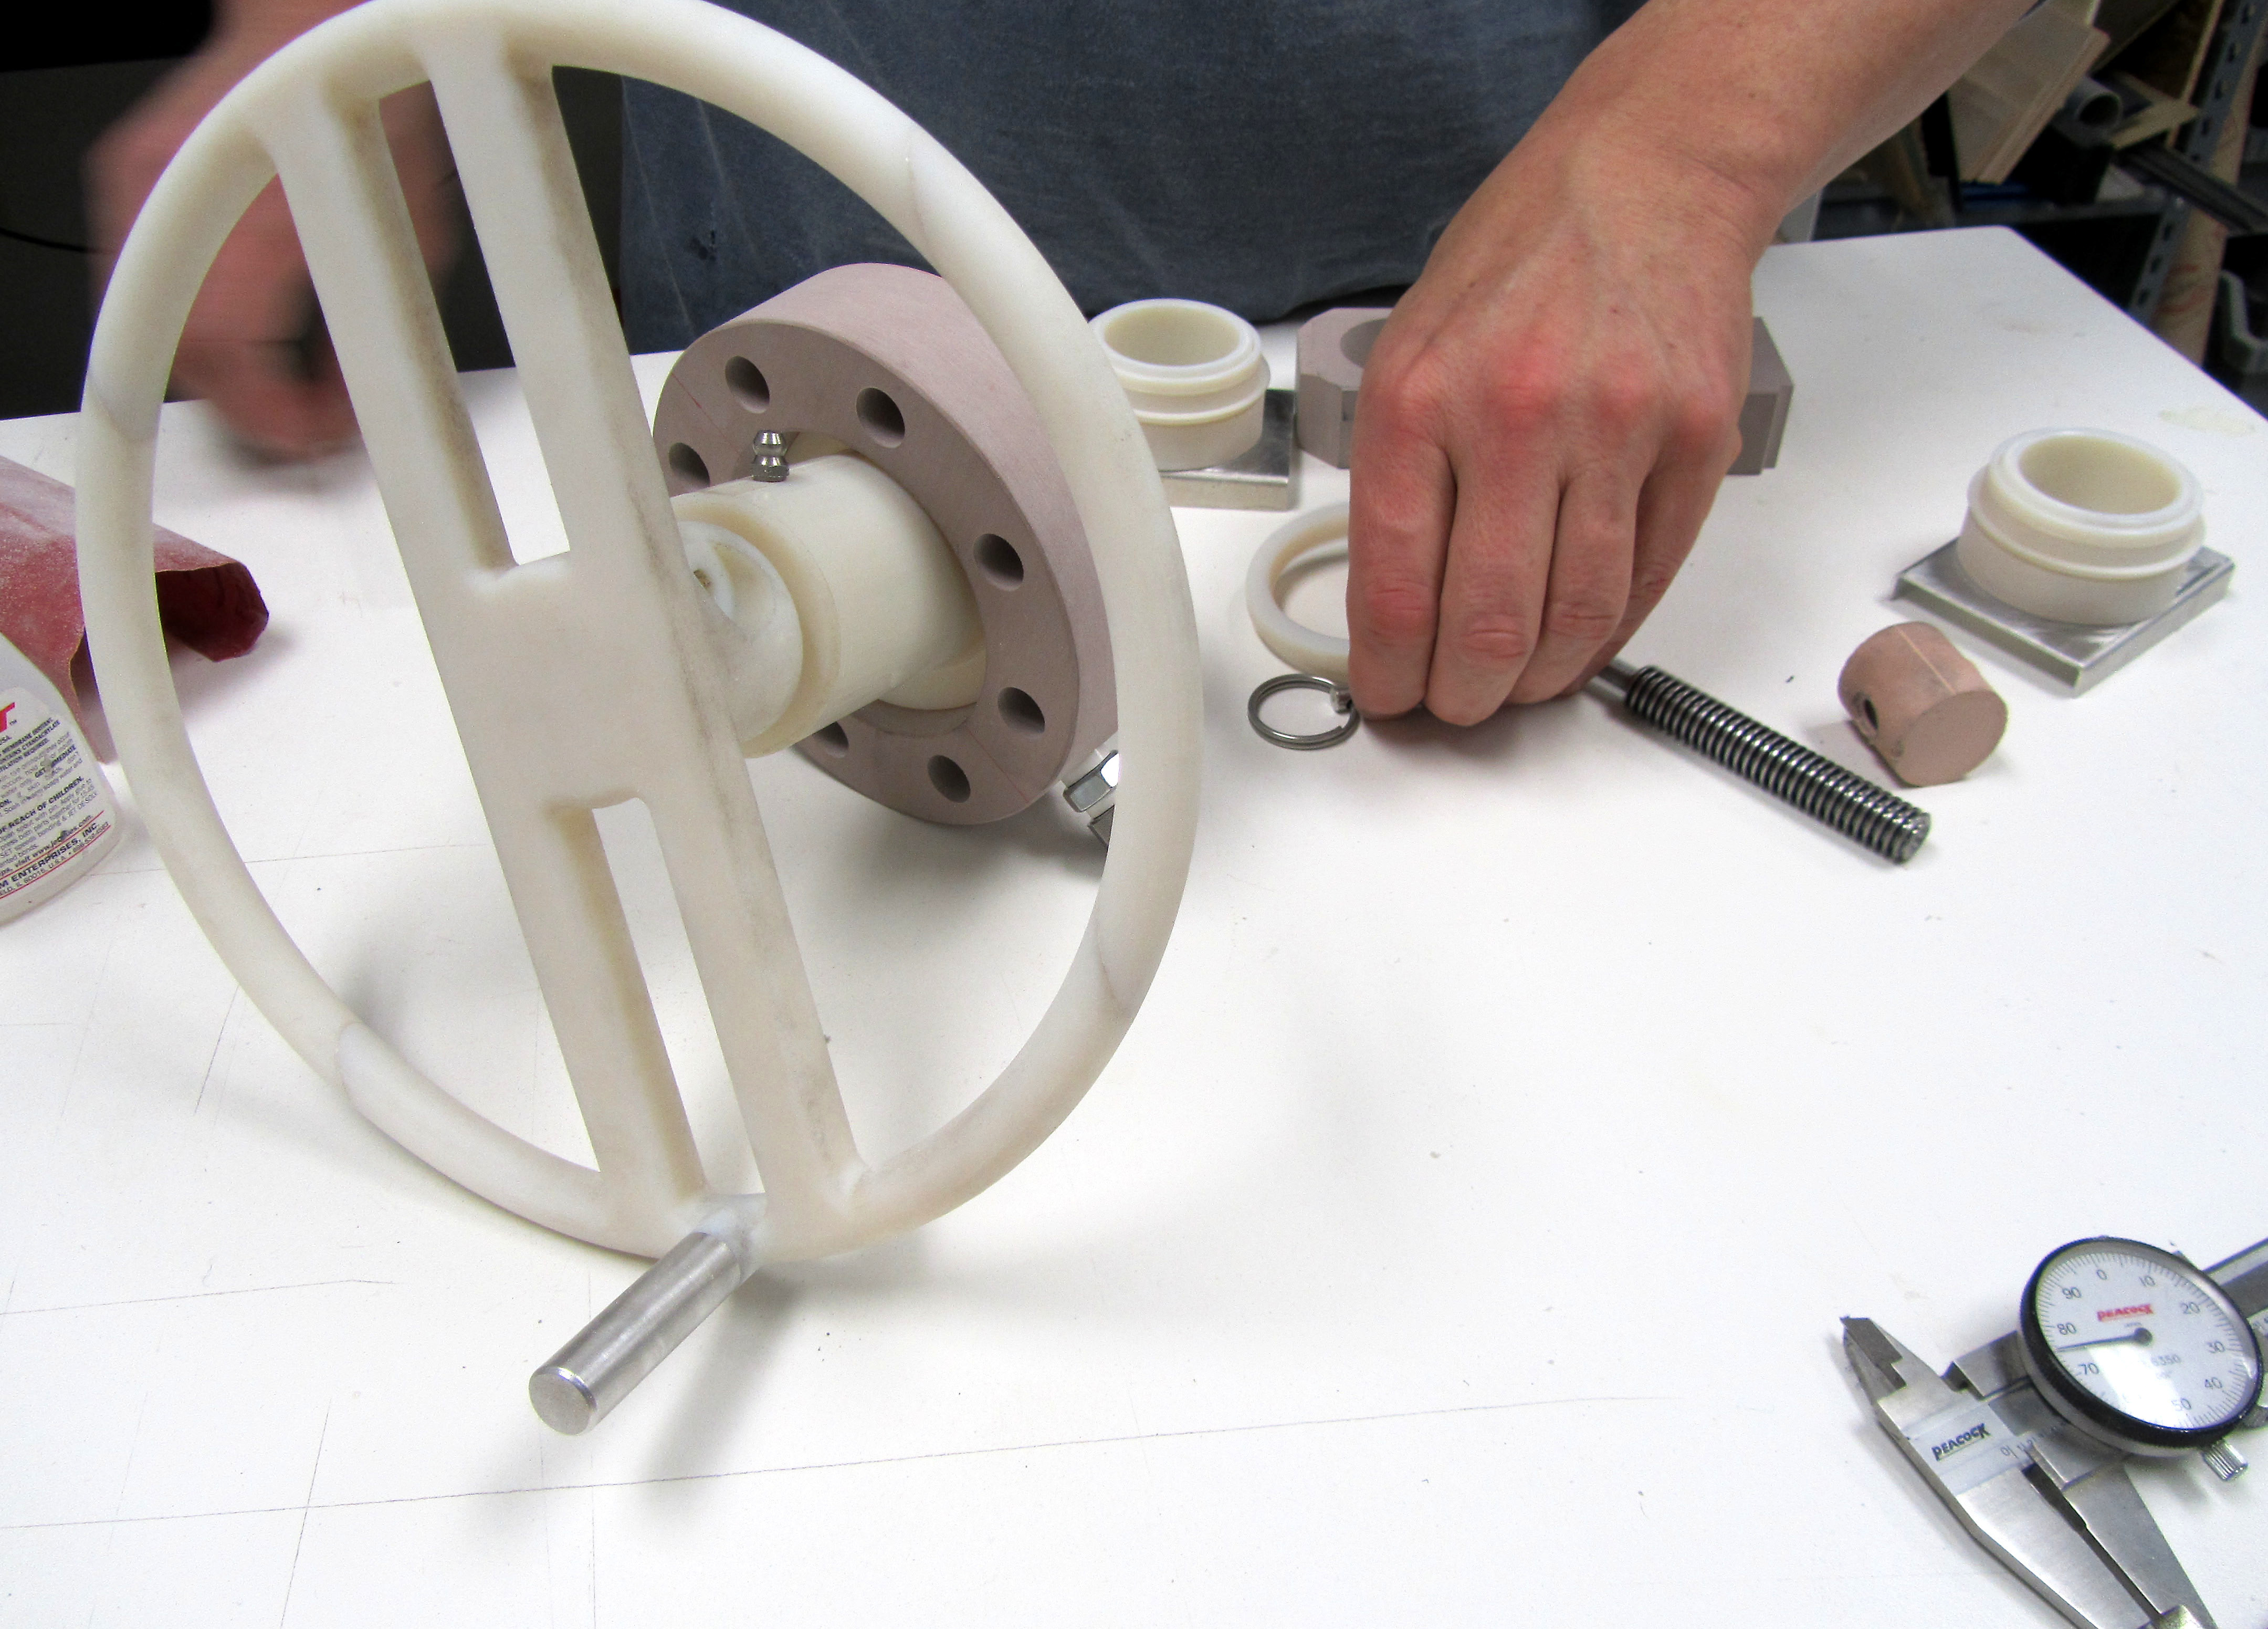
At the extreme end of durability are models that must provide motion, simulate movement or light up. These working models require material that can withstand the friction, and sometimes heat, involved in the moving parts. It may include pulleys, actuators, motors, gears, or electronics that need to be properly housed in the correct materials.

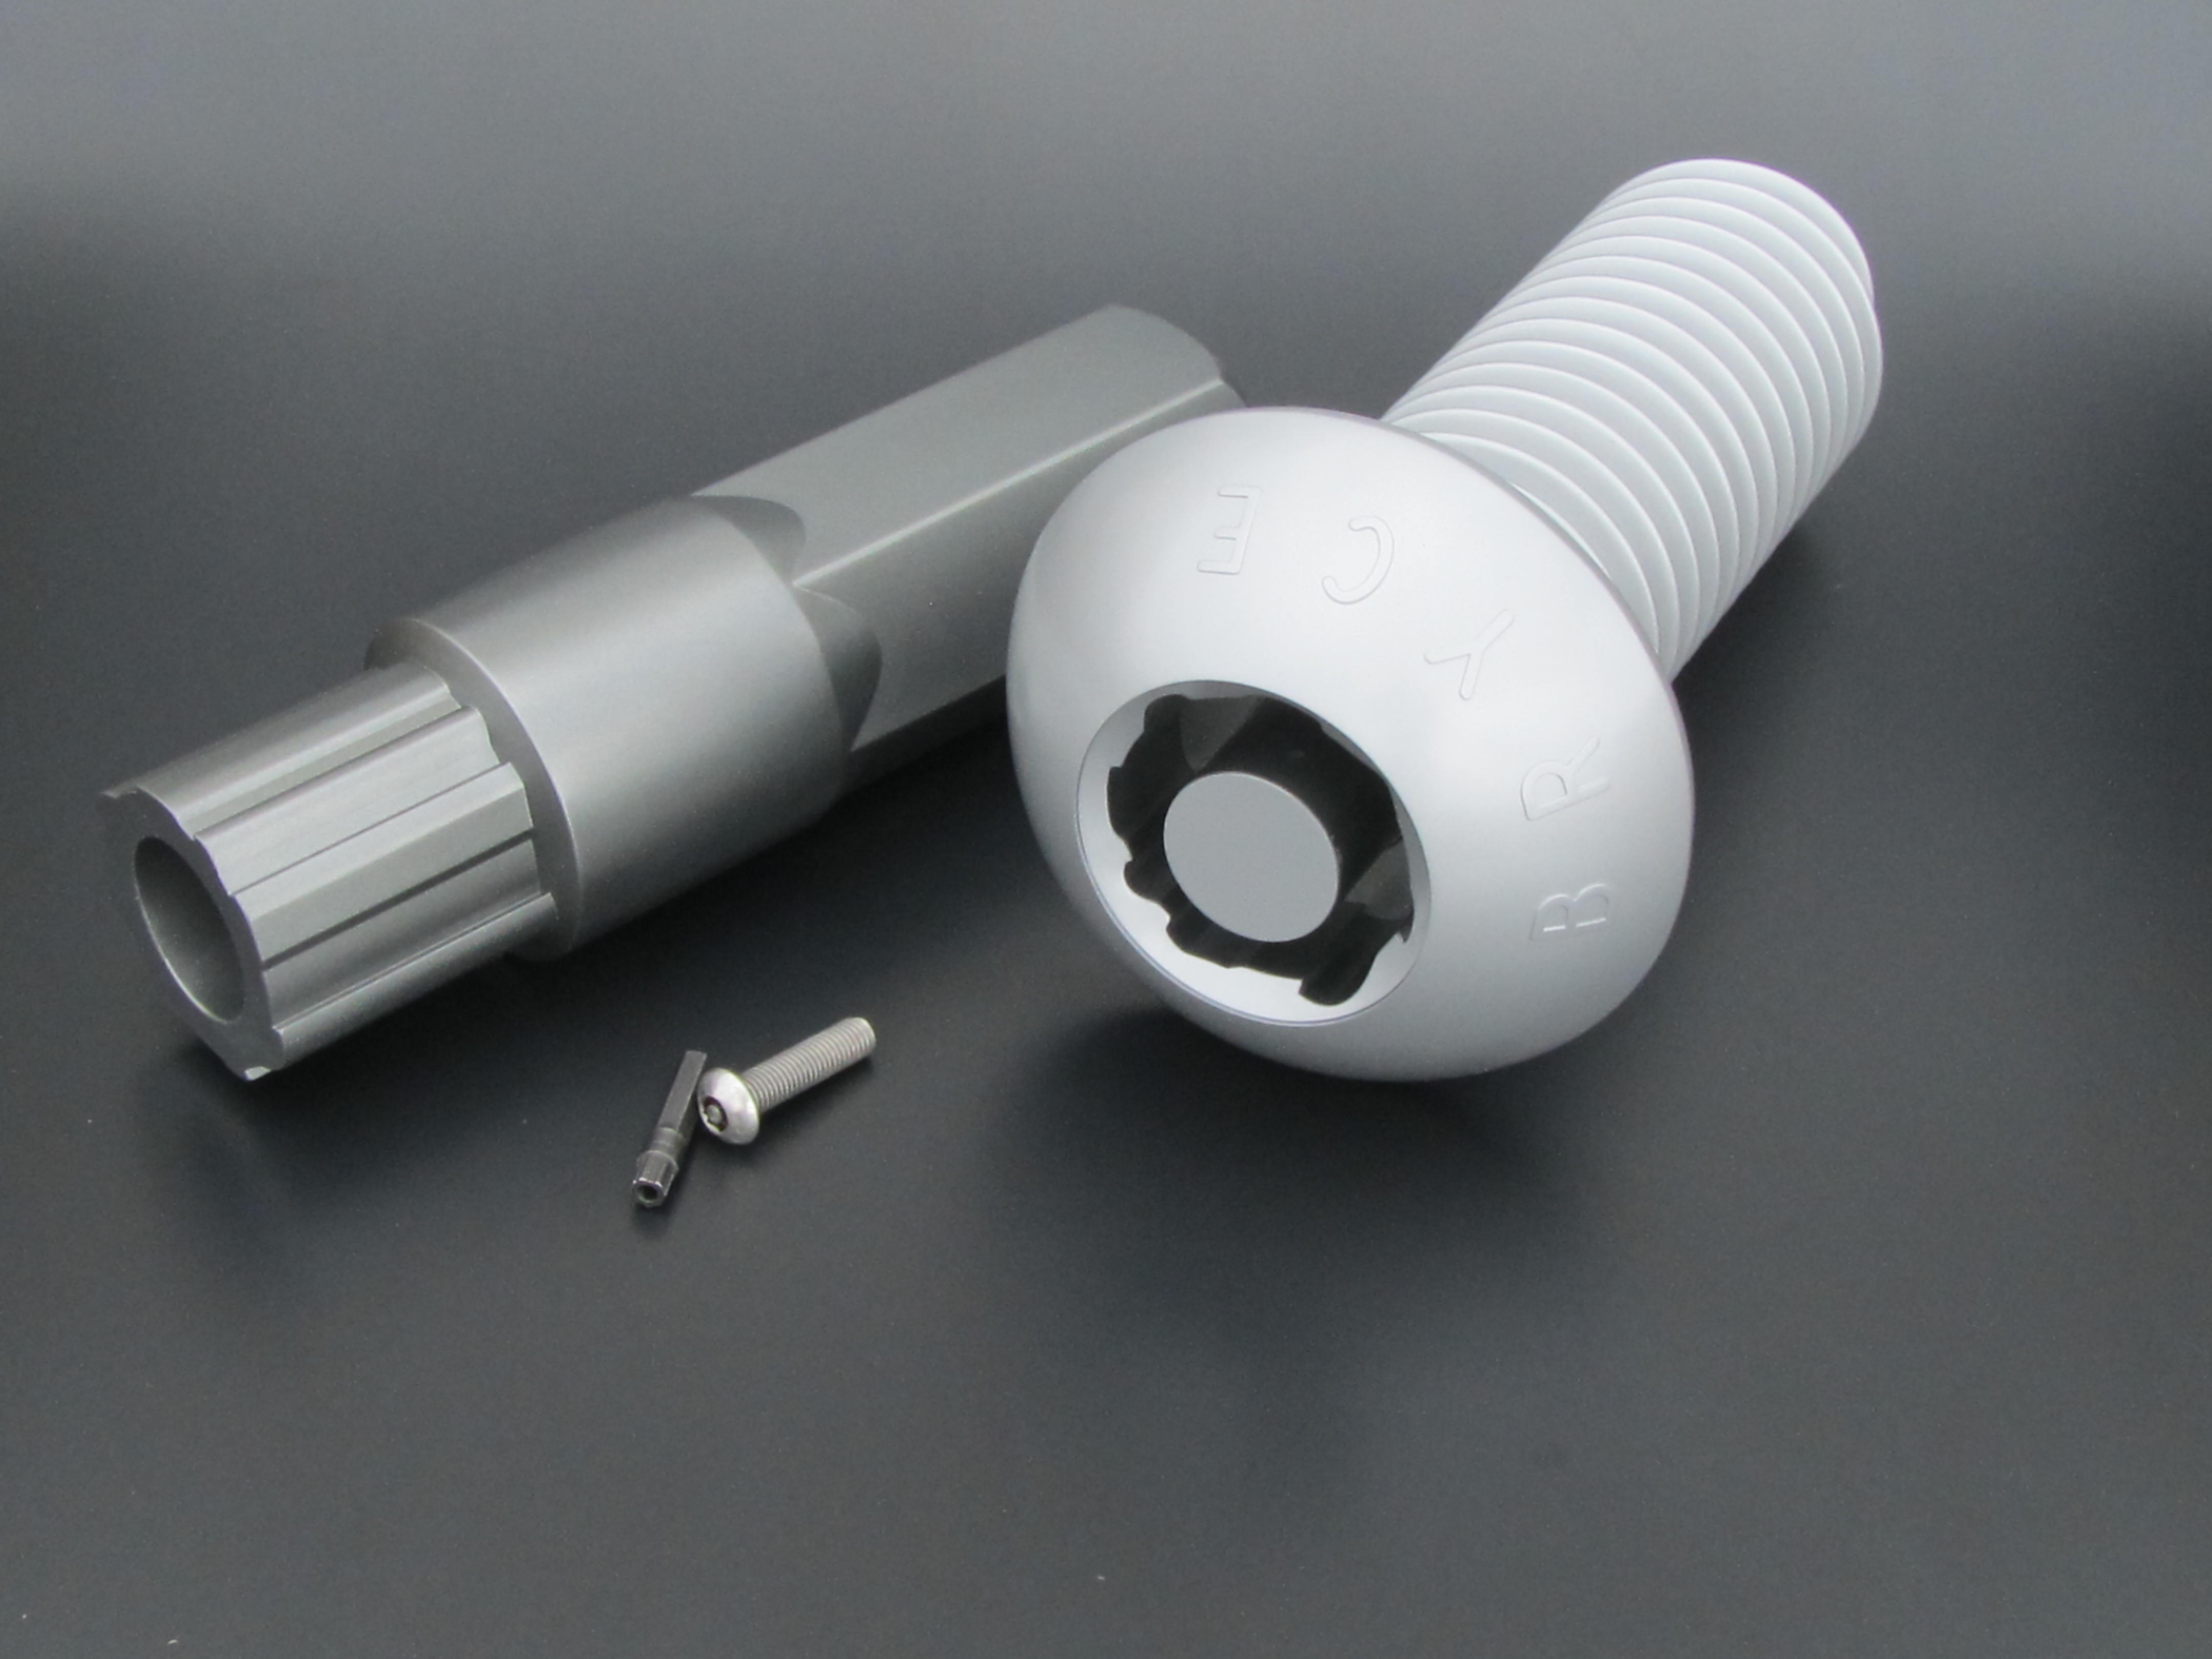
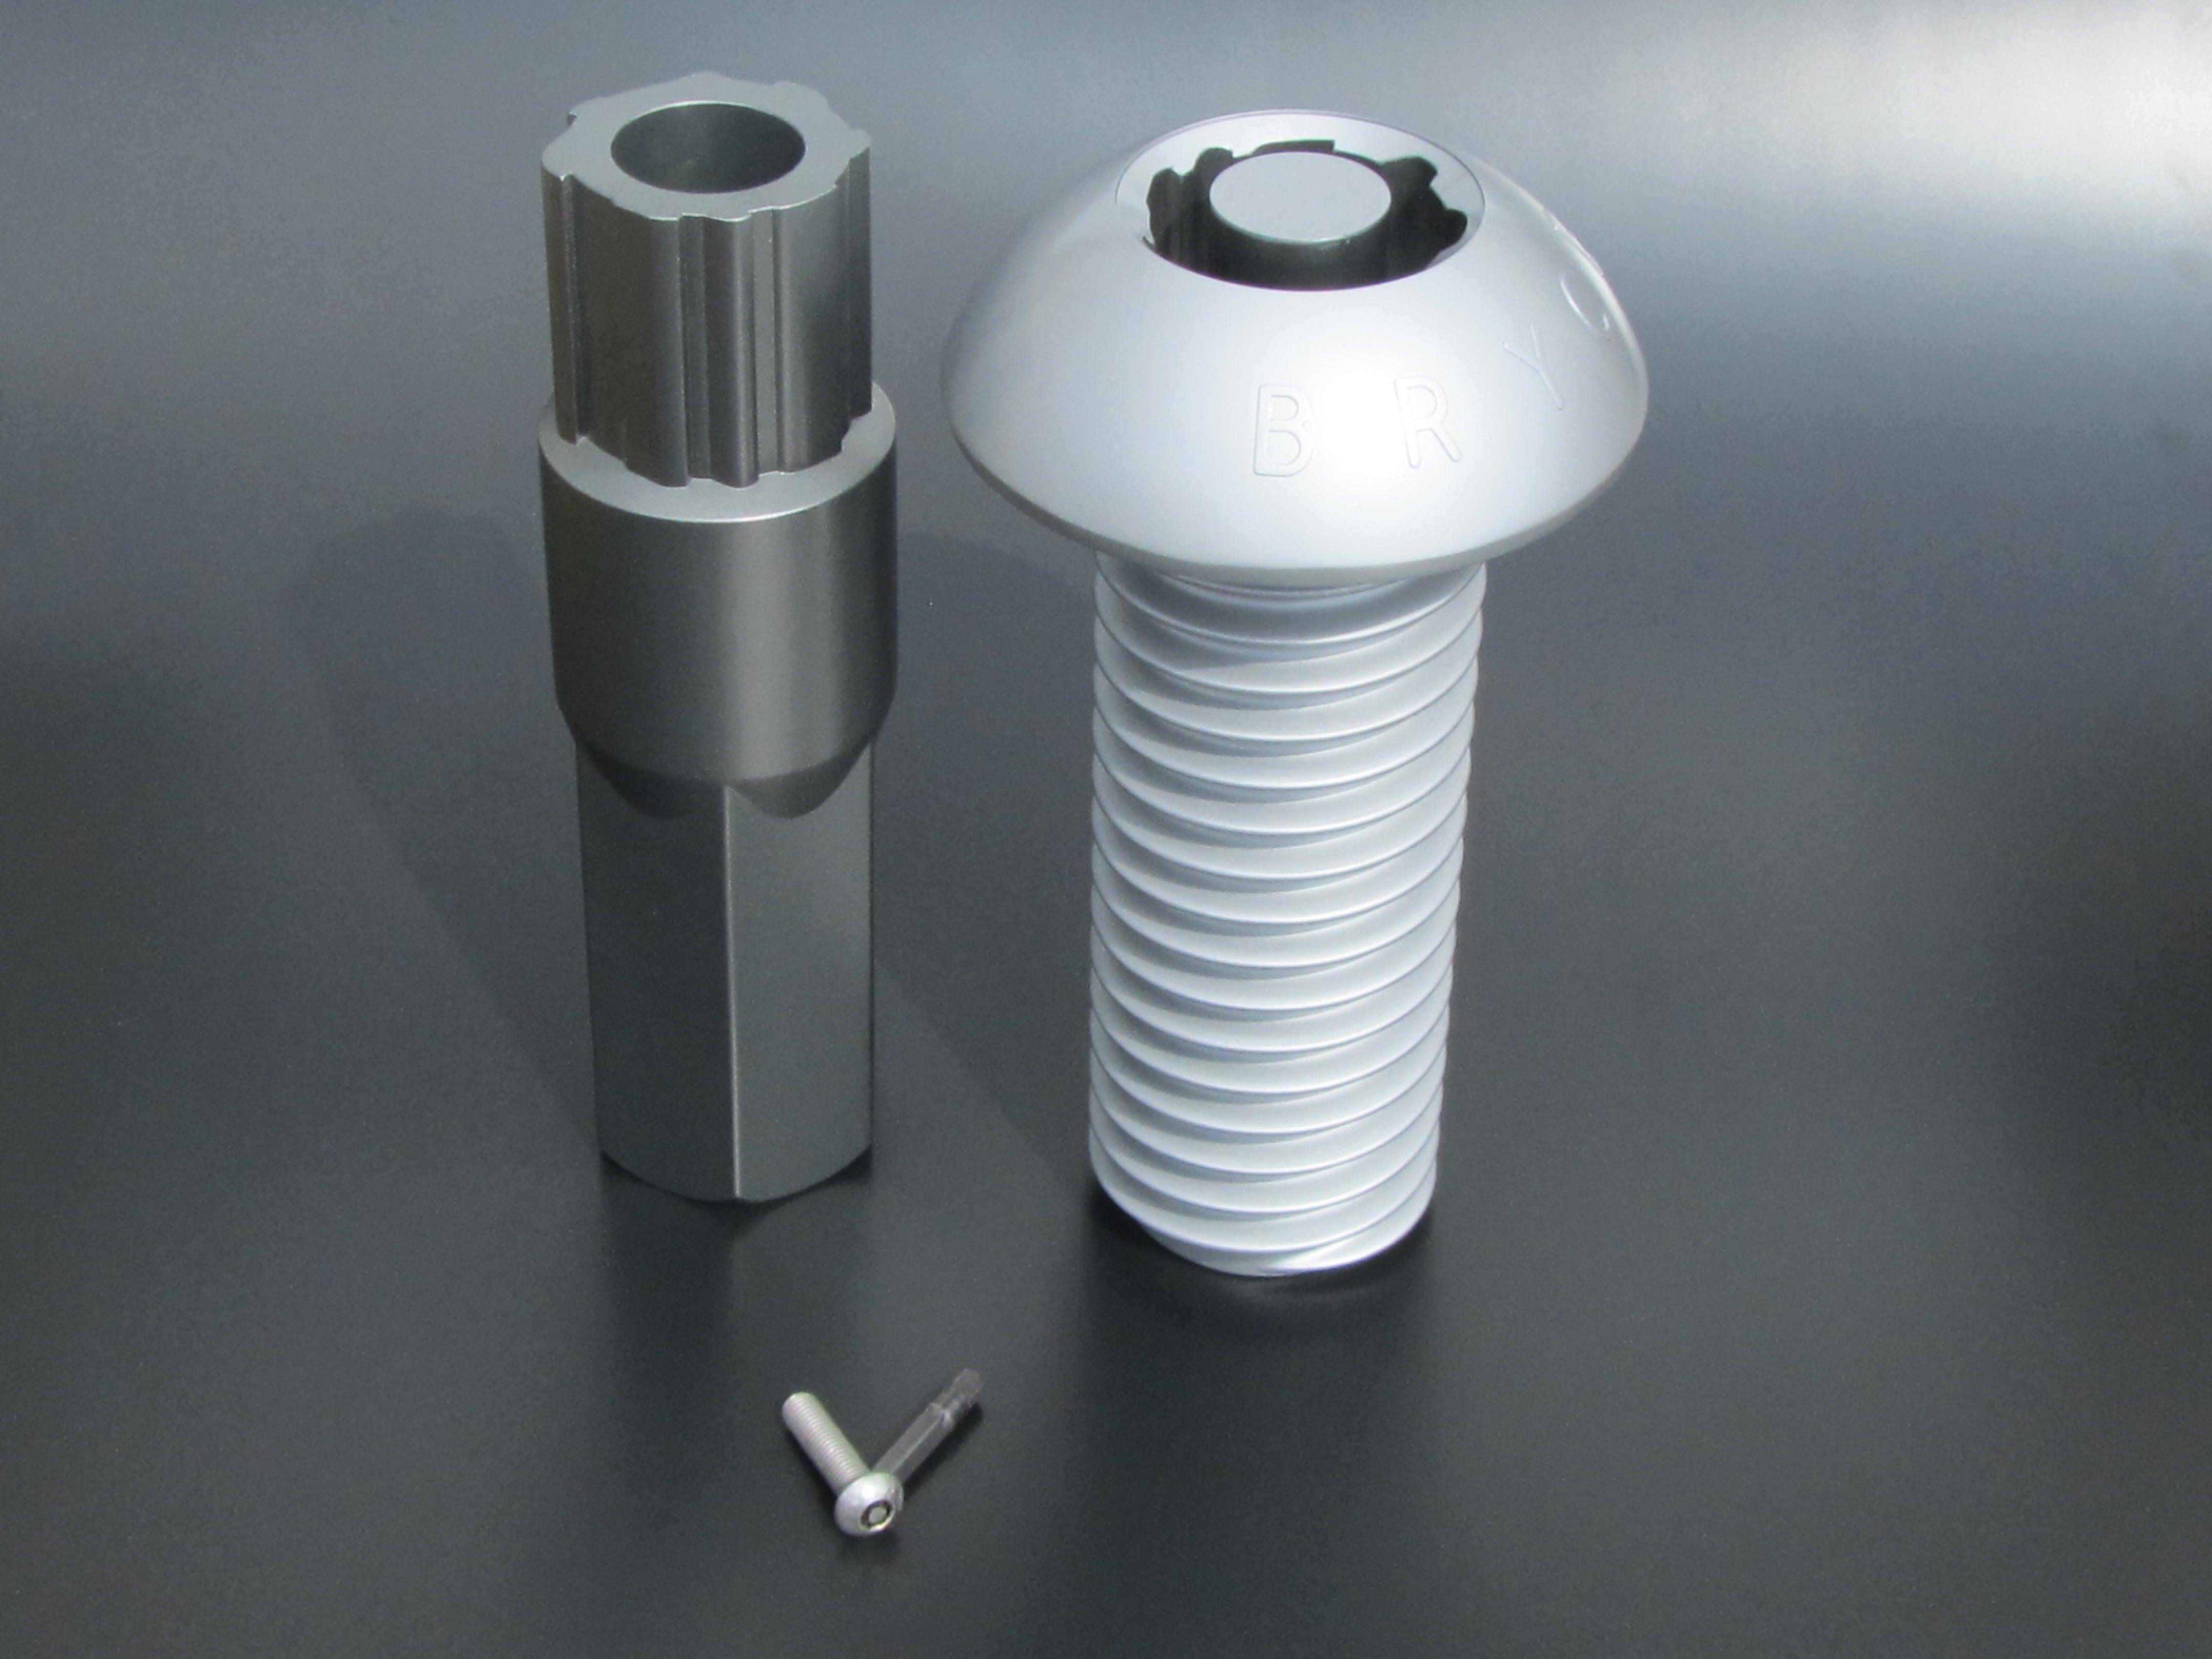
Besides knowing what material to use for which model, a model maker needs to understand how to cut, shape, and cover the chosen substance. Paint doesn’t cover every material the same way. It’s also important to choose the correct fastening method. A model is usually made up of many parts, each of which not only needs to be accurately formed and covered with a properly adhering finish, but then has to be securely attached to the model as a whole.

Knowledge of all the different types of materials that may go into any given model, takes time and practice. Successful model makers are well versed in the various fabrication choices, methods and techniques that go into a custom model. They get this way by actual immersion in the craft.


3D Printed Models

It’s been a couple of years now since KiwiMill started making 3D printed parts for our models. It took some experimentation to get this model making tool working for us, but we have settled into a nice rhythm in terms of its use.

About 70% of our jobs now involve some degree of 3D printed parts. At the beginning of a project, our model makers decide what materials they will use to build each part of a custom model. Several factors are considered when deciding what pieces will be fabricated on the 3D printer. The complexity of the part, its use on the model, it’s size and how quickly it needs to be produced are some of the considerations.

The 3D printer is an excellent choice for complex, intricate parts. Once the time is taken to draw up the part in CAD, the printer can effortlessly build a detailed object with great accuracy. Even when factoring in the time it takes to clean support material from a finely detailed piece, it’s often worth the prep work to get a final product that has all of the desired cosmetic effects intact.

Depending on the over all model’s purpose, 3D printed parts may be too delicate for use in a project. They aren’t the best choice for moving parts, or places that need to endure a high degree of impact. However, they may still work well alongside more durable materials such as ABS, metal and tooling board, adding detail to an over all sturdy model.

Not that 3D printed parts can’t be strong. Large, solid parts, with less intricate detail, can be quite durable in nature. However, they are often cost prohibitive. The resin used to create objects on the 3D printer, is relatively expensive material. It doesn’t make sense to 3D print large pieces that can otherwise be hand-built, CNC milled or routed out of another material.

The exception to this would be if timing is a factor. If the item being fabricated can be drawn in CAD, printed, cleaned up and finished quicker than a hand build, it may be chosen in a situation where a deadline is looming.

KiwiMill has yet to completely print a model. Even in cases where the final product was made up mostly of 3D printed parts, it still involved other materials and fasteners holding the various parts together. The 3D printer has not replaced a model maker, either, though we joked about that happening when it first arrived. It is simply another successful tool of the trade that we have fully integrated into our repertoire.


Skaneateles Lake Topography Model

A few months back, KiwiMill fabricated a topography model for the Skaneateles Historical Society.

Using USGS mapping, Google Earth images, and drawings provided by the historical society, our model makers depicted the Skaneateles Lake topography and surrounding watershed.

It was also important to our clients that the topography model show accurate water depths as this is a very clear, deep lake that was used for naval training during WWII.

LED lights were added to show local points of interest on the topography model.

It was exciting to be a part of a local multi-media project such as this, by providing a 3 dimensional map that was both informative and accurate.

While we’re still waiting for final installation pictures, here are a few shots of the build:

Valve Replacement Training Model

This training model will familiarize people with the steps of an industrial process before they get into the actual field. The process being simulated is the replacement of a valve on a hydro-electric dam penstock. 

All of this activity takes place deep underground. The training model represents the underground room and the equipment used to replace the valve. The valves on the model have working parts.

The center piece of the training model – the pipe – is 11ft in diameter in real life. KiwiMill replicated the pipe using a 6 inch diameter tube. The rest of the model was scaled around this size. Sometimes it is more economical for the client to have the model’s dimensions determined by parts that are readily available.

Everything was custom fabricated, assembled and painted in a little over a week, and then shipped to Canada for our customer’s immediate use.