All posts by pam

CNC Router Built in the Model Shop

KiwiMill is very pleased to be using its new CNC router in our model shop. This piece of machinery adds greatly to our in-house capabilities. The bed is 4 x 10 ft, with 15 inches of Z travel, allowing for a wide variety of projects.

But the best part? It was designed and built entirely in our  scale model shop.  Our engineer and model designer, Dean, developed and built this piece of machinery over the winter, with wiring assistance from our owner, Derek.

Check out the pictures:

3D Printed Mold for Casting

KiwiMill has an Objet 3D printer to make scale model parts efficiently, accurately and with greater detail.

When the printer is not in use for model parts, it’s available to customers for rapid prototyping services. Not only can the printer create parts with very quick turn around and accuracy, but it can be used to create a tool for molding and casting multiple pieces.

Here is a 3D printed mold created by our designer, Mike, that will be used to cast multiple parts. It incorporates gating and venting in the design.

Creating a mold using a 3D printer saves time. Traditional molds require a Master to first be created, and then the mold is made from this initial part. 3D printing the mold means there is no need for a Master. The mold is created with a 3D drawing, then “grown” in the 3D printer. It comes out ready to cast its first part. In this sense, 3D printing the mold eliminates entirely the molding step as it is traditionally known.

Once you have your 3D printed mold, different materials can be cast in it – from very rigid, to soft and flexible.

Yet another technology tool for Model Makers to make use of, and for our customers to take advantage of.

FL Smidth Industrial Model

Industrial Model

This mobile stacking conveyor is part of a system of conveyors that is used in the mining industry to continuously stack mined material. To demonstrate the immense scale of this machine, FLSmidth commissioned a 1:75th scale industrial model for trade shows and client visits.

Industrial Model

This was our very first project involving a model that was made of 95% 3D printed material. Drawings were created in Inventor for days. The 3D printer grew parts. They were cleaned and sorted. The model was painstakingly pieced together. Brass etched railings were added, as well as a conveyor belt depicting material being moved up it. A pick up truck was added (slightly bigger than matchbox size) for scale.

Industrial Model

Industrial Model

Industrial Model

Industrial Model

Lately, our model makers have chosen to pack our most delicate scale models in a custom-made foam and cardboard enclosure, before placing it in yet another layer of foam that lines the Pelican cases we often use.

packing a scale model

packing a scale model

packing a scale model

packing a scale model

Intricate Build of Manifold Trailer Industrial Model

This industrial model of a Manifold Trailer for Forum Energy Technologies involved extensive use of our 3D printer. The result was stunning detail, accuracy, and with the addition of brass structure, great strength.

KiwiMill model makers were very pleased with this attempt to create a model primarily of 3D printed parts that were then assembled into the finished product.


T

Creating Wooded Areas on a Site Model

landscape model

Ever wonder how to make wooded areas on a small-scale site model? After much experimentation over the years, KiwiMill settled on a method that captures the essence of this particular landscape. Interestingly, it does not involve planting hundreds of individual model trees close together. No matter how tightly placed the trees, this method still lets in too much light – not realistic looking for a densely wooded area.

flock

Instead, industrial filters – the kind used in air conditioning units – form the base for the wooded areas. These filters are then hand-sculpted by the model makers. Depending on the over-all scale of the model, these sculpted pieces are layered on top of each other. Three layers of 1/2 inch thick filters represent 60 ft  high trees accurately.

landscape model

site model landscape

The layers are painted all over the surfaces with glue and flocked with various natural shades of green, brown and yellow. When placed on a site model they represent small-scale wooded areas with depth and lushness.

site model landscape

site model landscape

Scale Model Donation for Habitat for Humanity

KiwiMill recently provided a scale model donation for Flower City Habitat for Humanity’s 2012 Roc Properties fundraising event.  We chose to support this worthy cause based on its motto, “a hand up, not a hand out.”

With donations of time, money and skills, homes are built in neighborhoods in need of rehabilitation. New home owners are asked to put 450 hours of sweat equity into the builds, and offered interest-free mortgages to purchase these houses in return.

By clustering these house builds in specific neighborhoods, the surrounding community benefits as well as the individual home owners. It has a rippling effect, and the City of Rochester becomes a better place to live and prosper in.

The event we sponsored is an annual Flower City Habitat fundraiser to share the mission of, and raise money for, the house building program. In addition to financial sponsorship, we were pleased to design, build and donate decorative scale models for the themed event, along with symbolic “keys” used to open prize chests.

Four City of Rochester icons were chosen for the scale model donation: The Chase Tower, the Times Square Building, the George Eastman House and the Frederick Douglass Susan B. Anthony Memorial Bridge. A total of 22 models were created for the evening’s event which took place at Artisan Works, on March 30, 2012.


Architectural Model Helps Preserve a Bit of History

architectural model

Back in the 1980’s, our model makers  were looking for an architectural model project to add to their portfolio, as well as a marketing tool. They looked around the community for an historic, architecturally elegant building that could be made into an impressive scale model.

The Landmark Society of Western NY gave a list of ten buildings it wanted to see immortalized in an architectural model. The Hoyt-Potter House in Cornhill was one of the top suggestions. Originally built in 1840 for the Hoyt family, then sold to the Potter’s of Western Union notoriety, this Greek Revival had fallen into deep disrepair over the years. The current owner wanted to mow over what was left of the foundation and build a parking lot in its place, but the City would not allow it.

Model Maker Scott Andrews studied the only known photograph of the house, visited the site and researched additional information on the house. From his research and measurements, an architectural model was constructed in 4 -6 weeks. It was presented to the Landmark Society for their temporary use and professional pictures were taken of it. The community began to take notice of this piece of Rochester history. The model itself generated interest, as well as the B&W photographs of the model which fooled many people into thinking they were looking at the real thing back in its heyday.

Developer Ben Kendig took note of the model photographs and became interested in the rehabilitation of the dilapidated house. The city did as well, and took possession of the home and sold the house to Ben for a dollar. Mr. Kendig turned to our model makers to find out where the building  plans were as they were needed for his architect. He was a bit surprised to find out that the model makers had gone off of one photograph and their own measurements. There were no plans!

Our model makers were then hired to go back to the site and take additional measurements of what was left of the original structure to assist in the rennovations. After taking these measurements and doing further research they drew up trim drawings and other architectural details that were used by the architects in the redesign.

The Landmark Society sent photos to Albany of the rebuilt house and won a grant to buy the property from Ben Kendig. The Hoyt-Potter House is now the permanent home of the Landmark Society of Western NY.

Is a 3D Printer Like Having an Extra Model Maker?

3D printer for model making shop

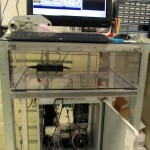
The model maker team here at KiwiMill is definitely pleased with the addition of our newest Objet 3D printer. While we jokingly refer to it as our extra employee – it is quite a miraculous technology – it’s worth noting the support systems needed to make it run, as well as its inherent limitations.

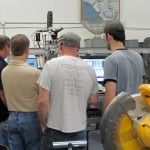
First comes the training necessary to operate, clean and maintain the printer itself. An initial inservice with the sales tech after purchase is a good starting point. Ongoing tech support provided by the manufacturer keeps things running smoothly in the long-term.

Material to run the 3D printer is a regular investment as well. The resin itself  is expensive, and to a lesser degree, the support material used to print each item. The resin is the actual plastic that a part is made out of, the support material is what fills in the empty spaces in the design as it prints layer by layer on the tray.

The human labor involved in 3D printing is perhaps the most interesting aspect of this particular fabrication technique. Three dimensional printers can give the impression that they take the place of  a model maker. After all, they are touted as machines capable of  growing parts overnight, sometimes even whole models. How true is this exactly?

Traditionally model makers have sat at work benches, or run machinery, cutting, carving and shaping materials to the specifications needed for a model part. This method is considered subtractive – the model maker must extract from a whole piece of material the parts necessary to assemble the model. This certainly takes time and a considerable amount of skill, rightfully earning the model maker’s status of master crafts person.

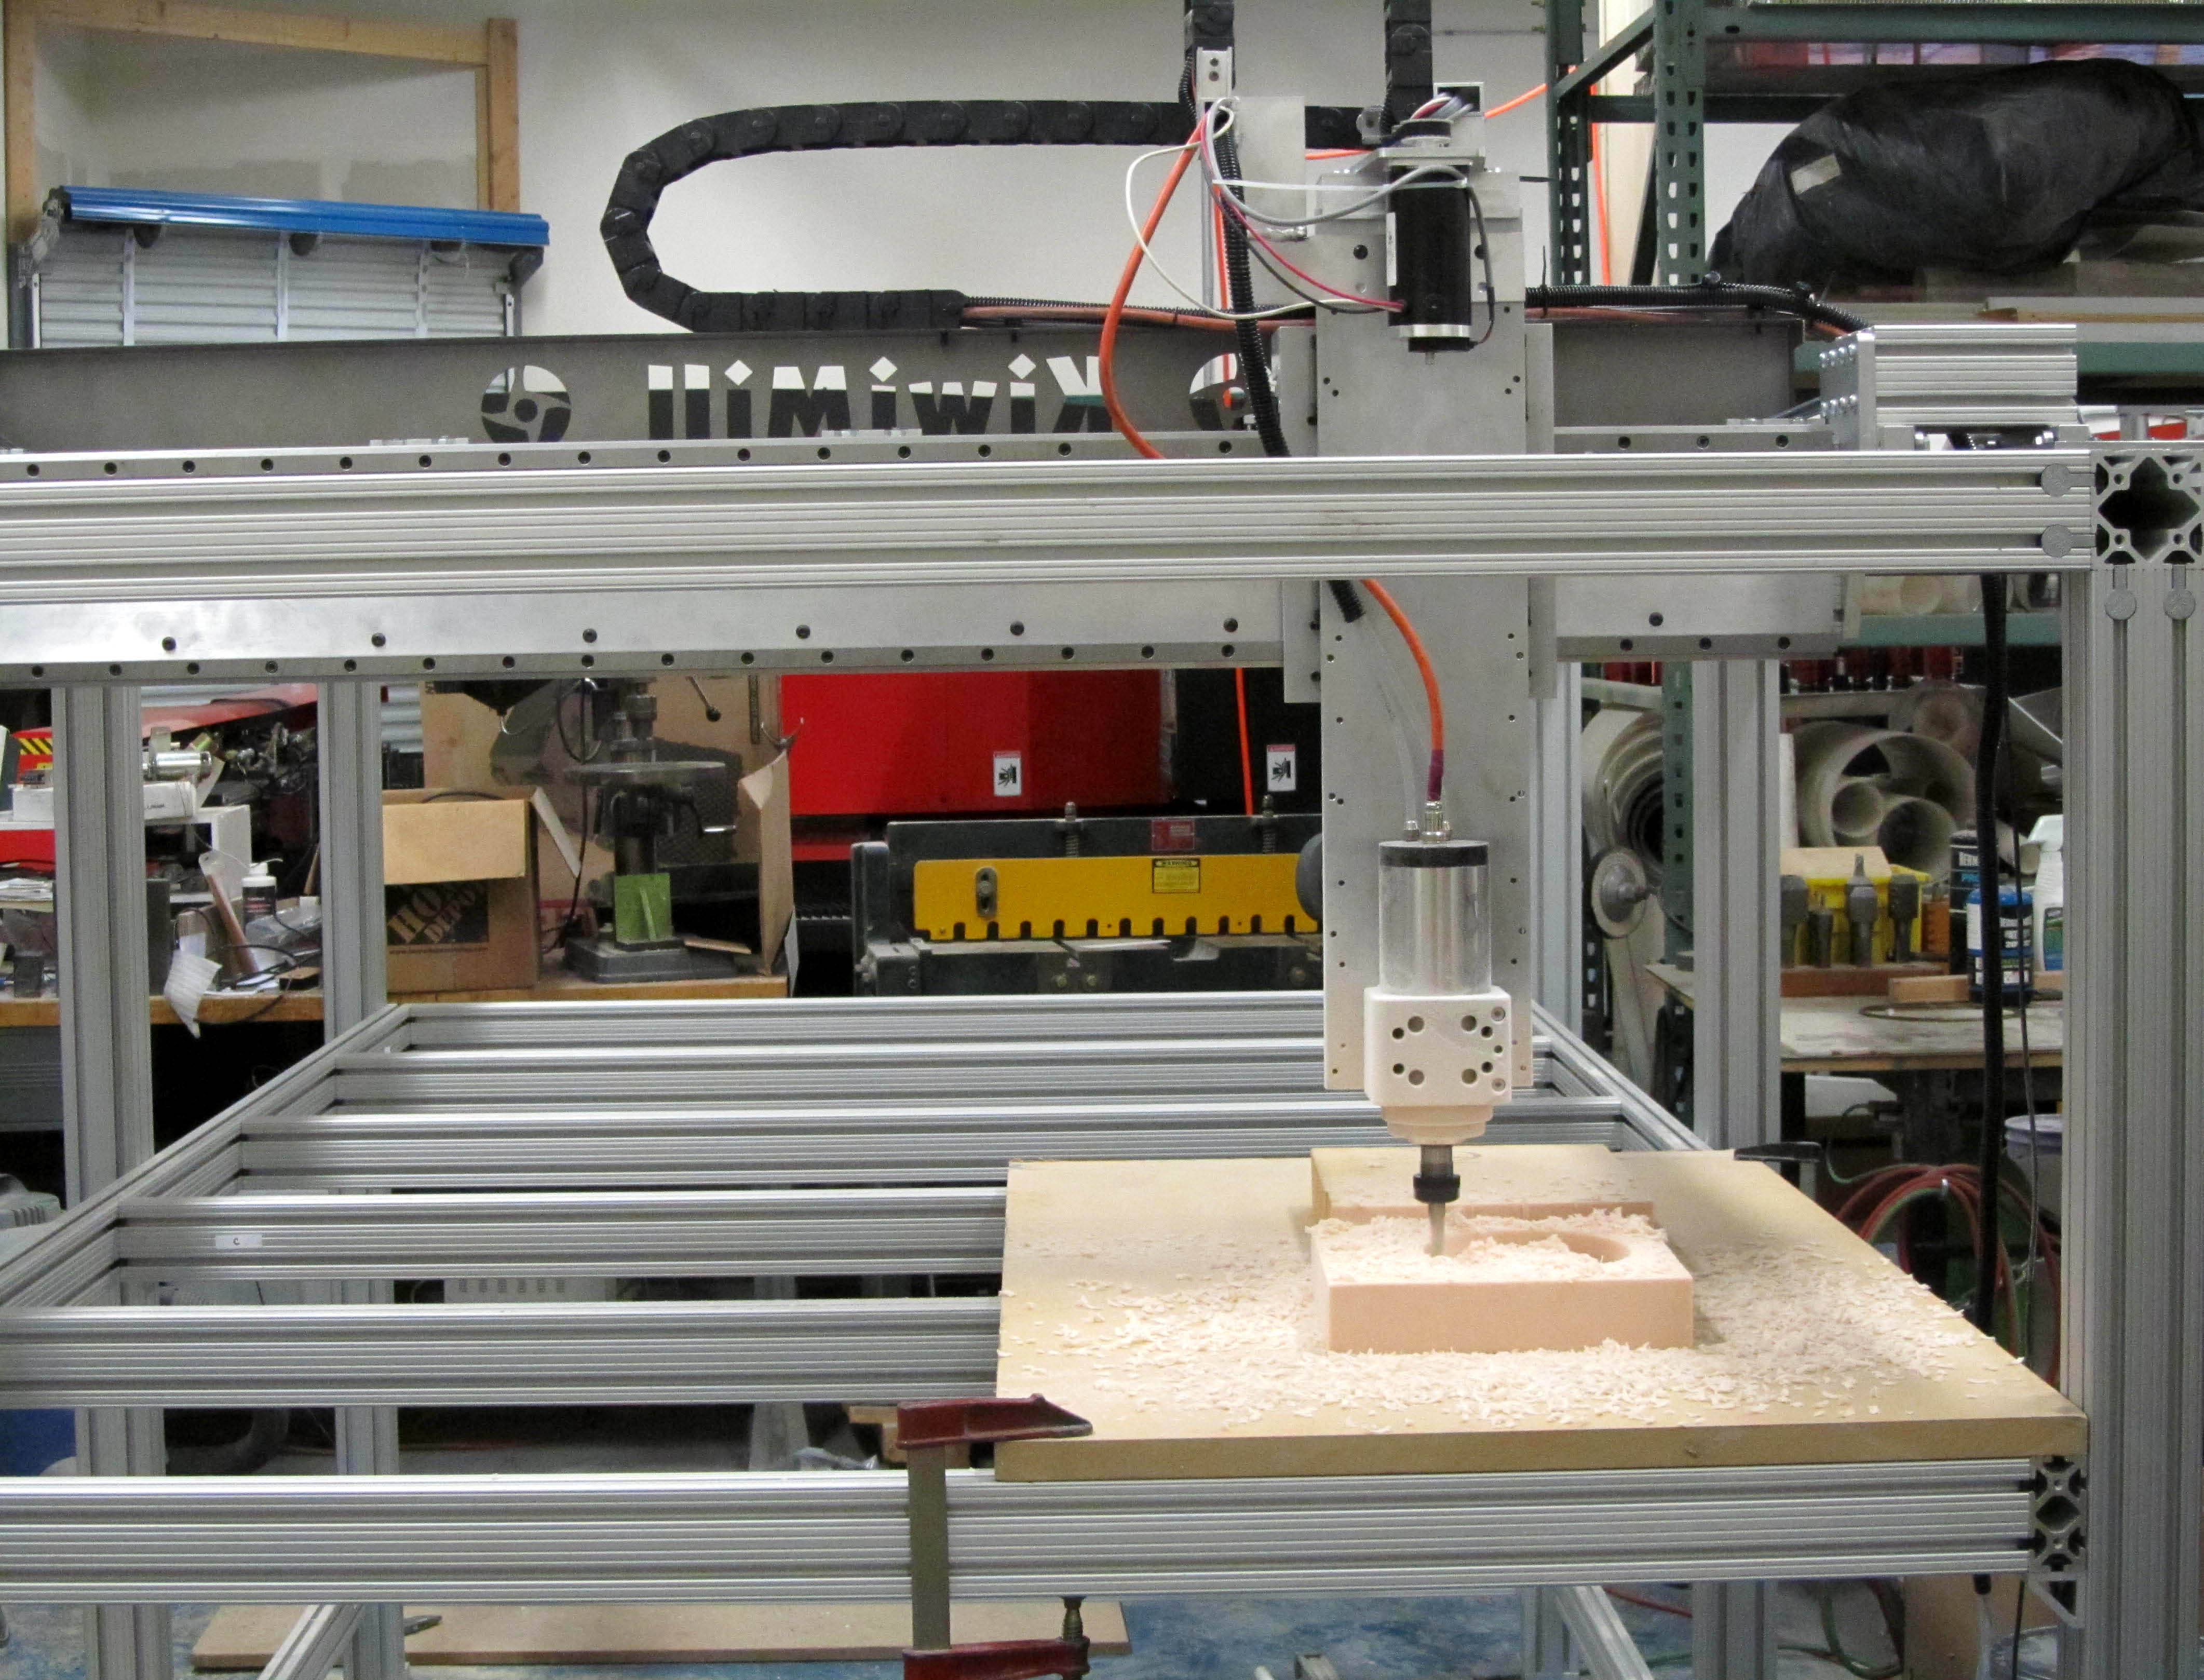
Innovations in the field of model making have introduced automated machines that will do the extracting for you. CNC (computer numerical control) machines guide a router, lathe or mill to carve out parts automatically. Three dimensional drawings have been programmed into the machine by a computer, to provide coordinates for the subtracting device. X and Y coordinates guide the machine back and forth and the Z coordinate tells the machine what up and down motions to make, thus creating a 3 dimensional part.

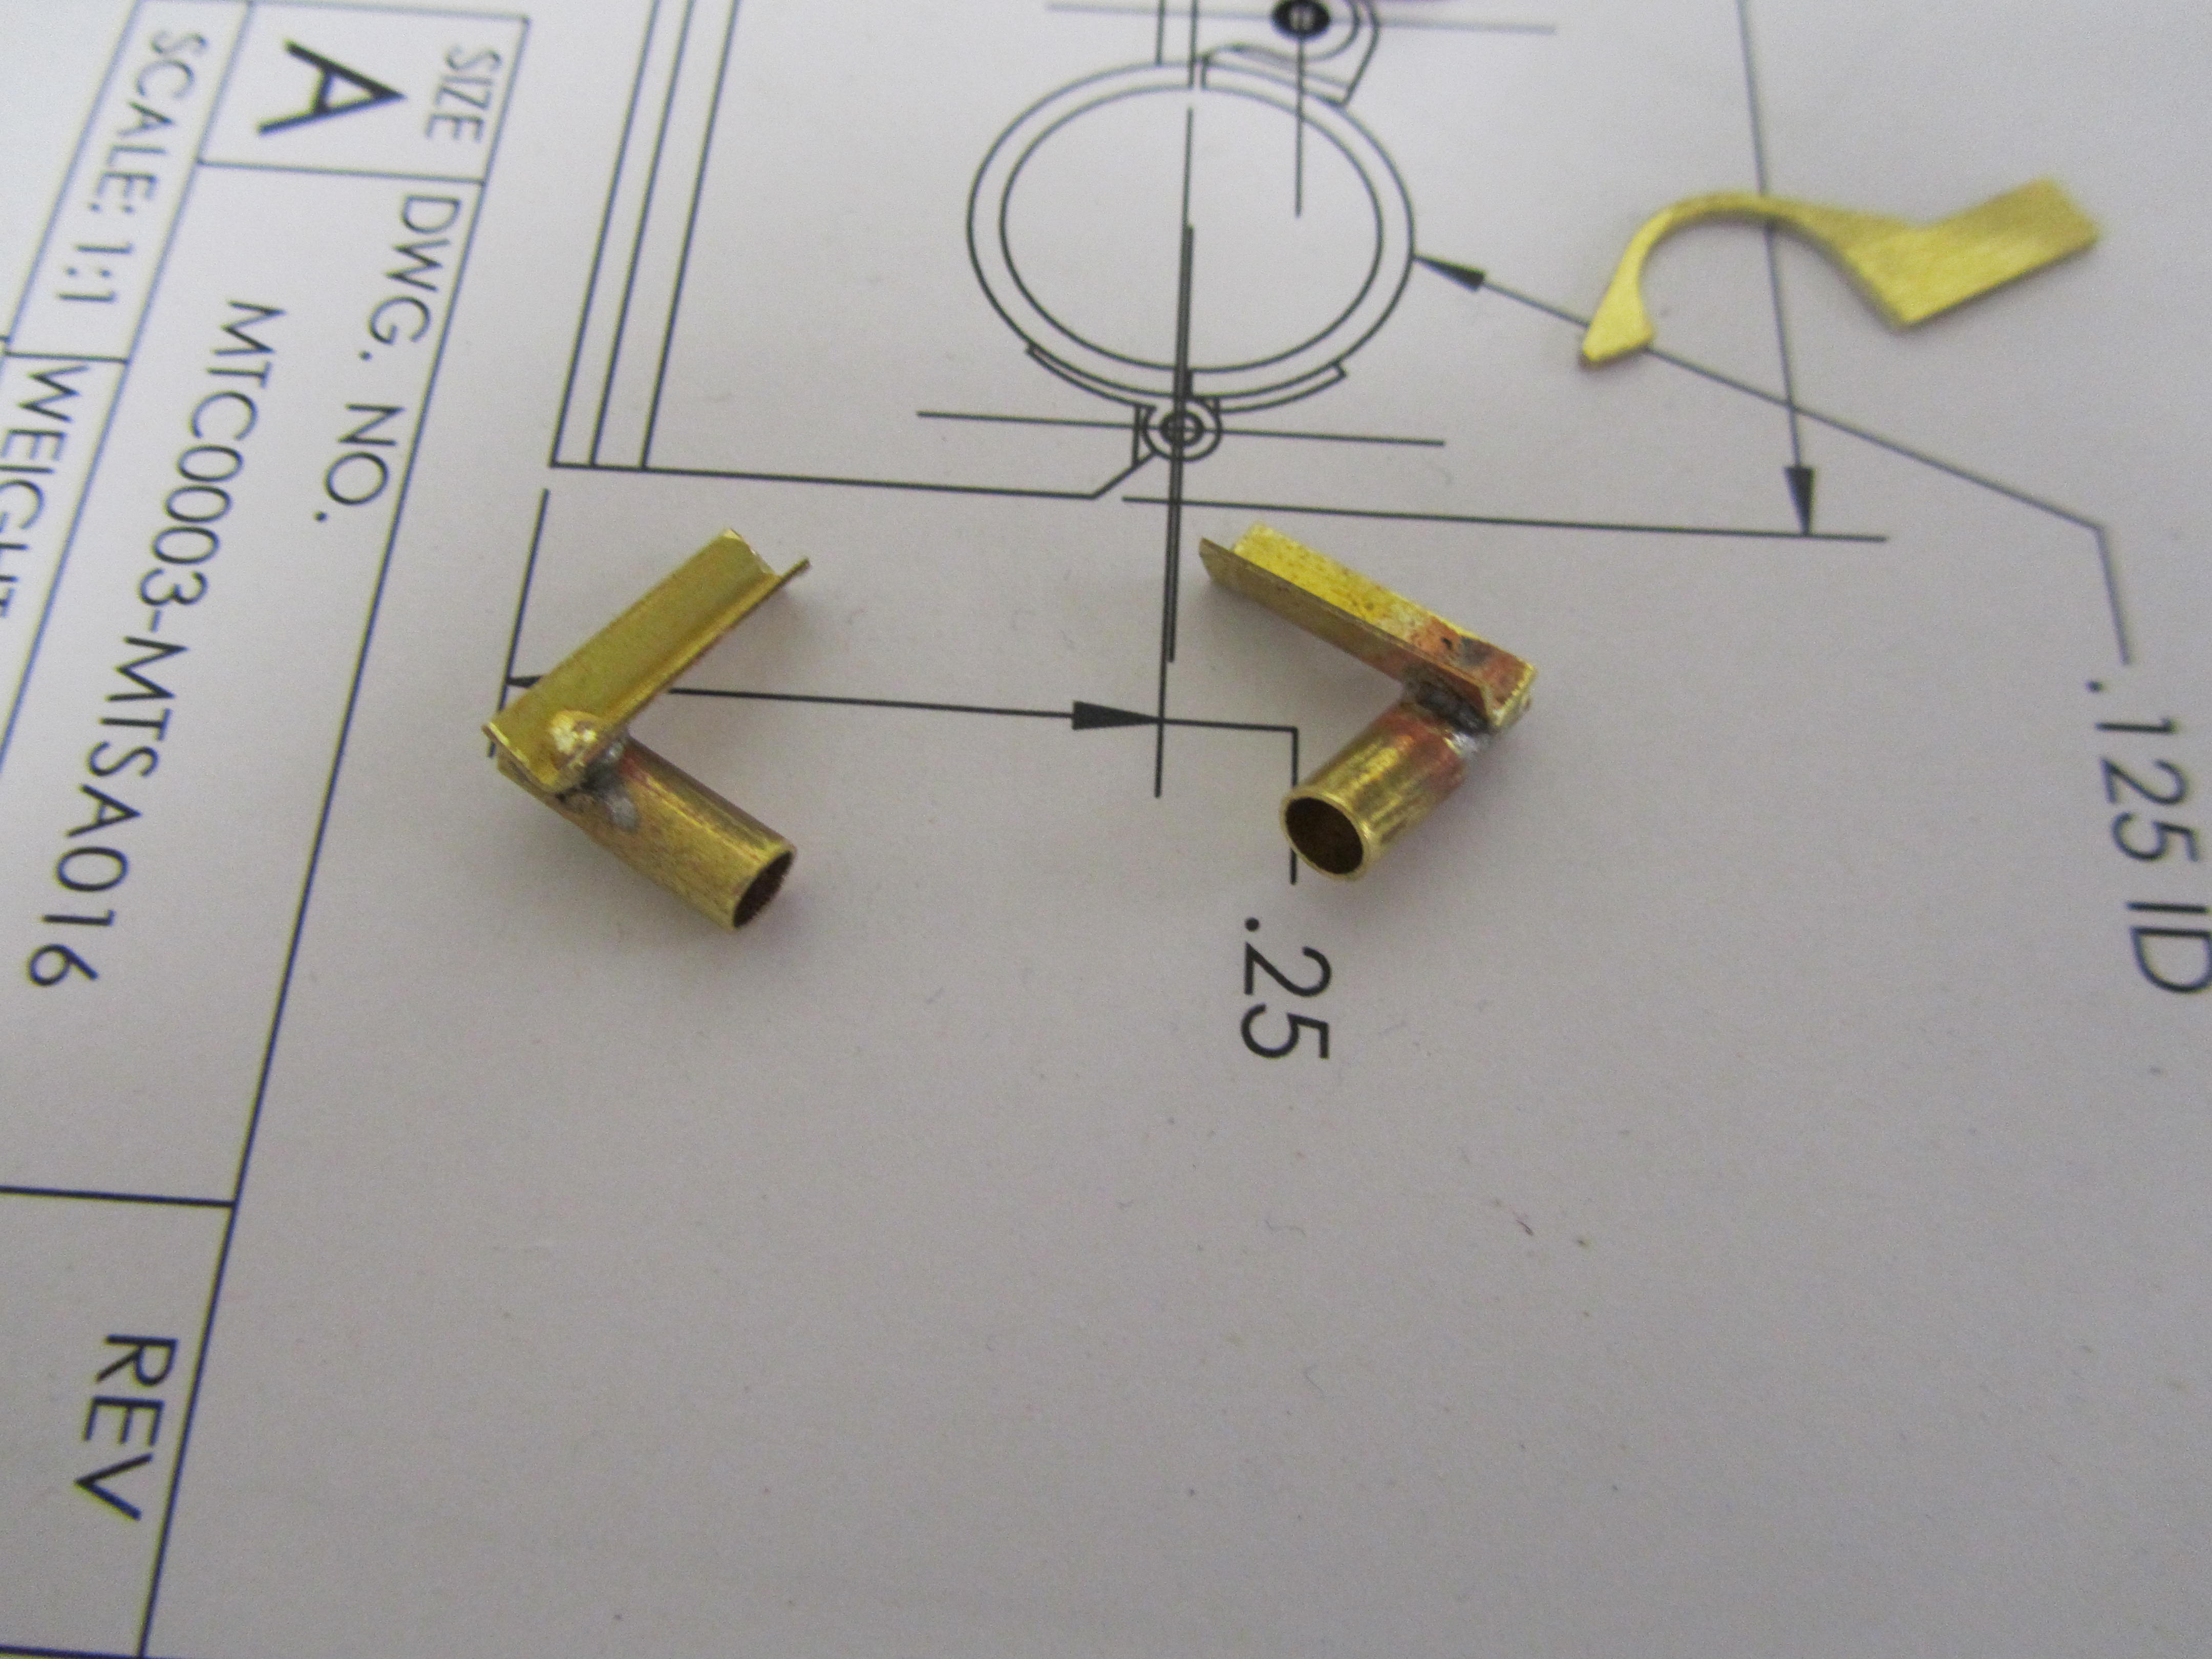
The 3D printer works a bit differently;  it takes a 3D drawing and prints it out in 2D layers. What the model maker must first do is take a CAD engineered drawing from the client and make it “water tight”. This means that all lines in the drawing need to be connected, or closed off. If only a 2D drawing is available, the mode maker must be able to draw it up in 3D. If only the original object exists, with no drawing, it can be scanned and made into a 3D drawing.

3D drawing scale model part3D printed part for scale model

Why does the printer need a 3D drawings when ultimately it will be printing it in 2D? How the 3D printer works is that it takes a 3D drawing from any drafting program and slices it into 2D cross-sections, printing each slice out, layer by layer and stacking them up into a three-dimensional object. The unique aspect of this method is that it is additive, not subtractive. The part is built up out of nothing, not extracted from an existing piece of material.

3D printed scale model part

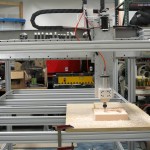
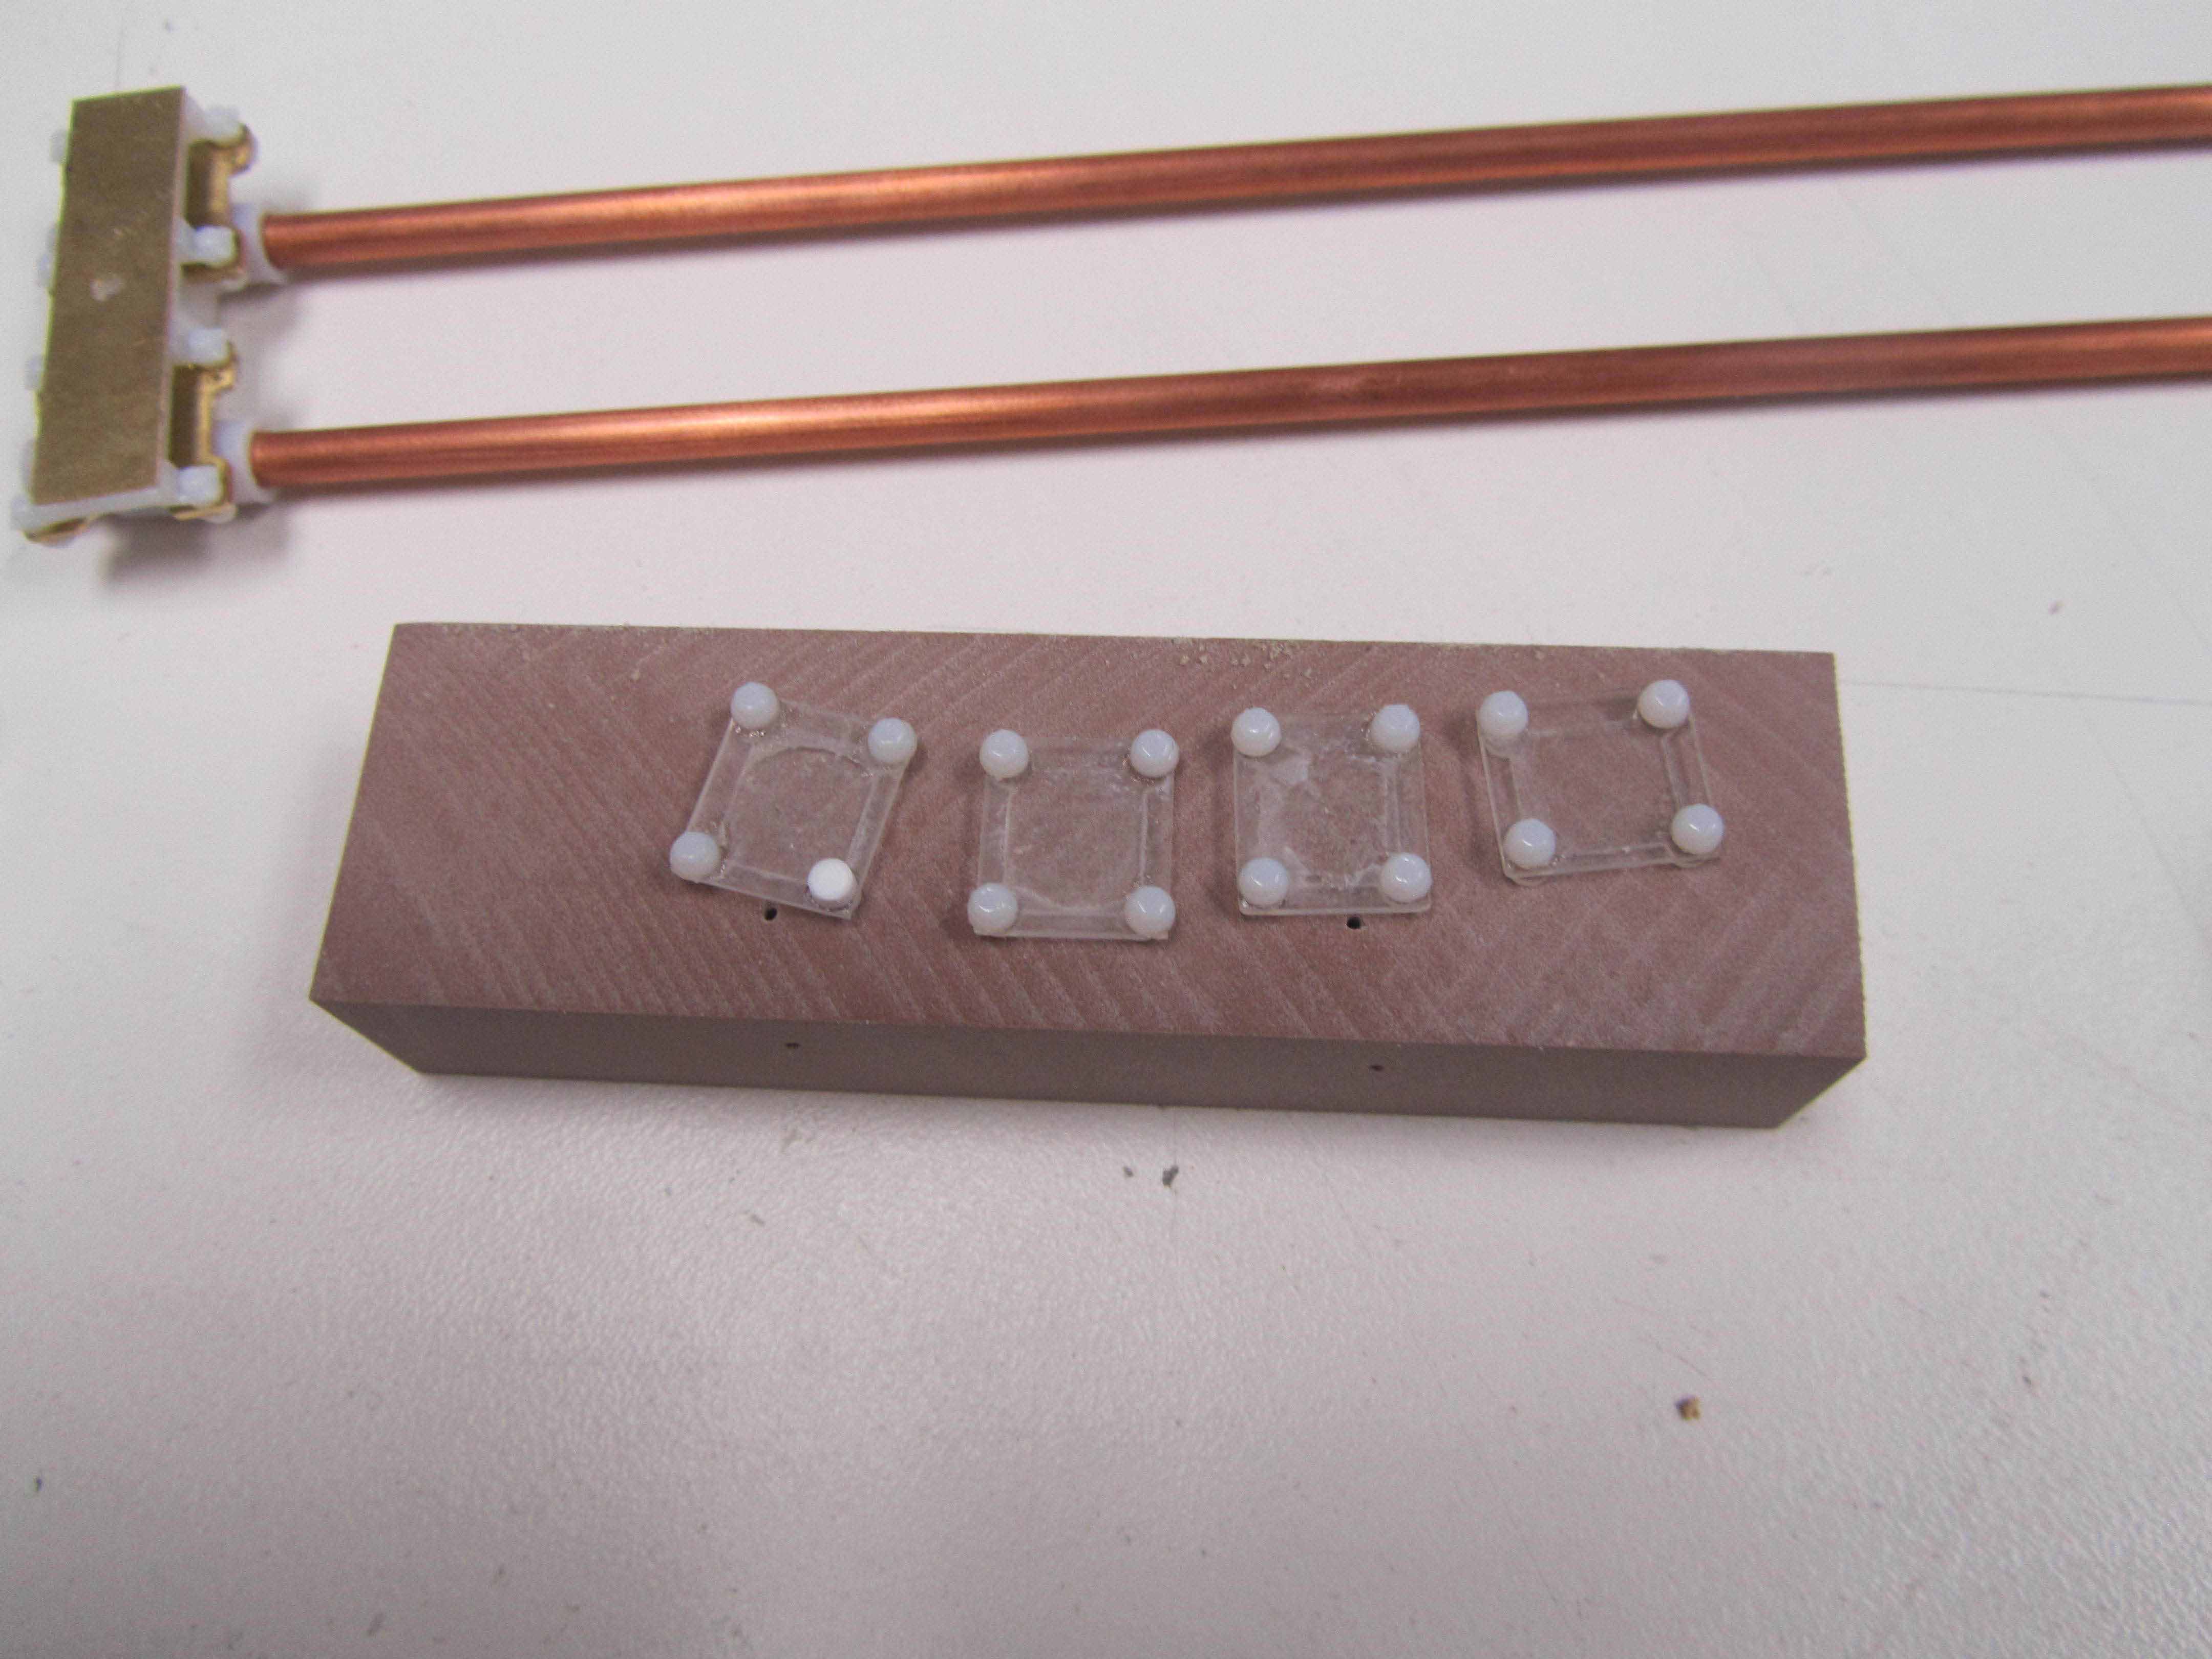
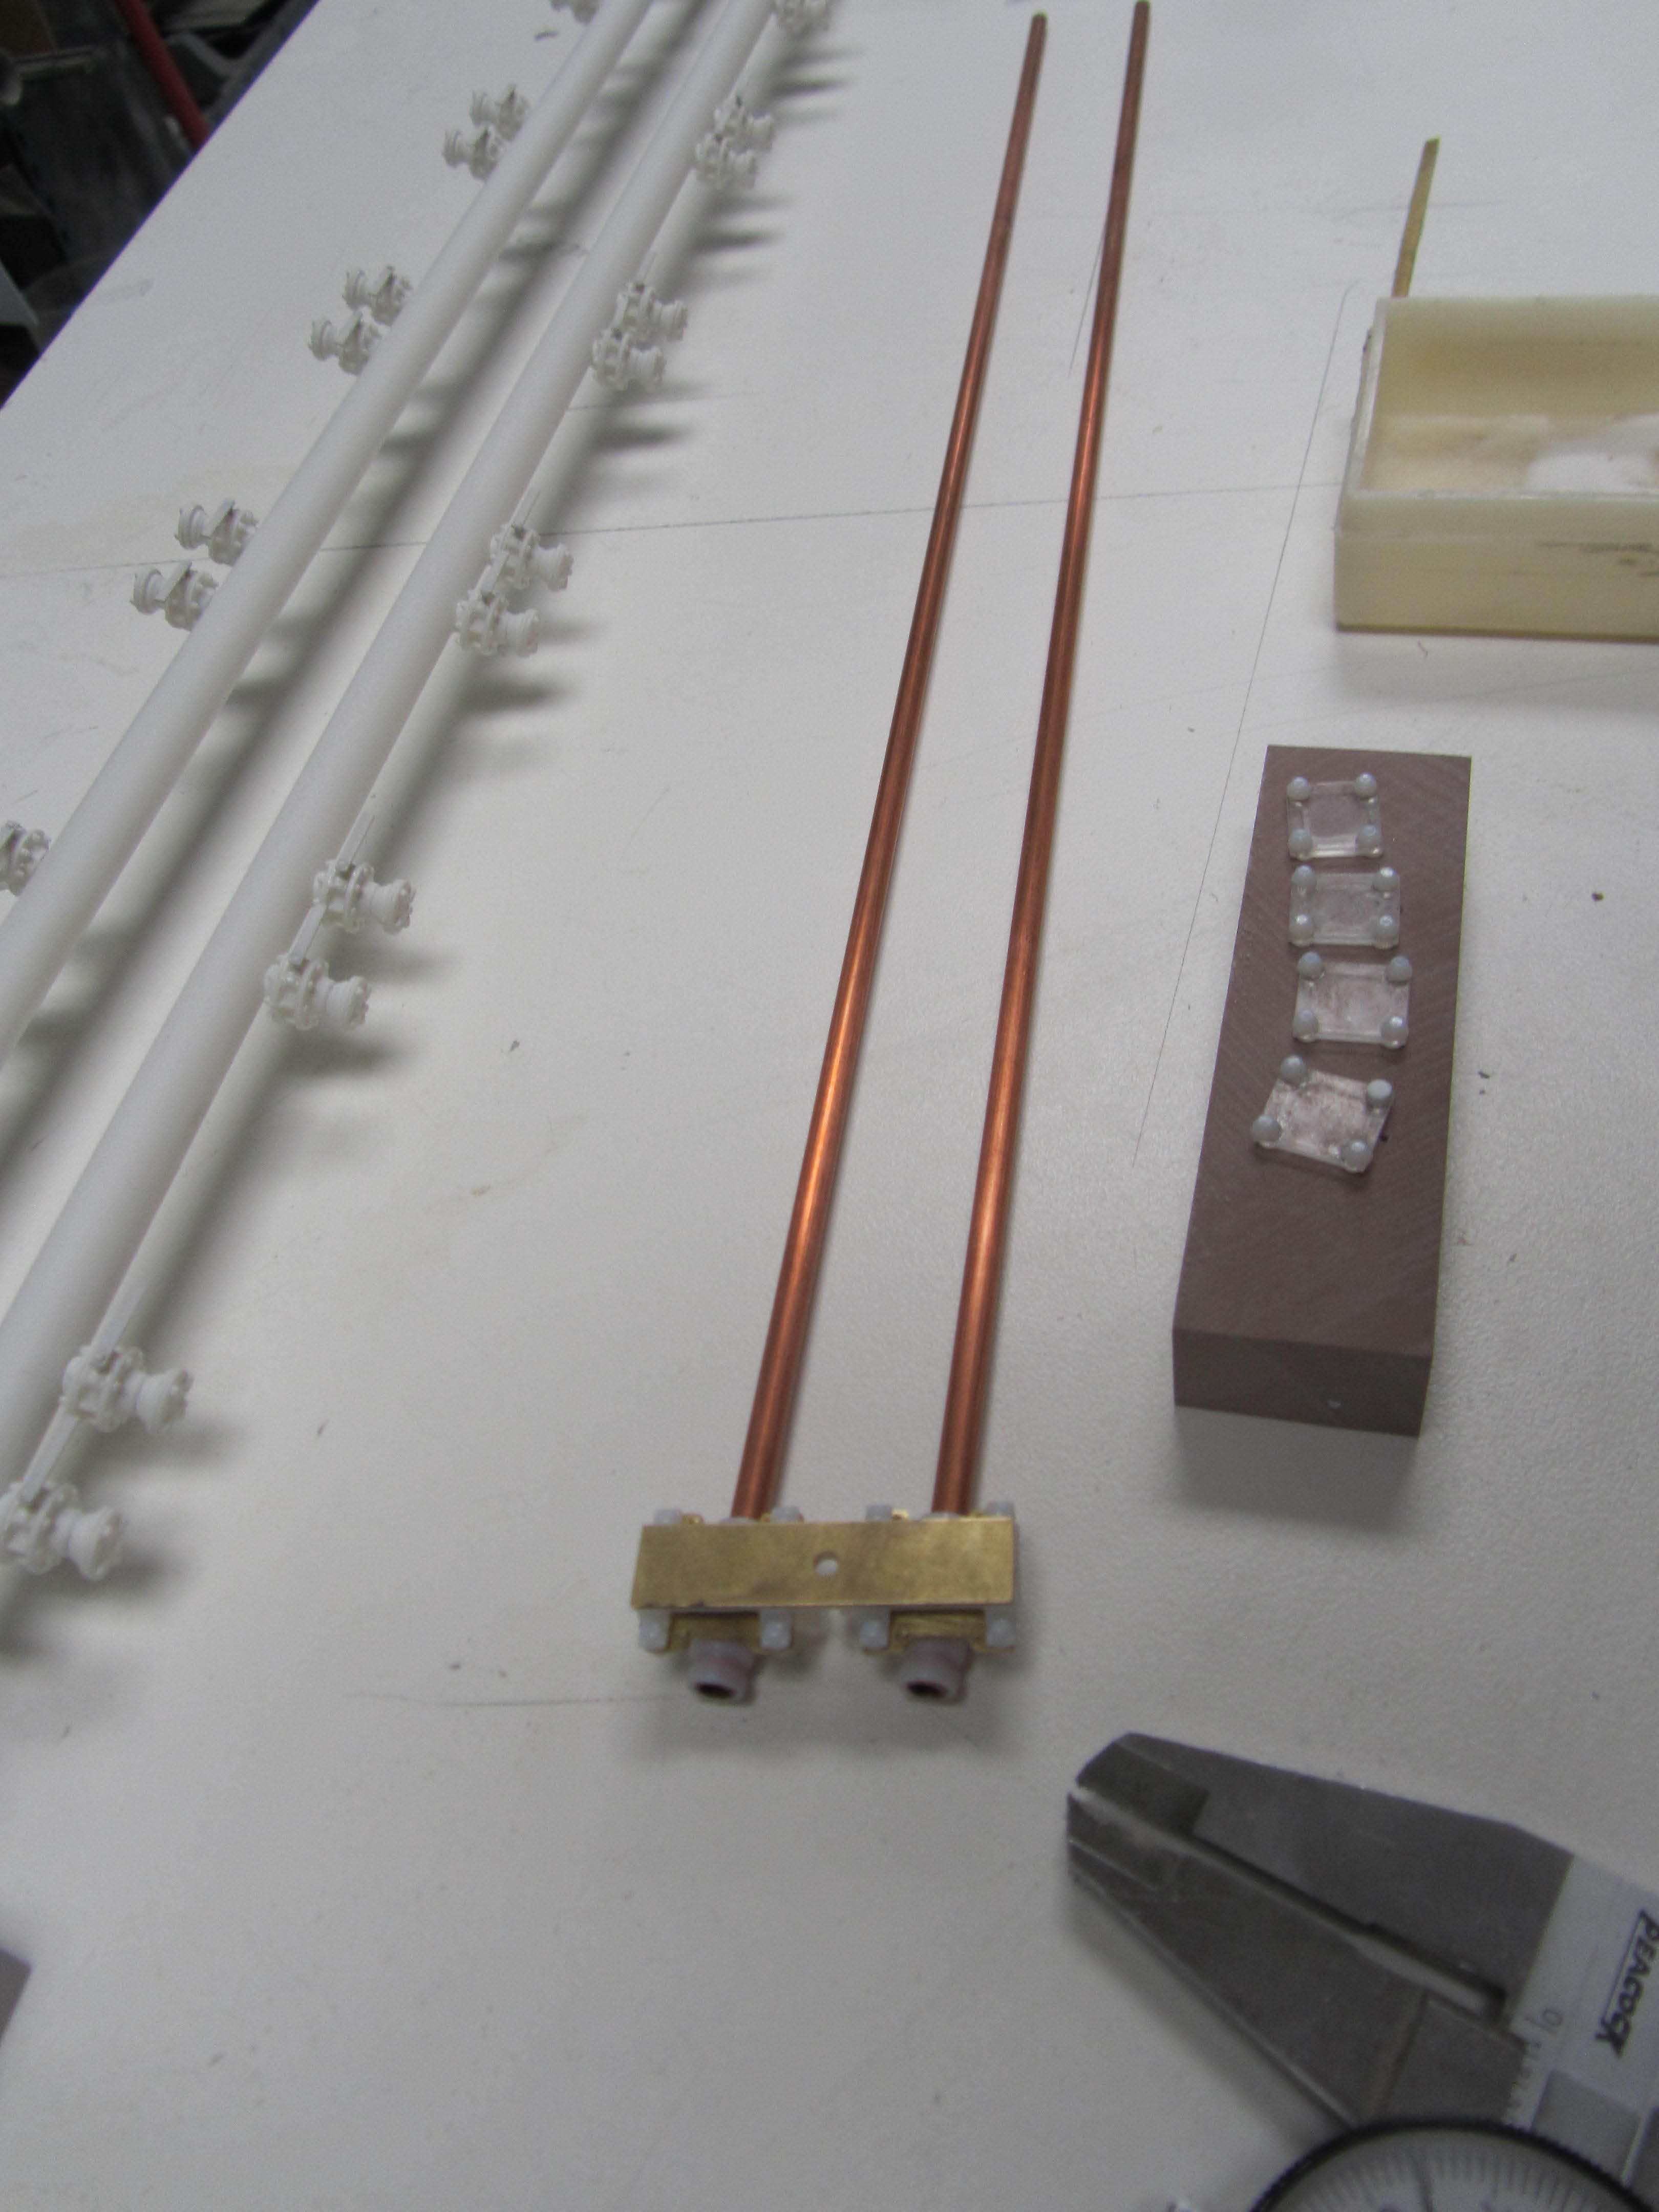
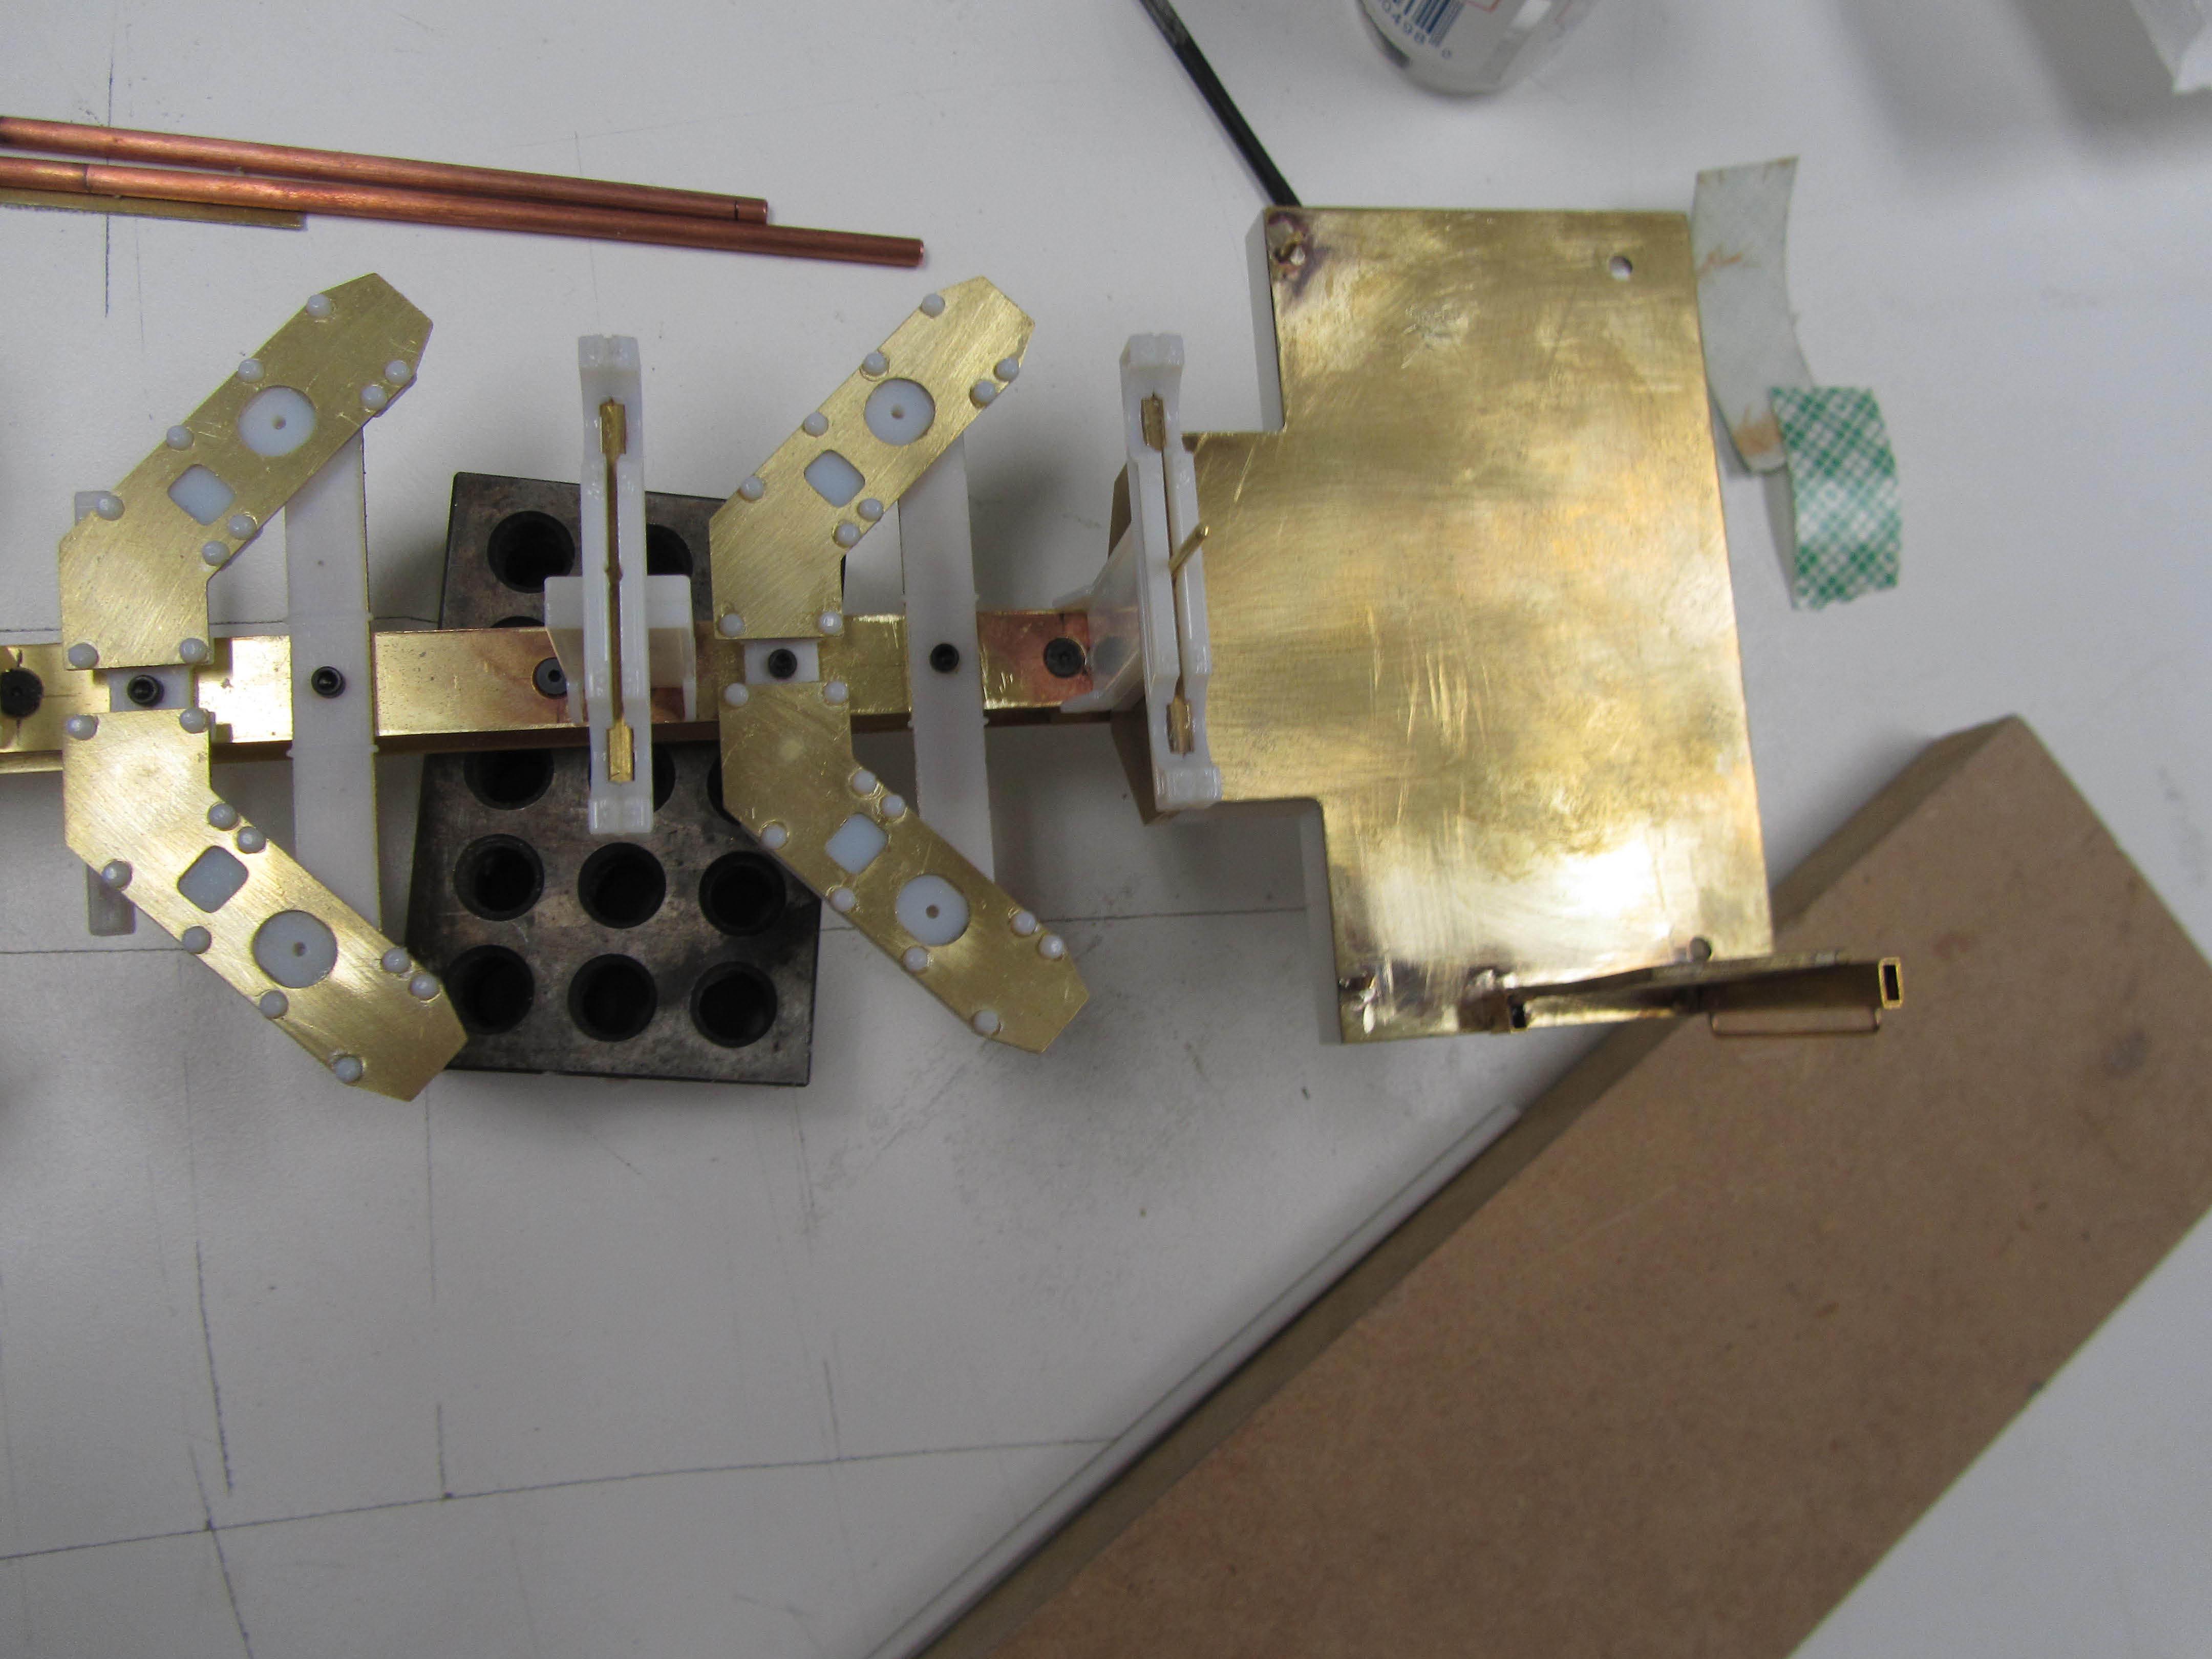
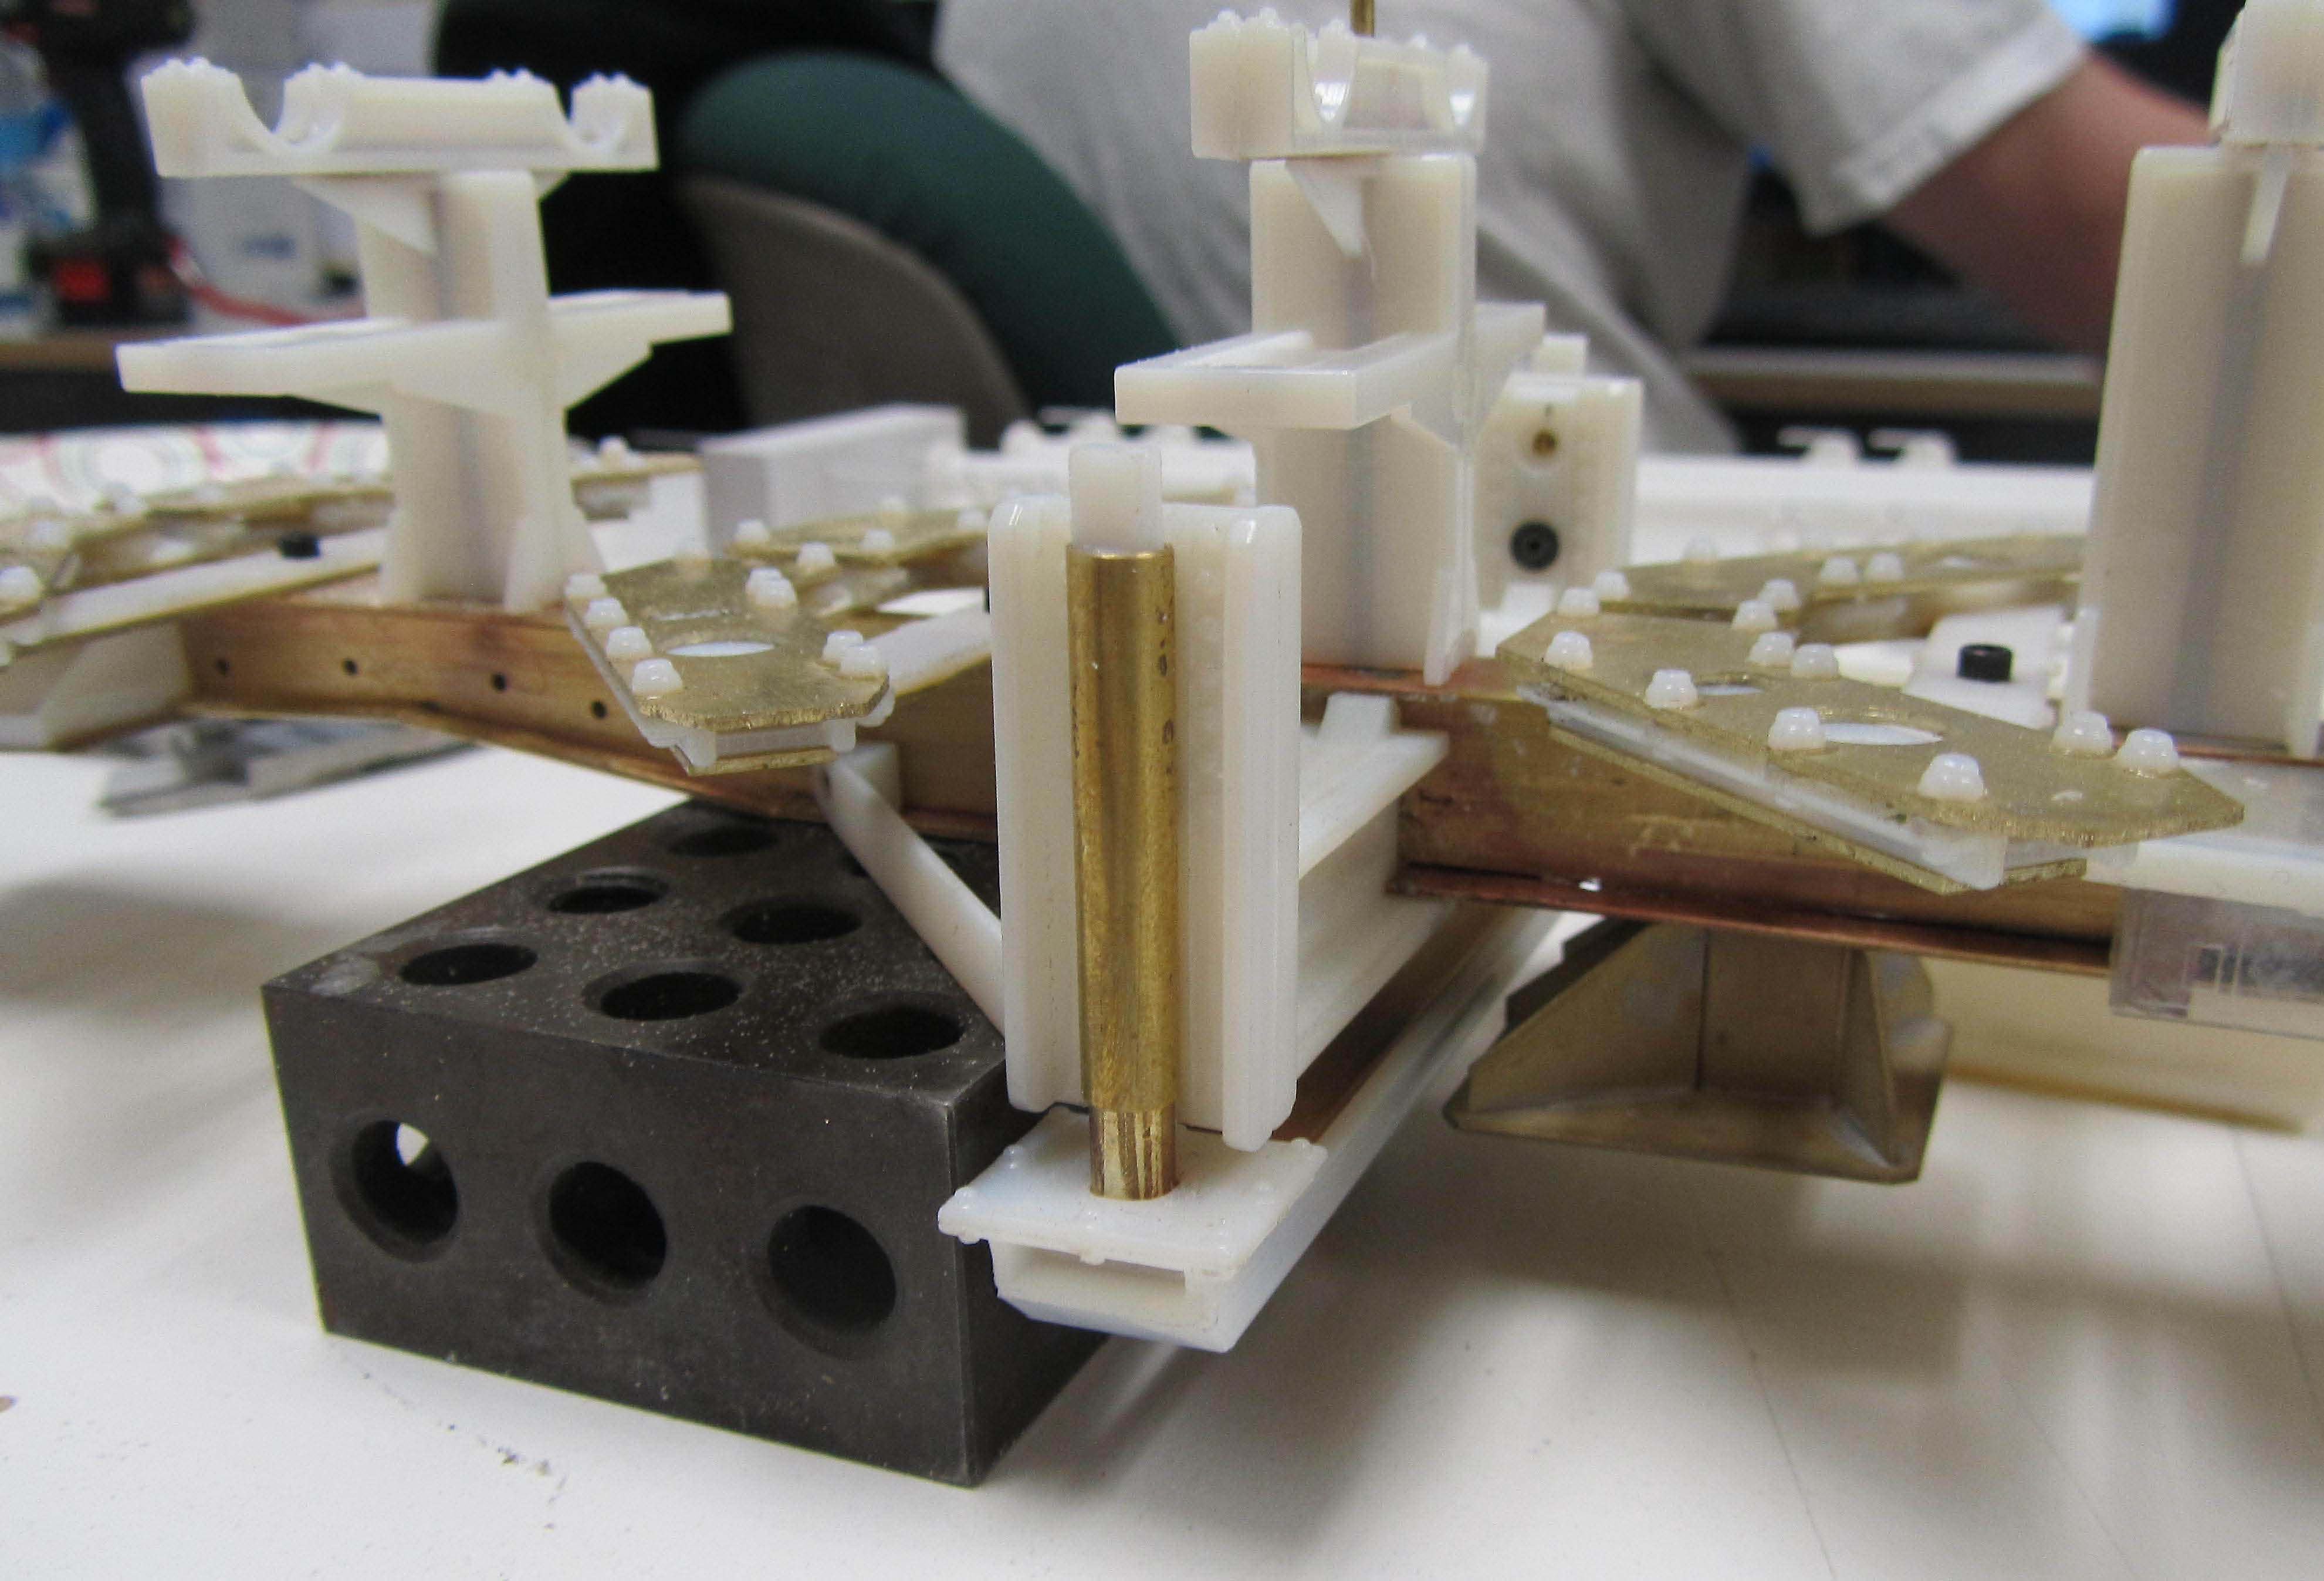
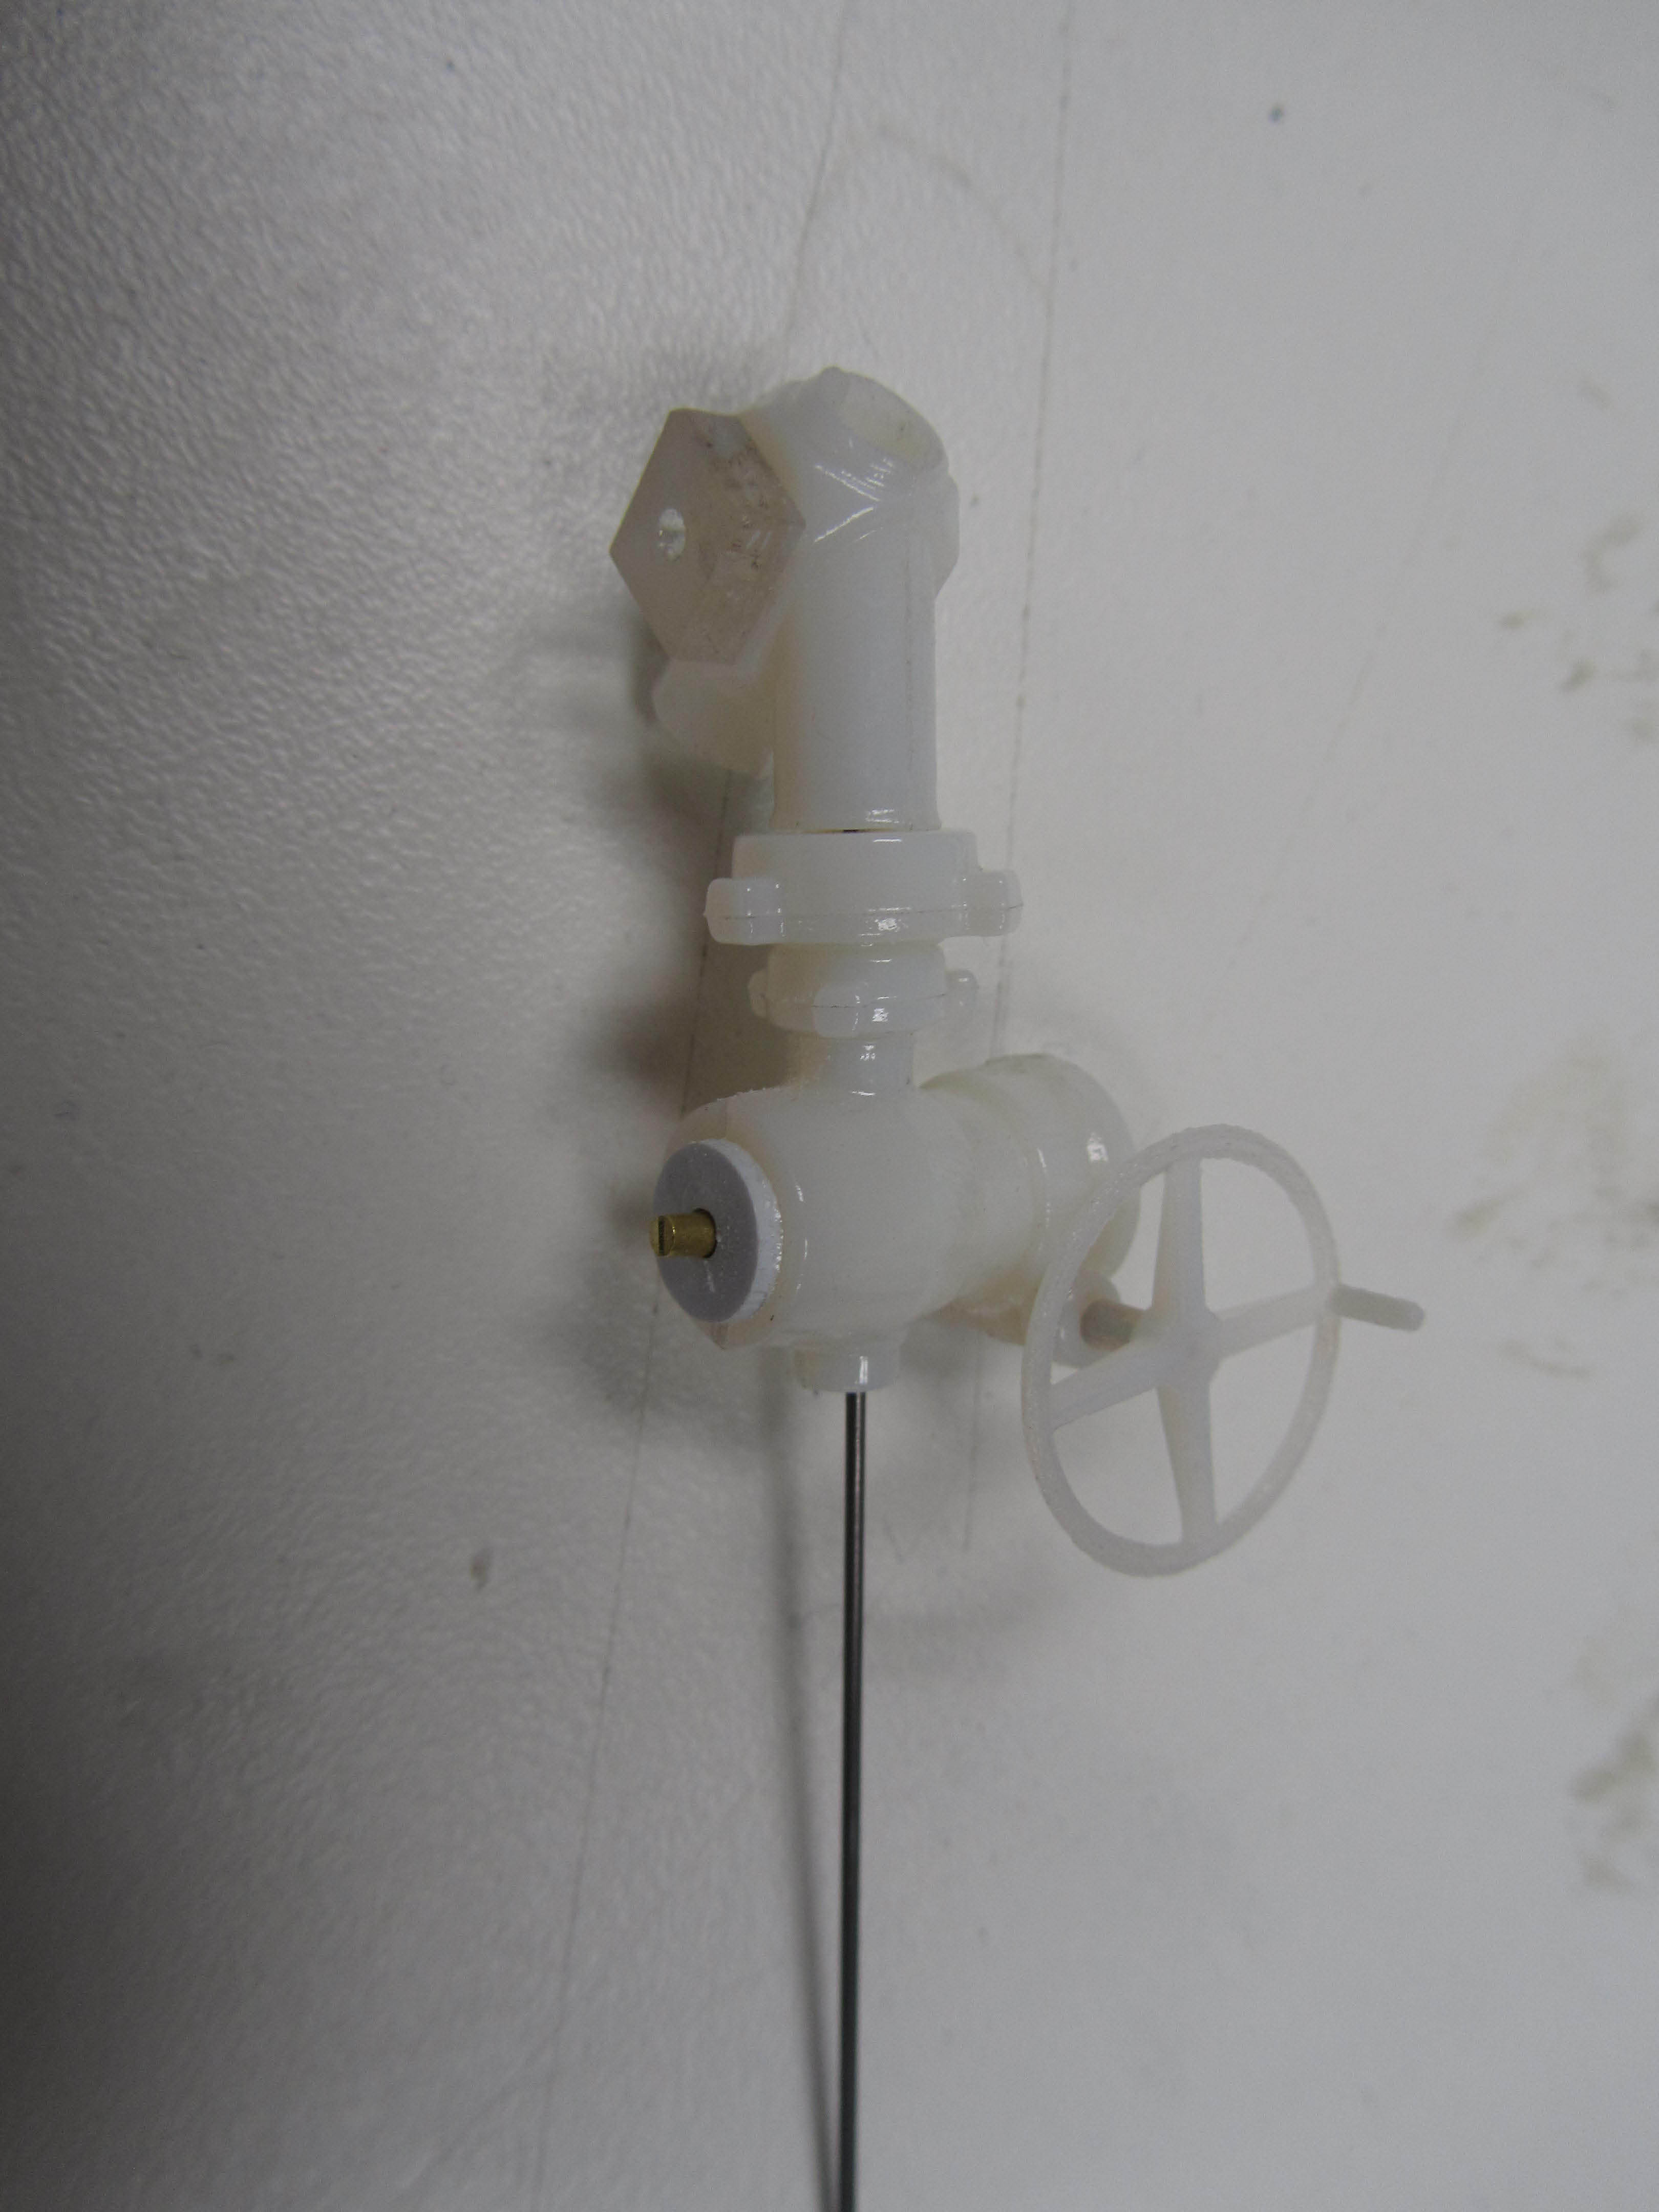
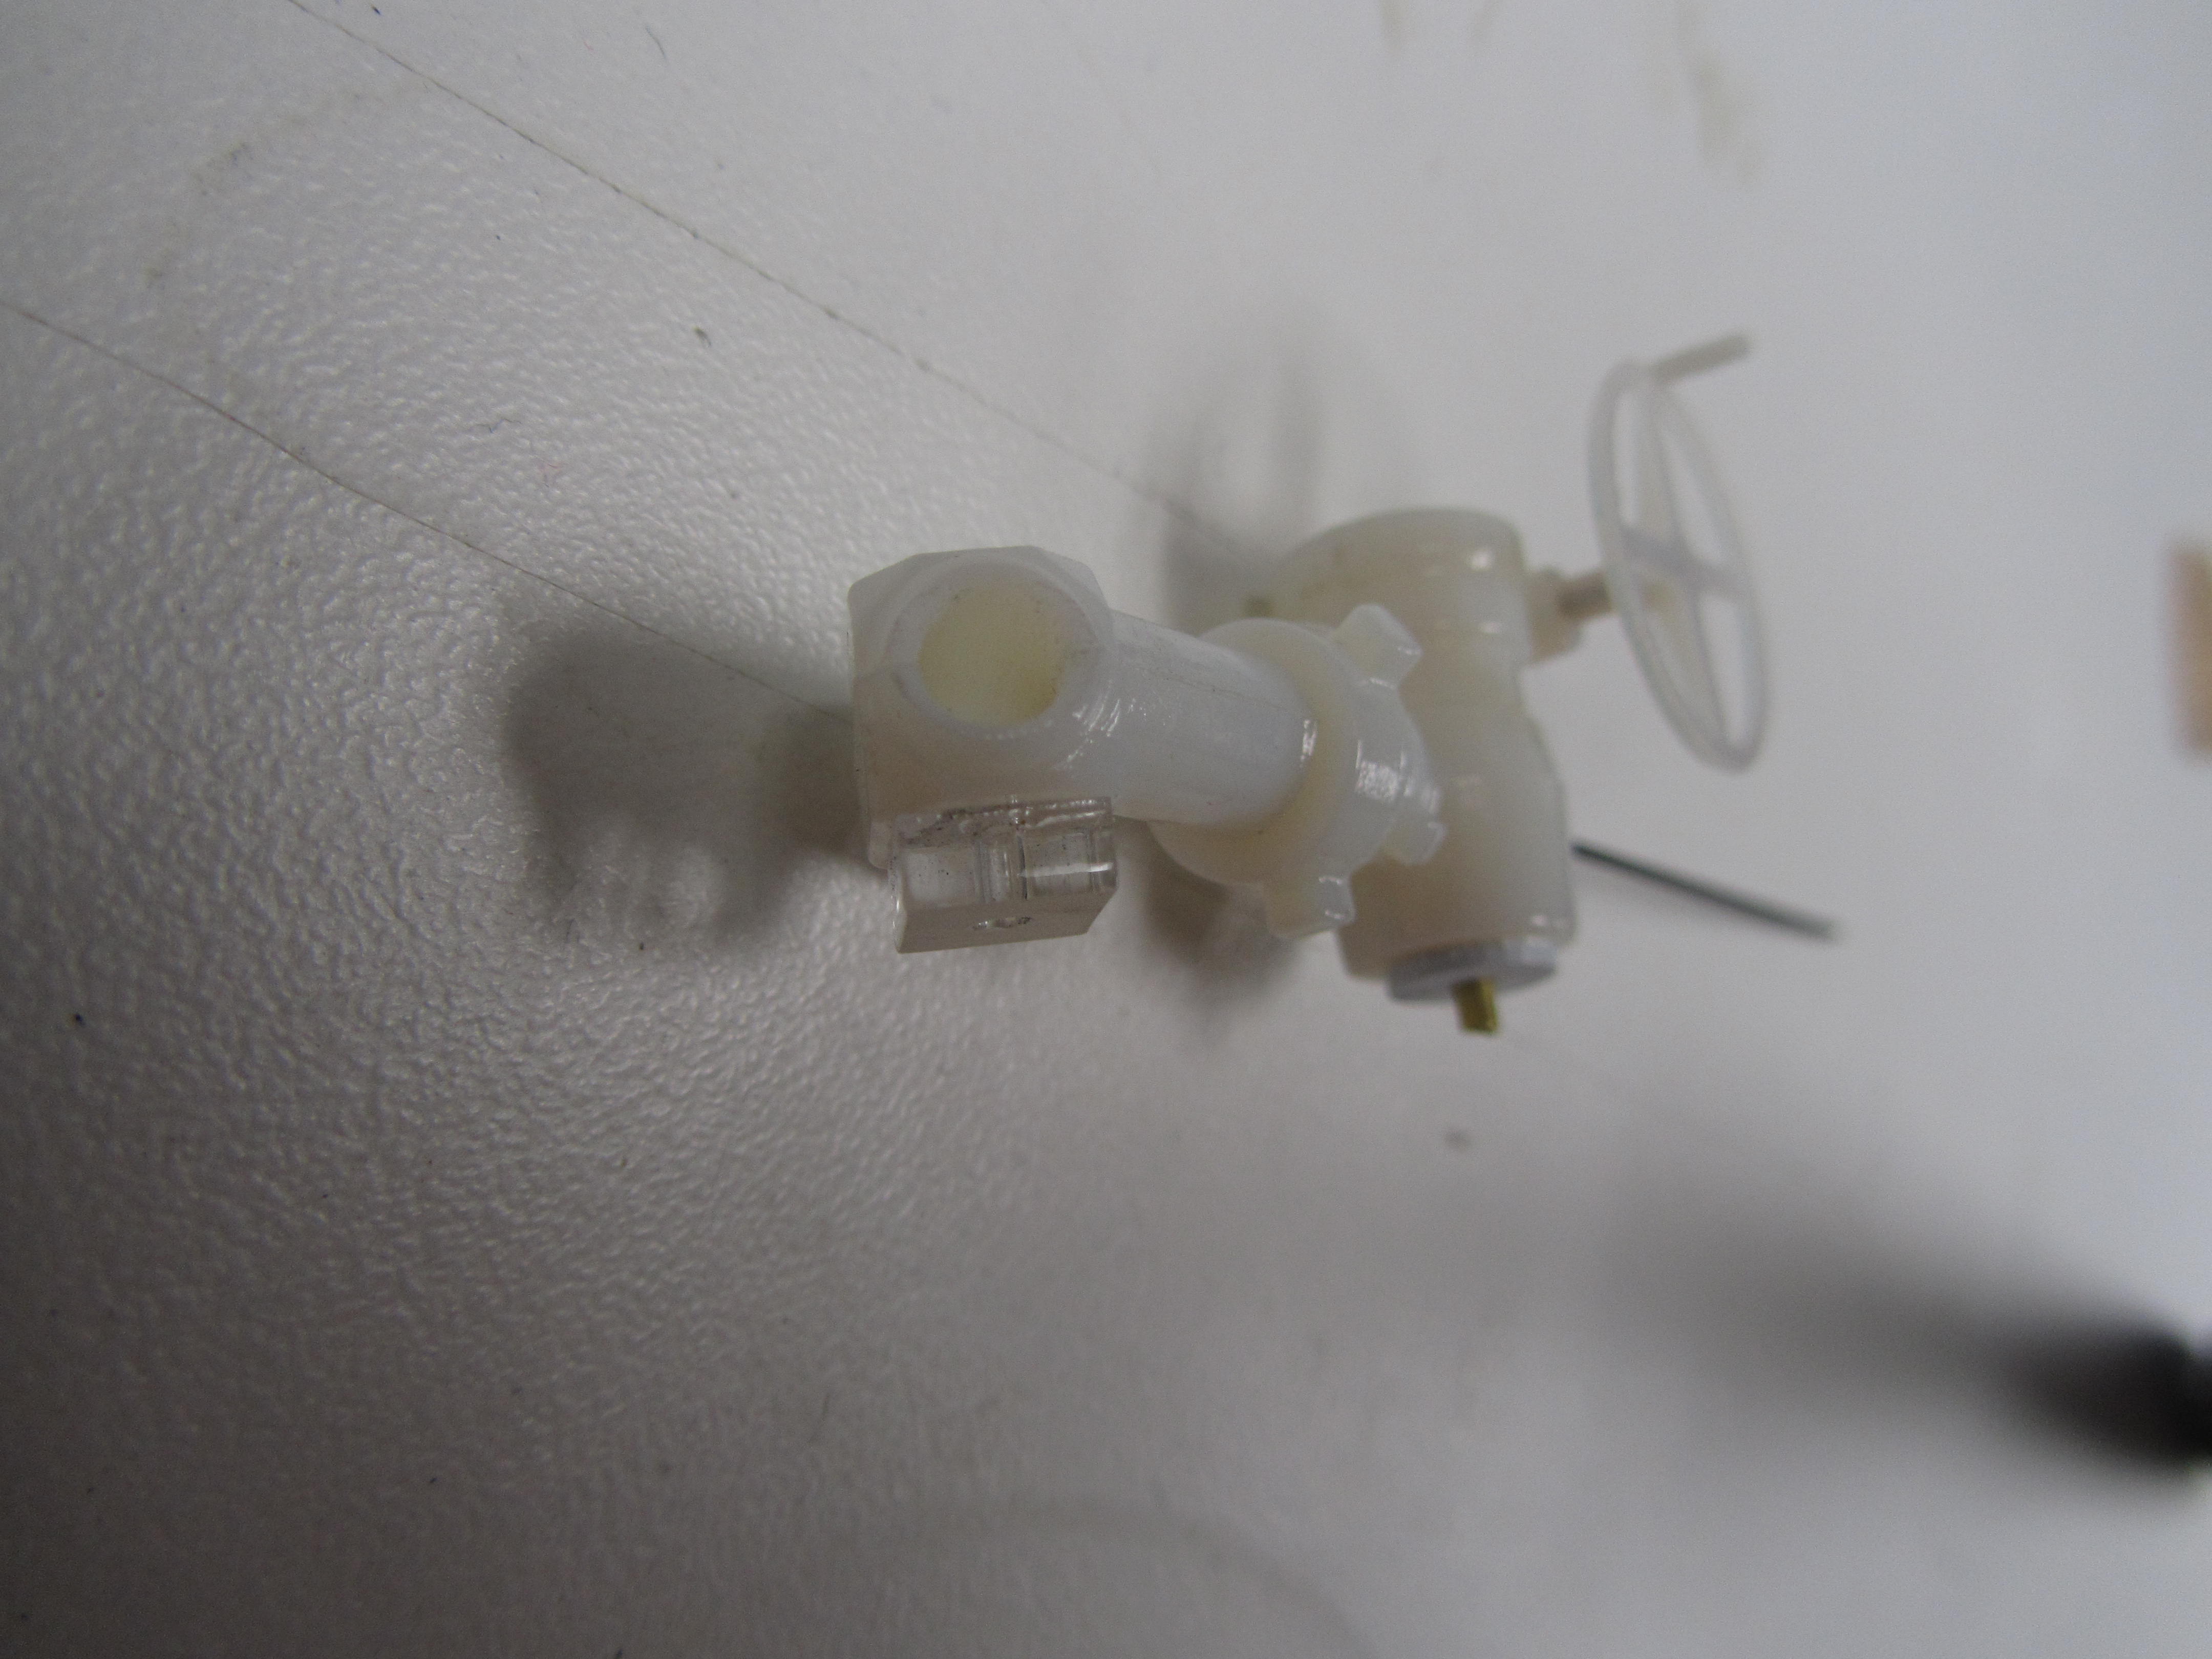
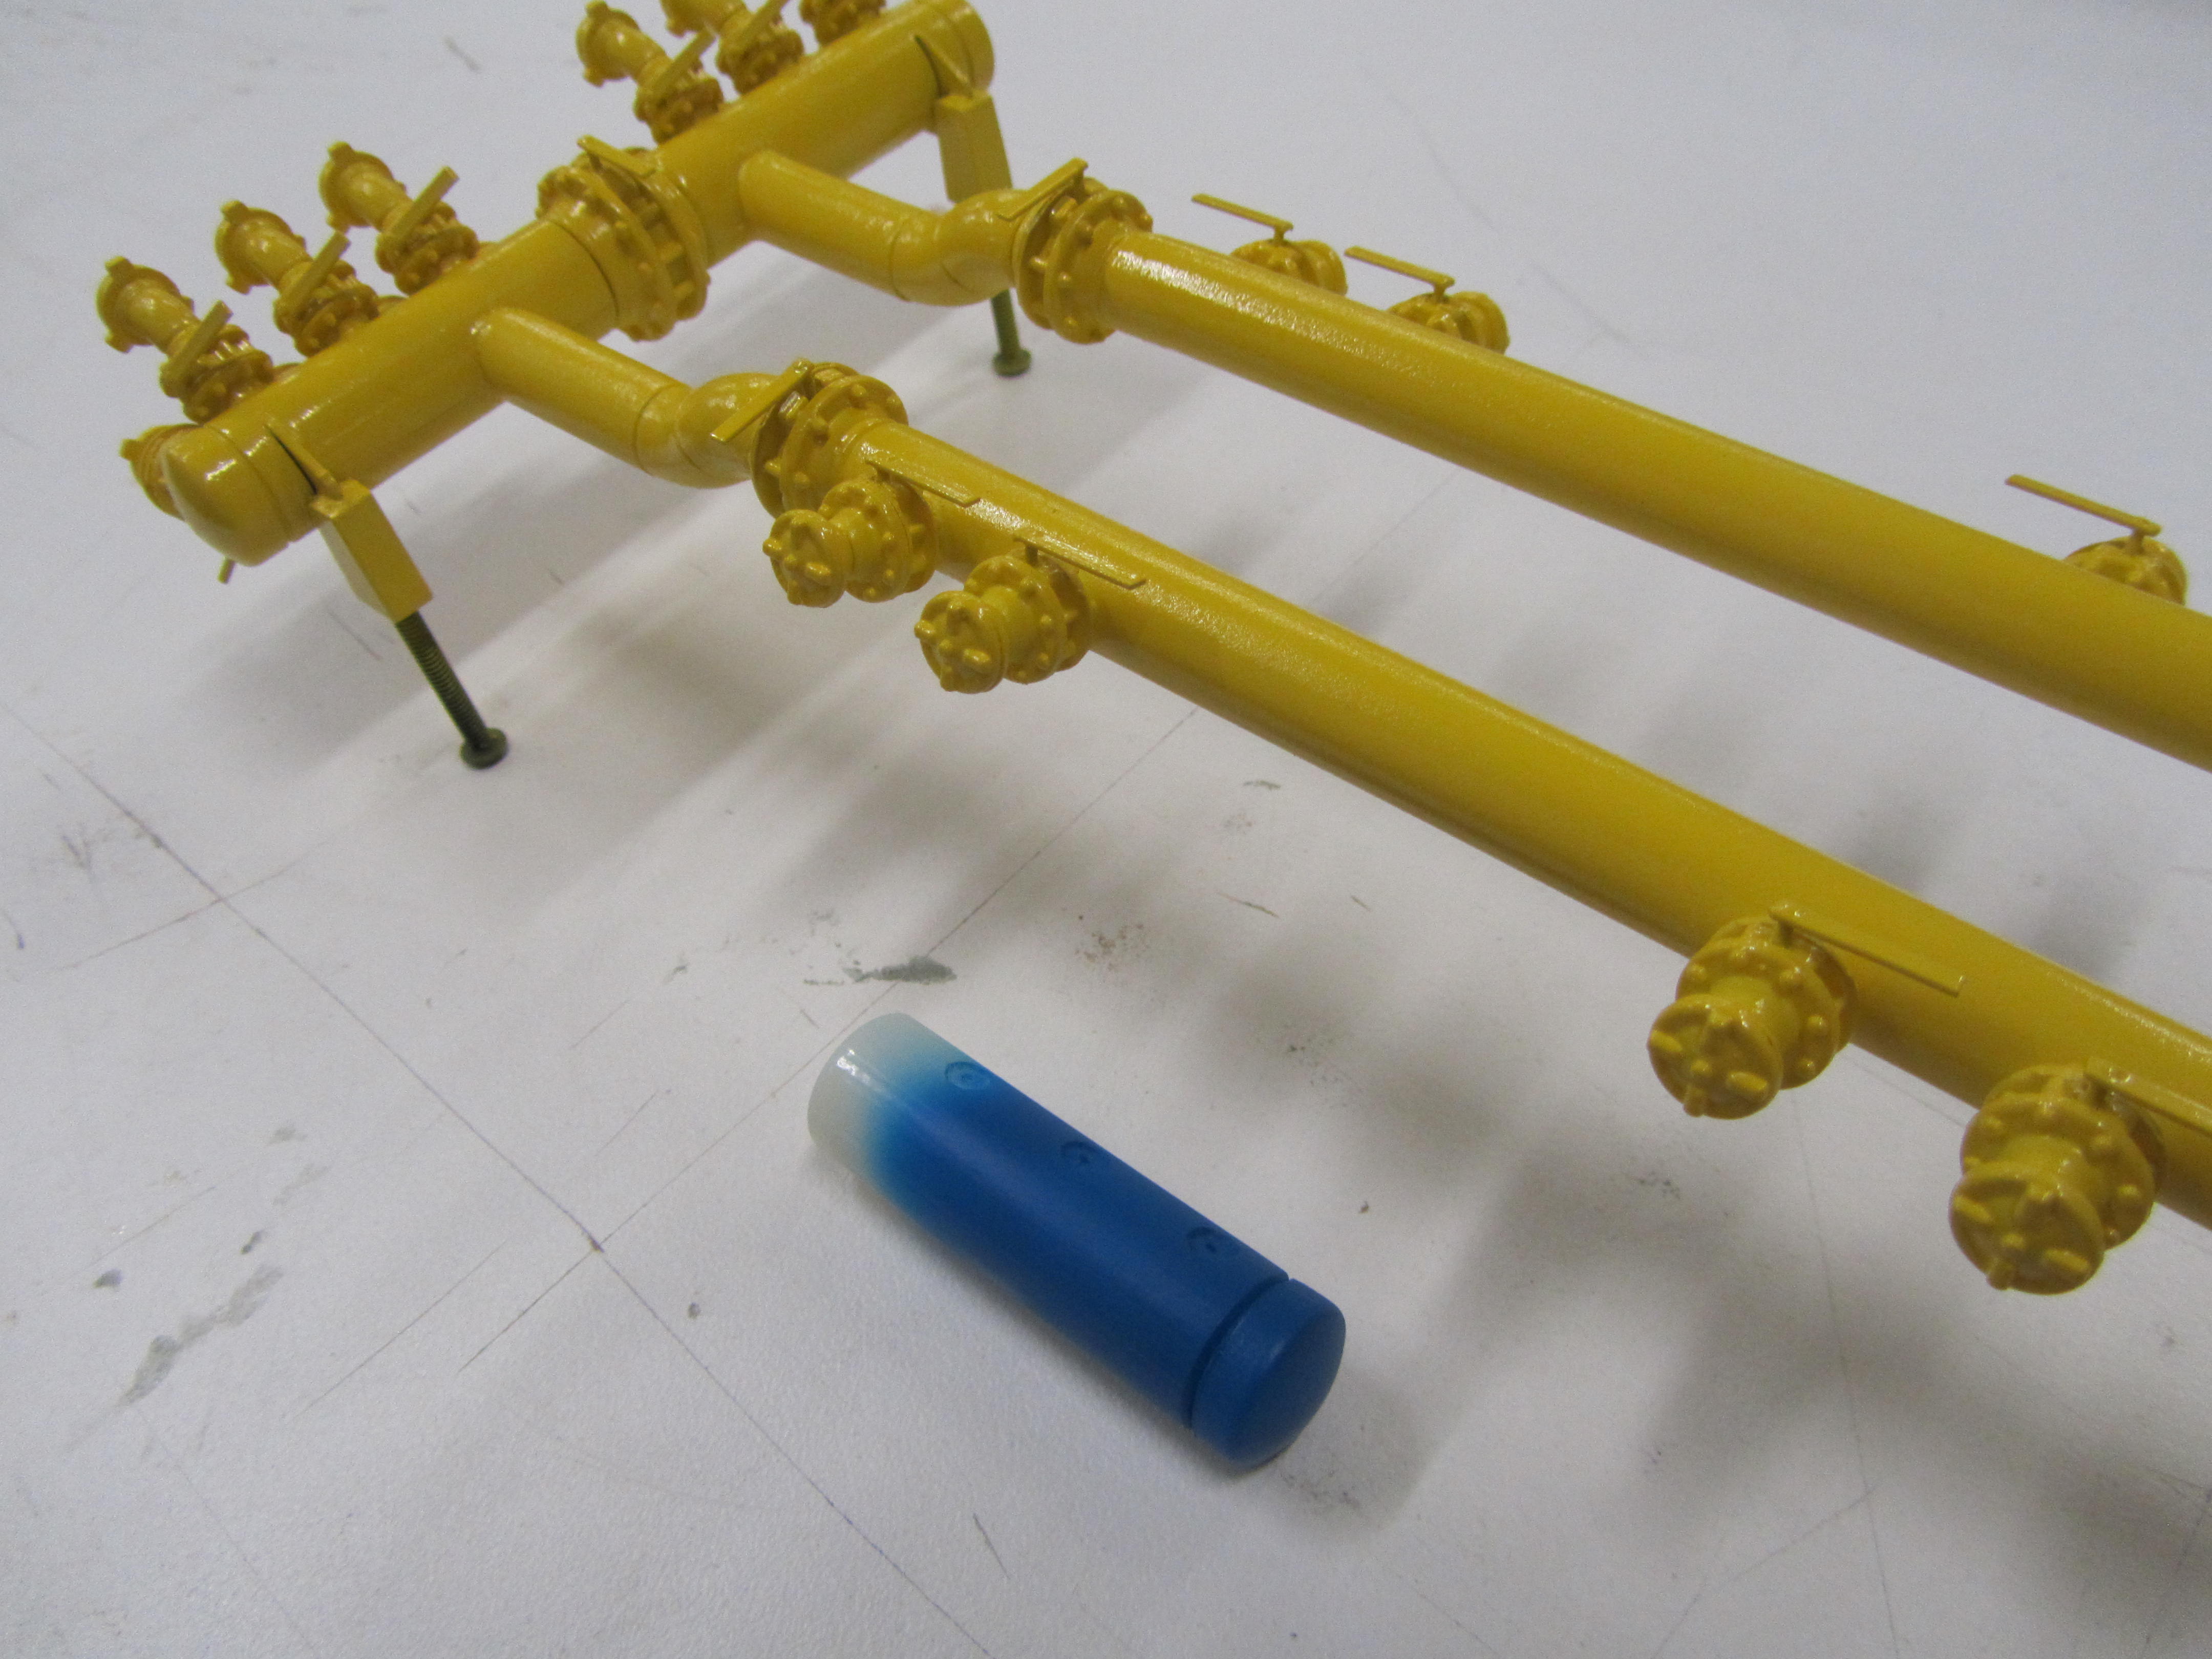
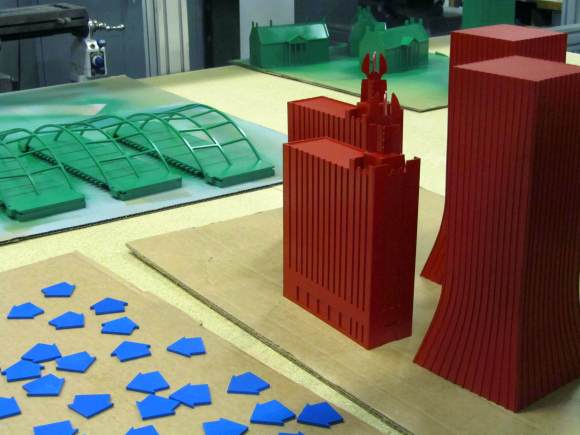
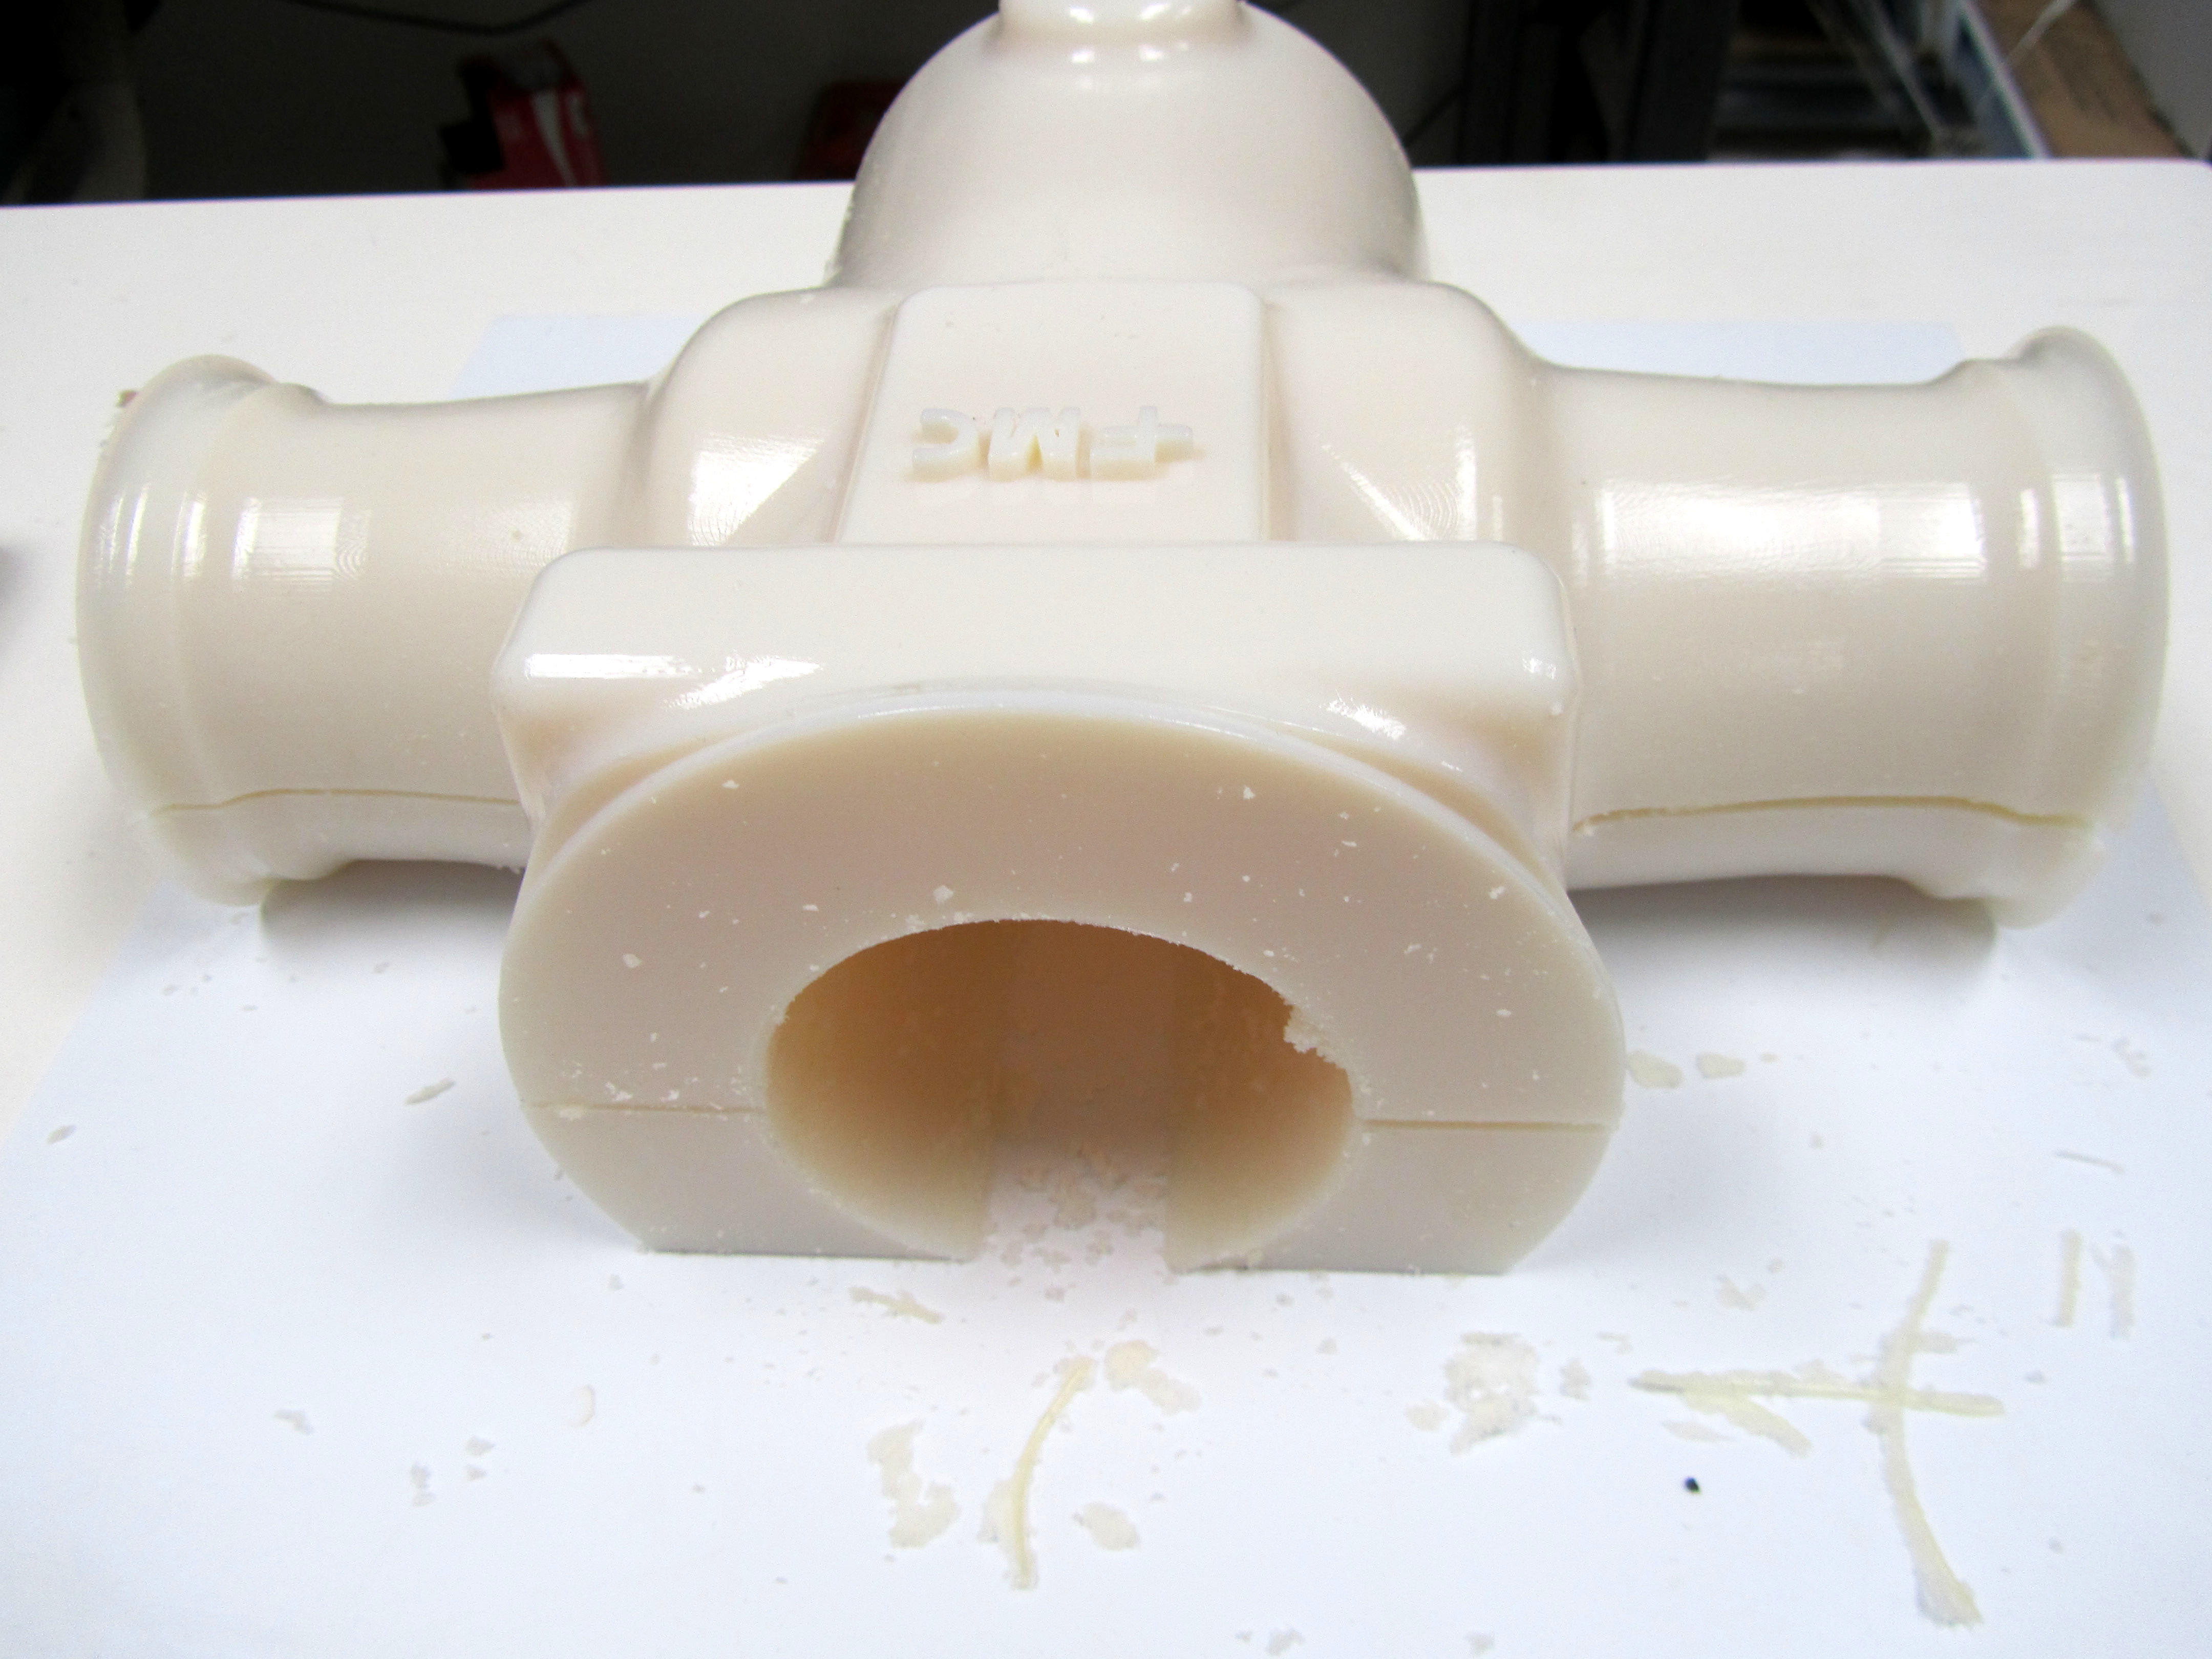
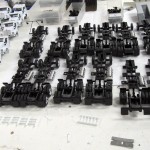
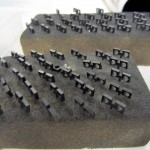
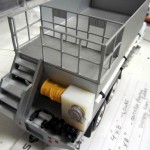
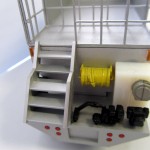
Afer the original 3D draft has been prepared by the model maker and sent to the printer, it is true that the machine then grows the parts itself. This is the magical aspect of the process. A model maker can go home for the night while a part is being created. However, once the part is removed from the printer, it is not exactly ready to use. This is where additional labor is necessary to clean the part.

3D printed model part

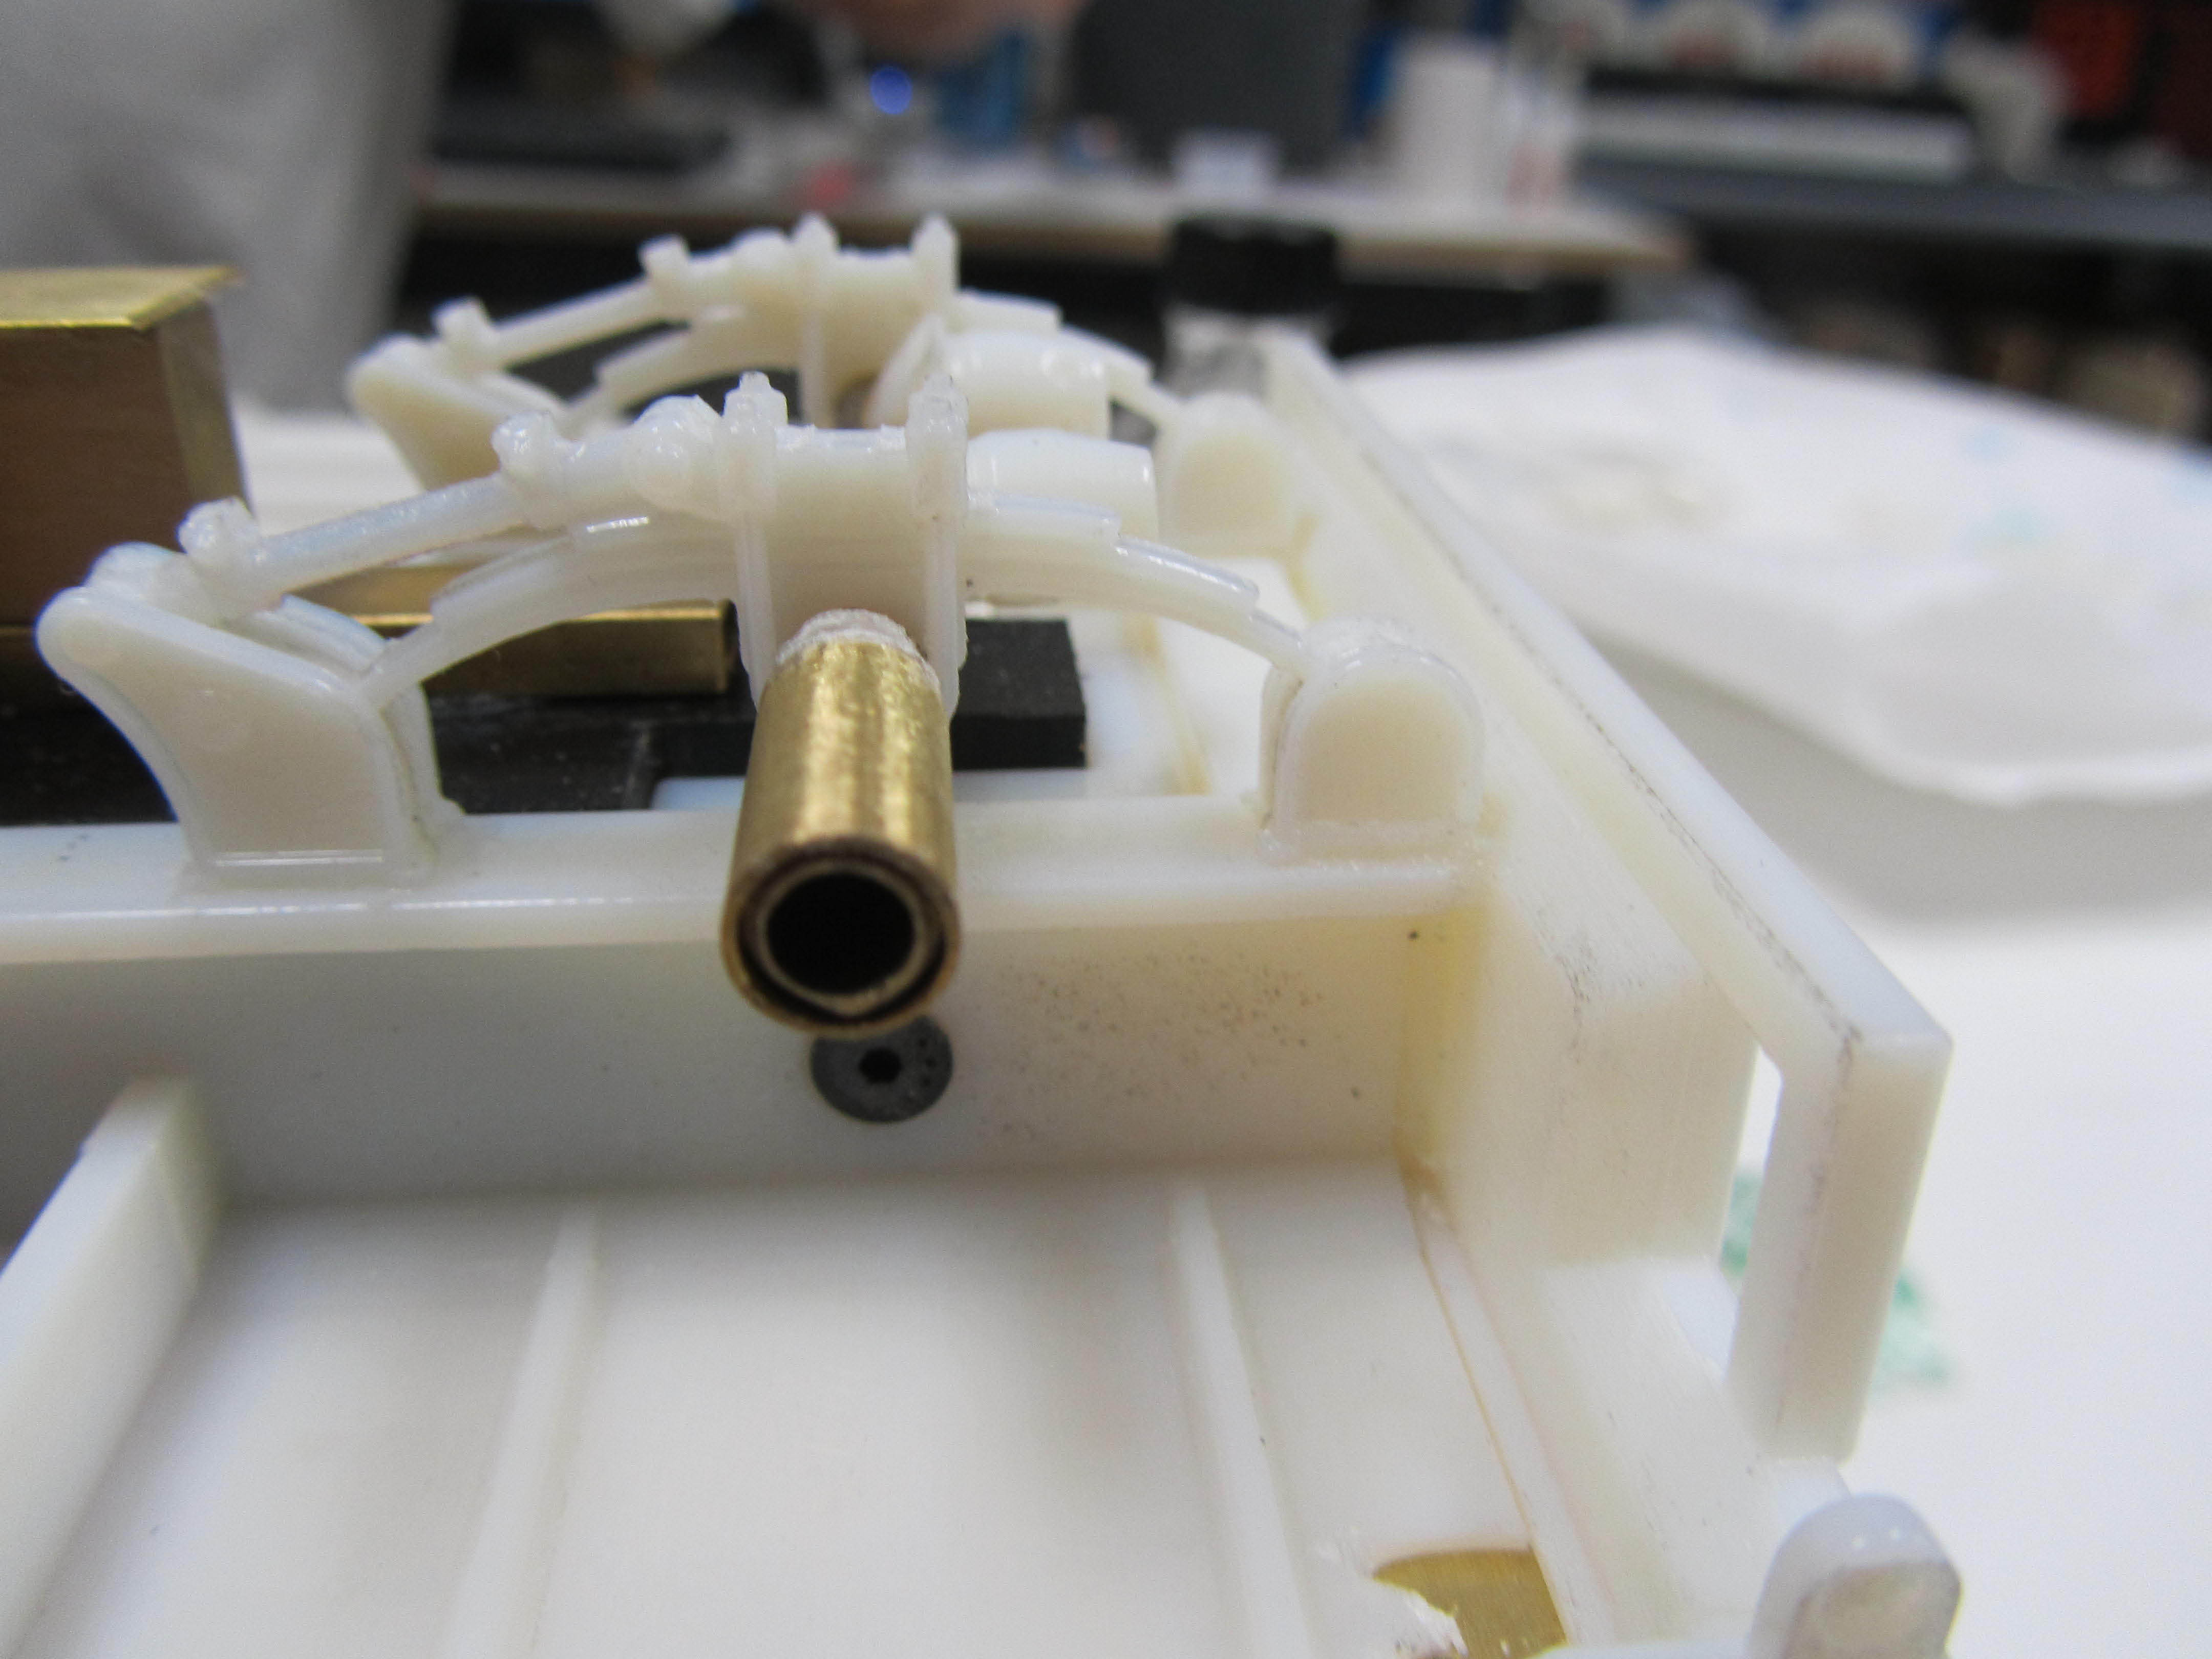
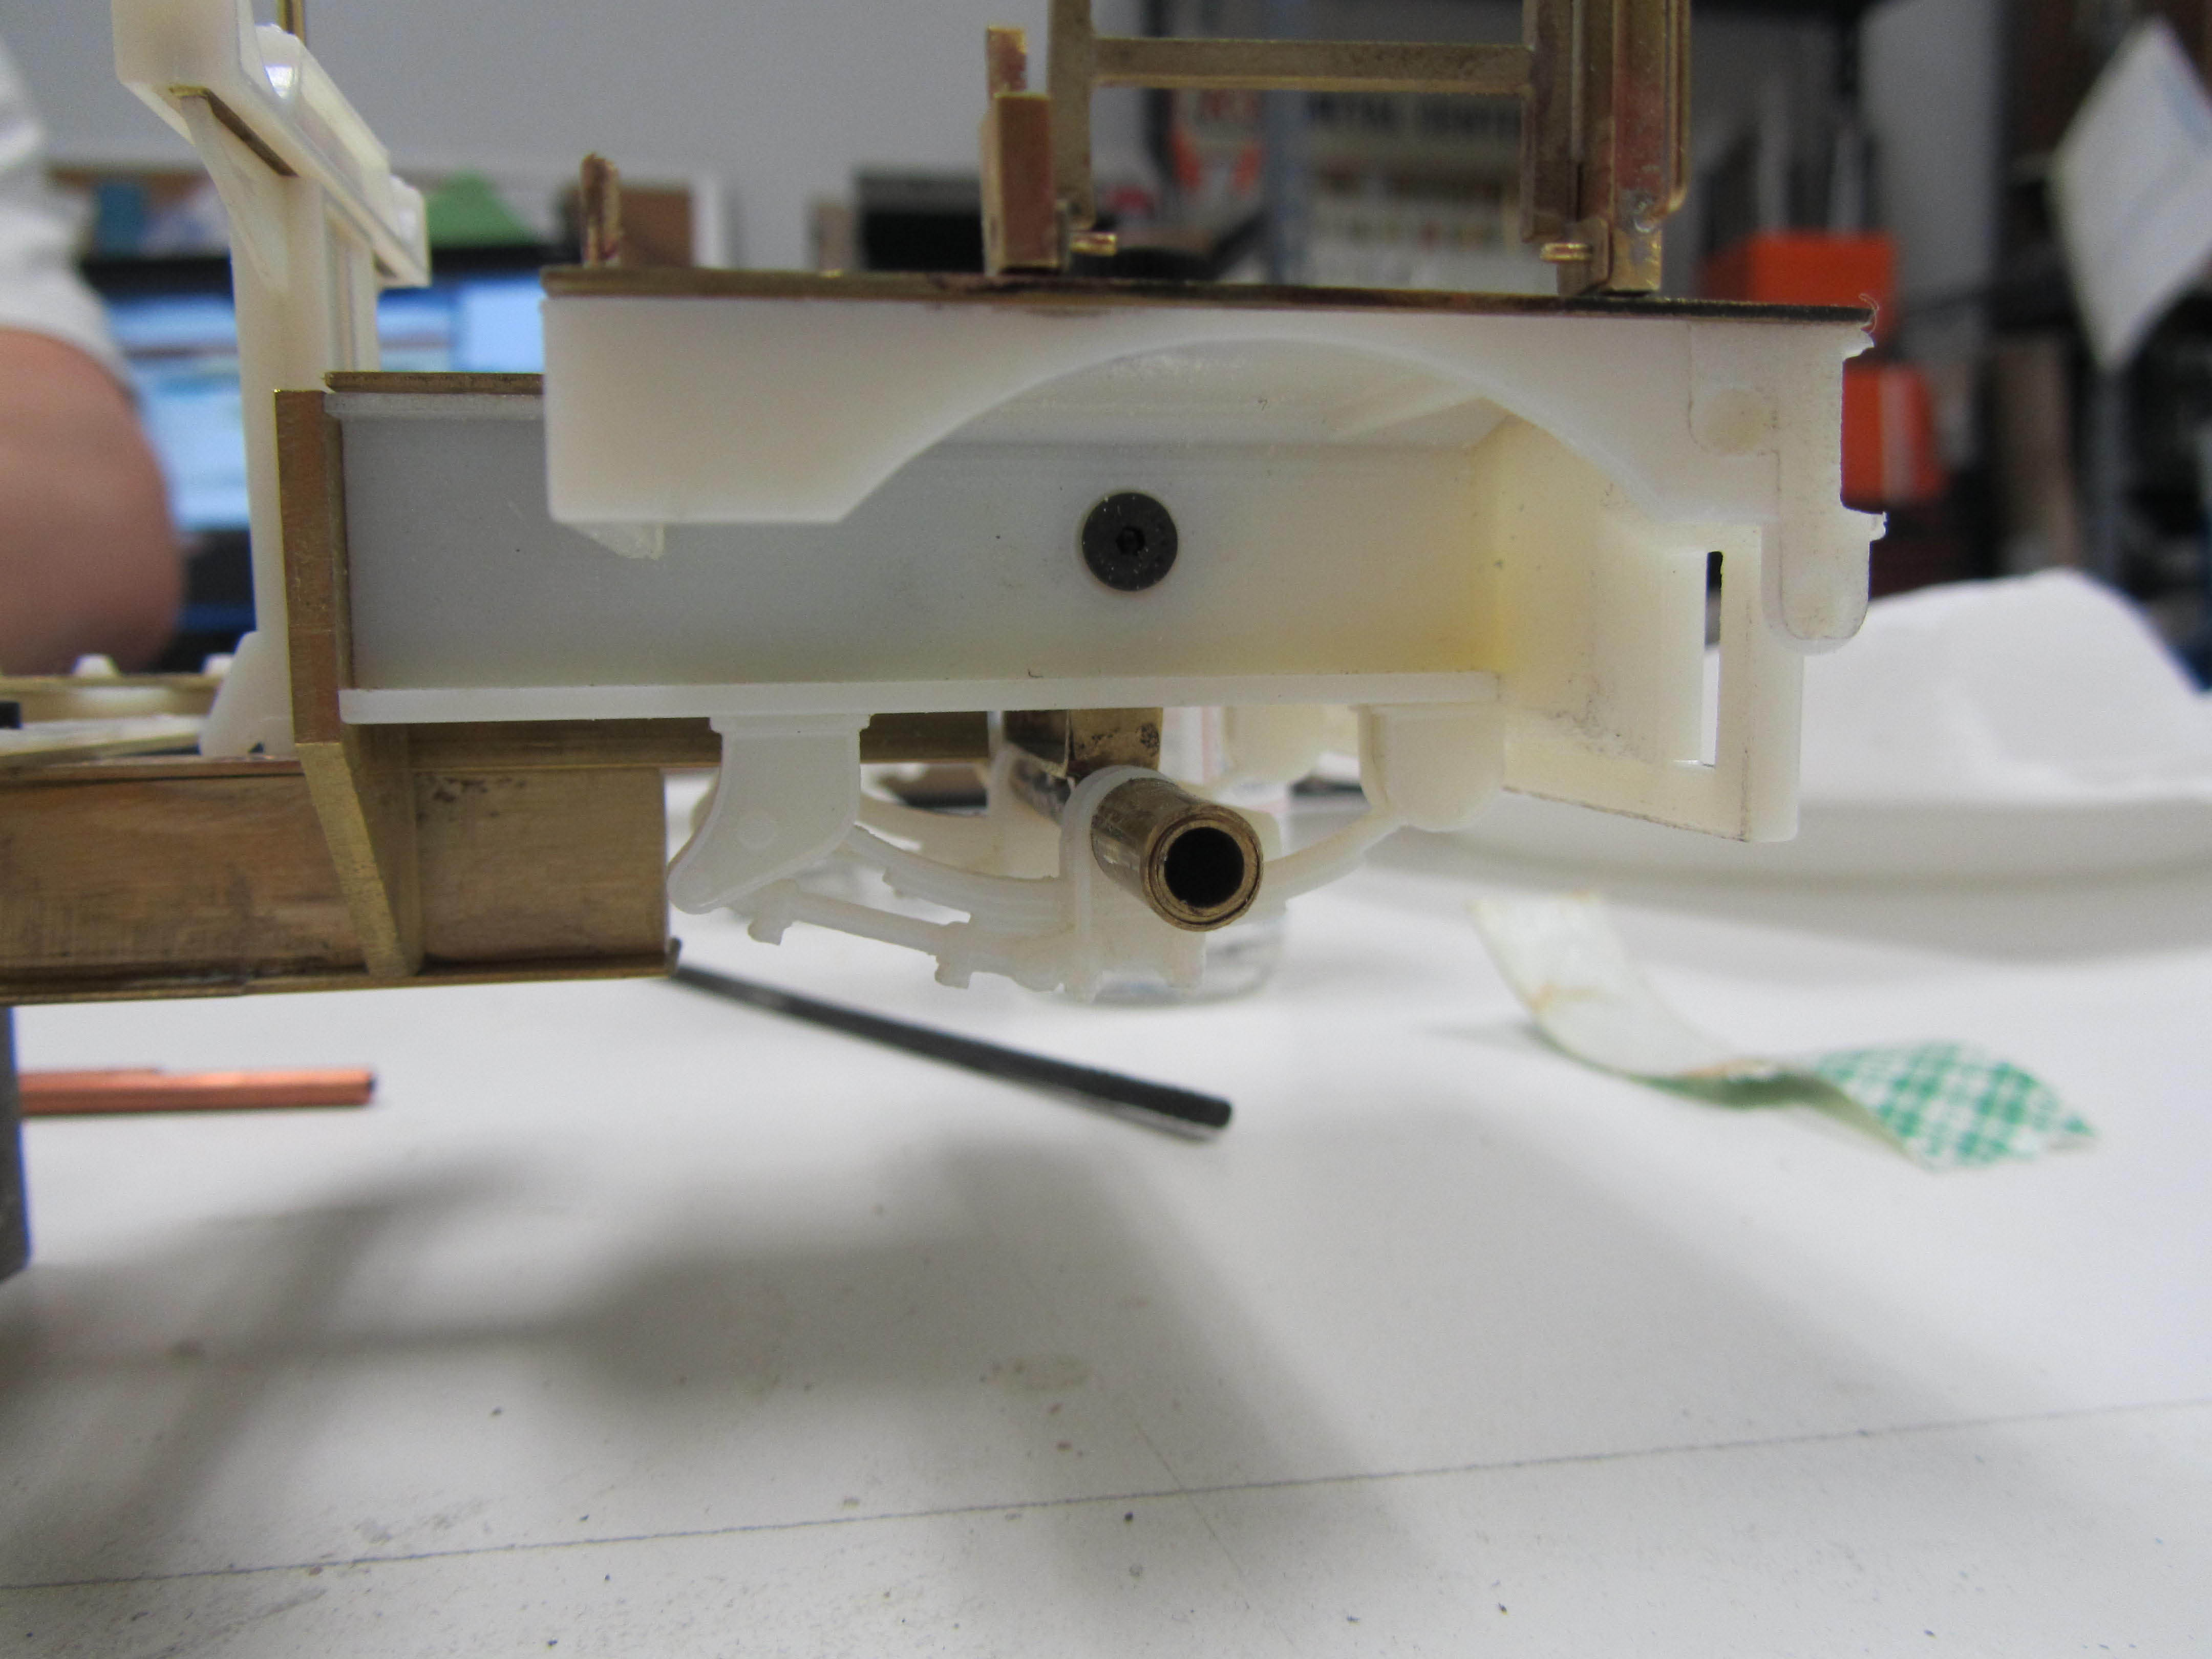
Support material is the substance that takes the place of empty space in a 3D object, where it is needed to hold up the design as it builds upward. It acts as scaffolding for the object being printed. A layer of support material is laid down on the print tray as well, as a foundation, before any part of the actual object starts printing.

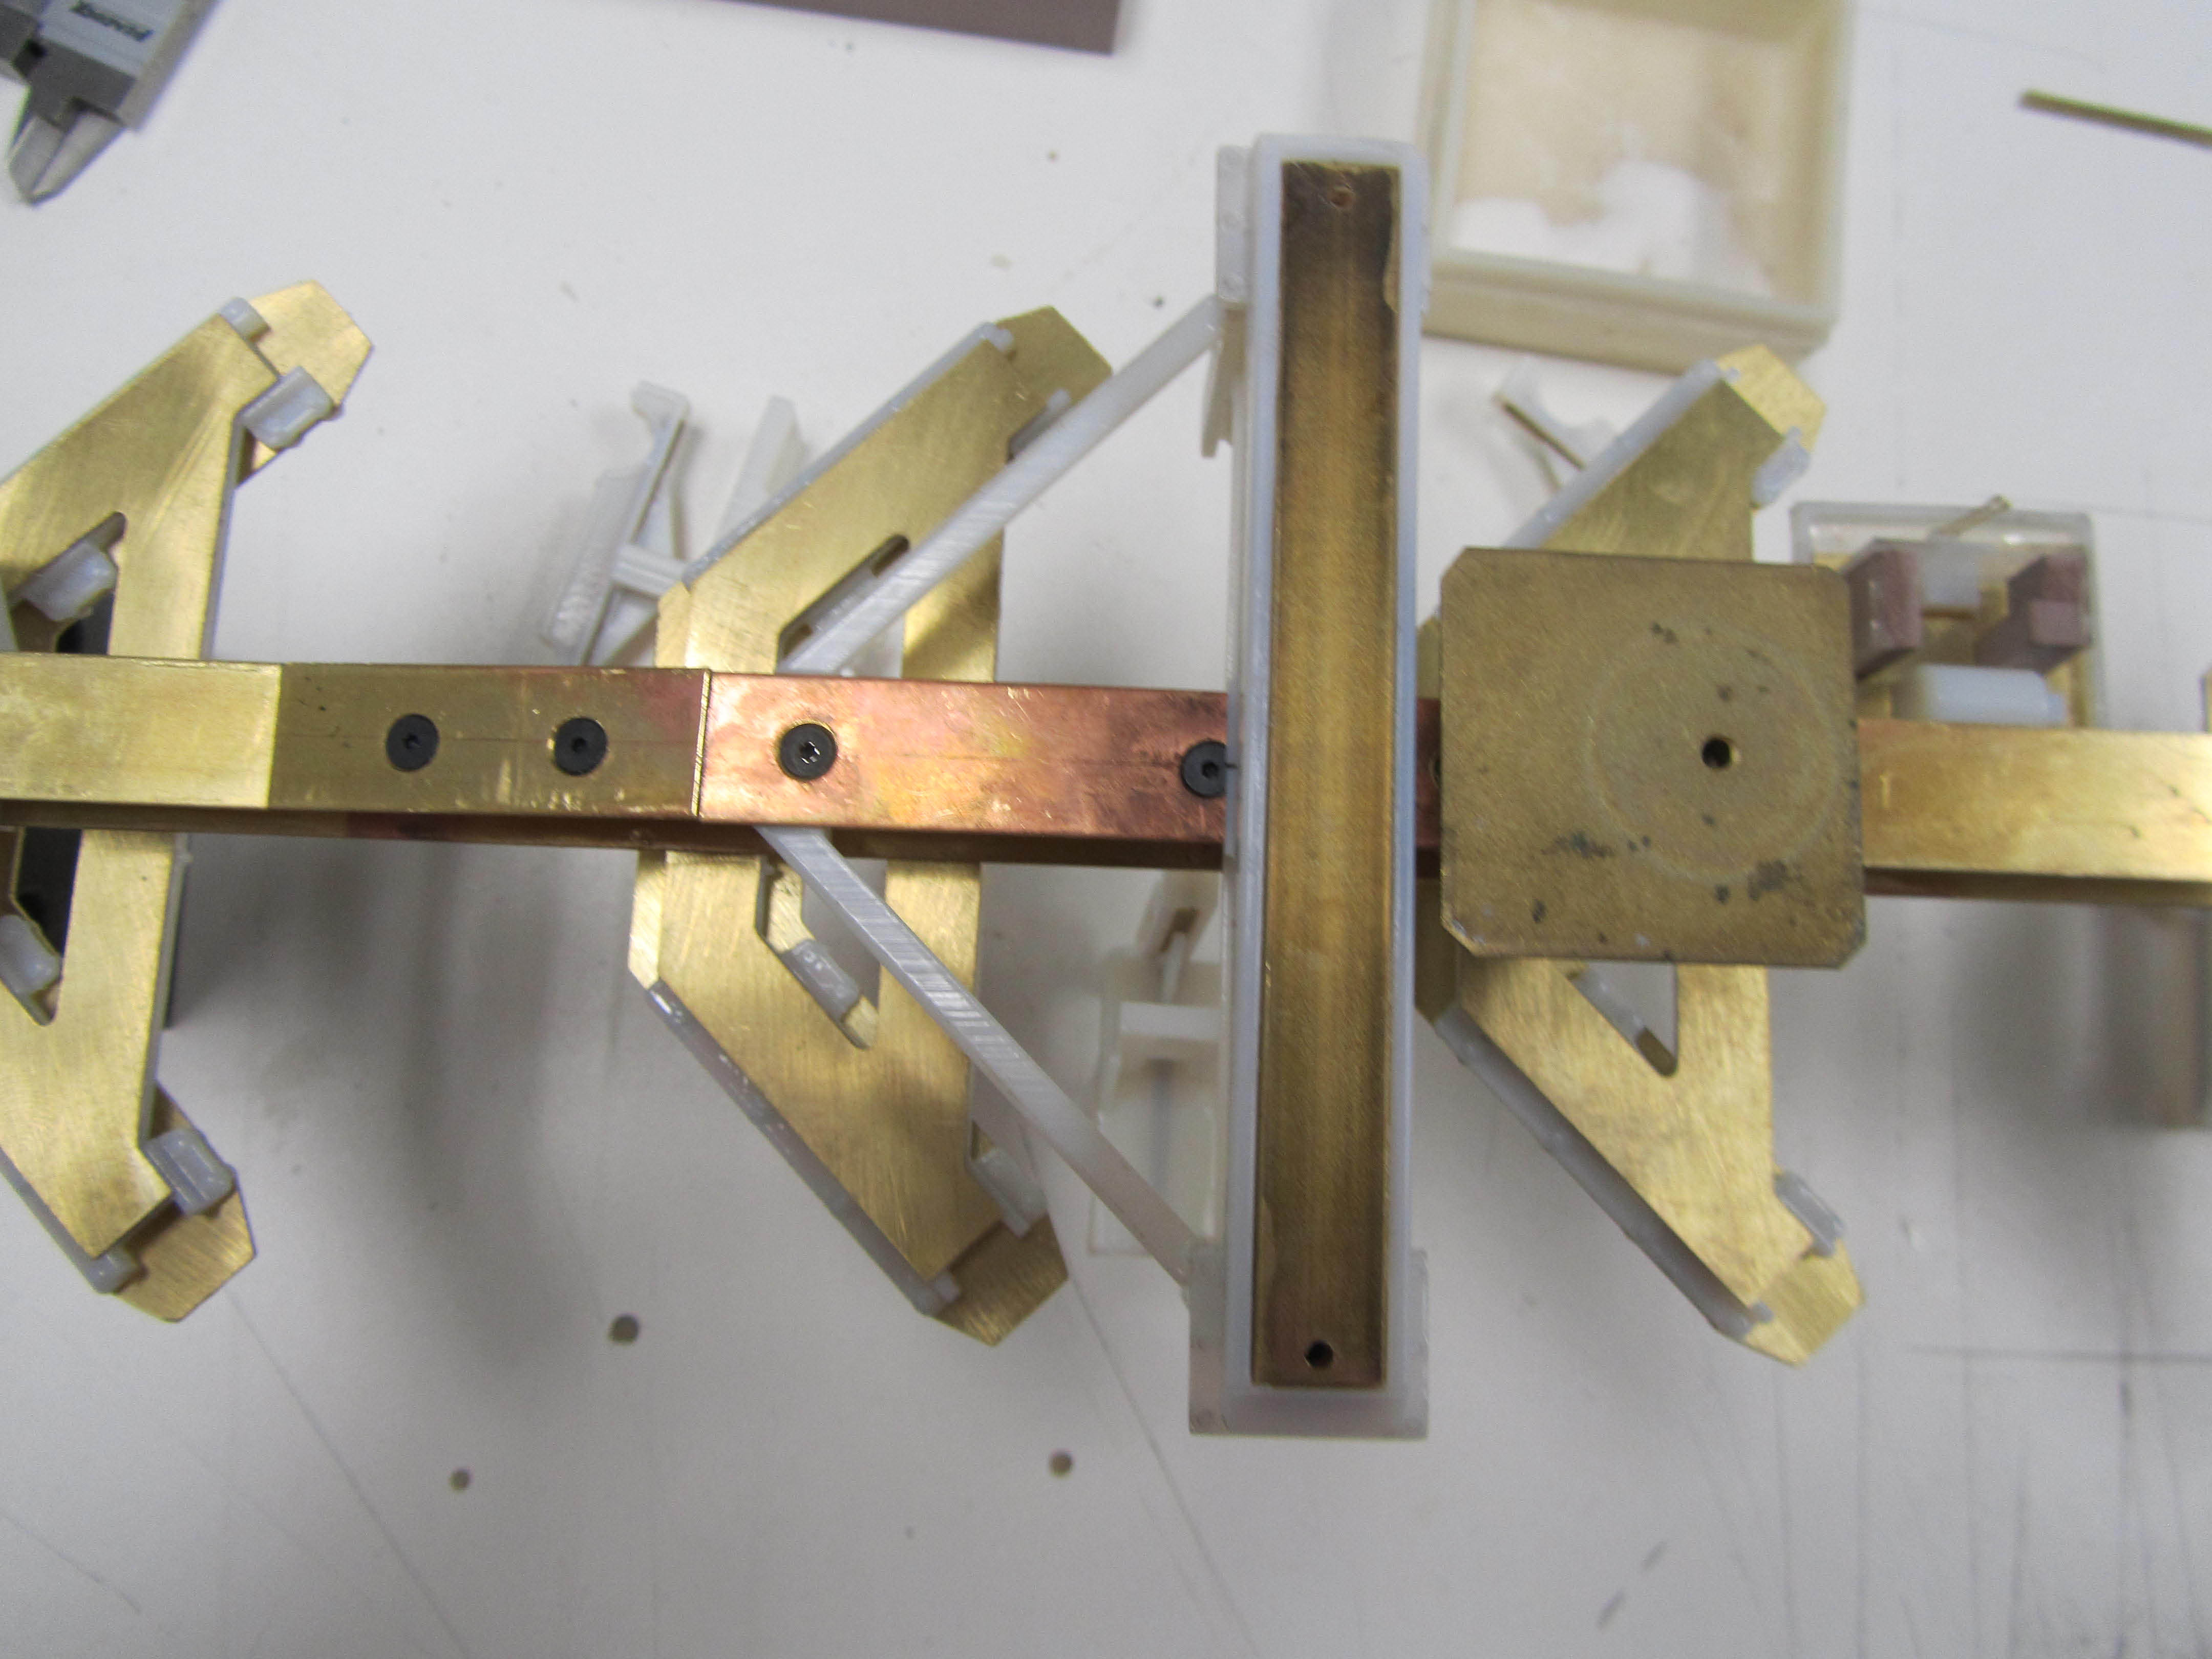
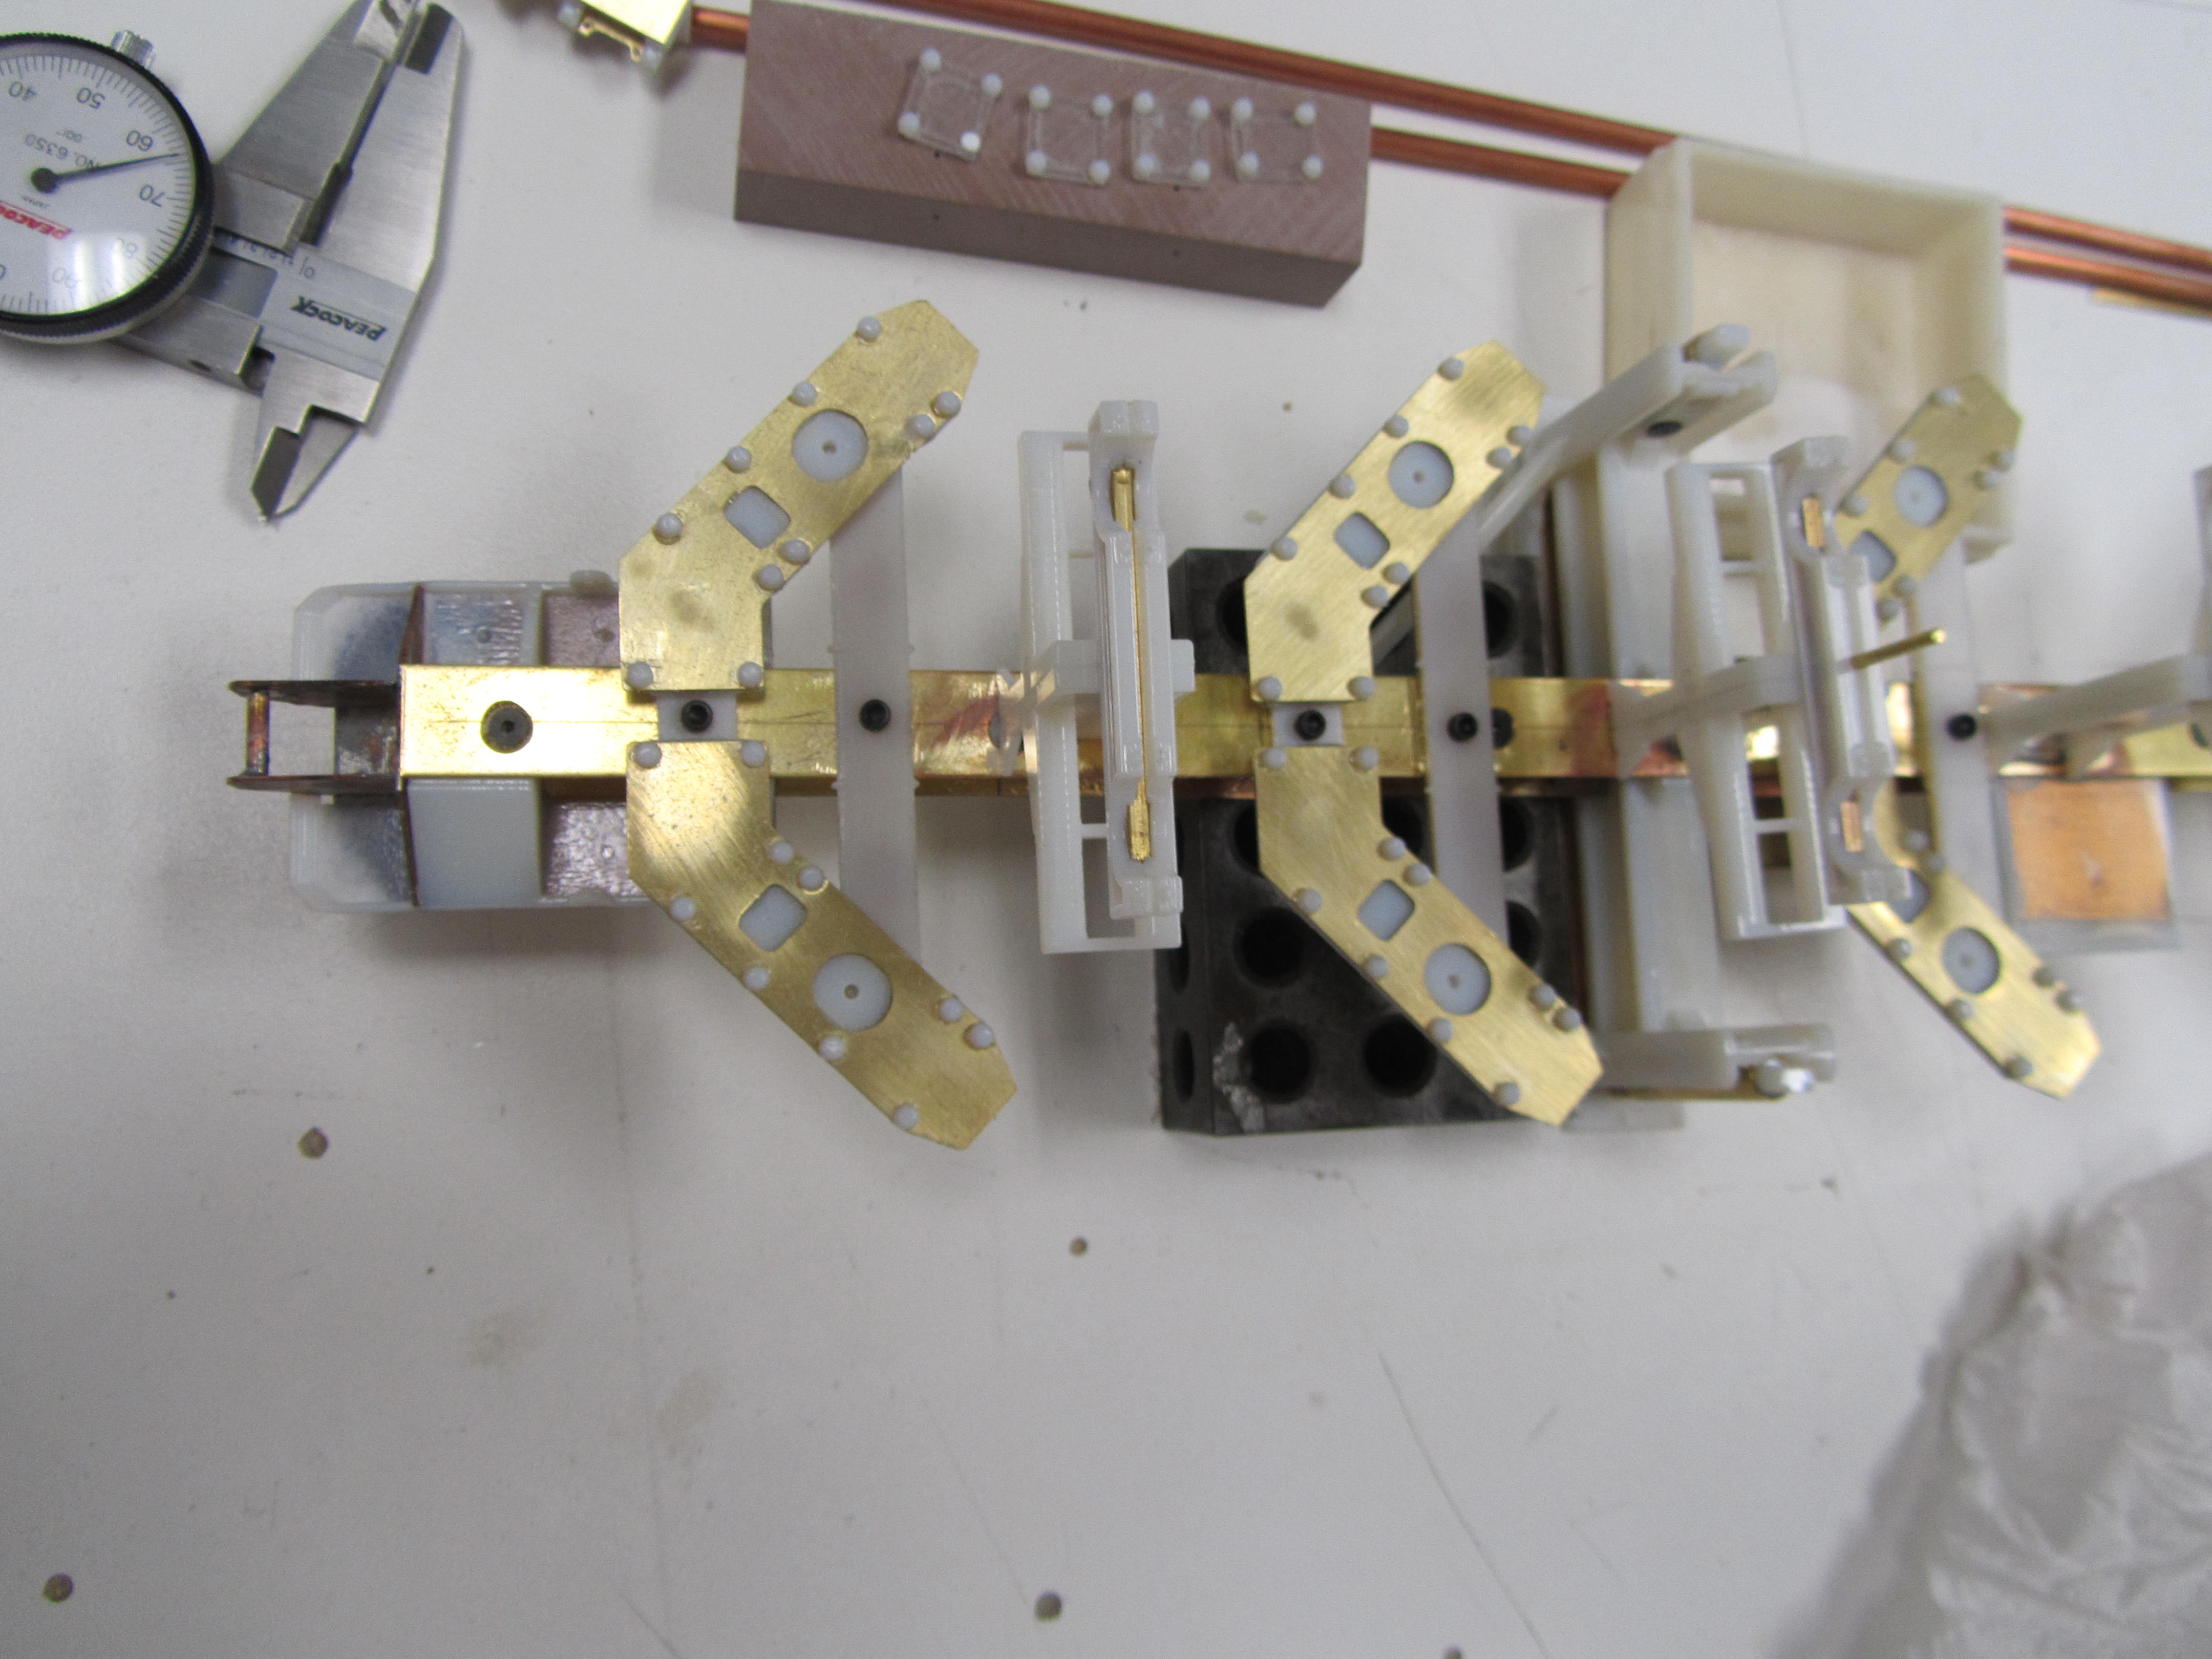
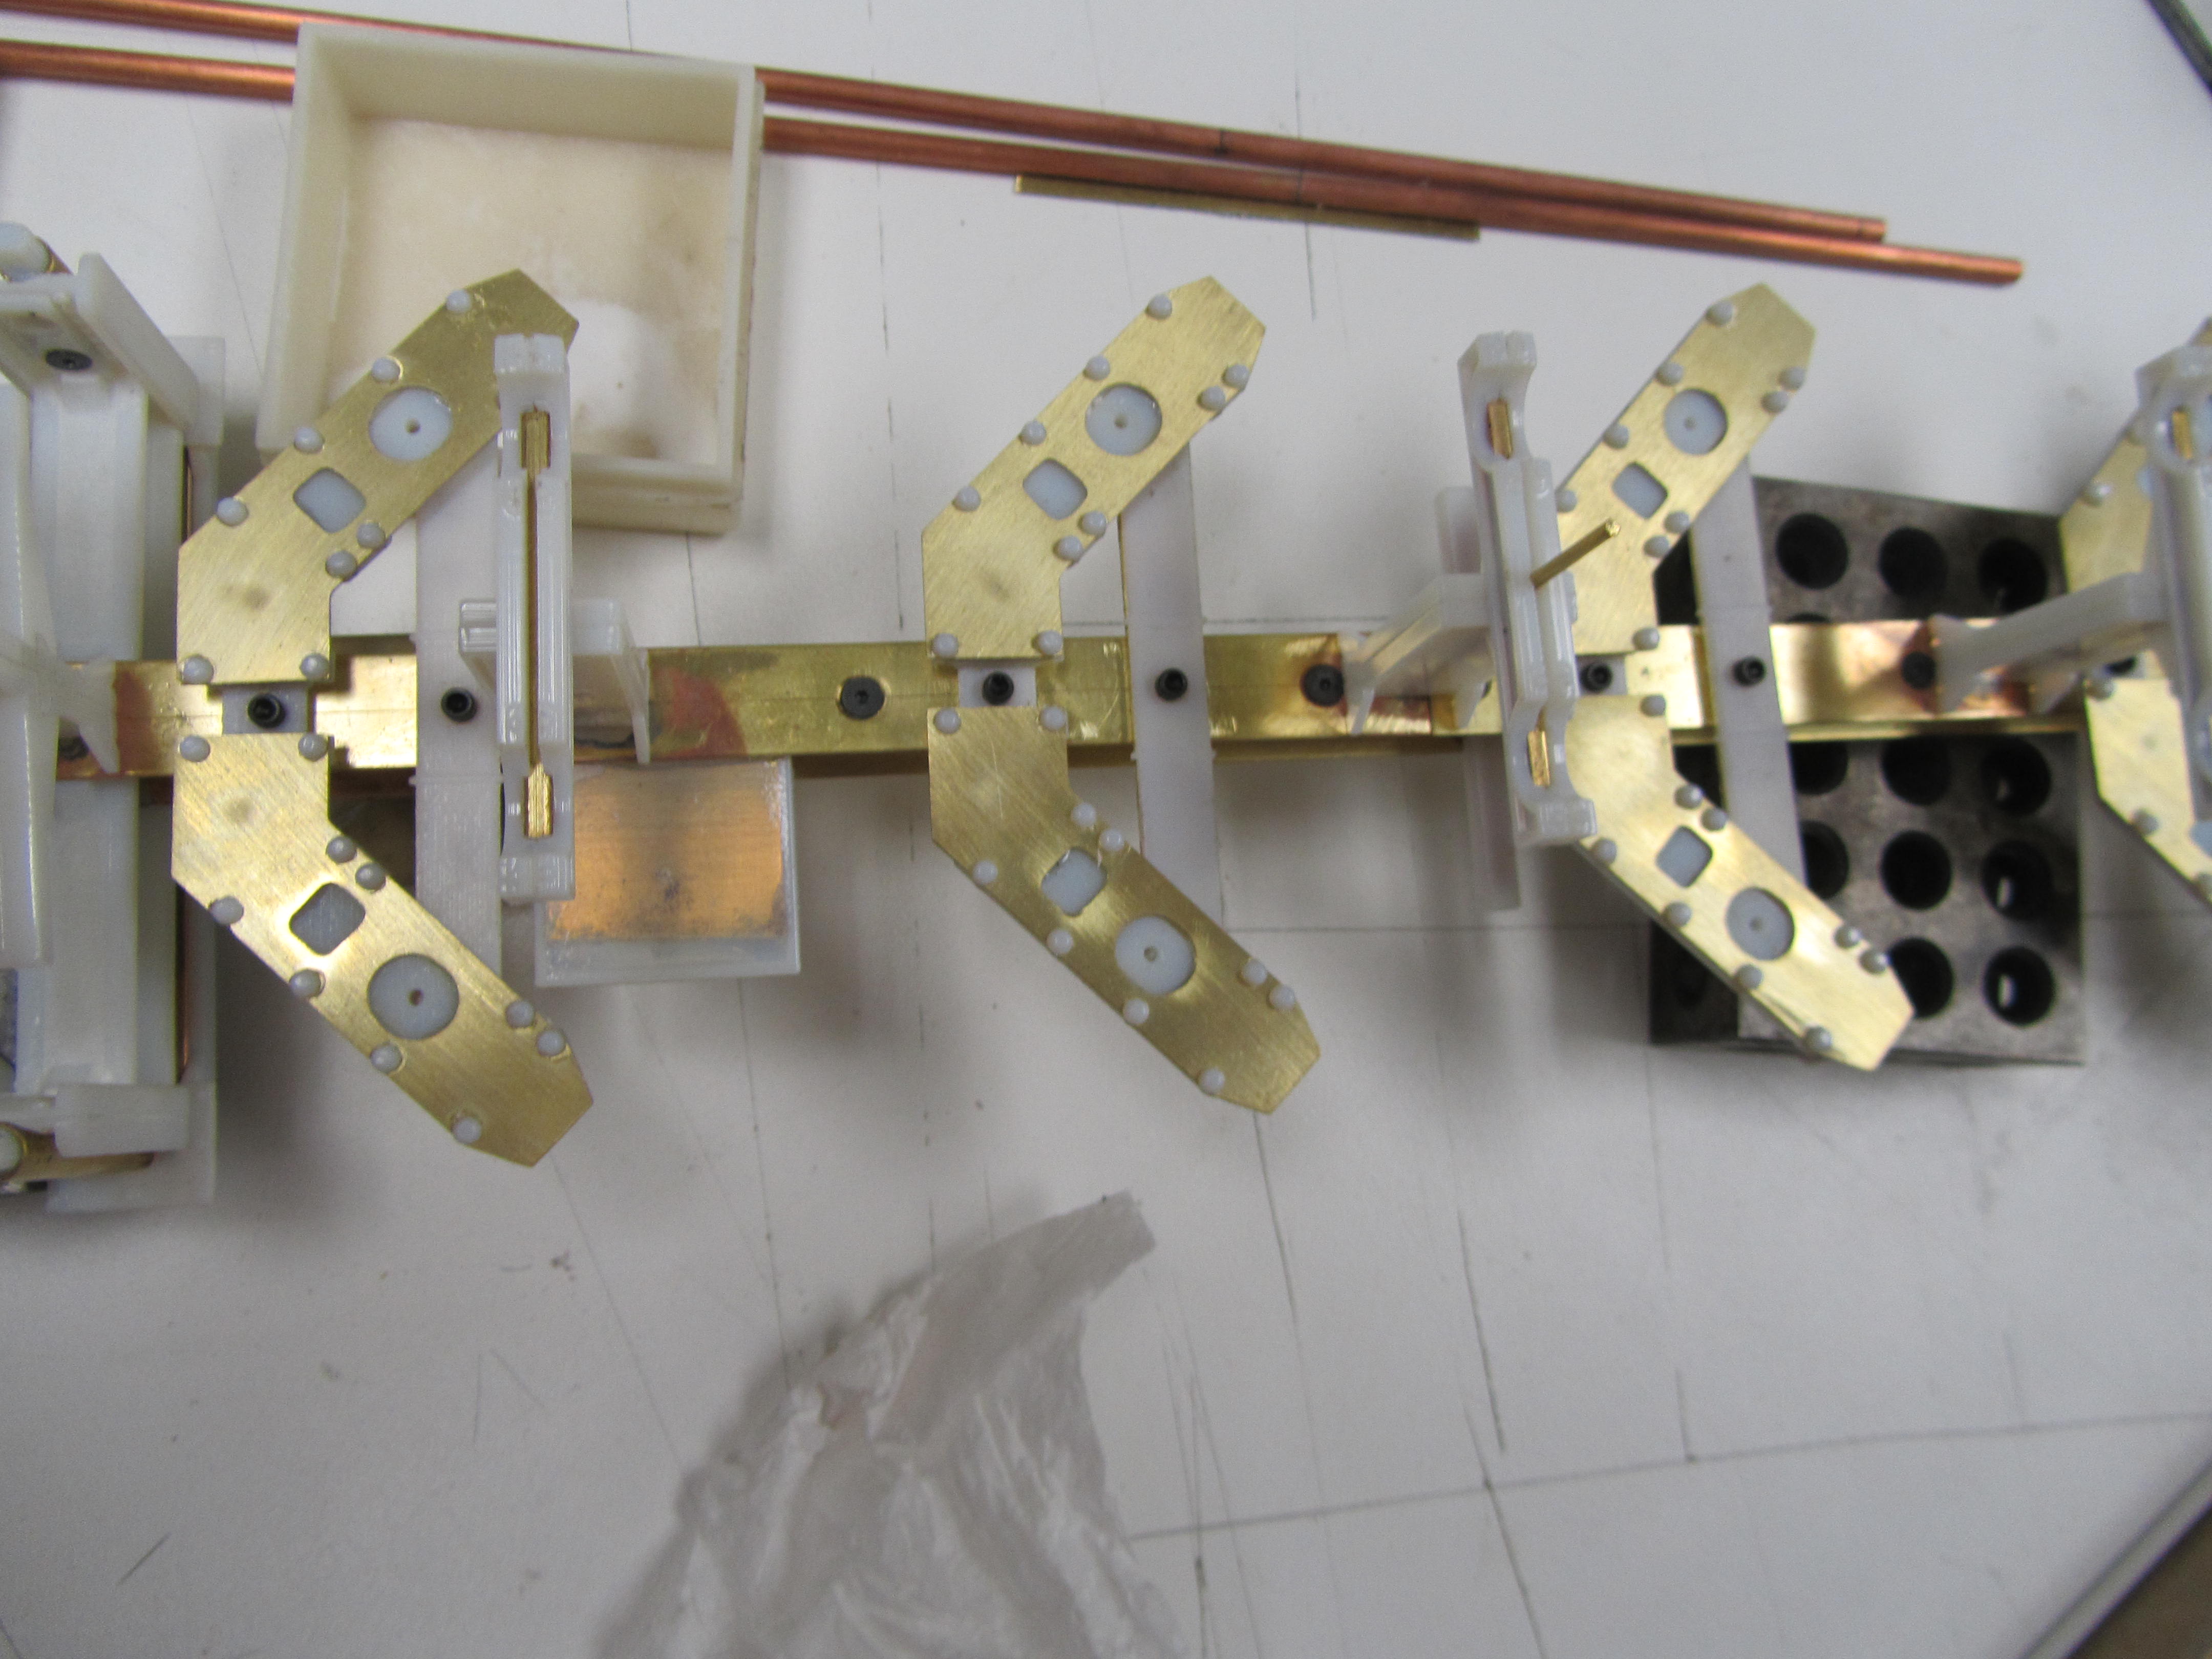
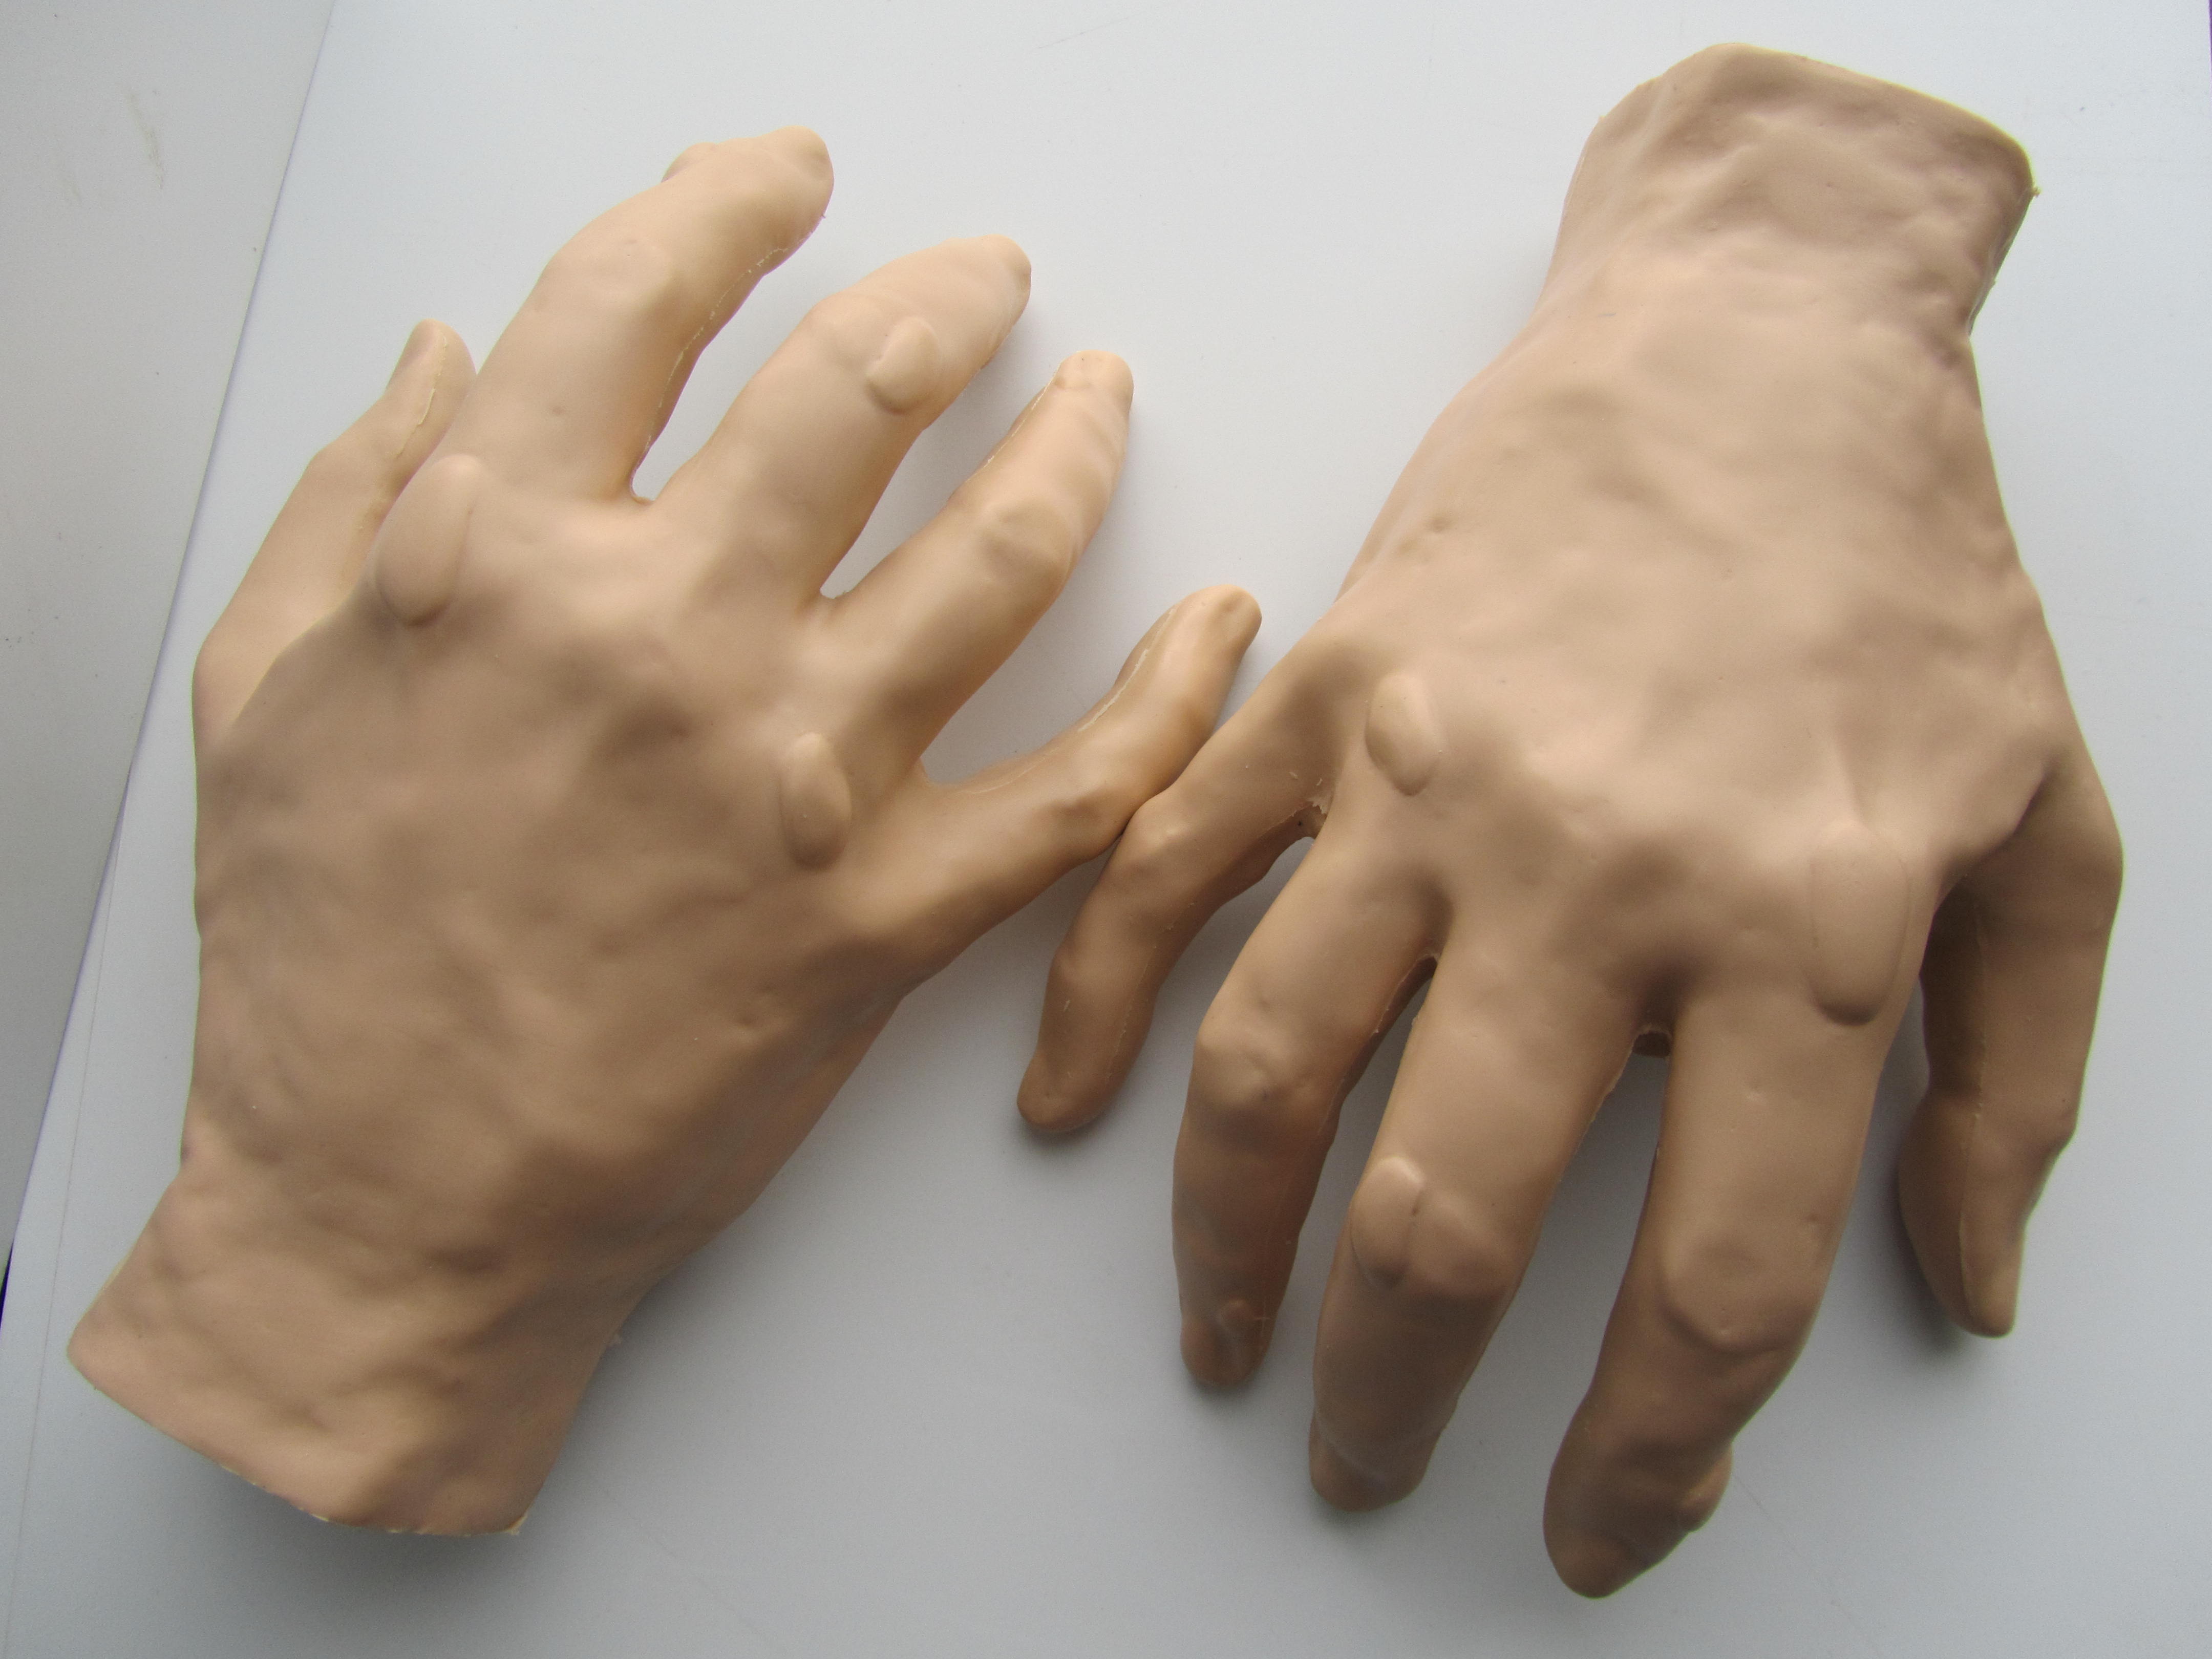
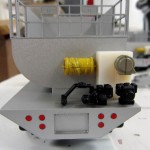
When an object is removed from the 3D printer, it is this support material that needs to be cleaned off the part. Depending on the shape or design of a part, it is the removal of support material that takes the majority of labor in the 3D printing process. Water jet spraying, chemical soaking, scraping and digging out support material from intricate pieces takes time and effort.  Sometimes there is so much support material covering a part, that it needs to be extracted out of it as if it were a piece of gold embedded in rock. Thus making 3D printing a bit of a subtractive method as well!

3D printed part for model maker

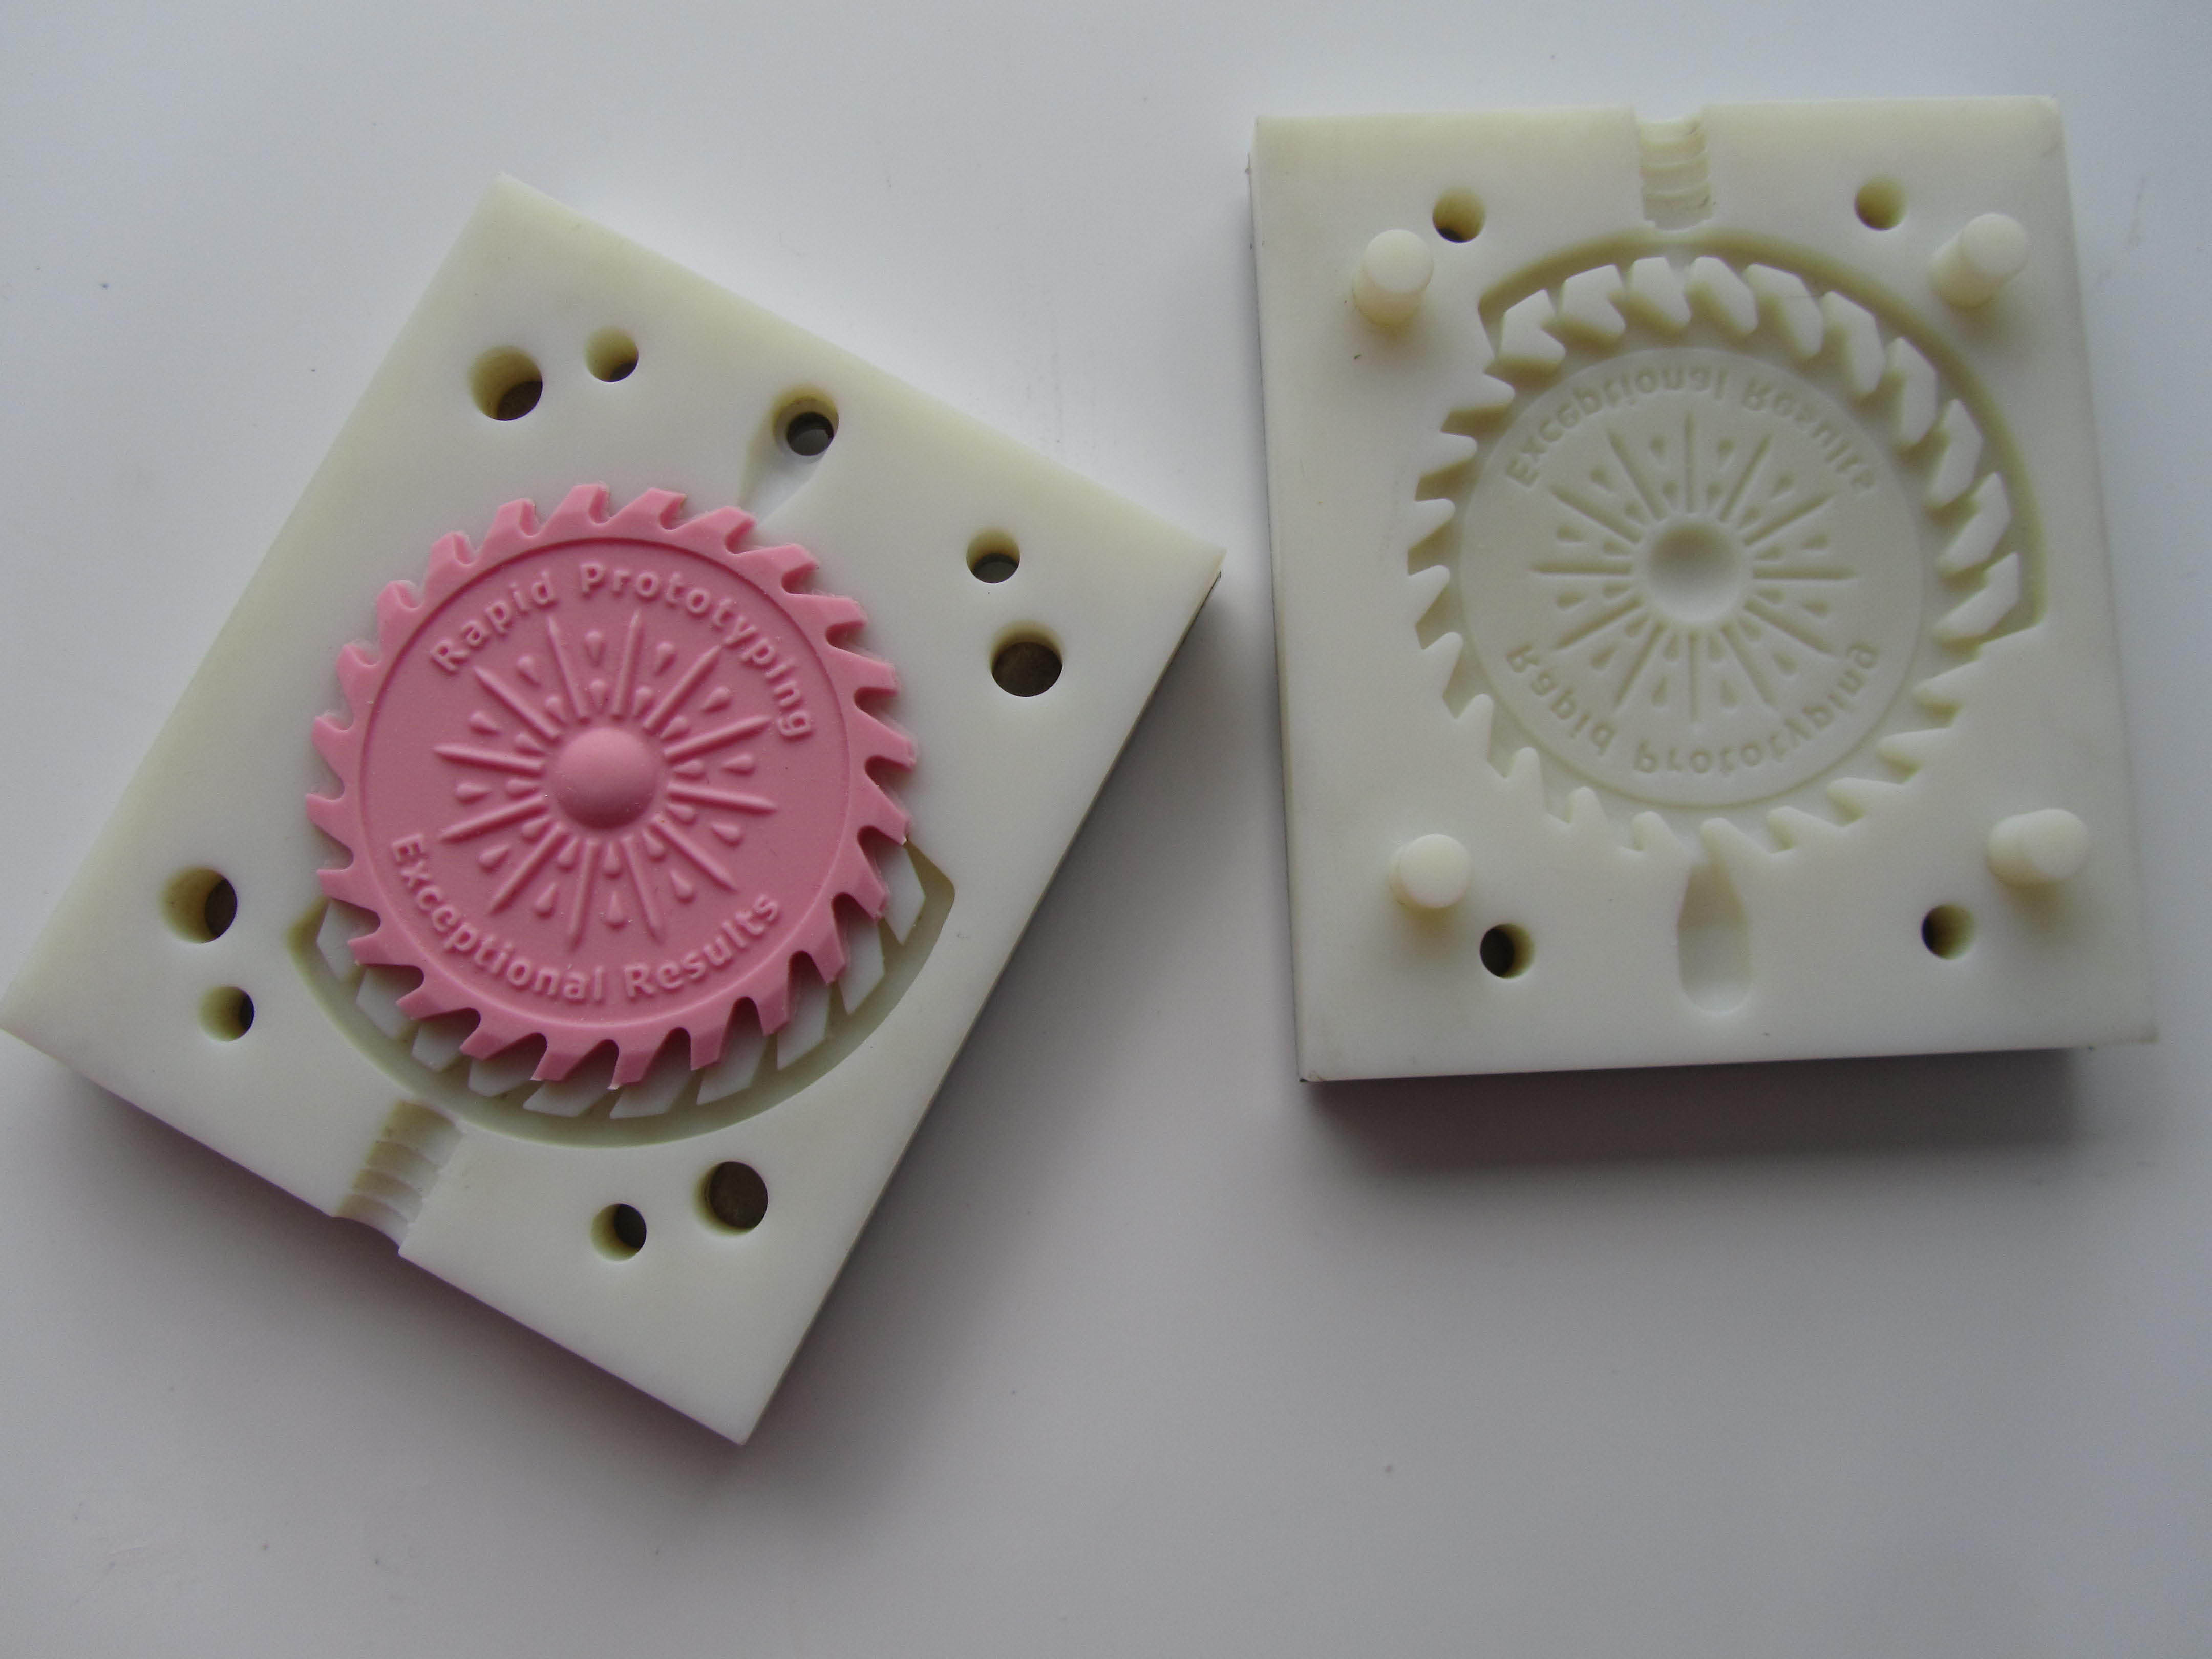
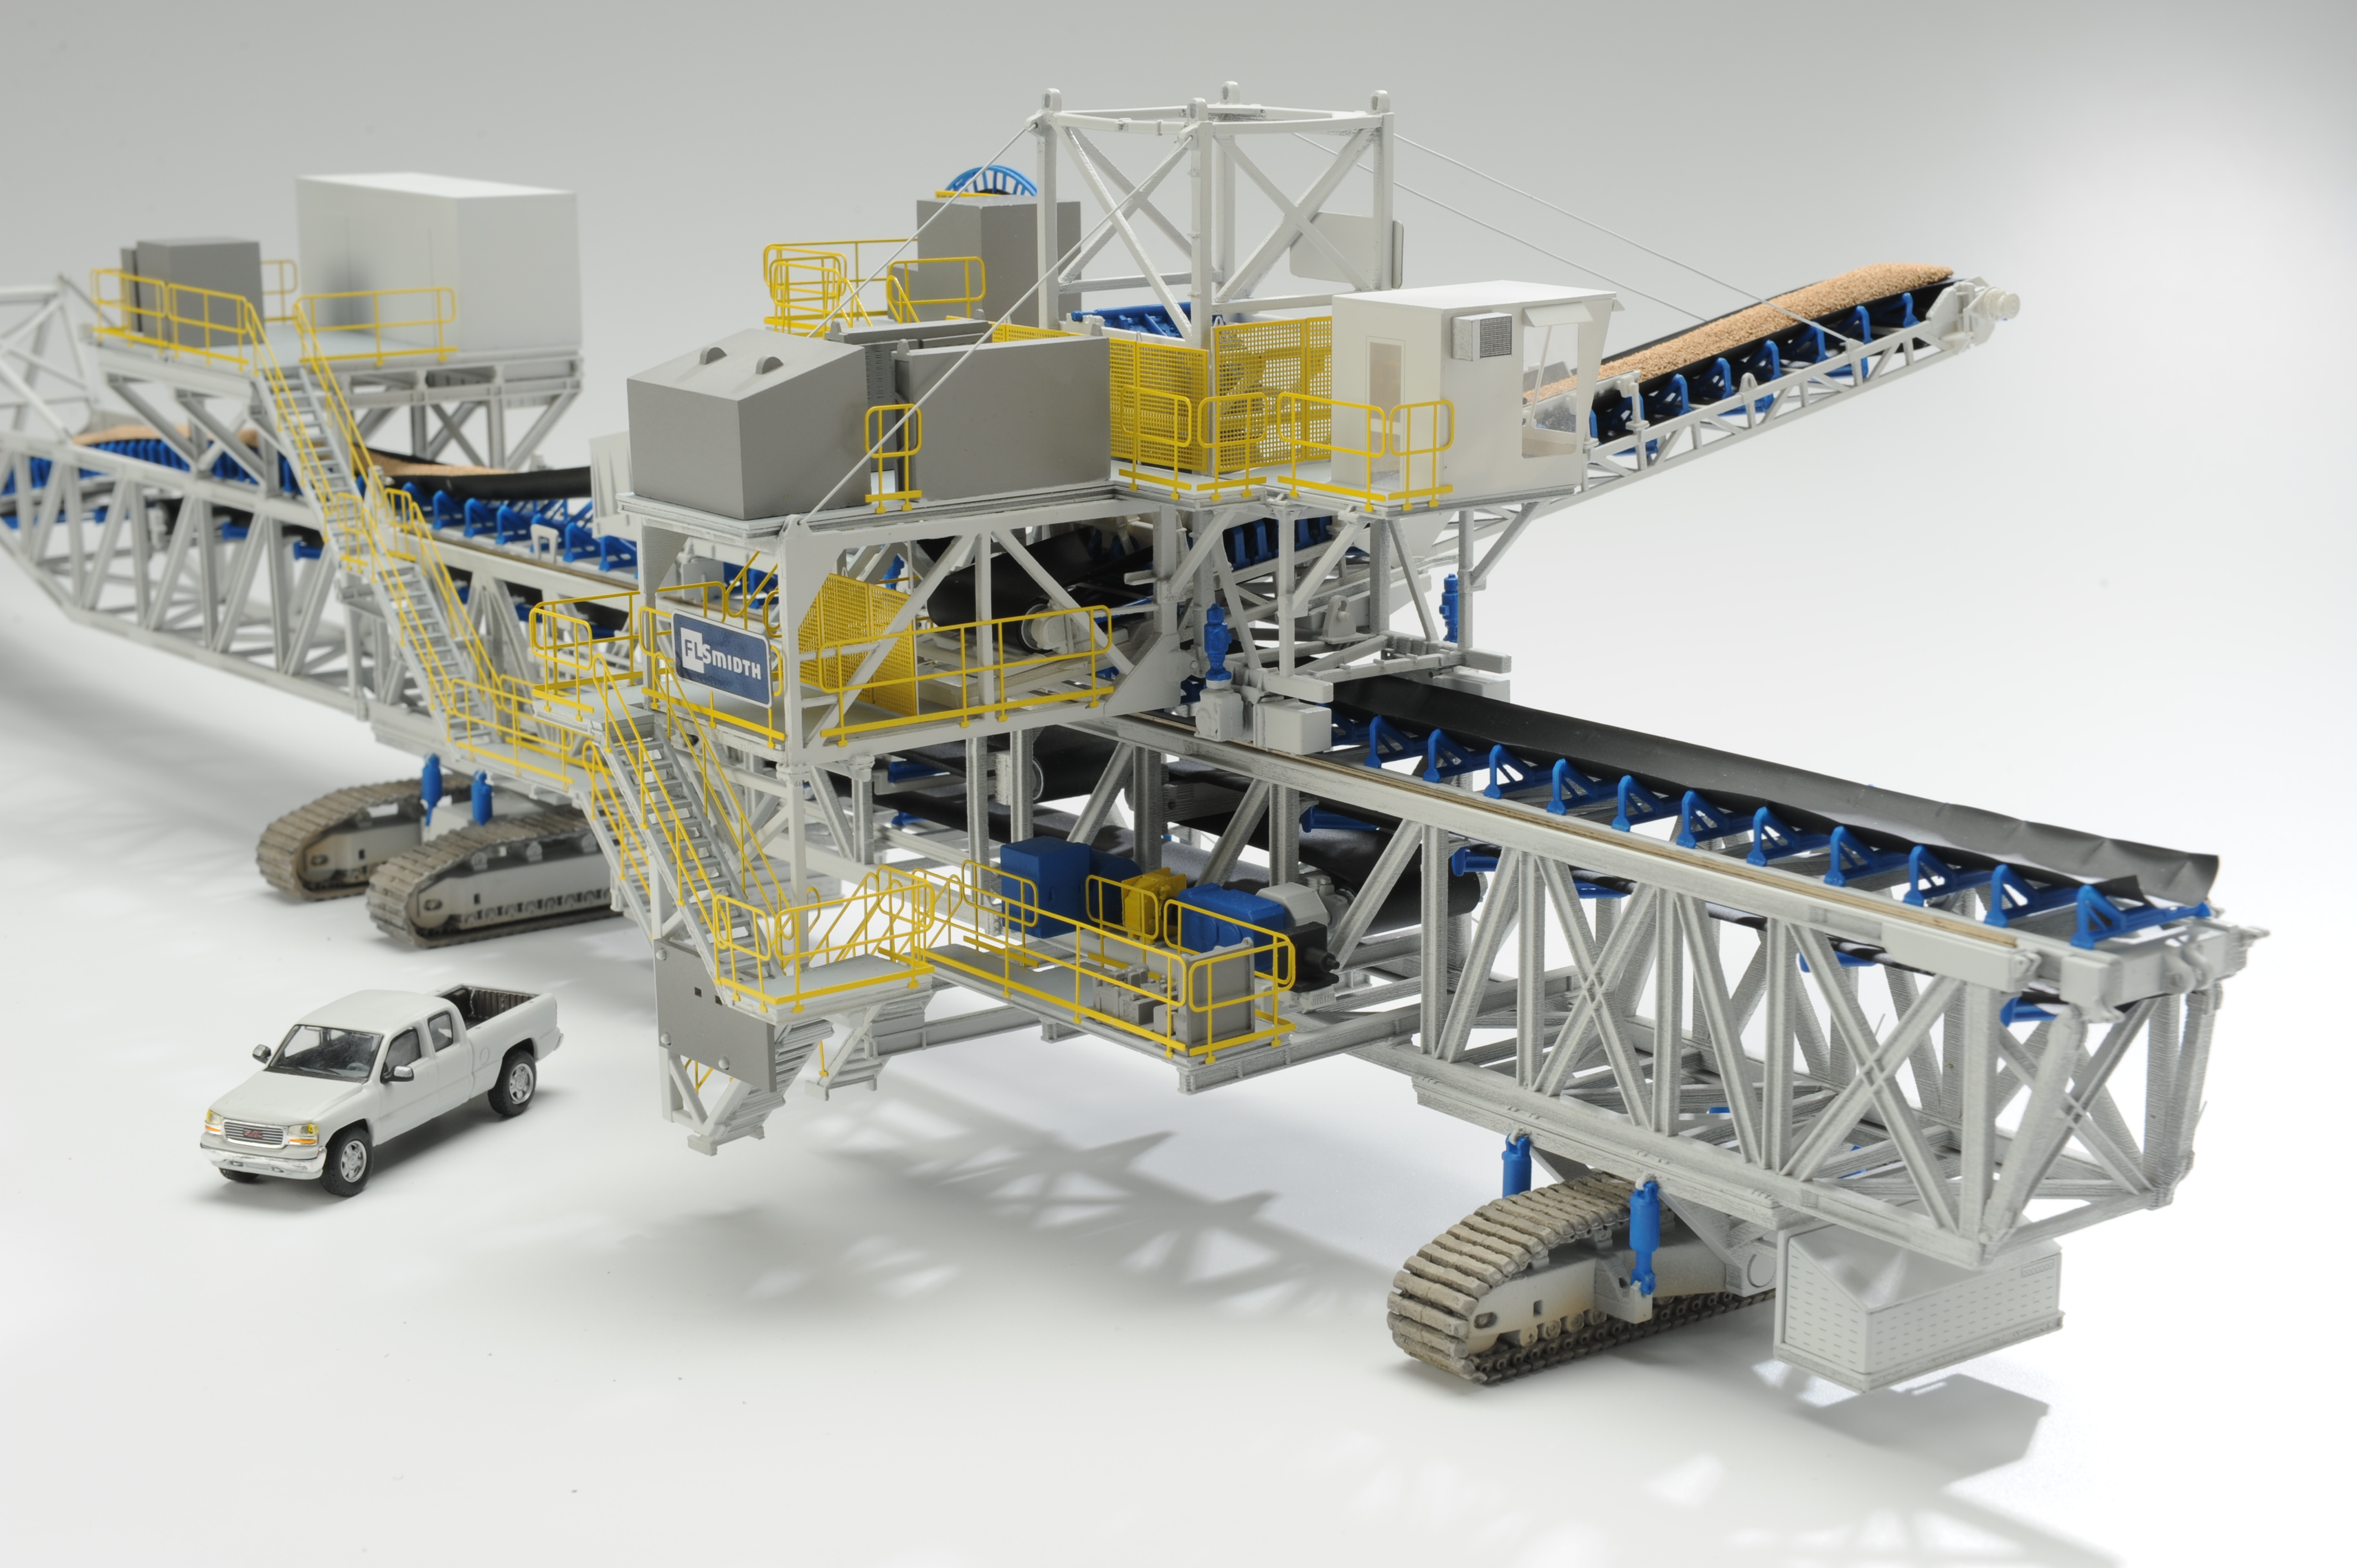
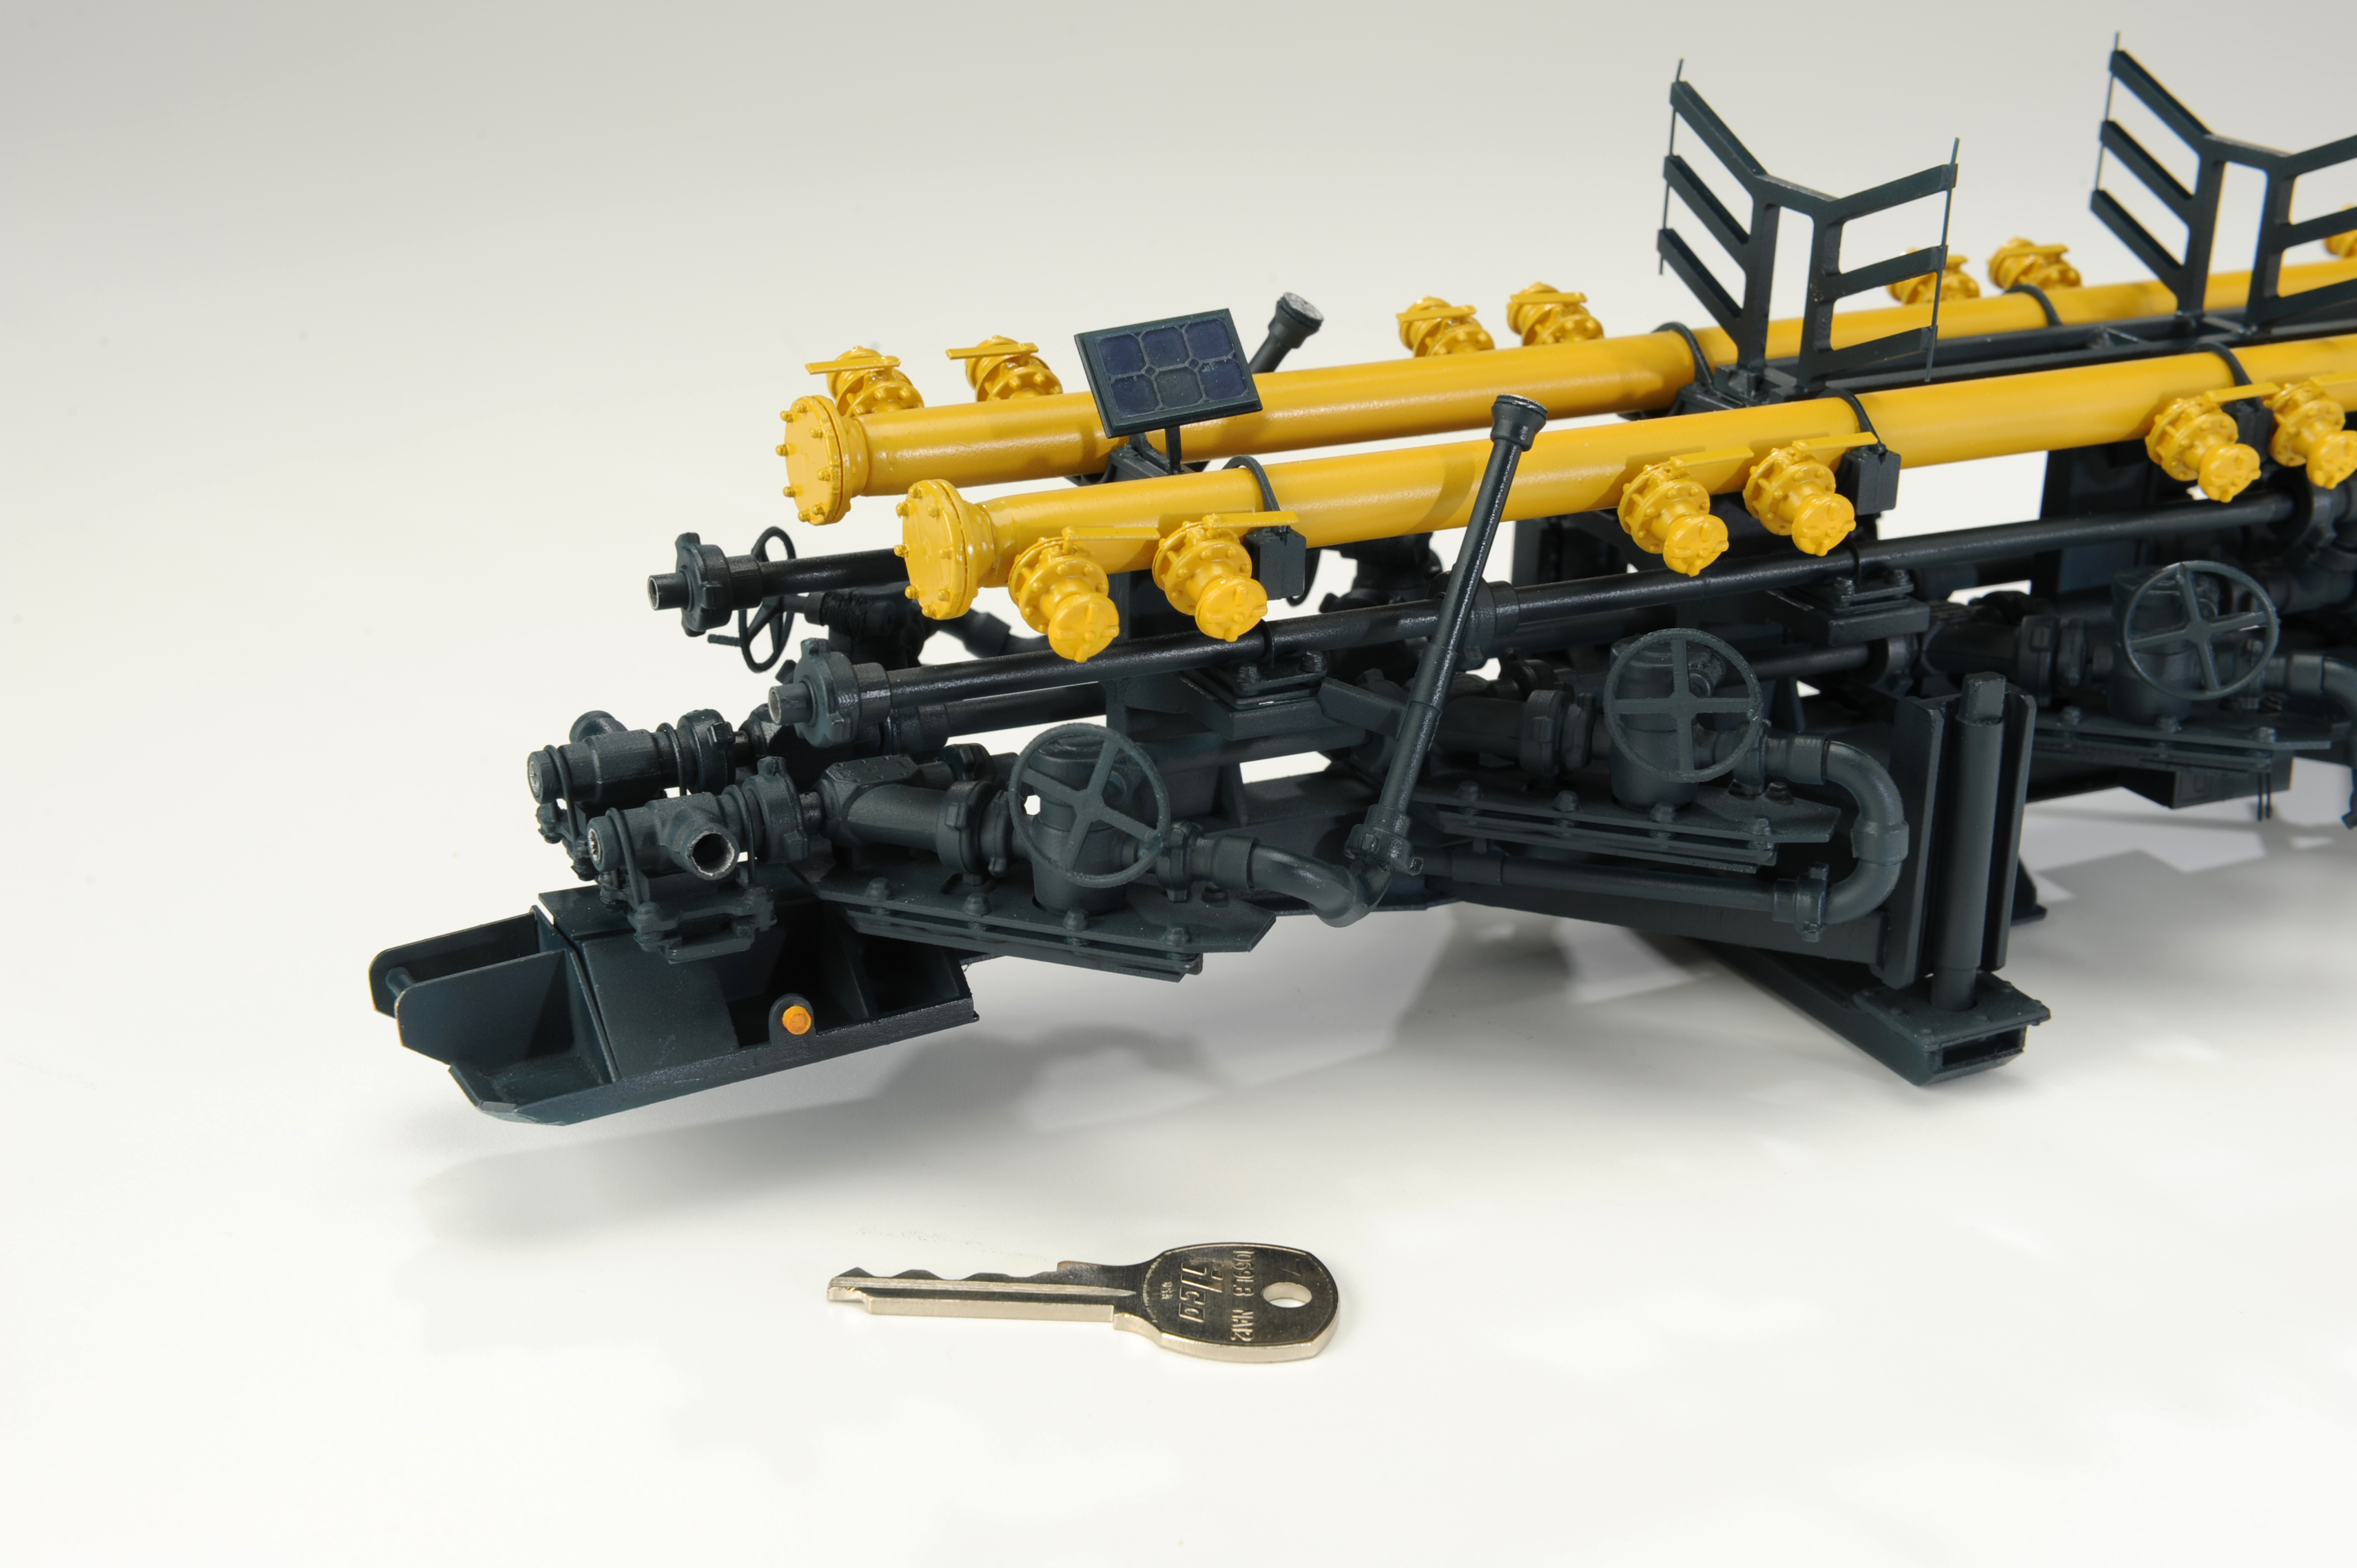
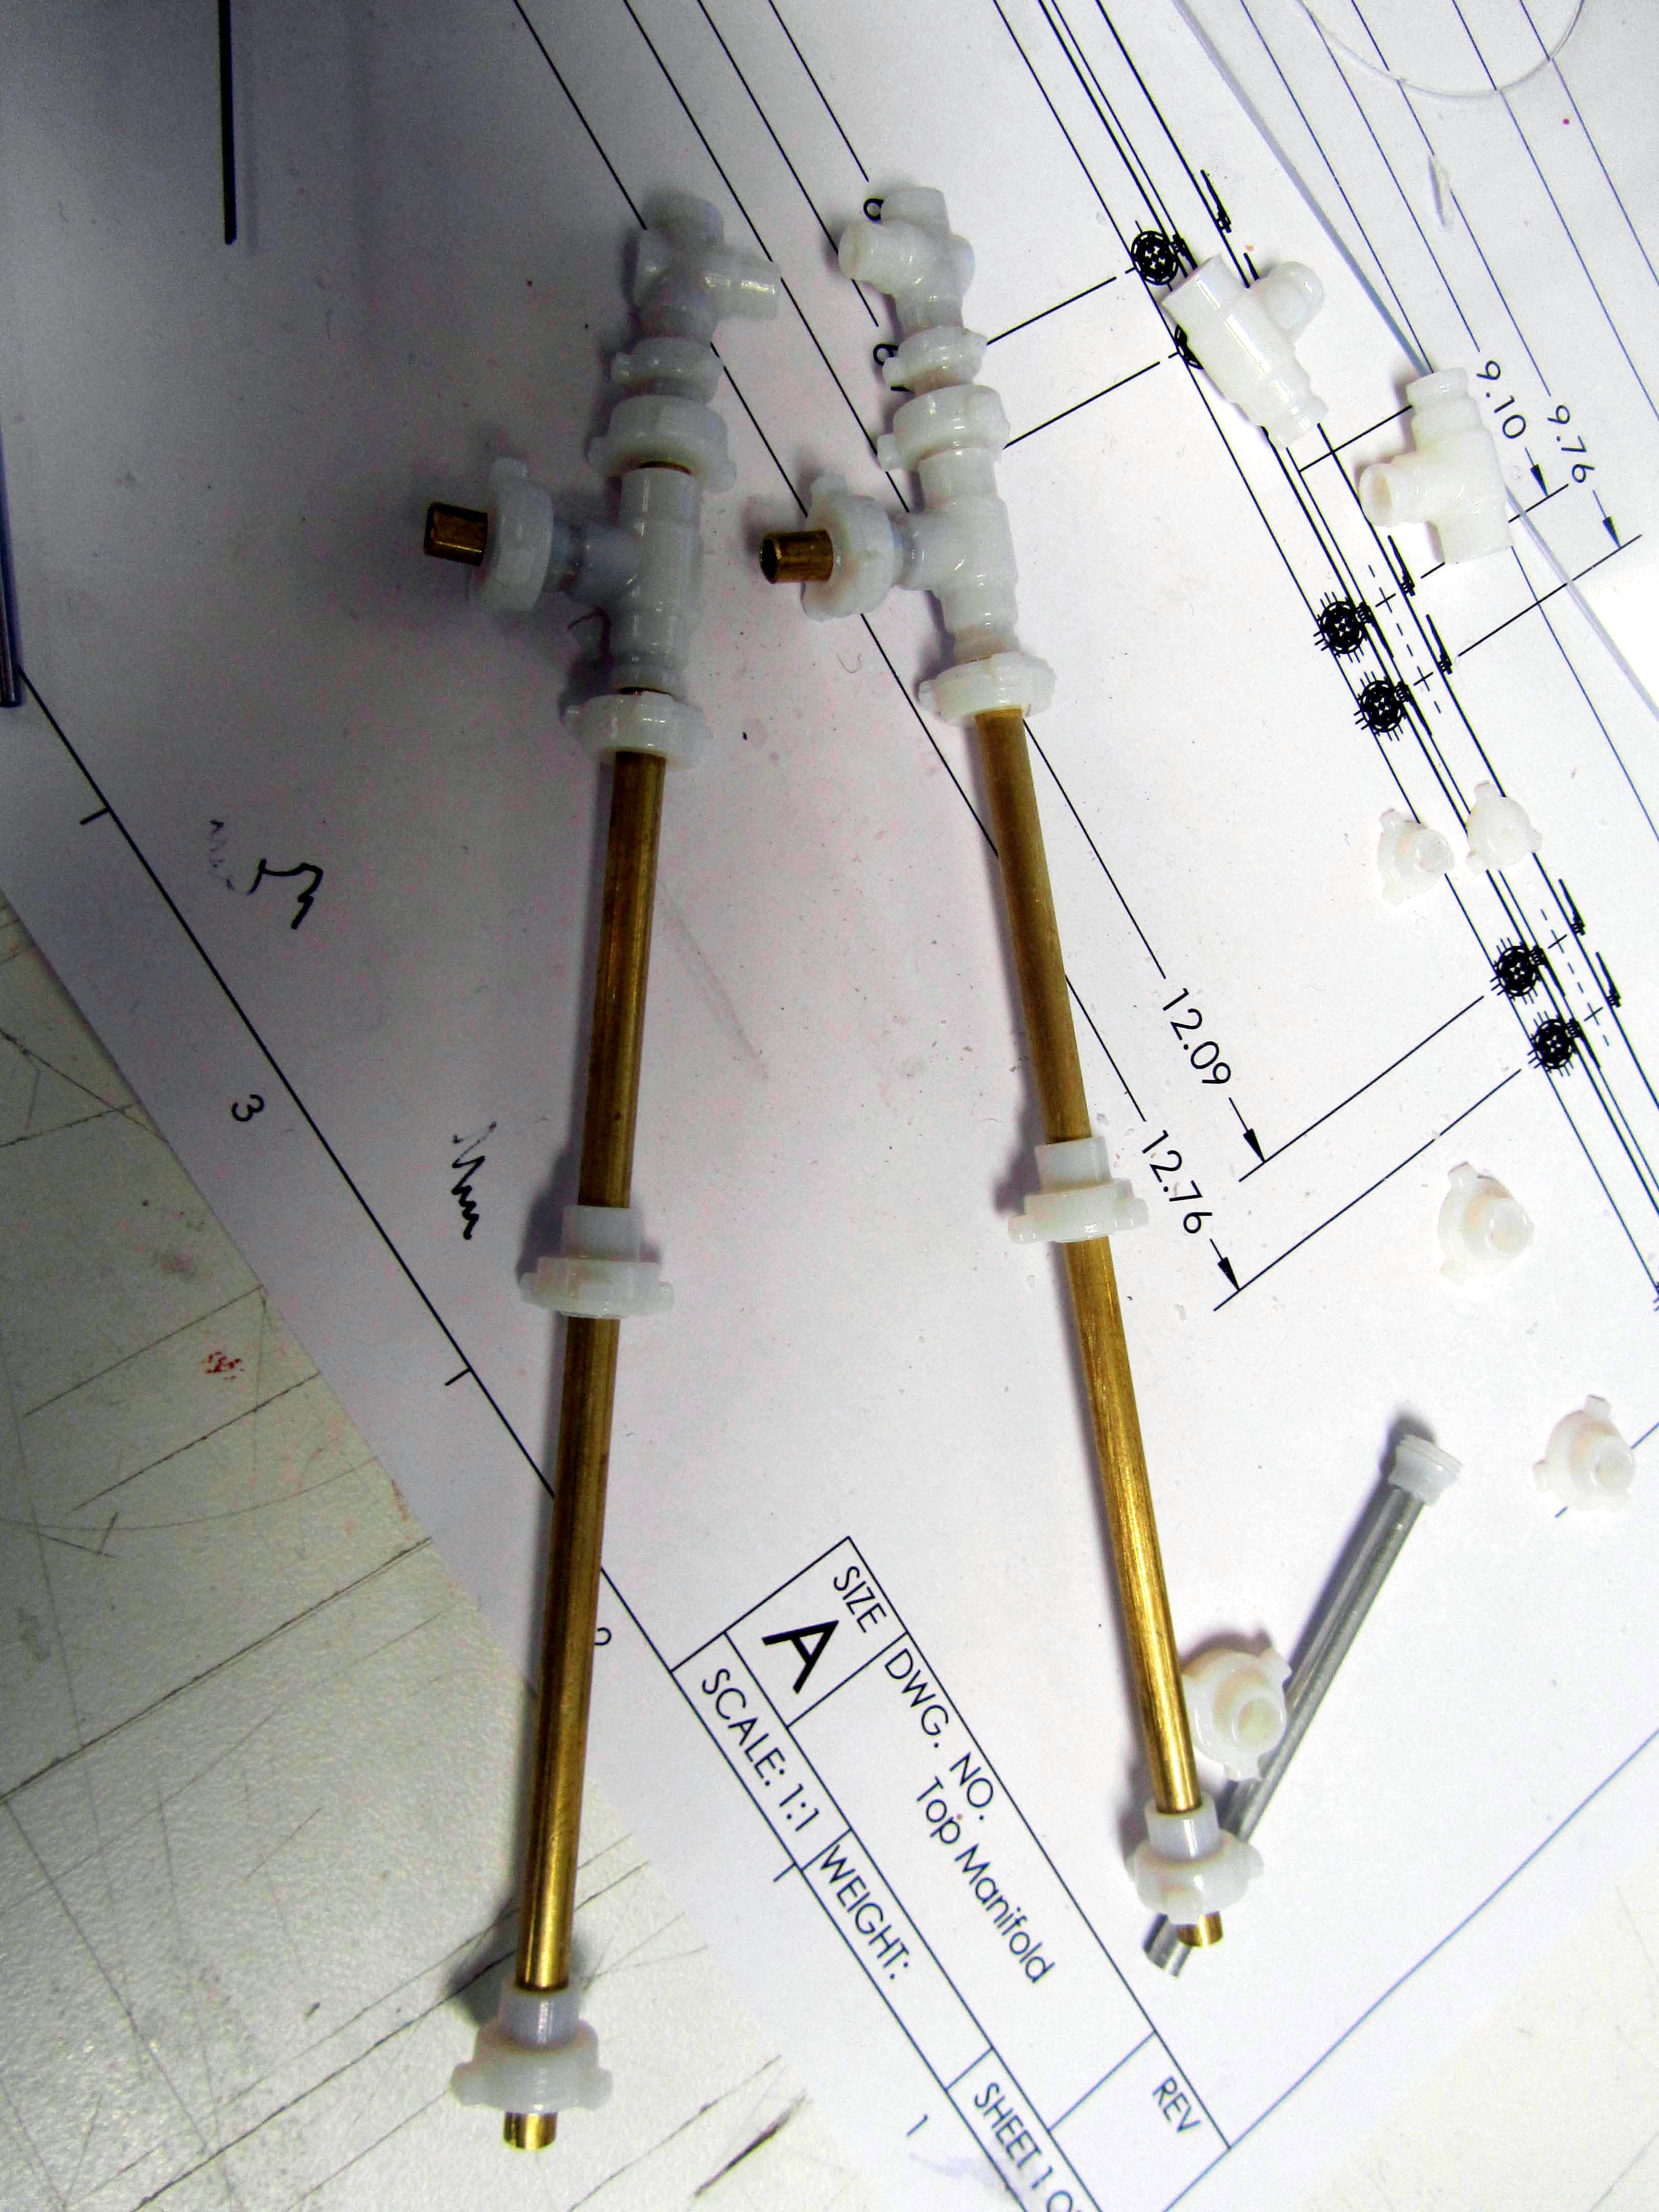
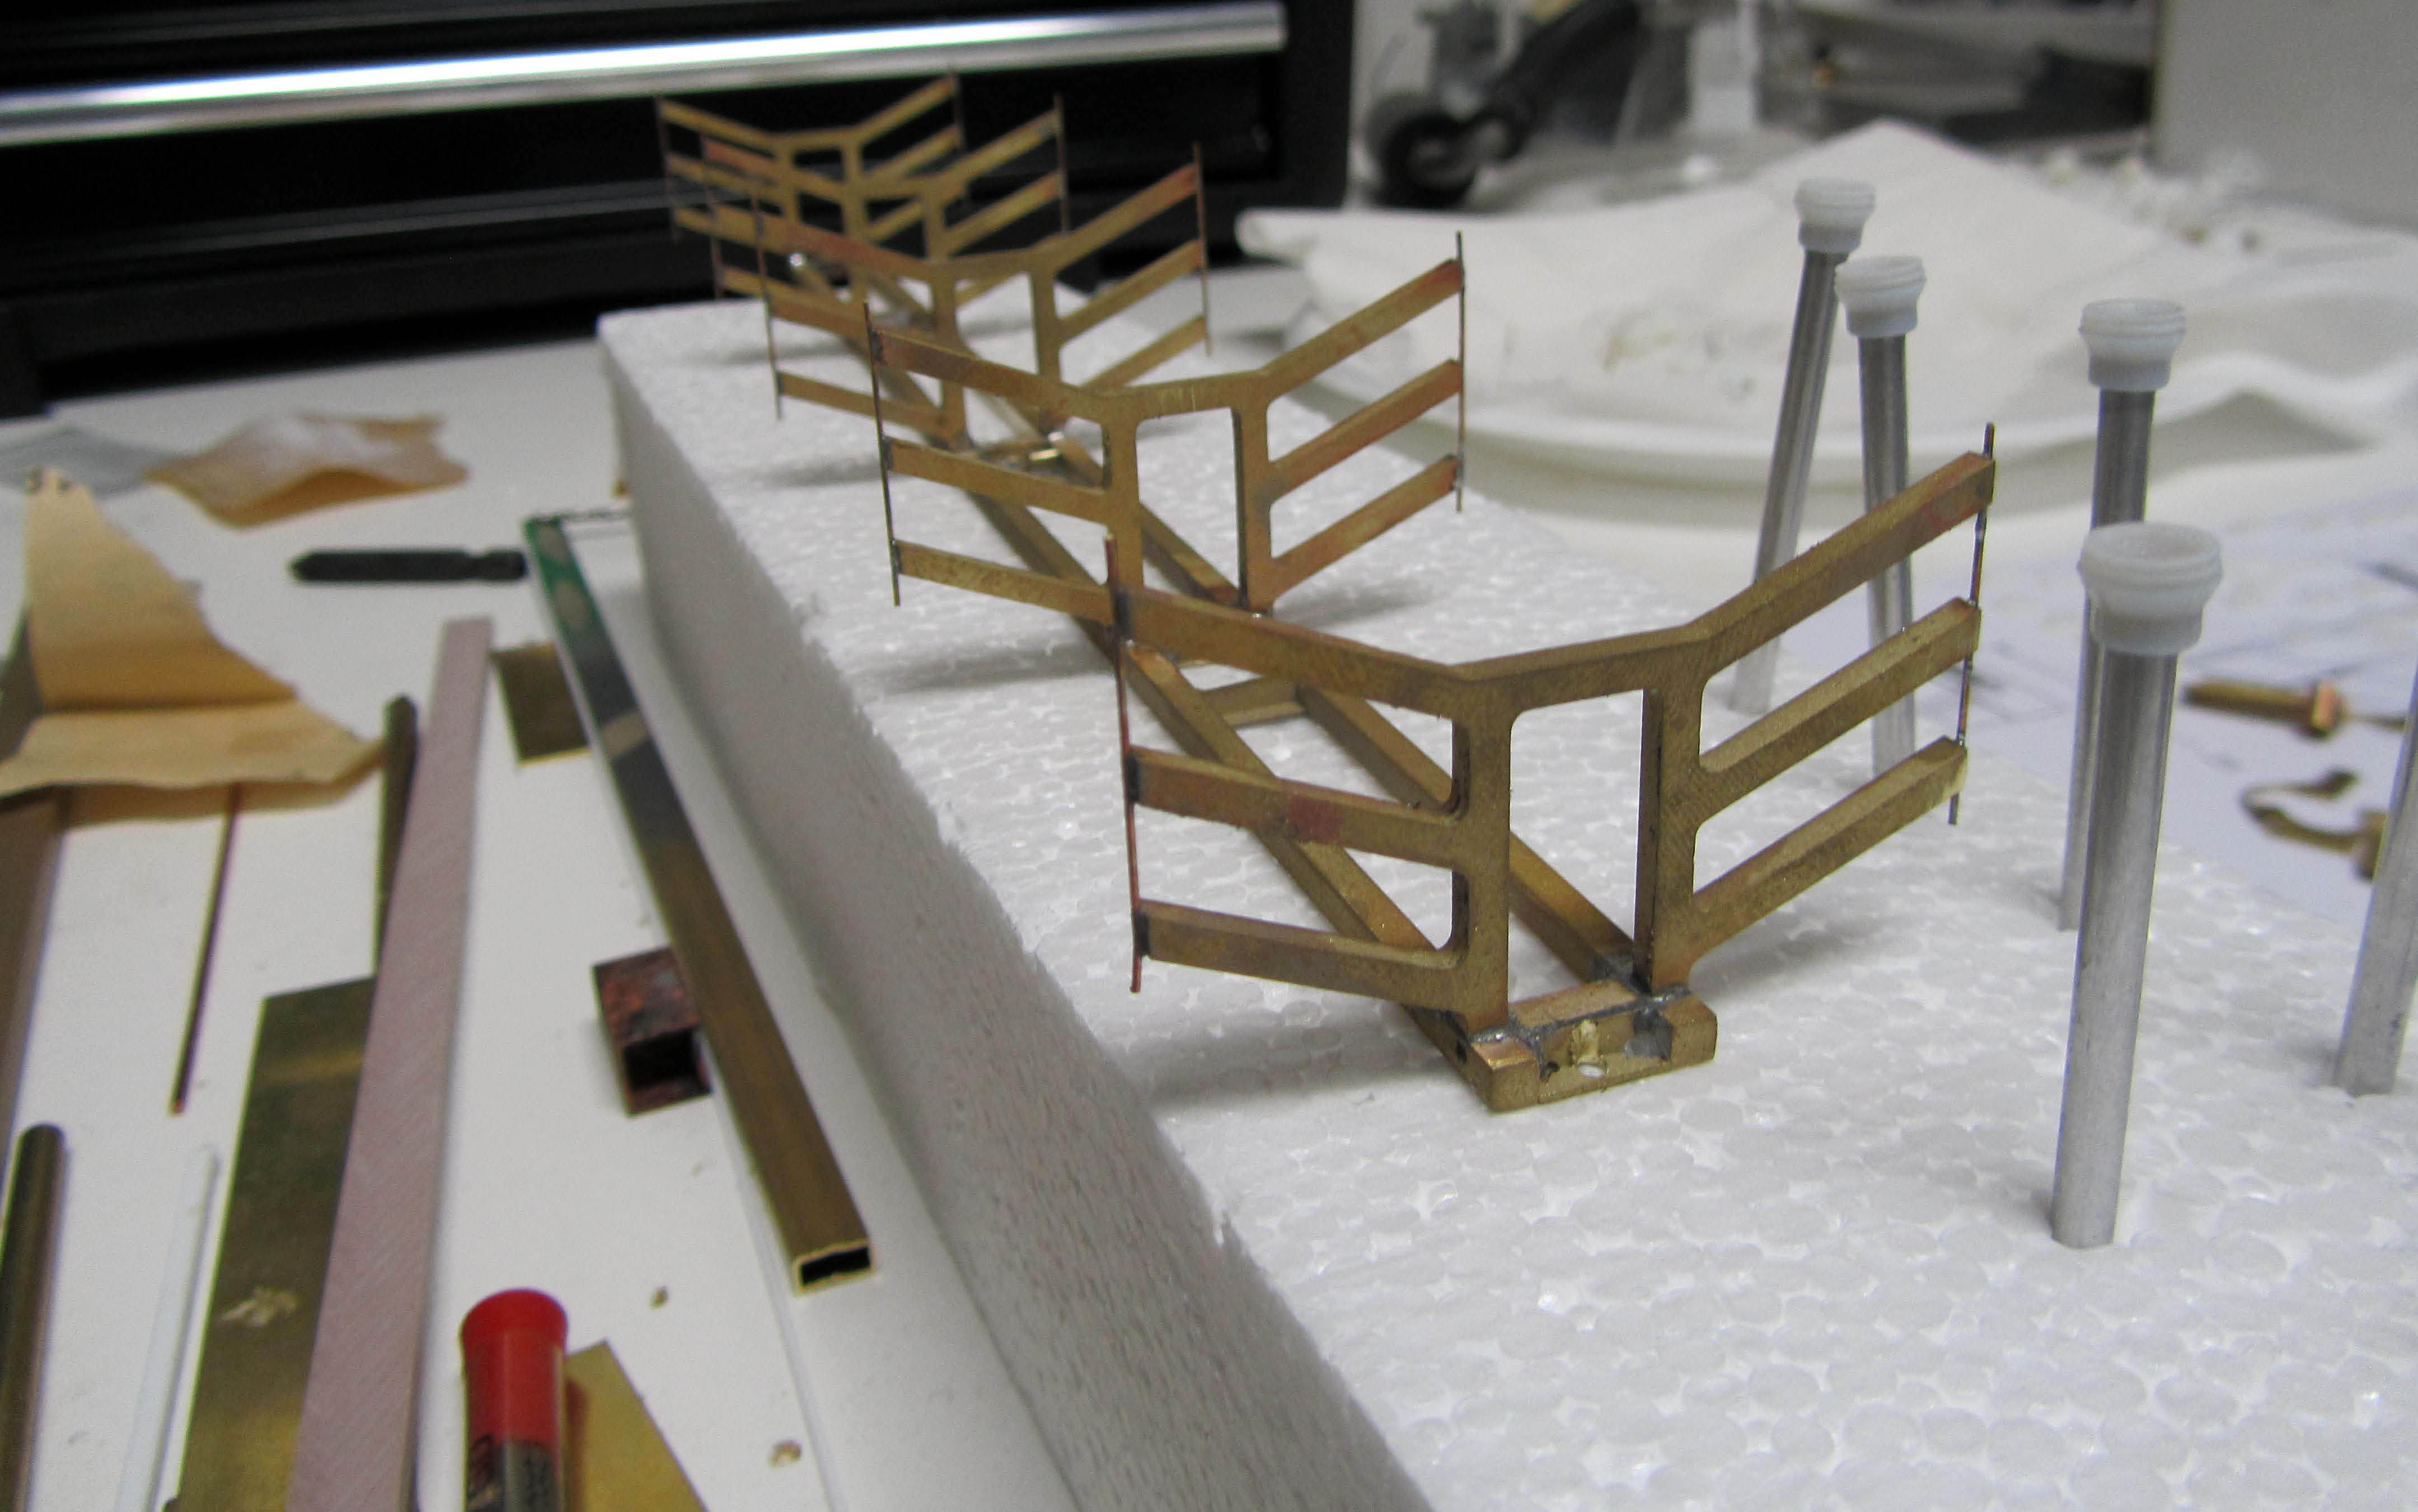
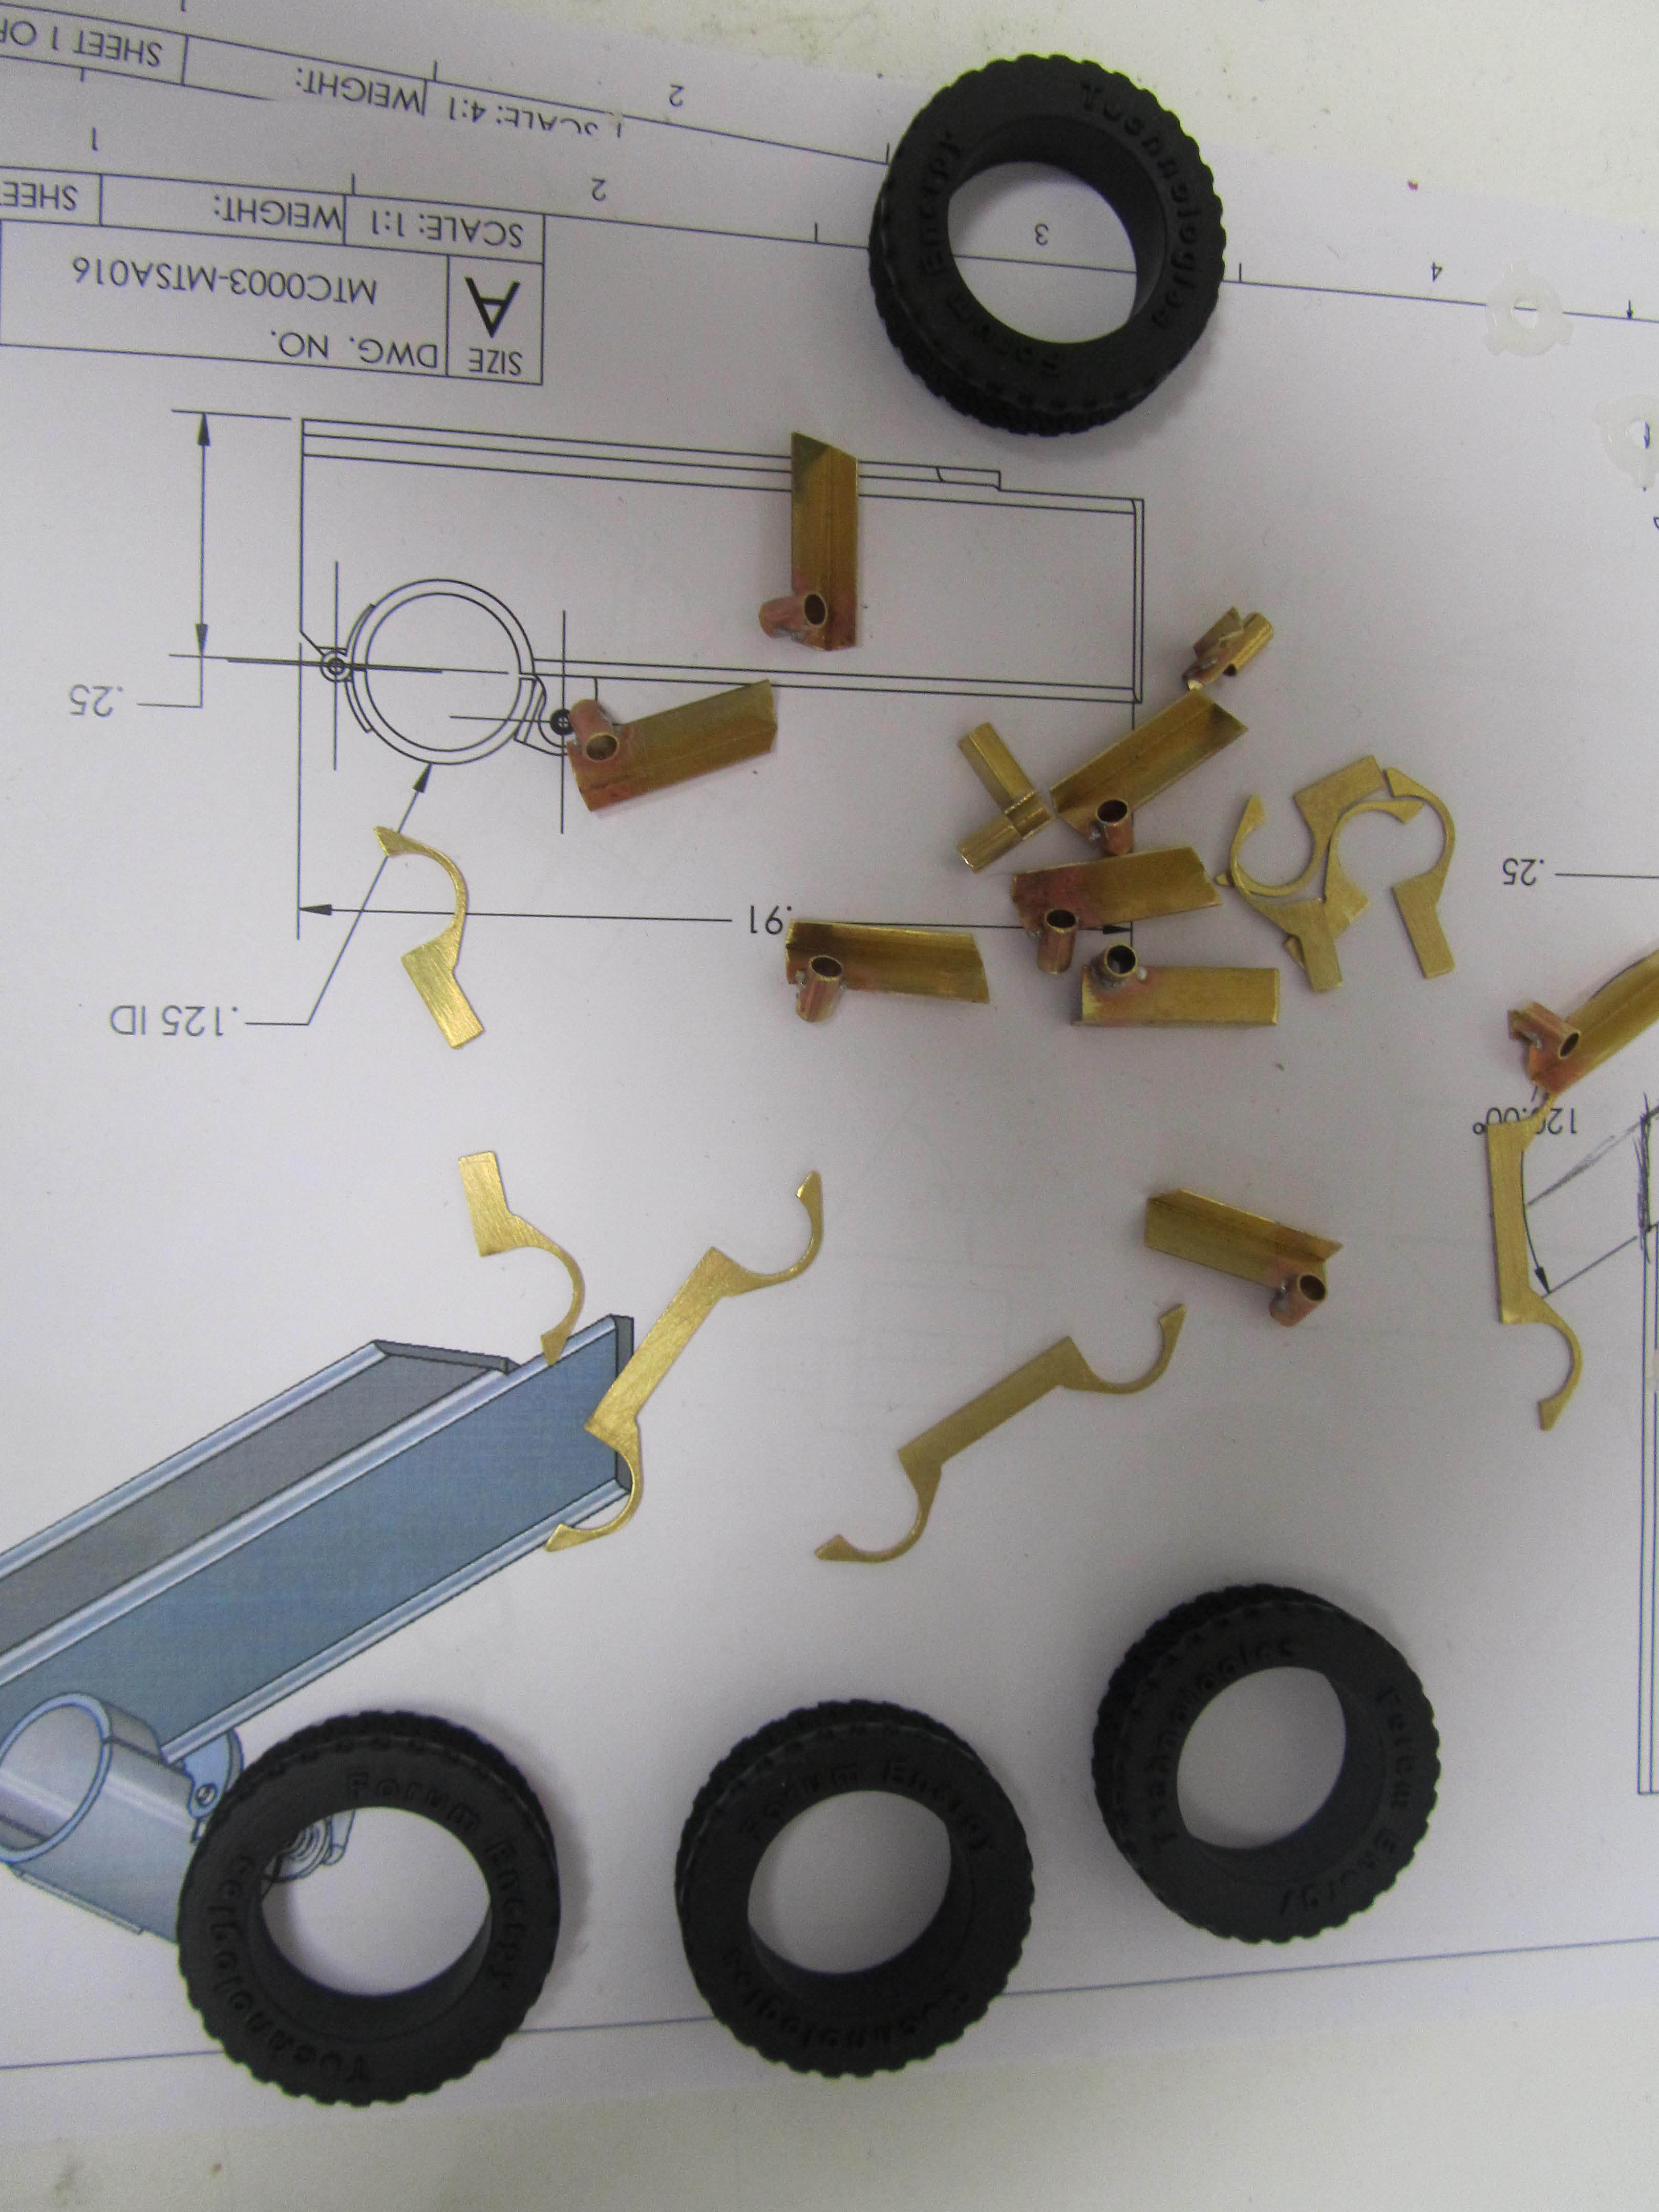
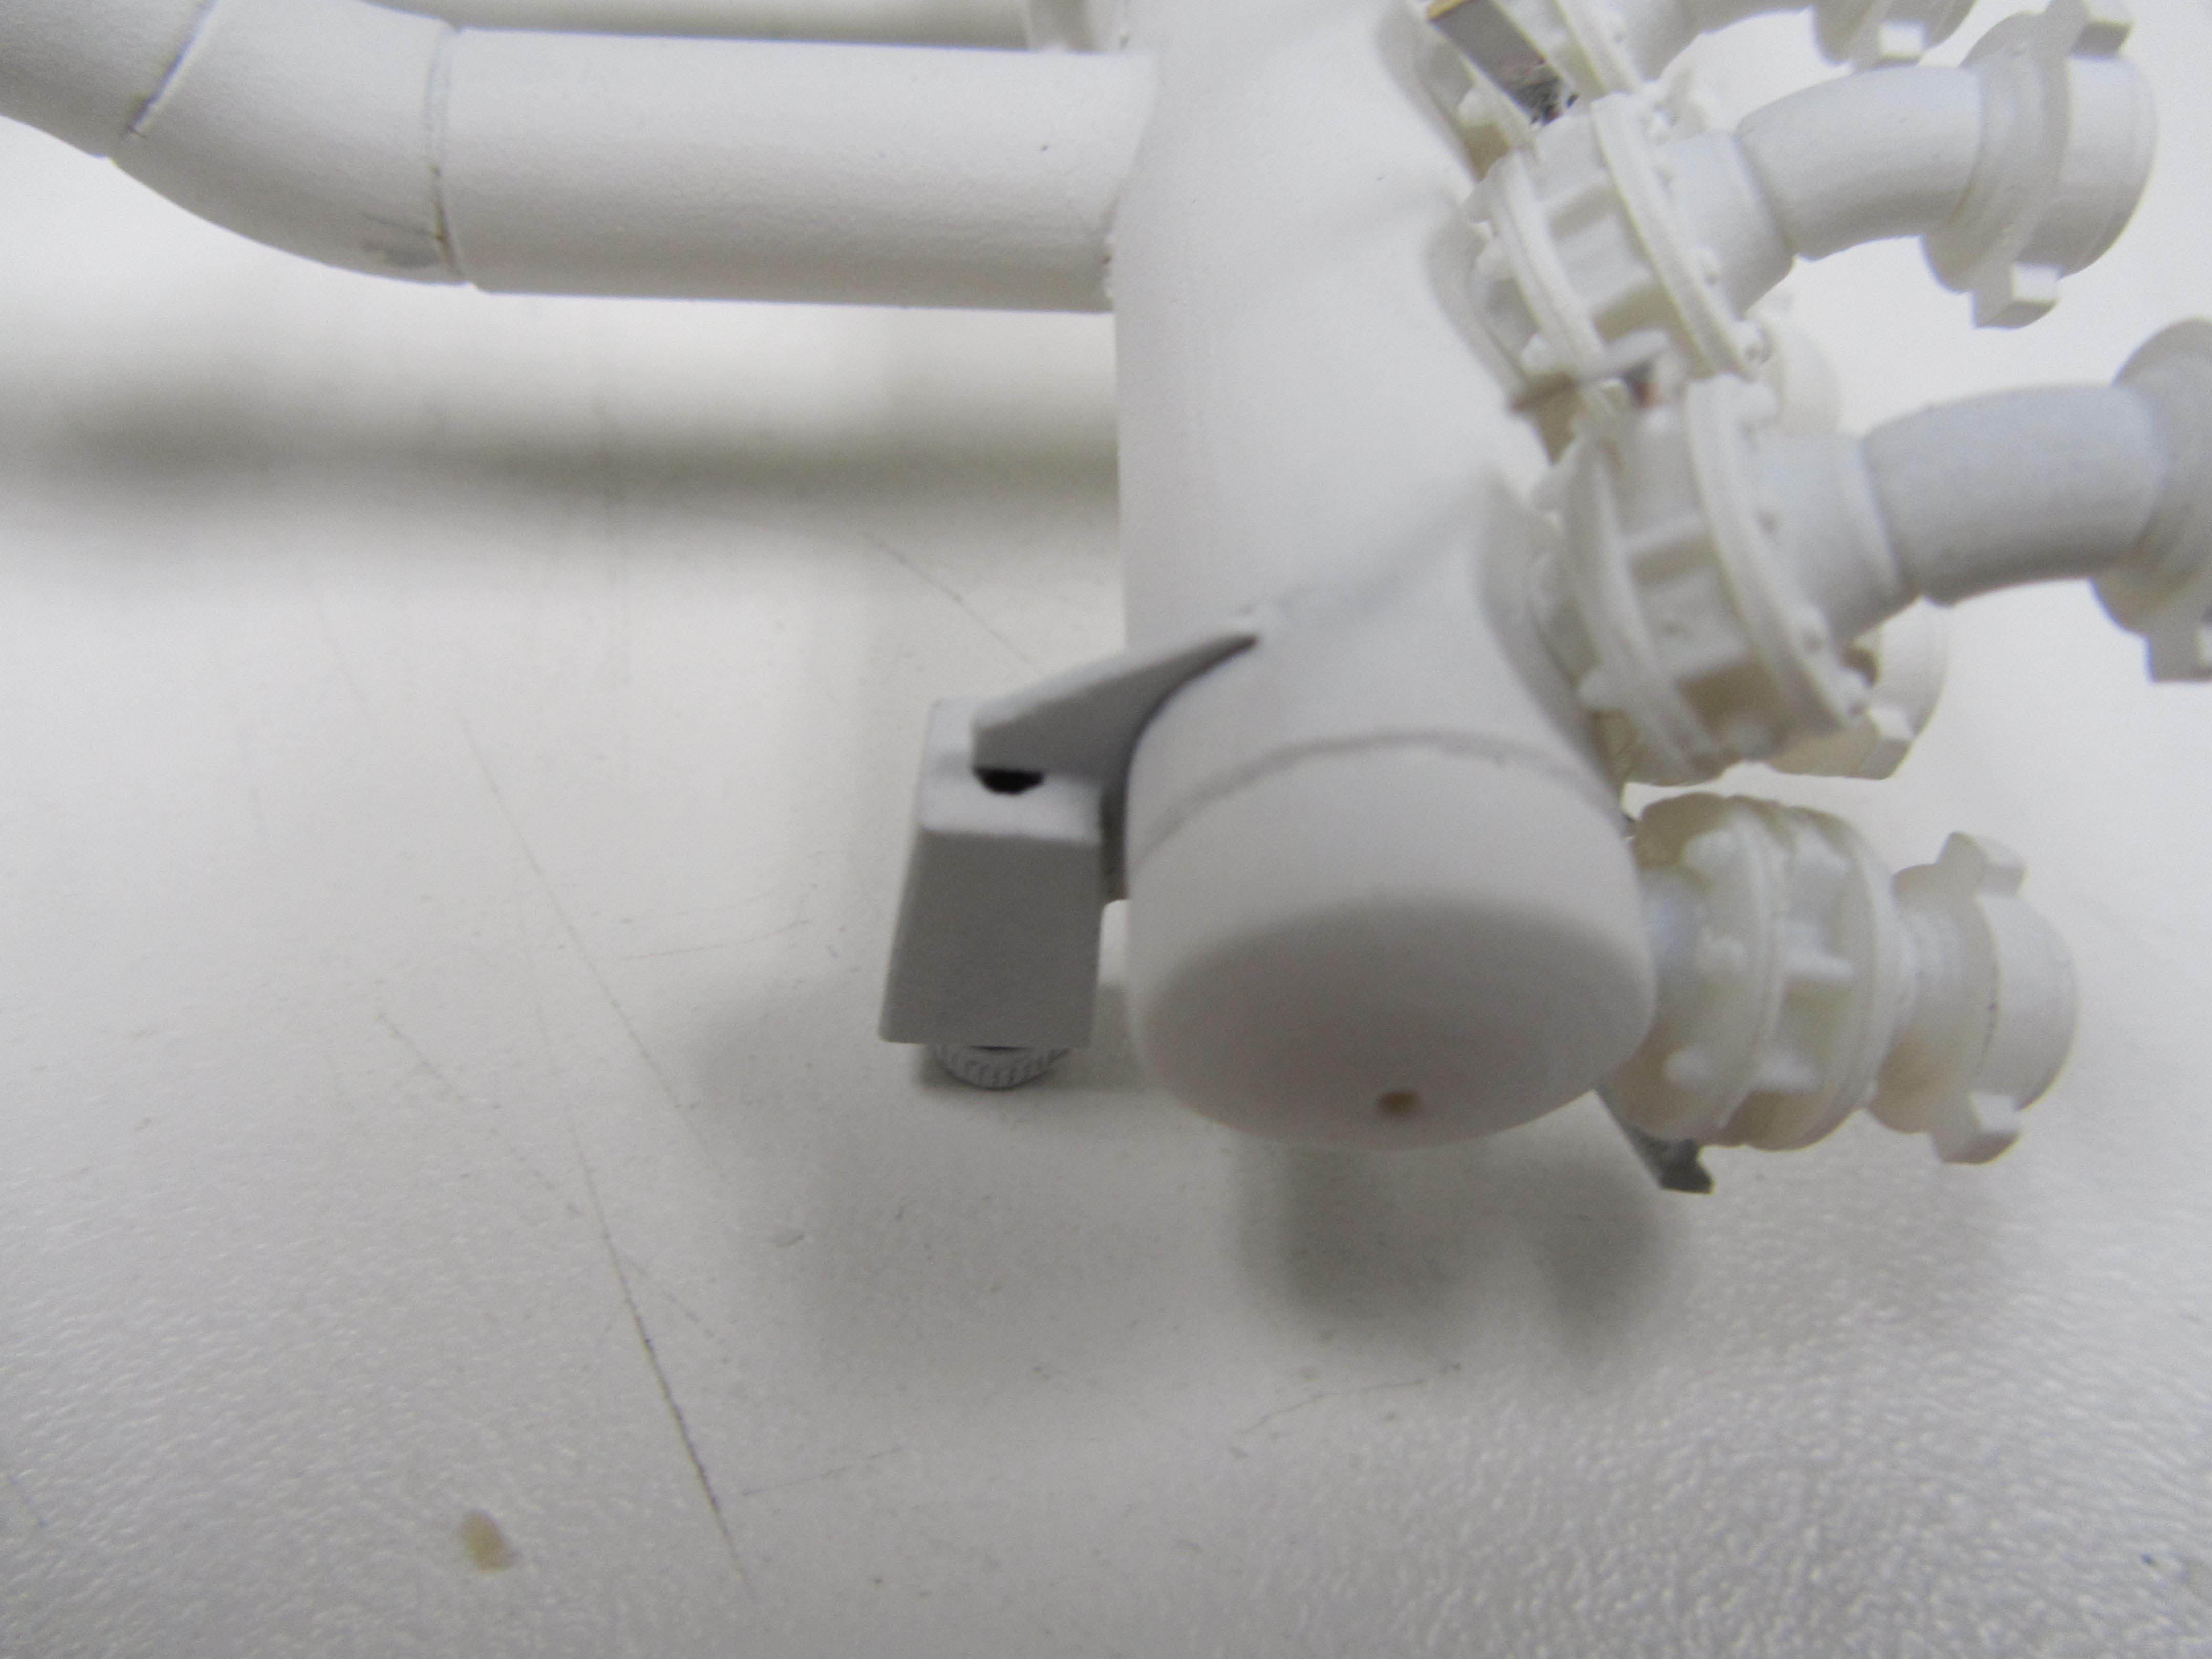
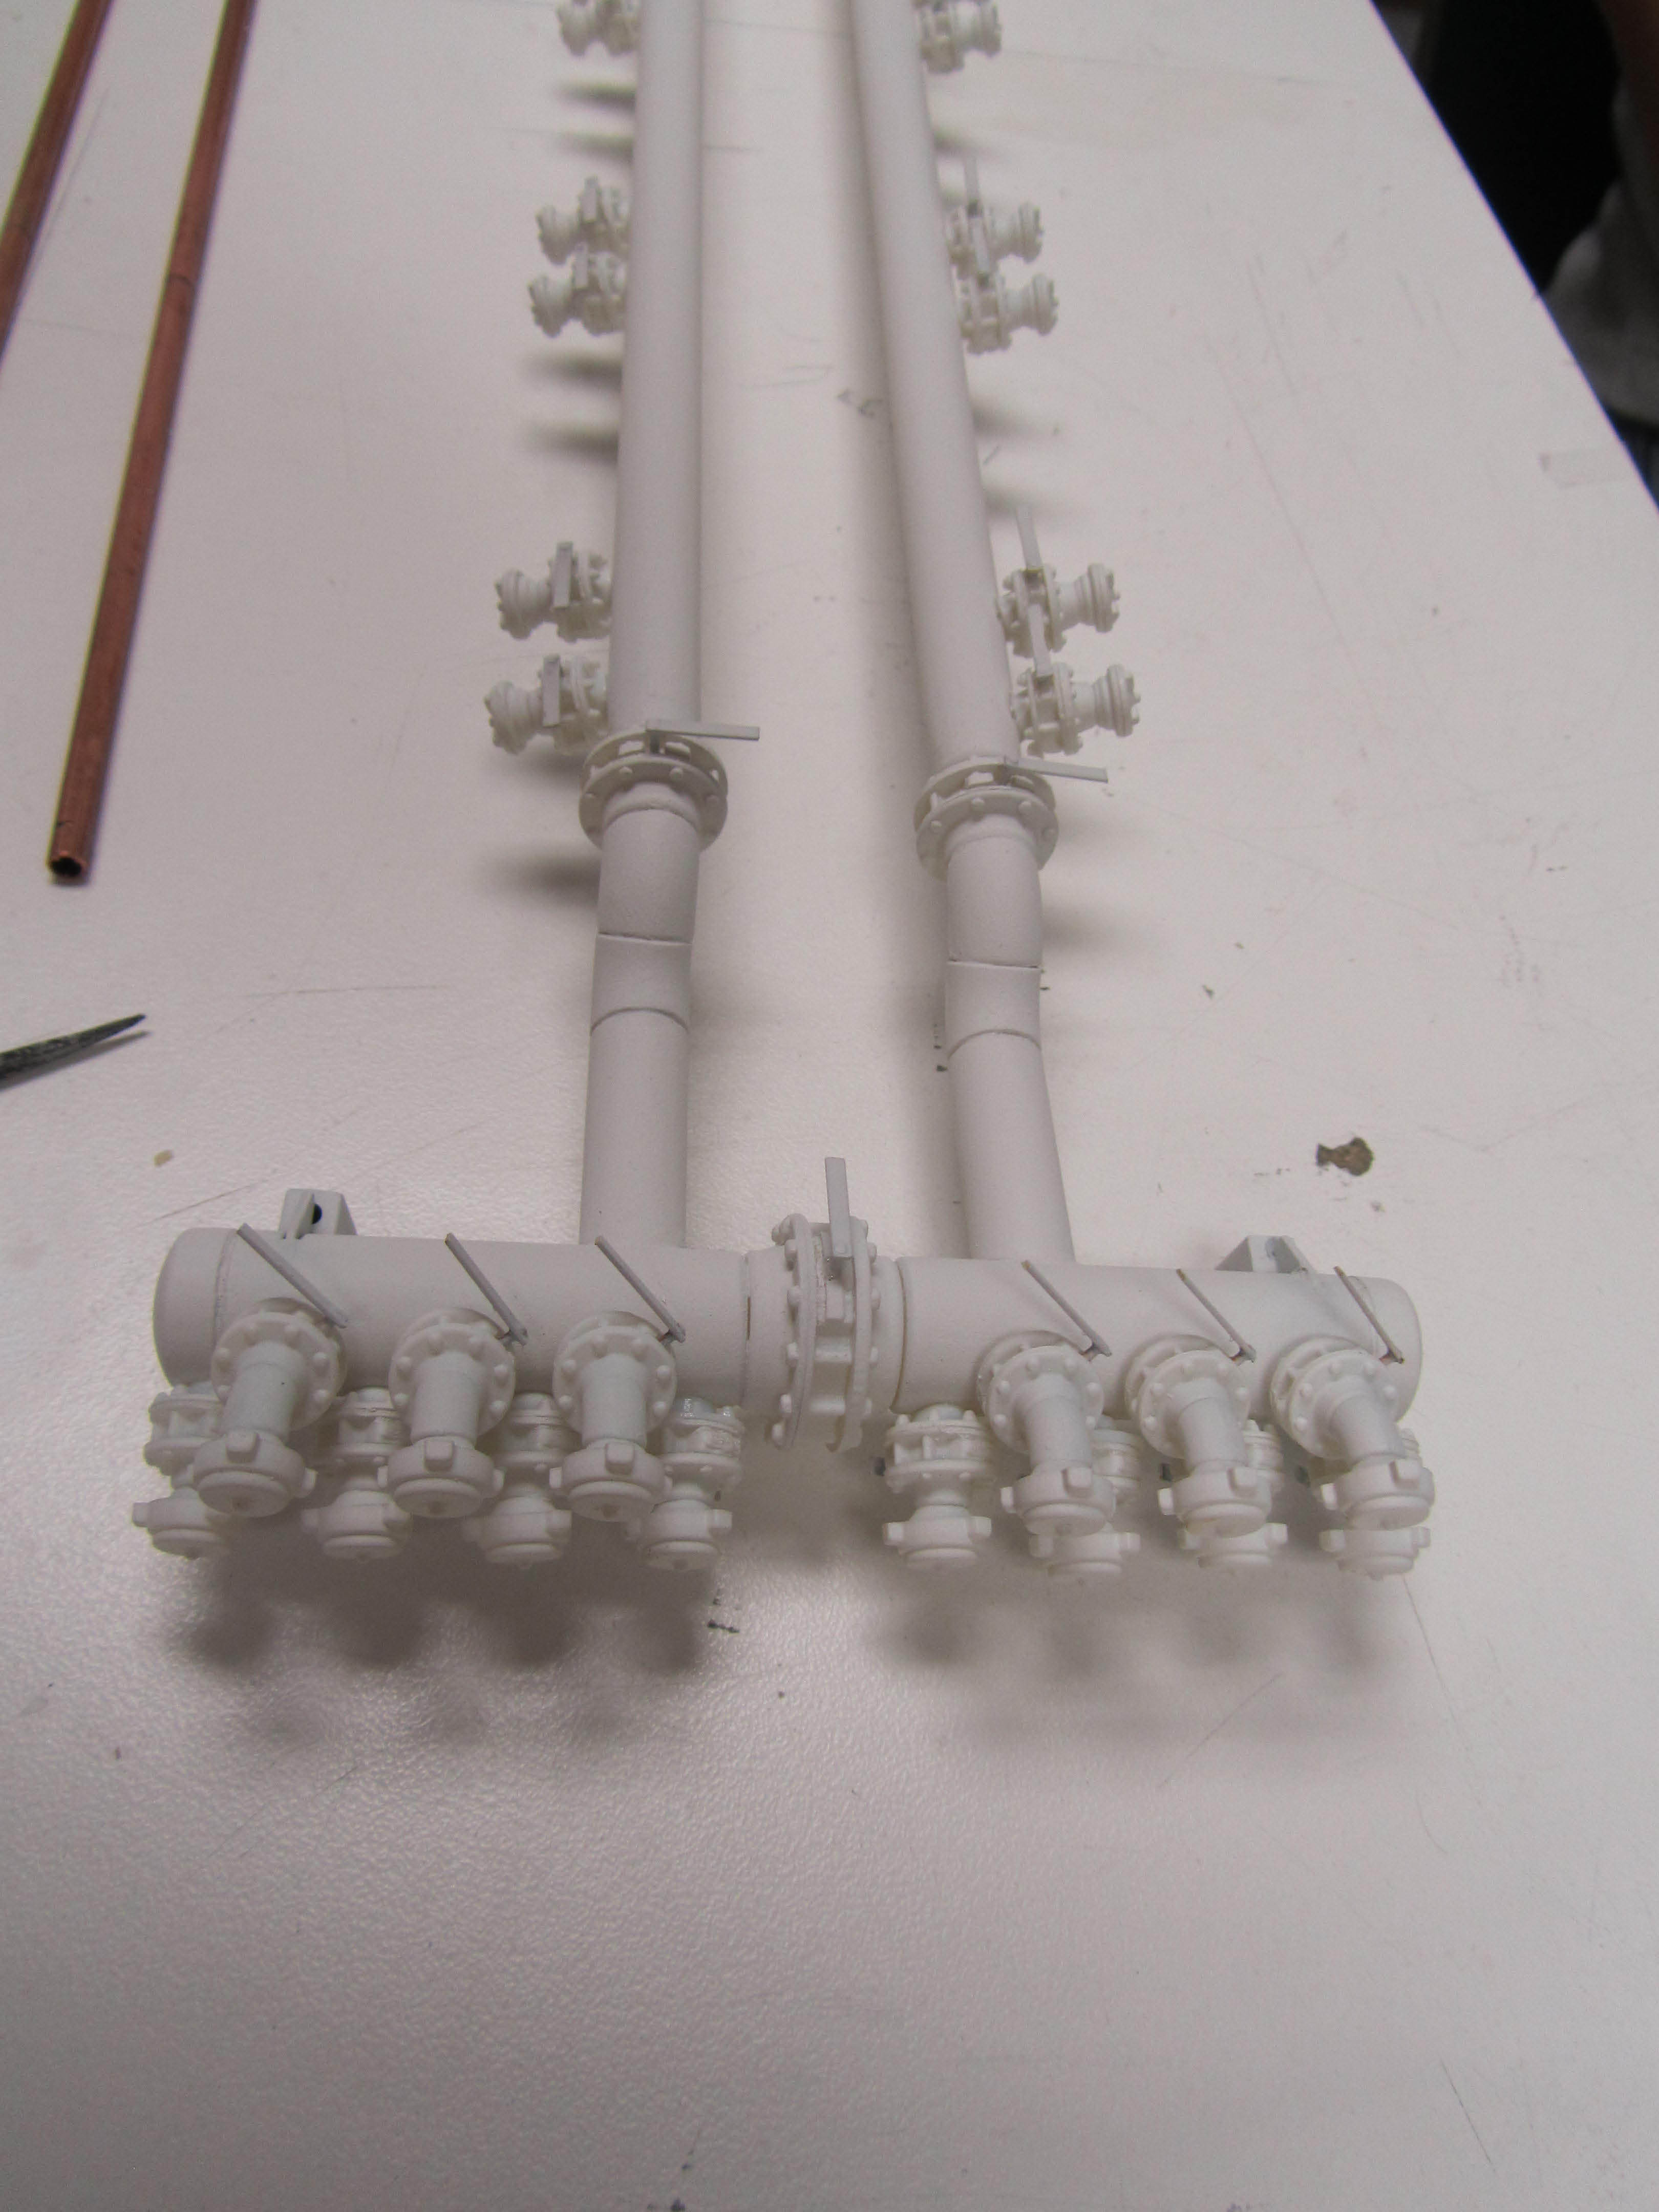
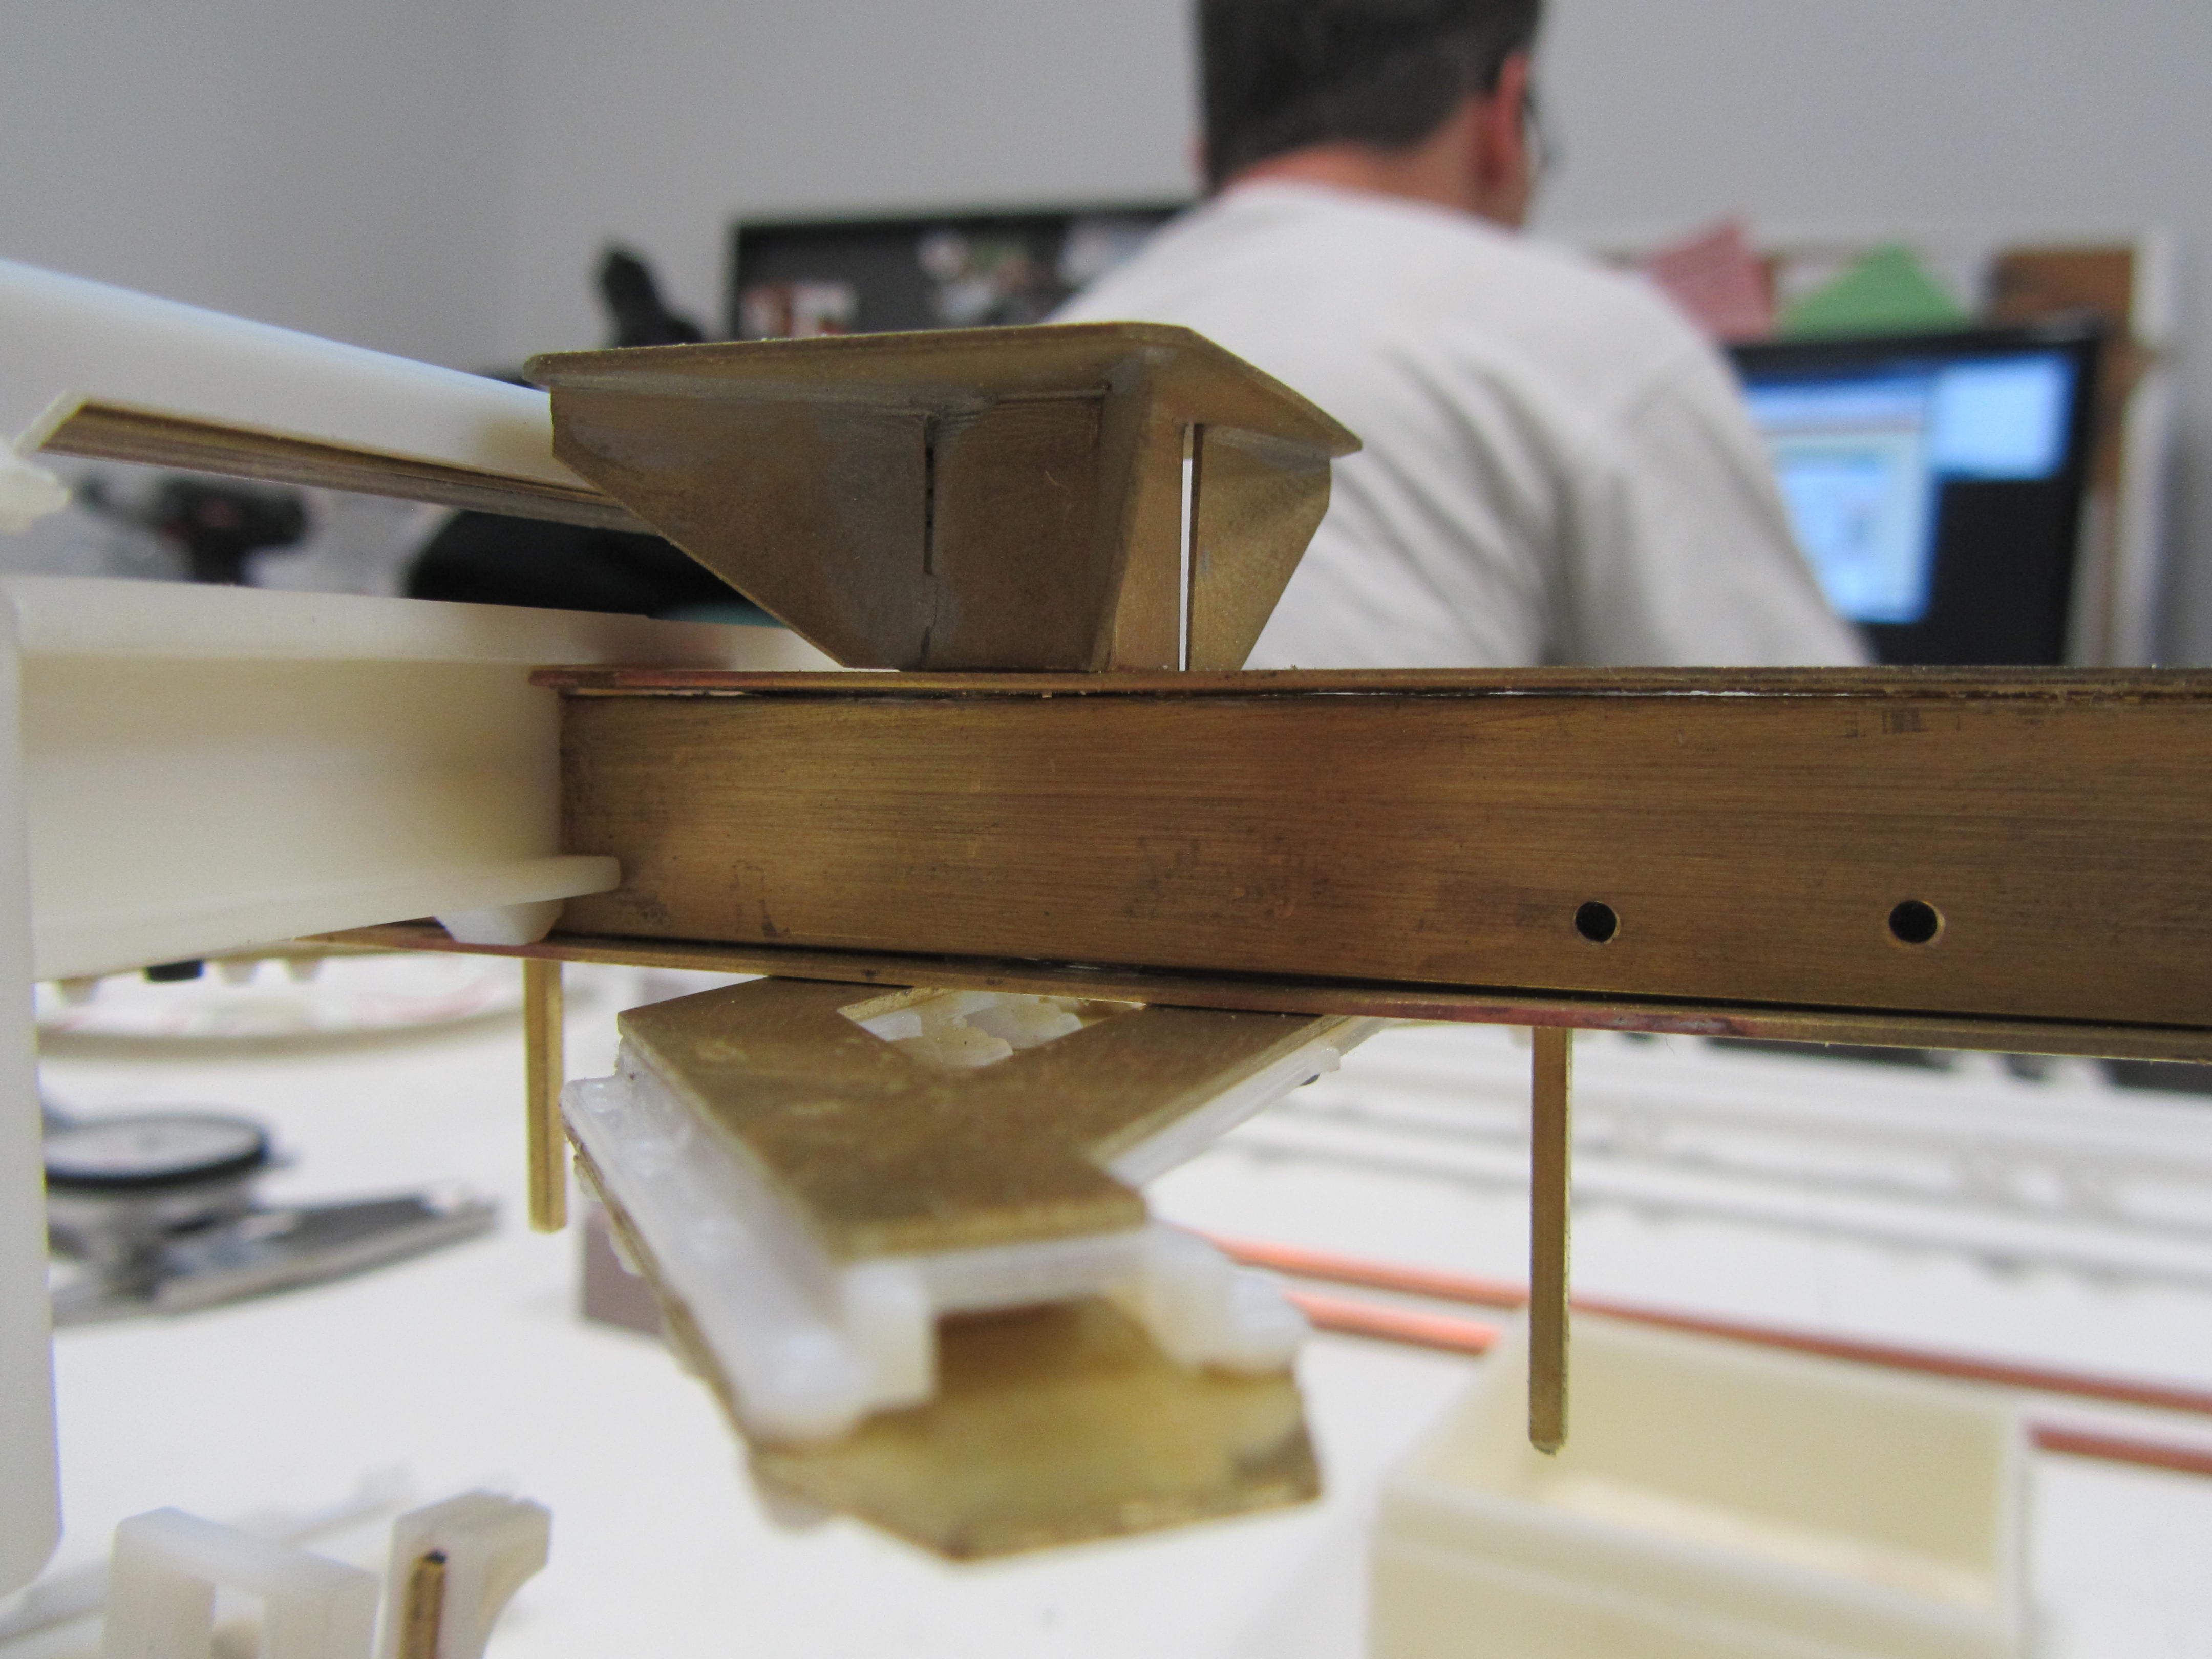
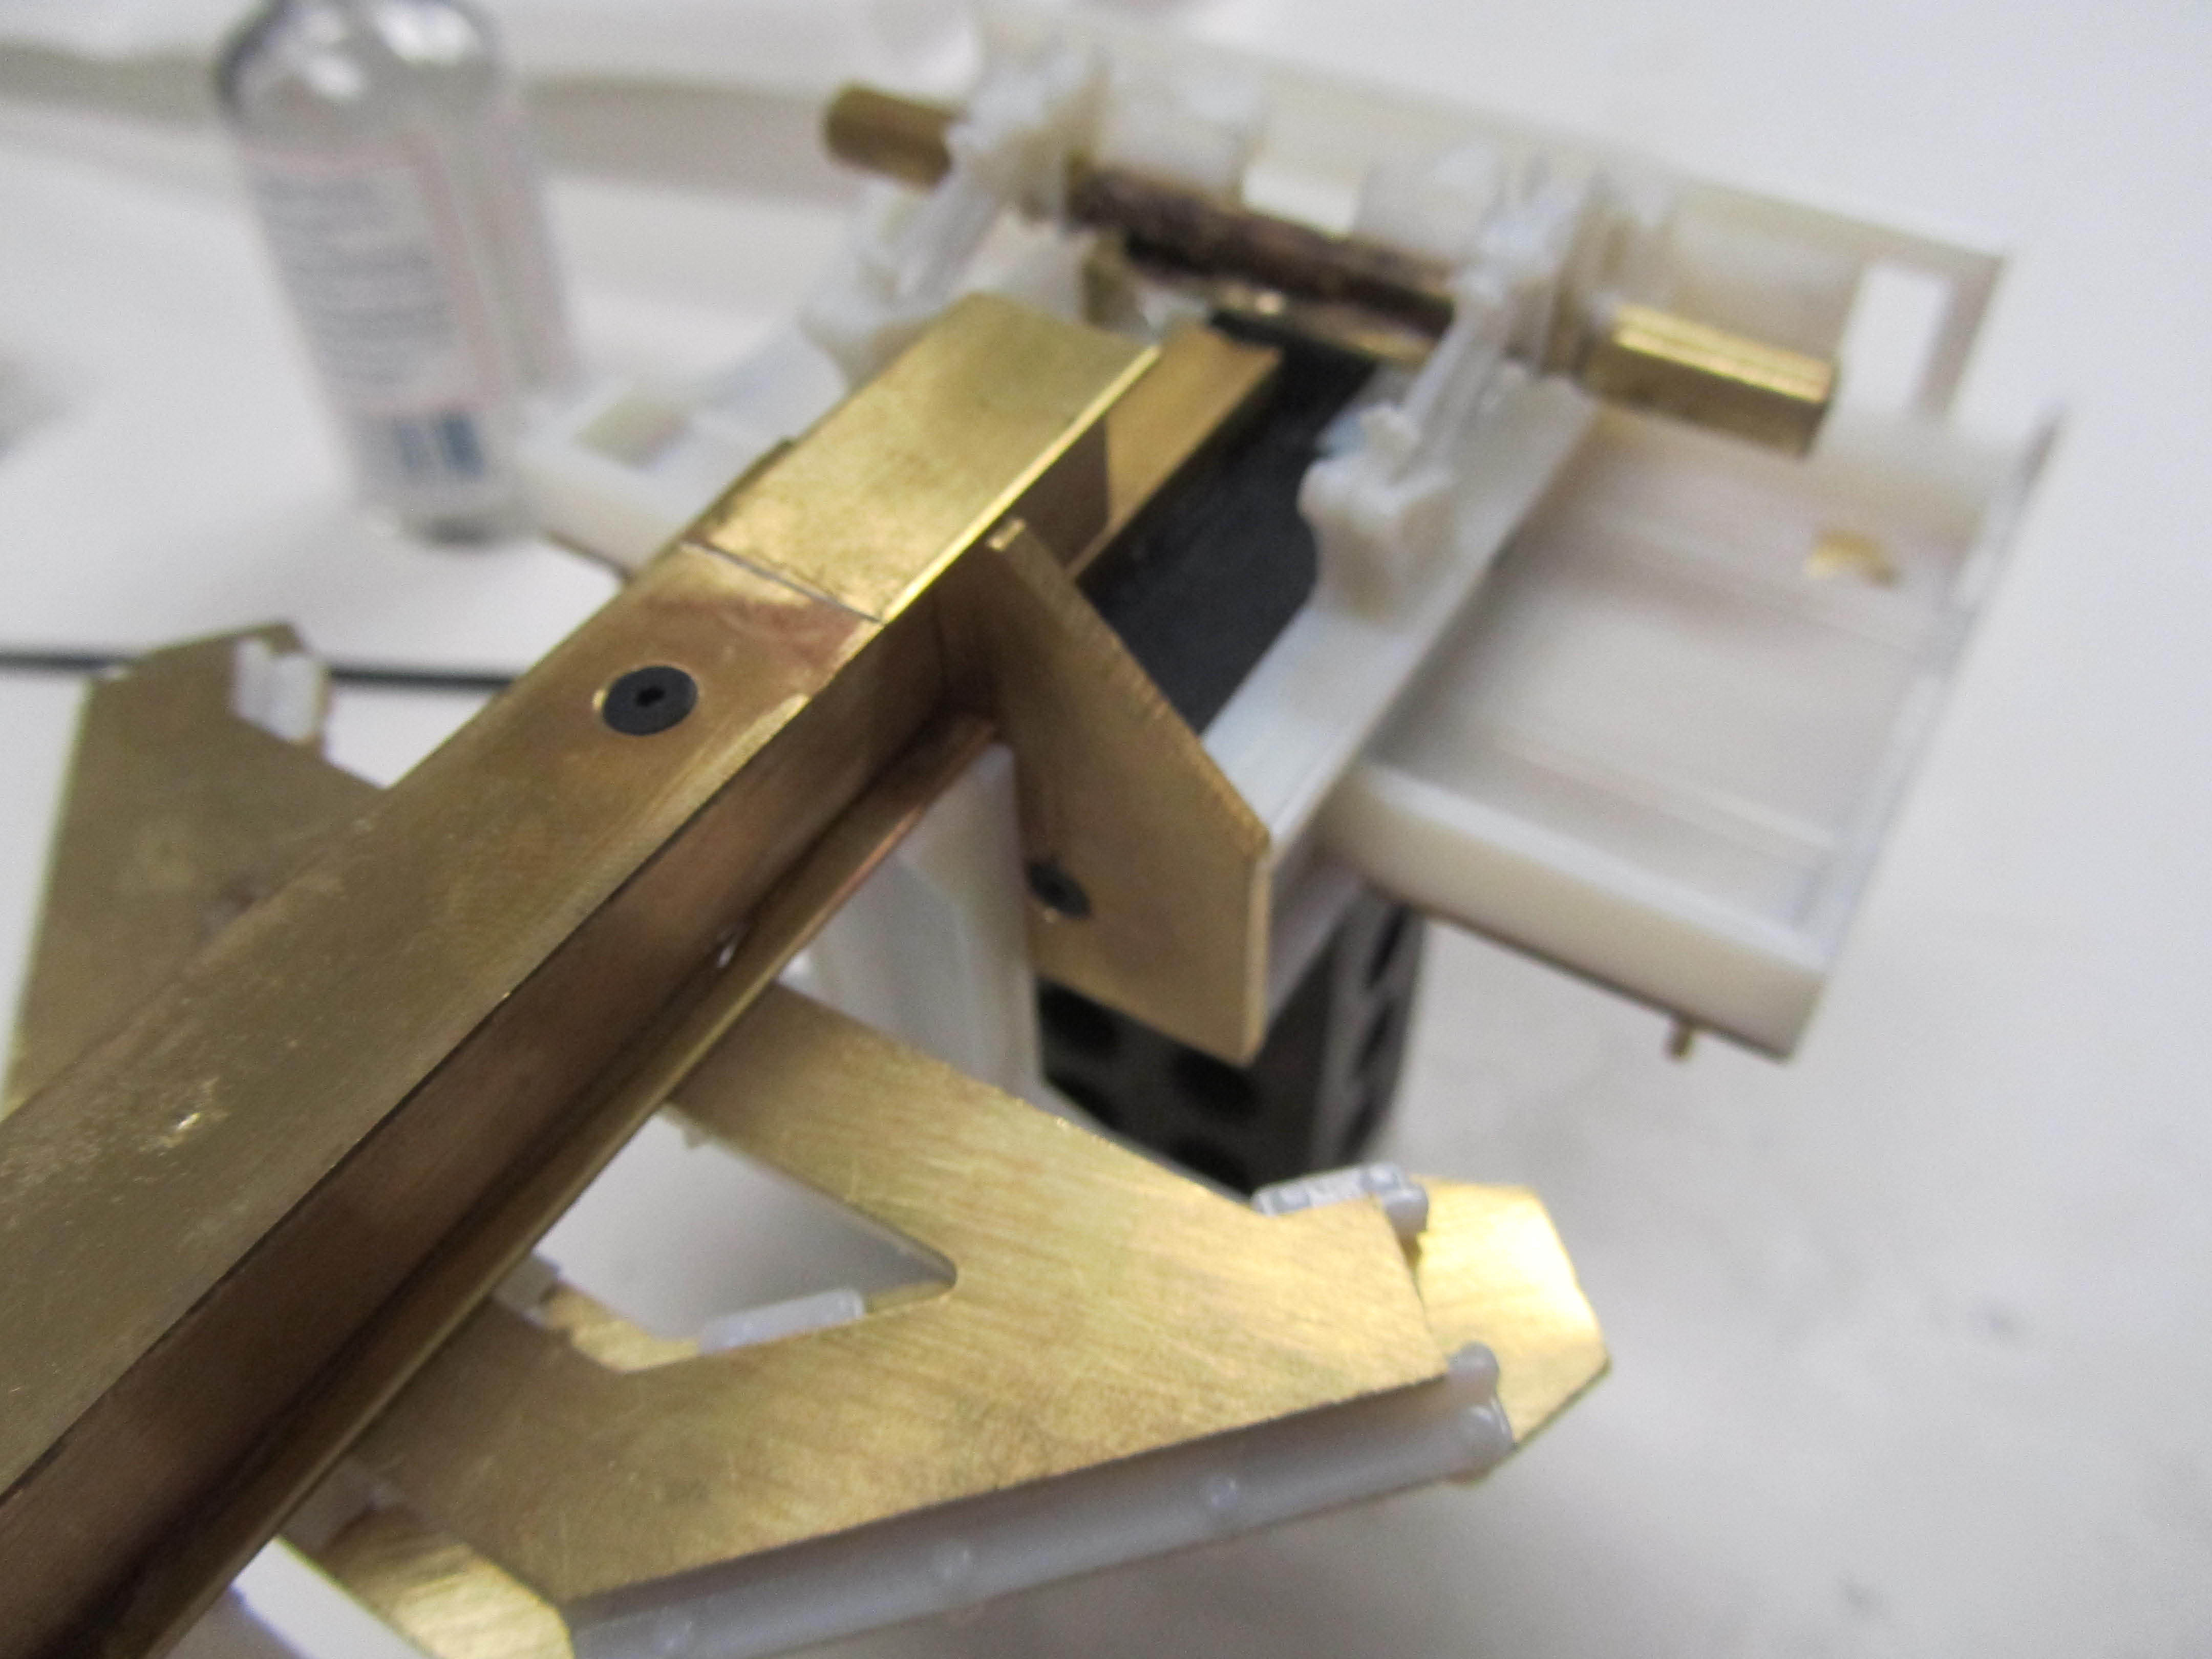
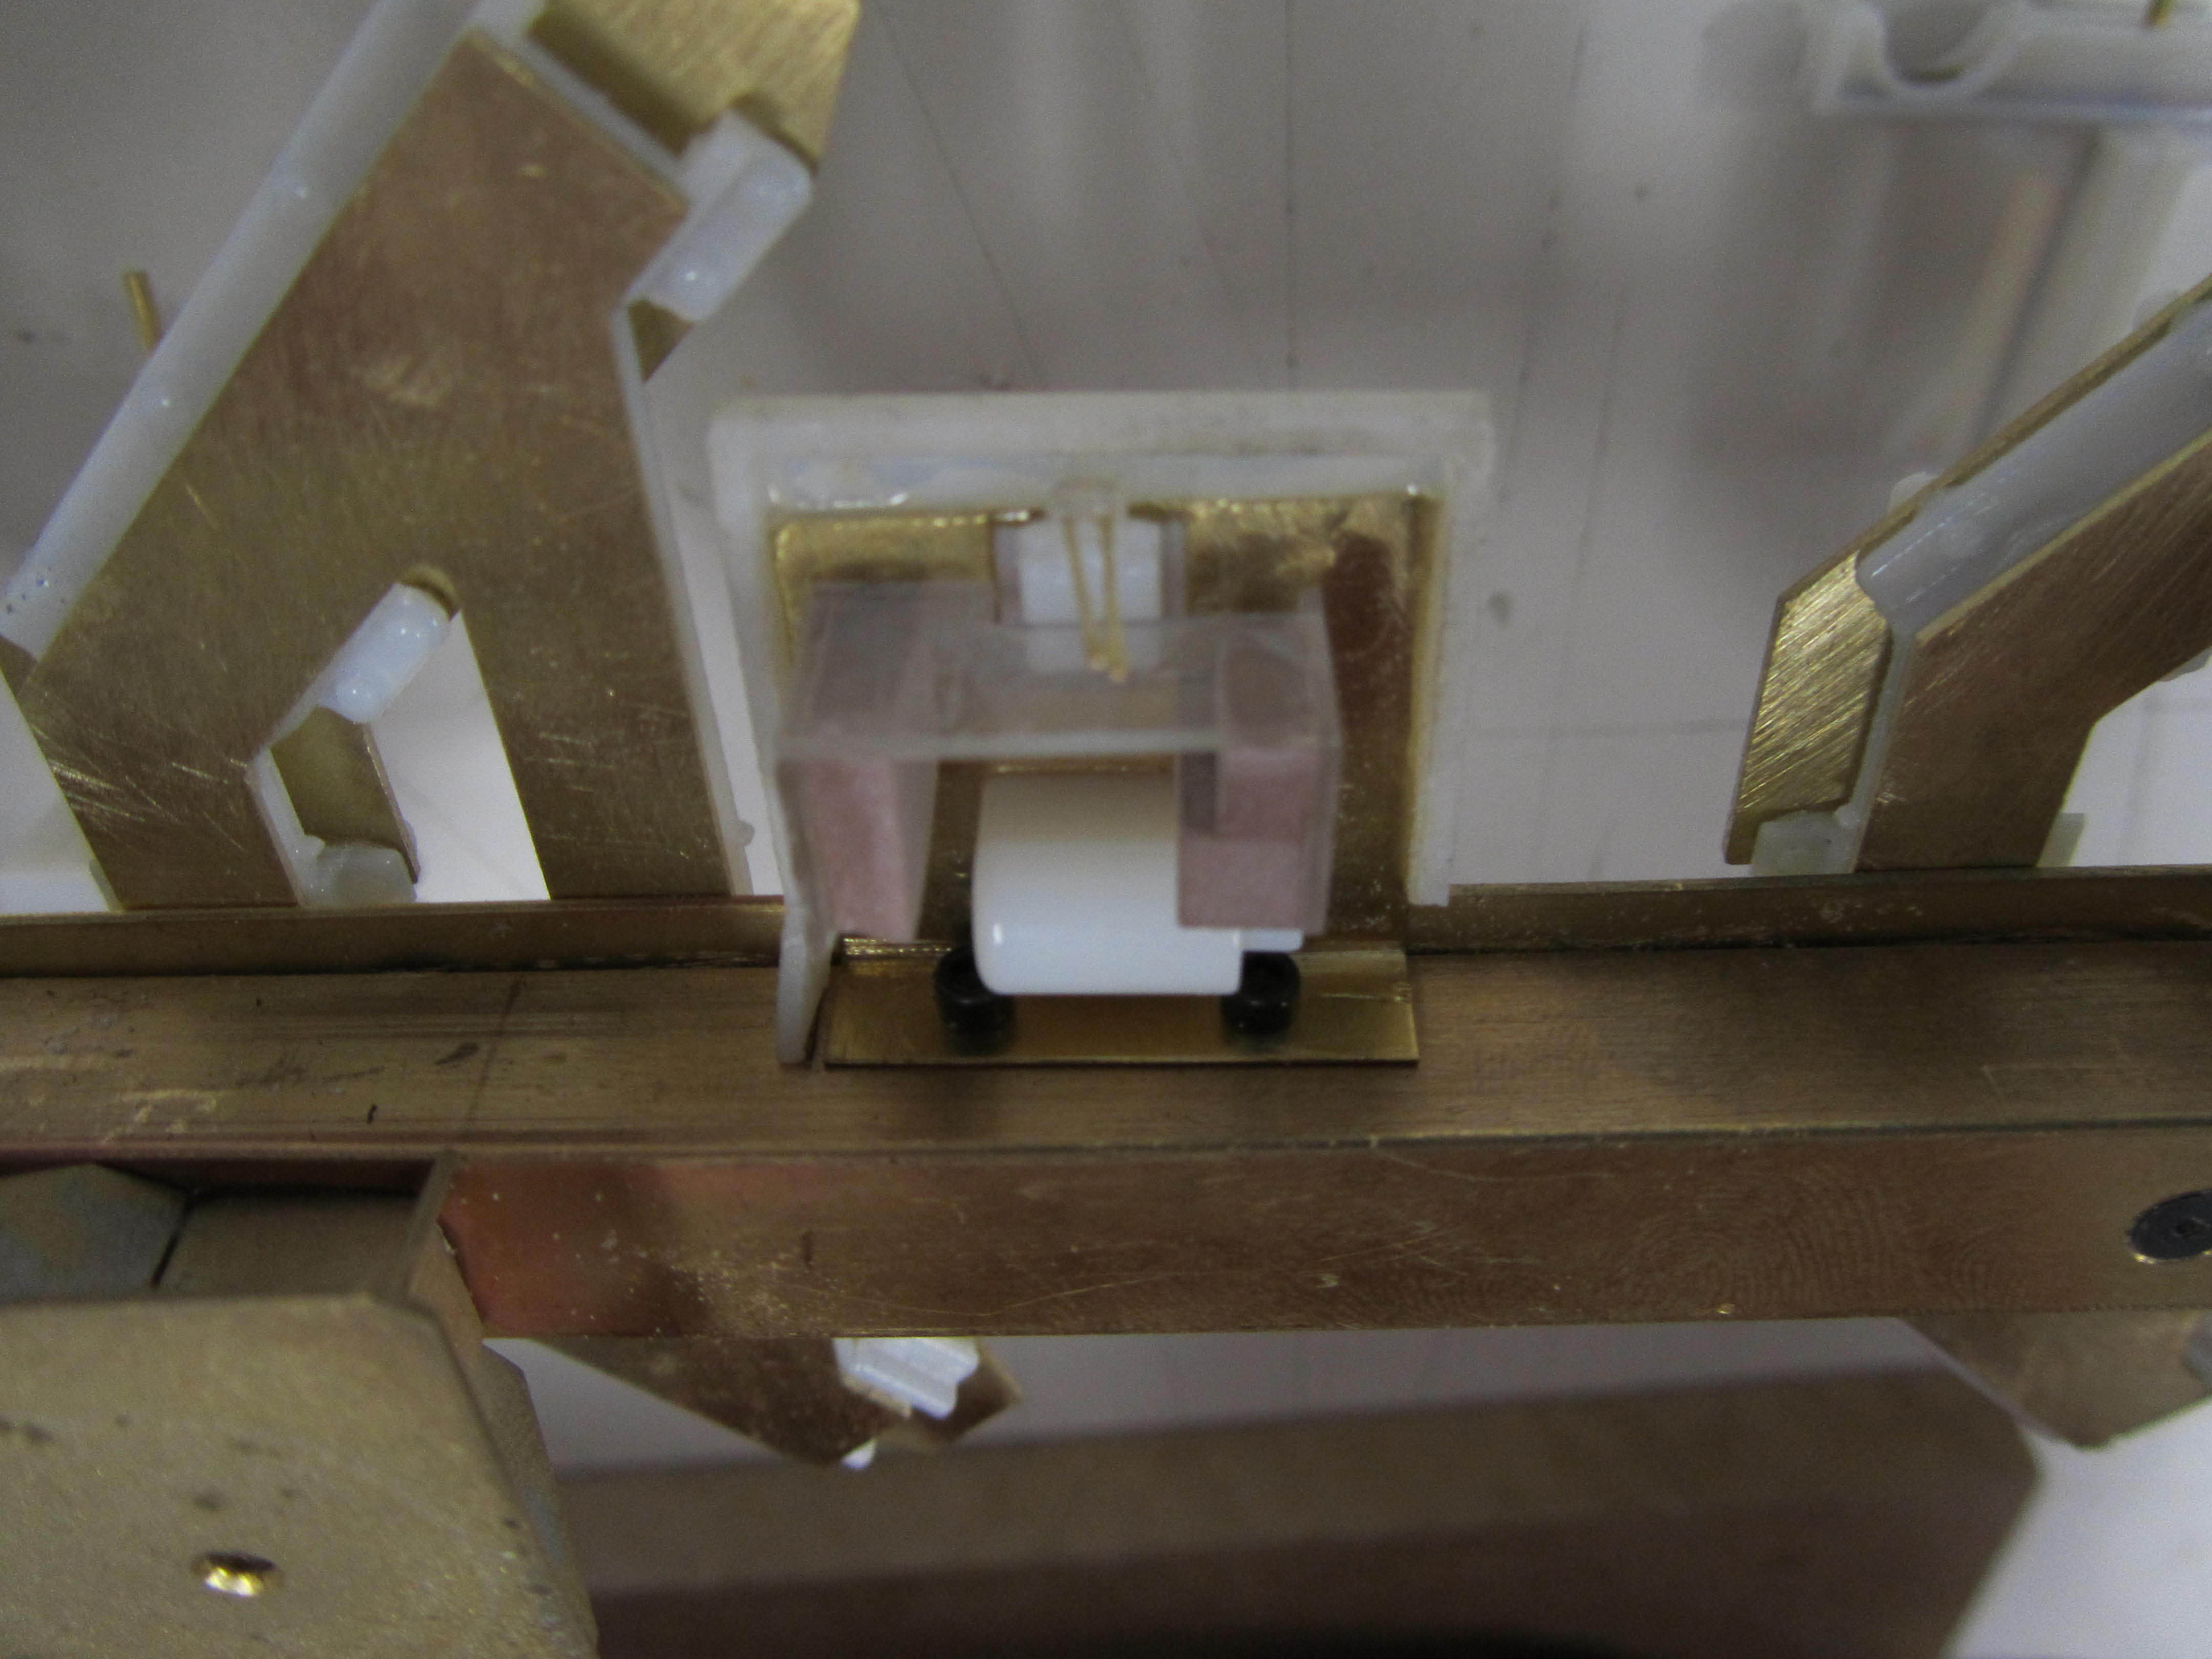
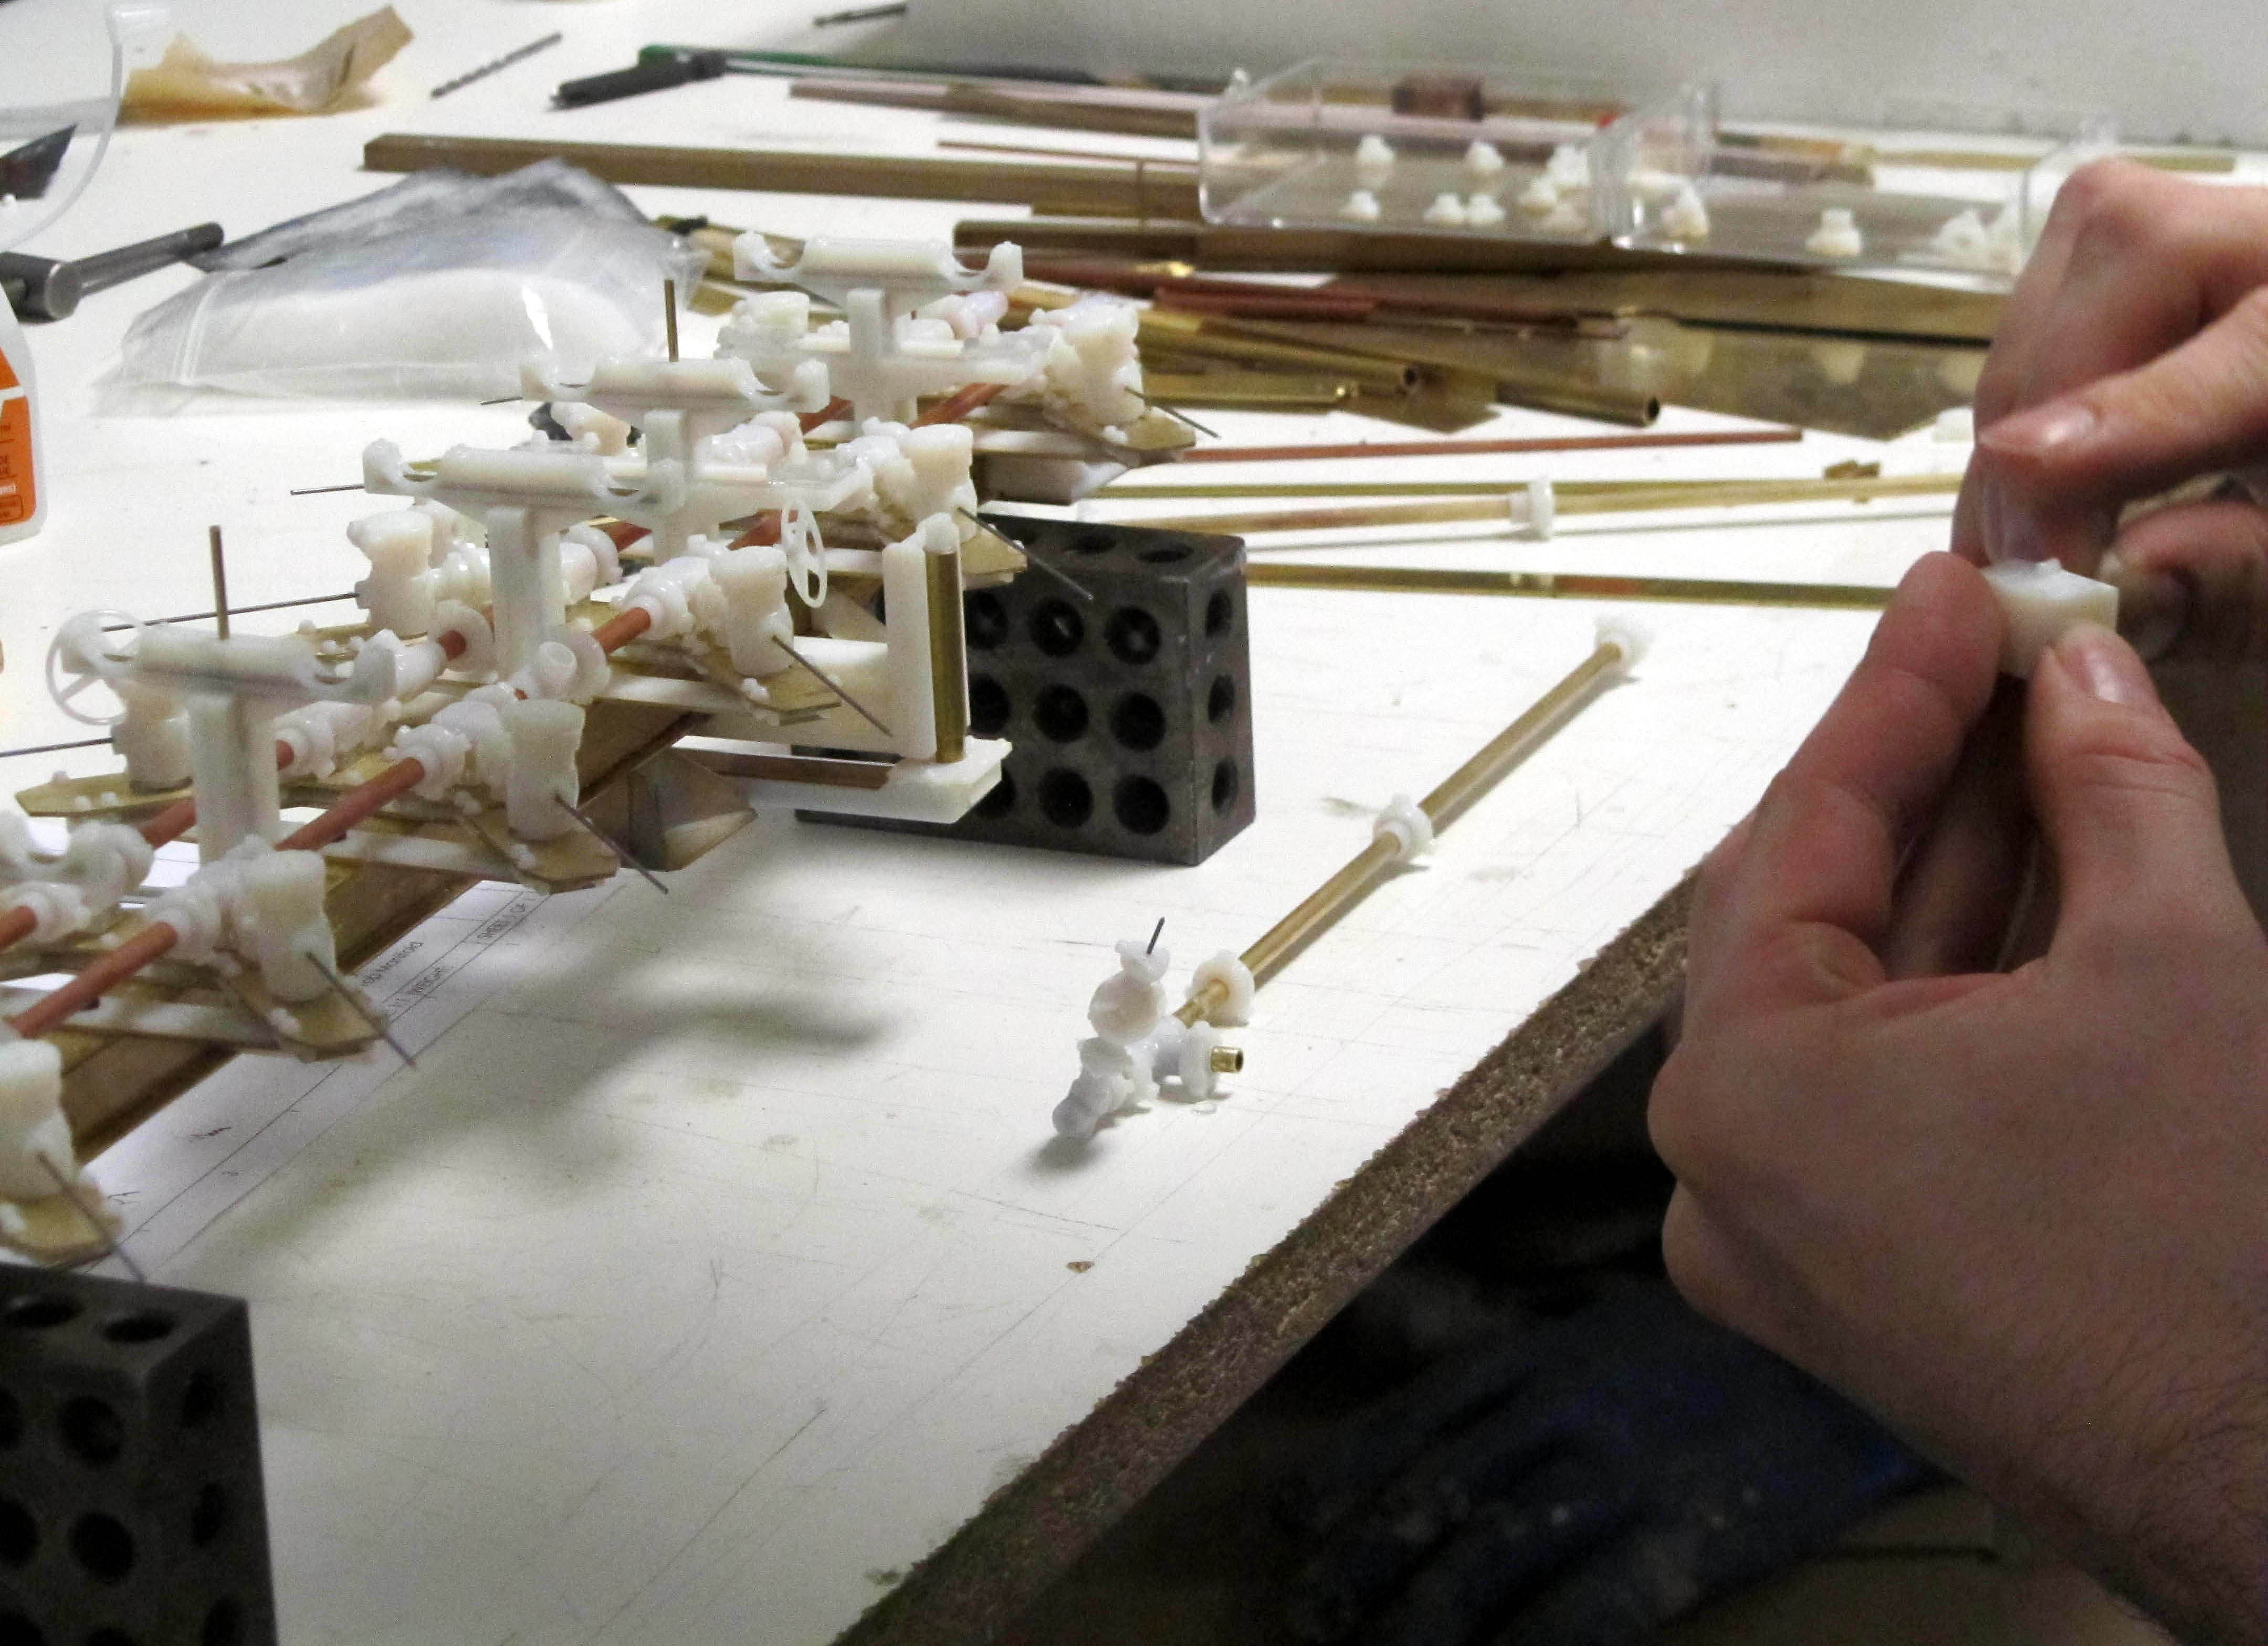
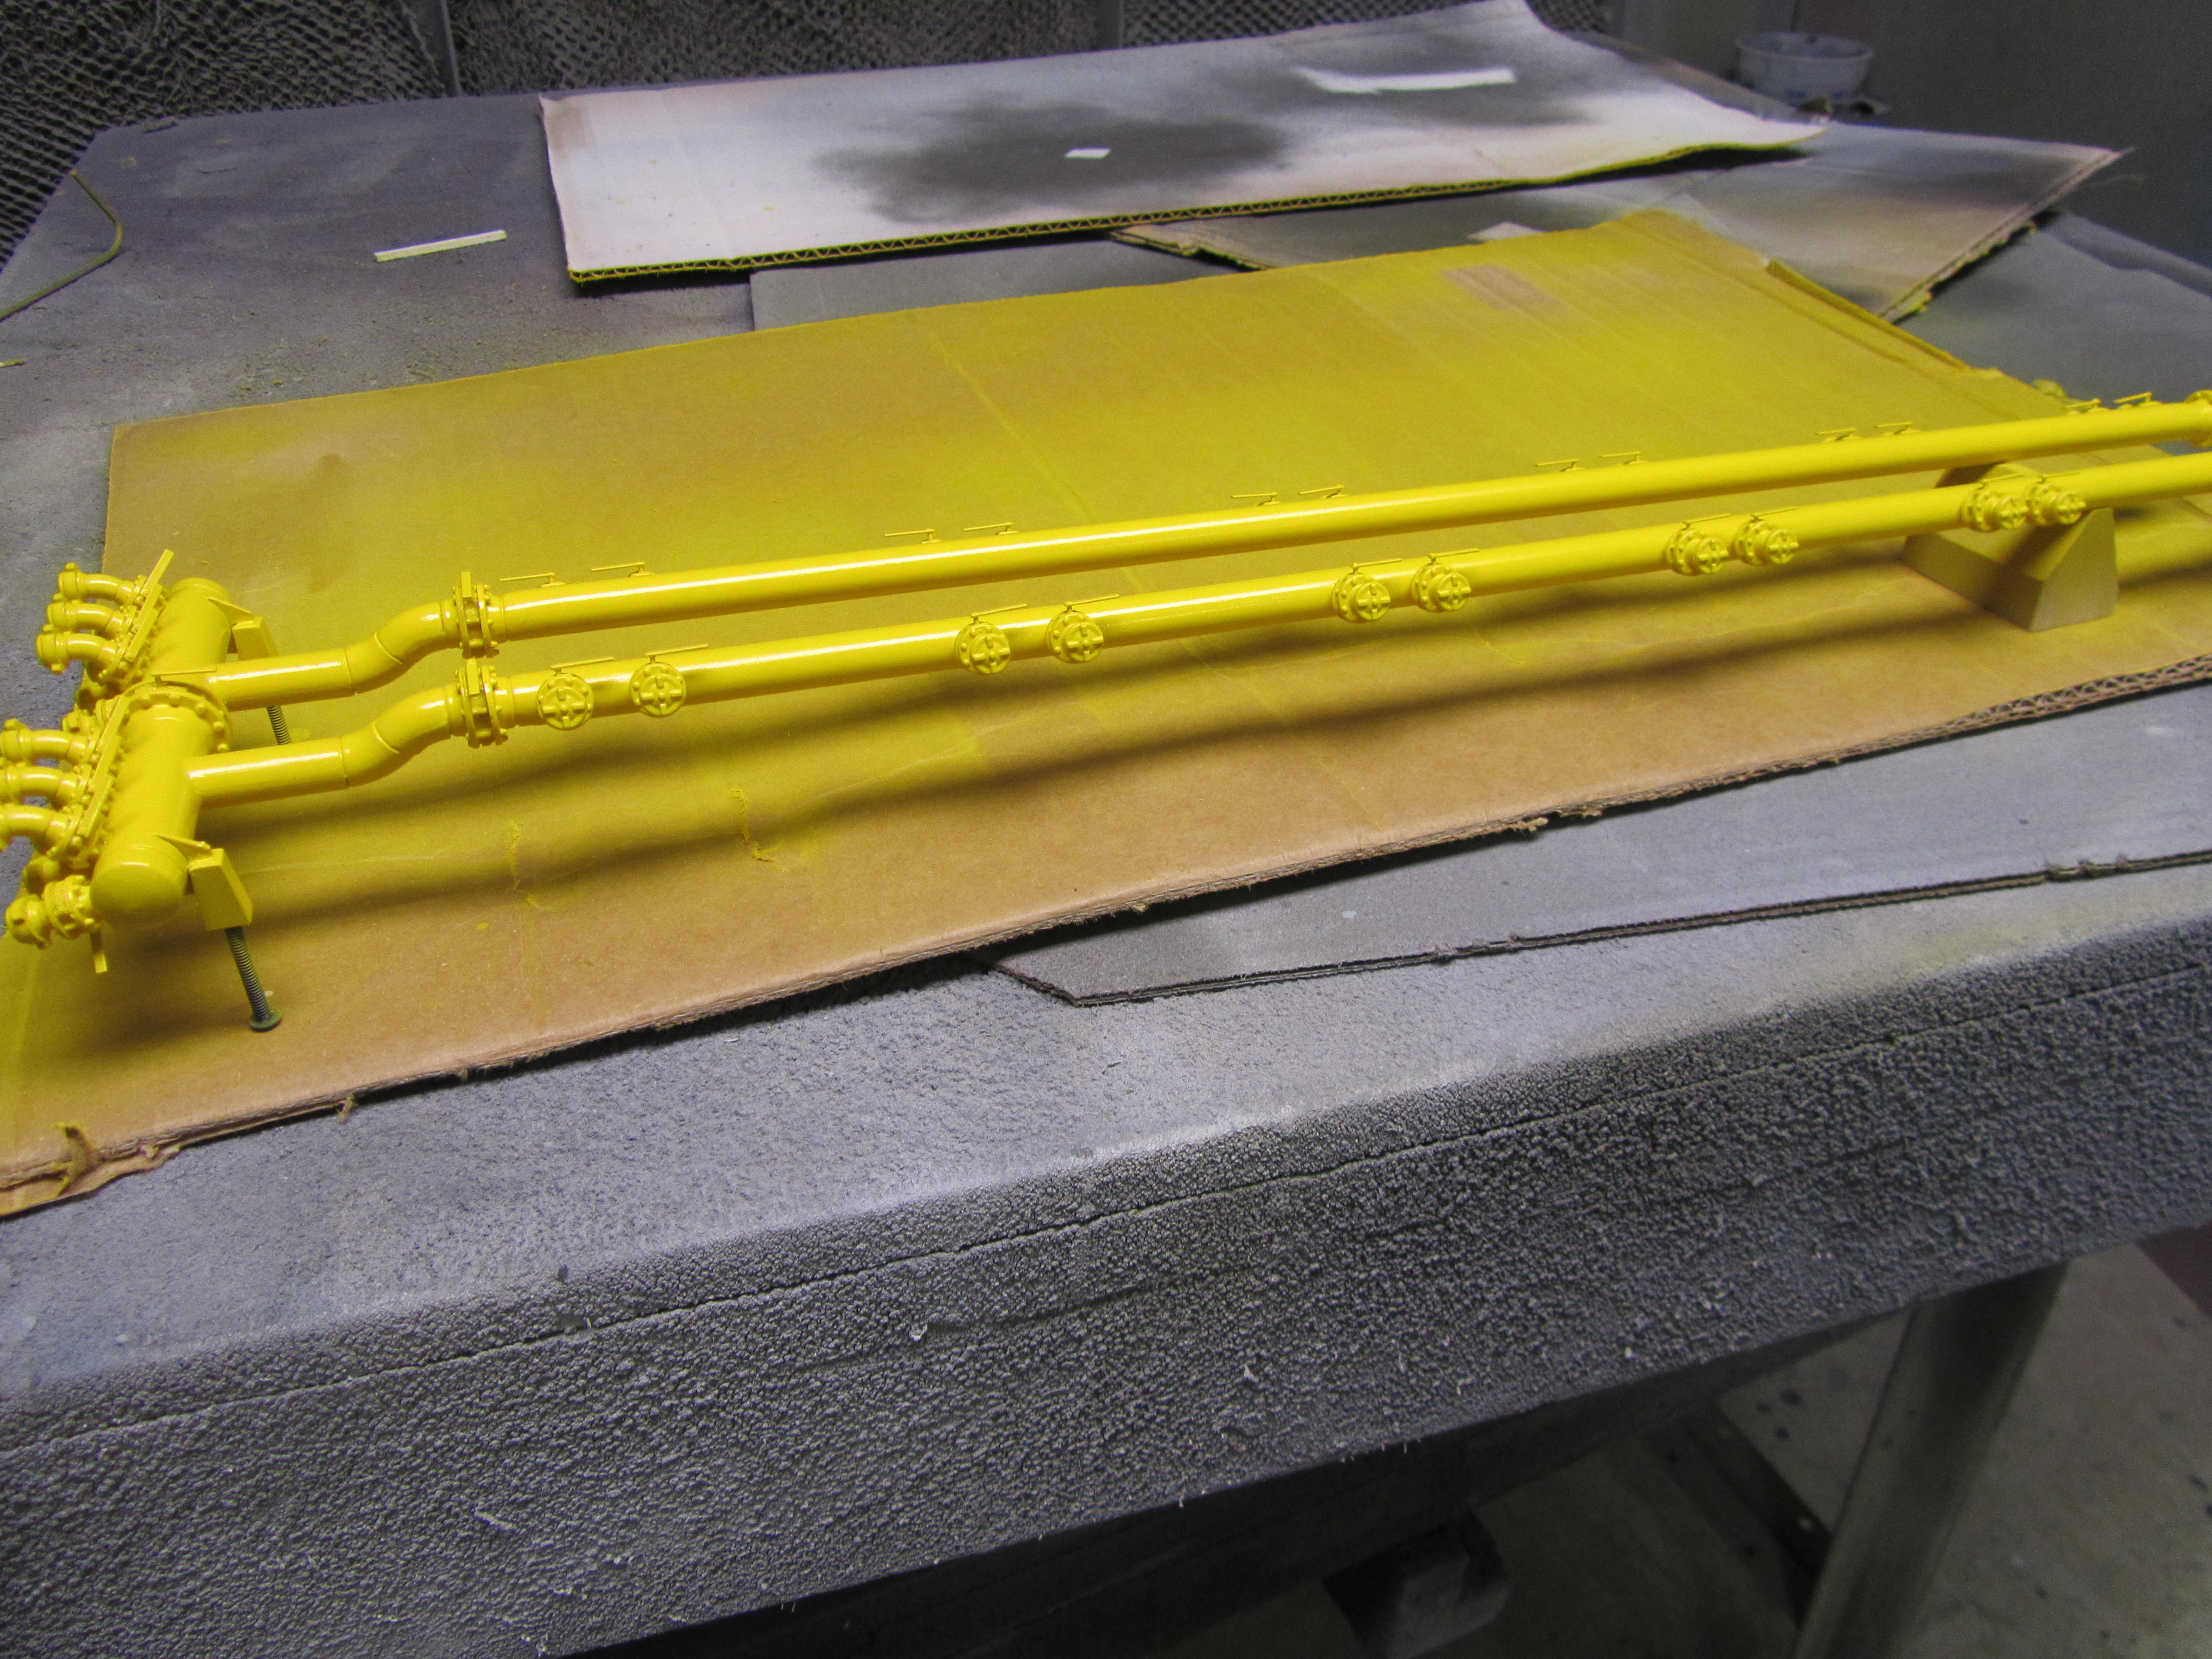
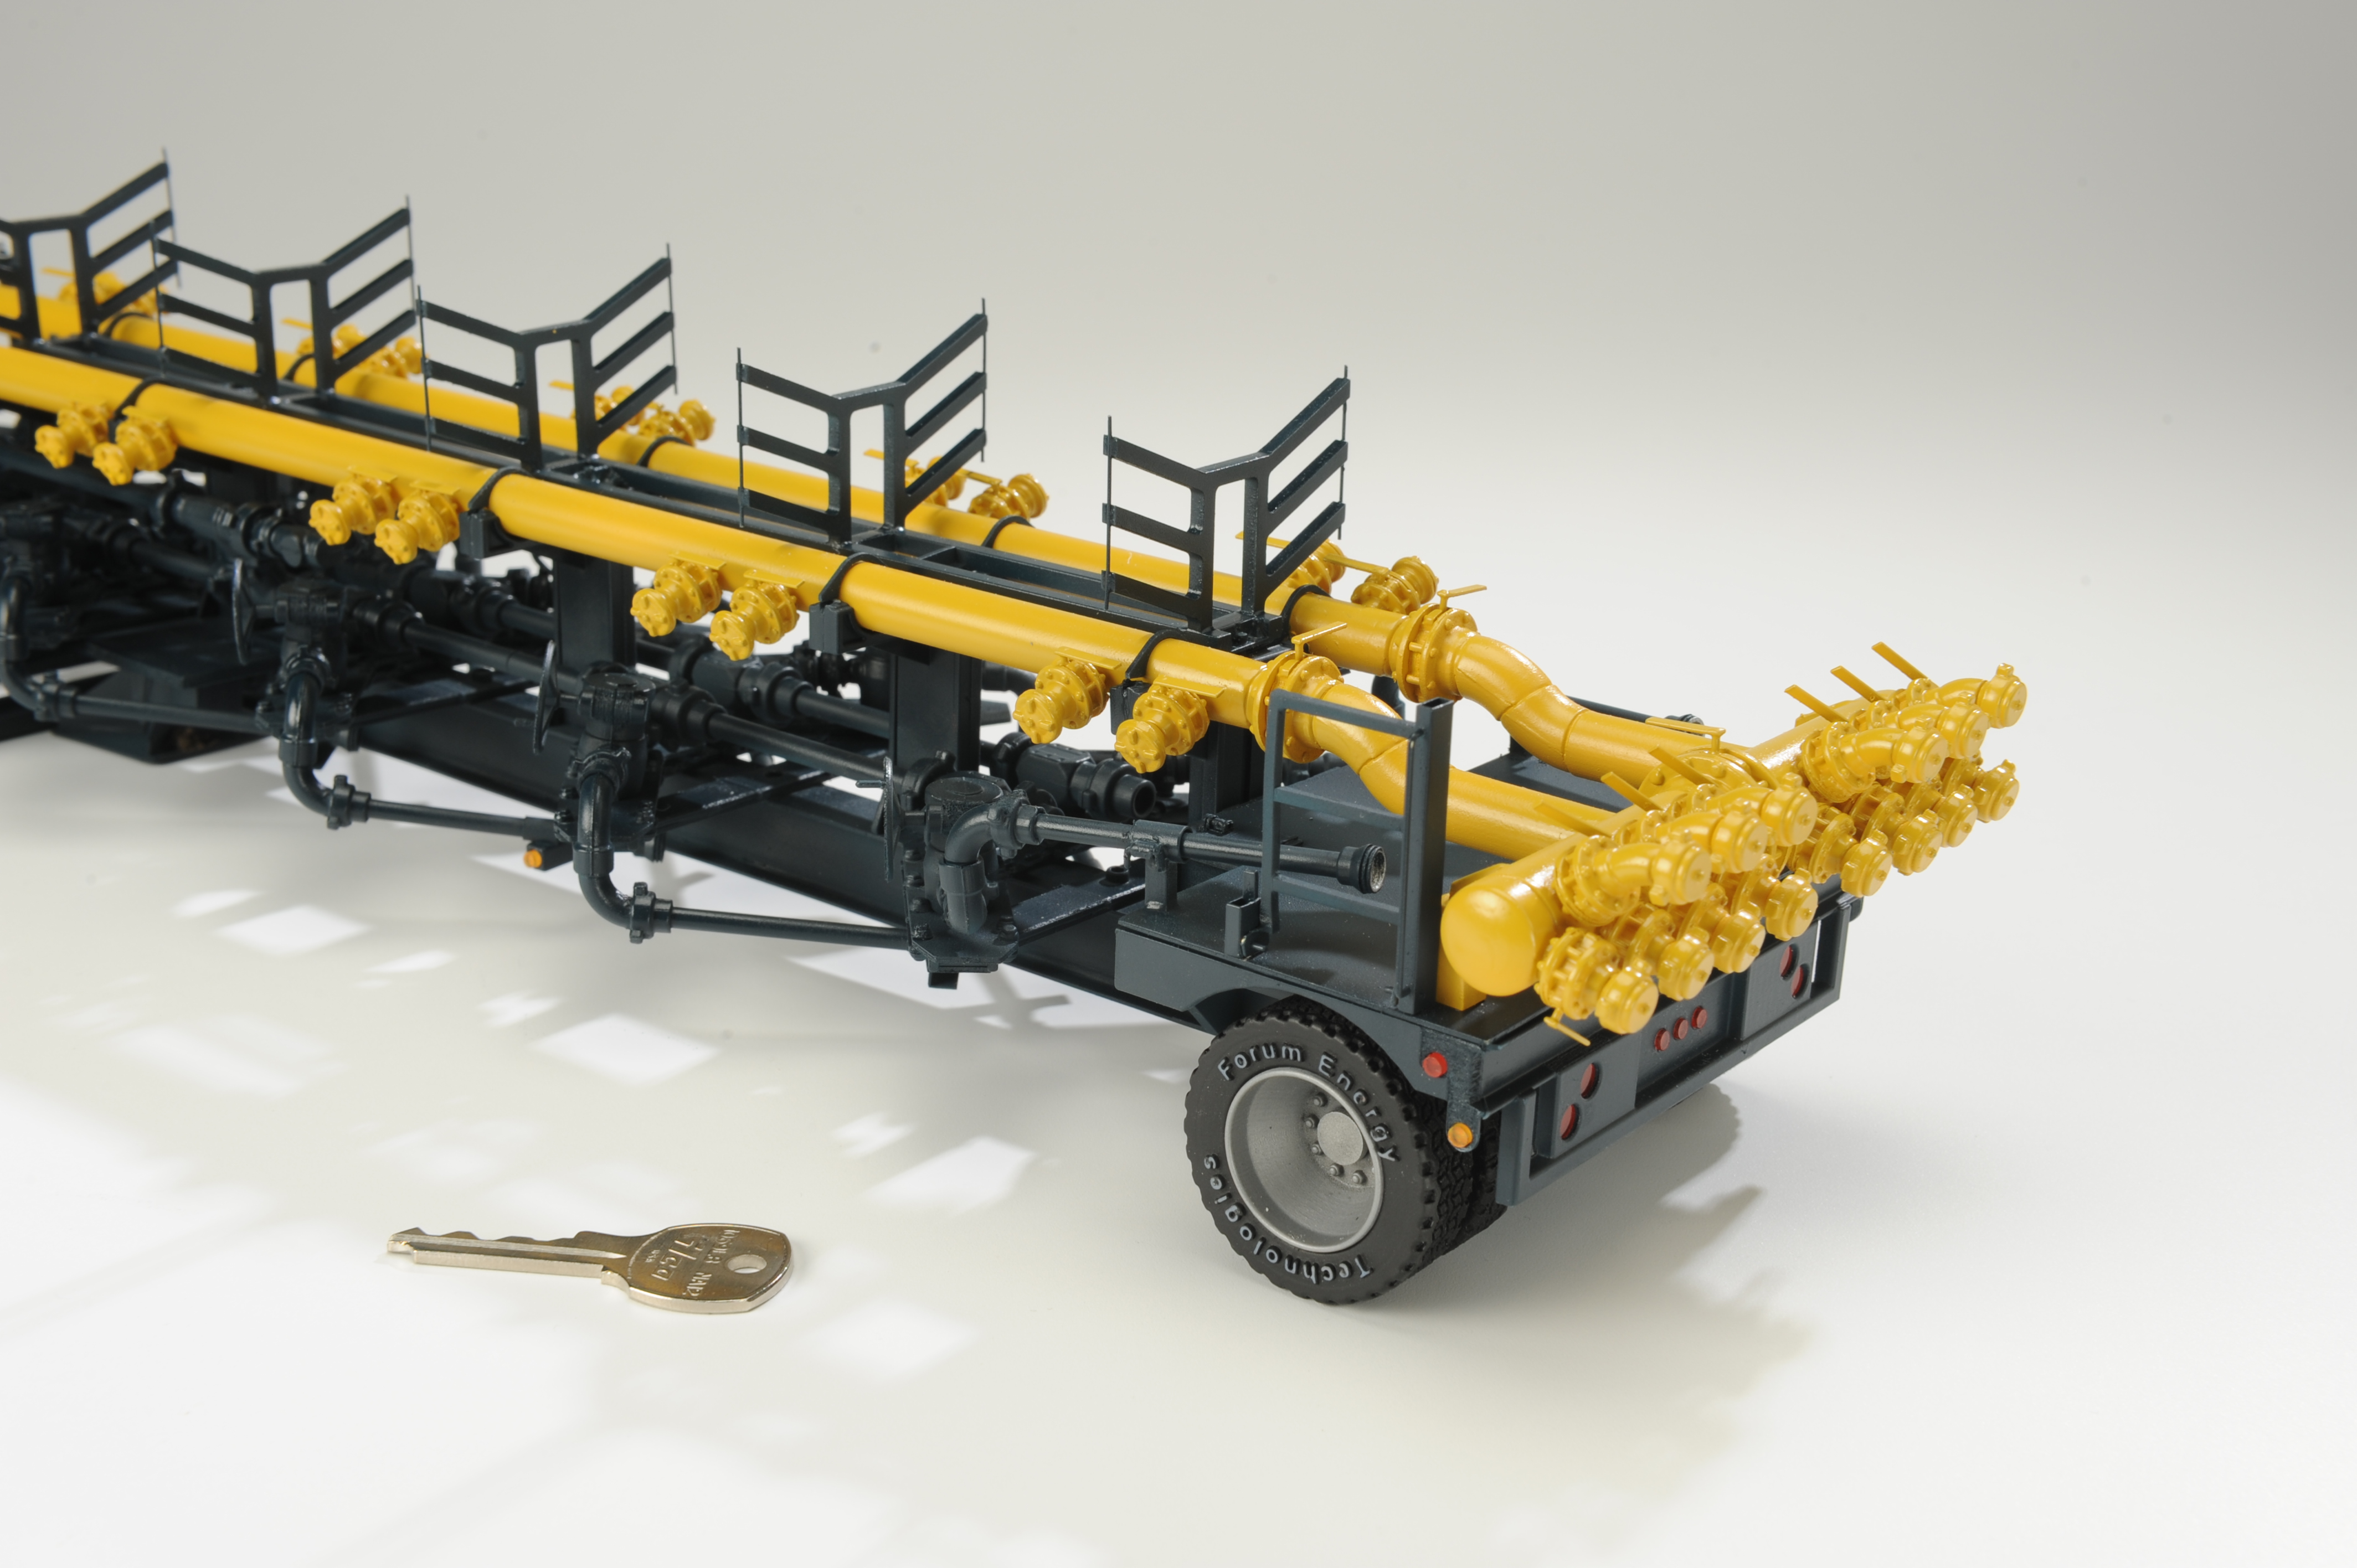
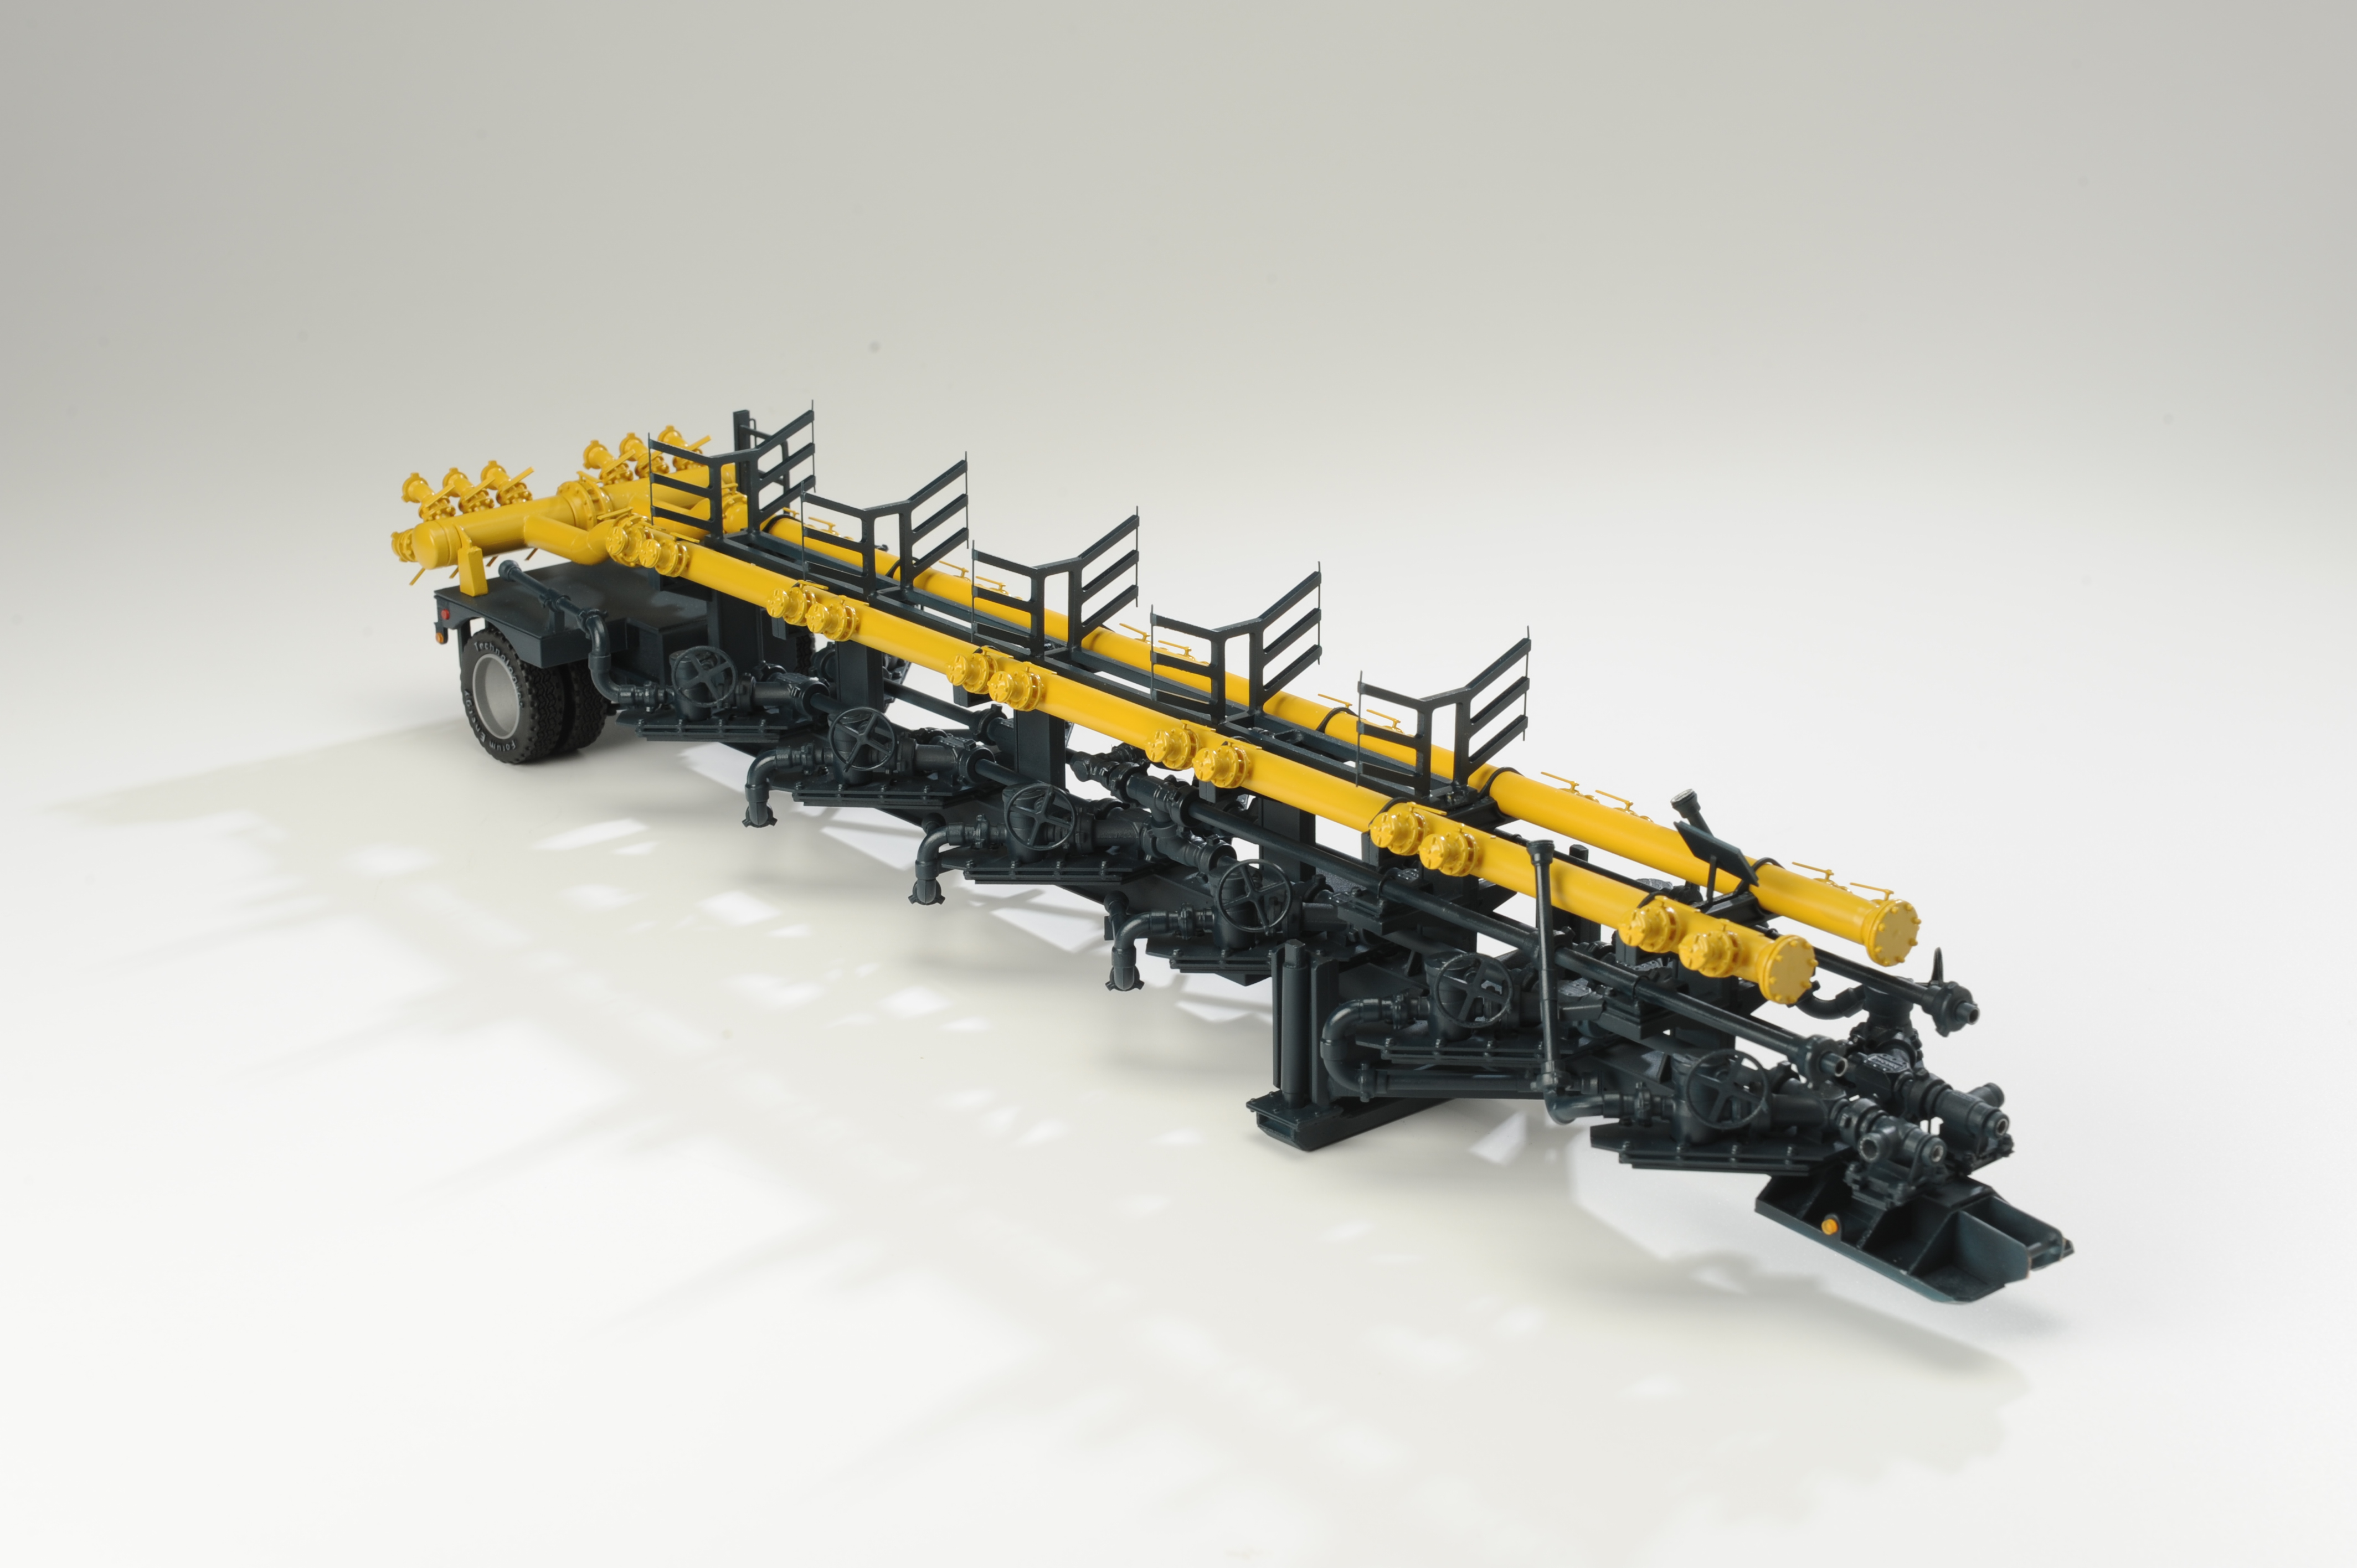
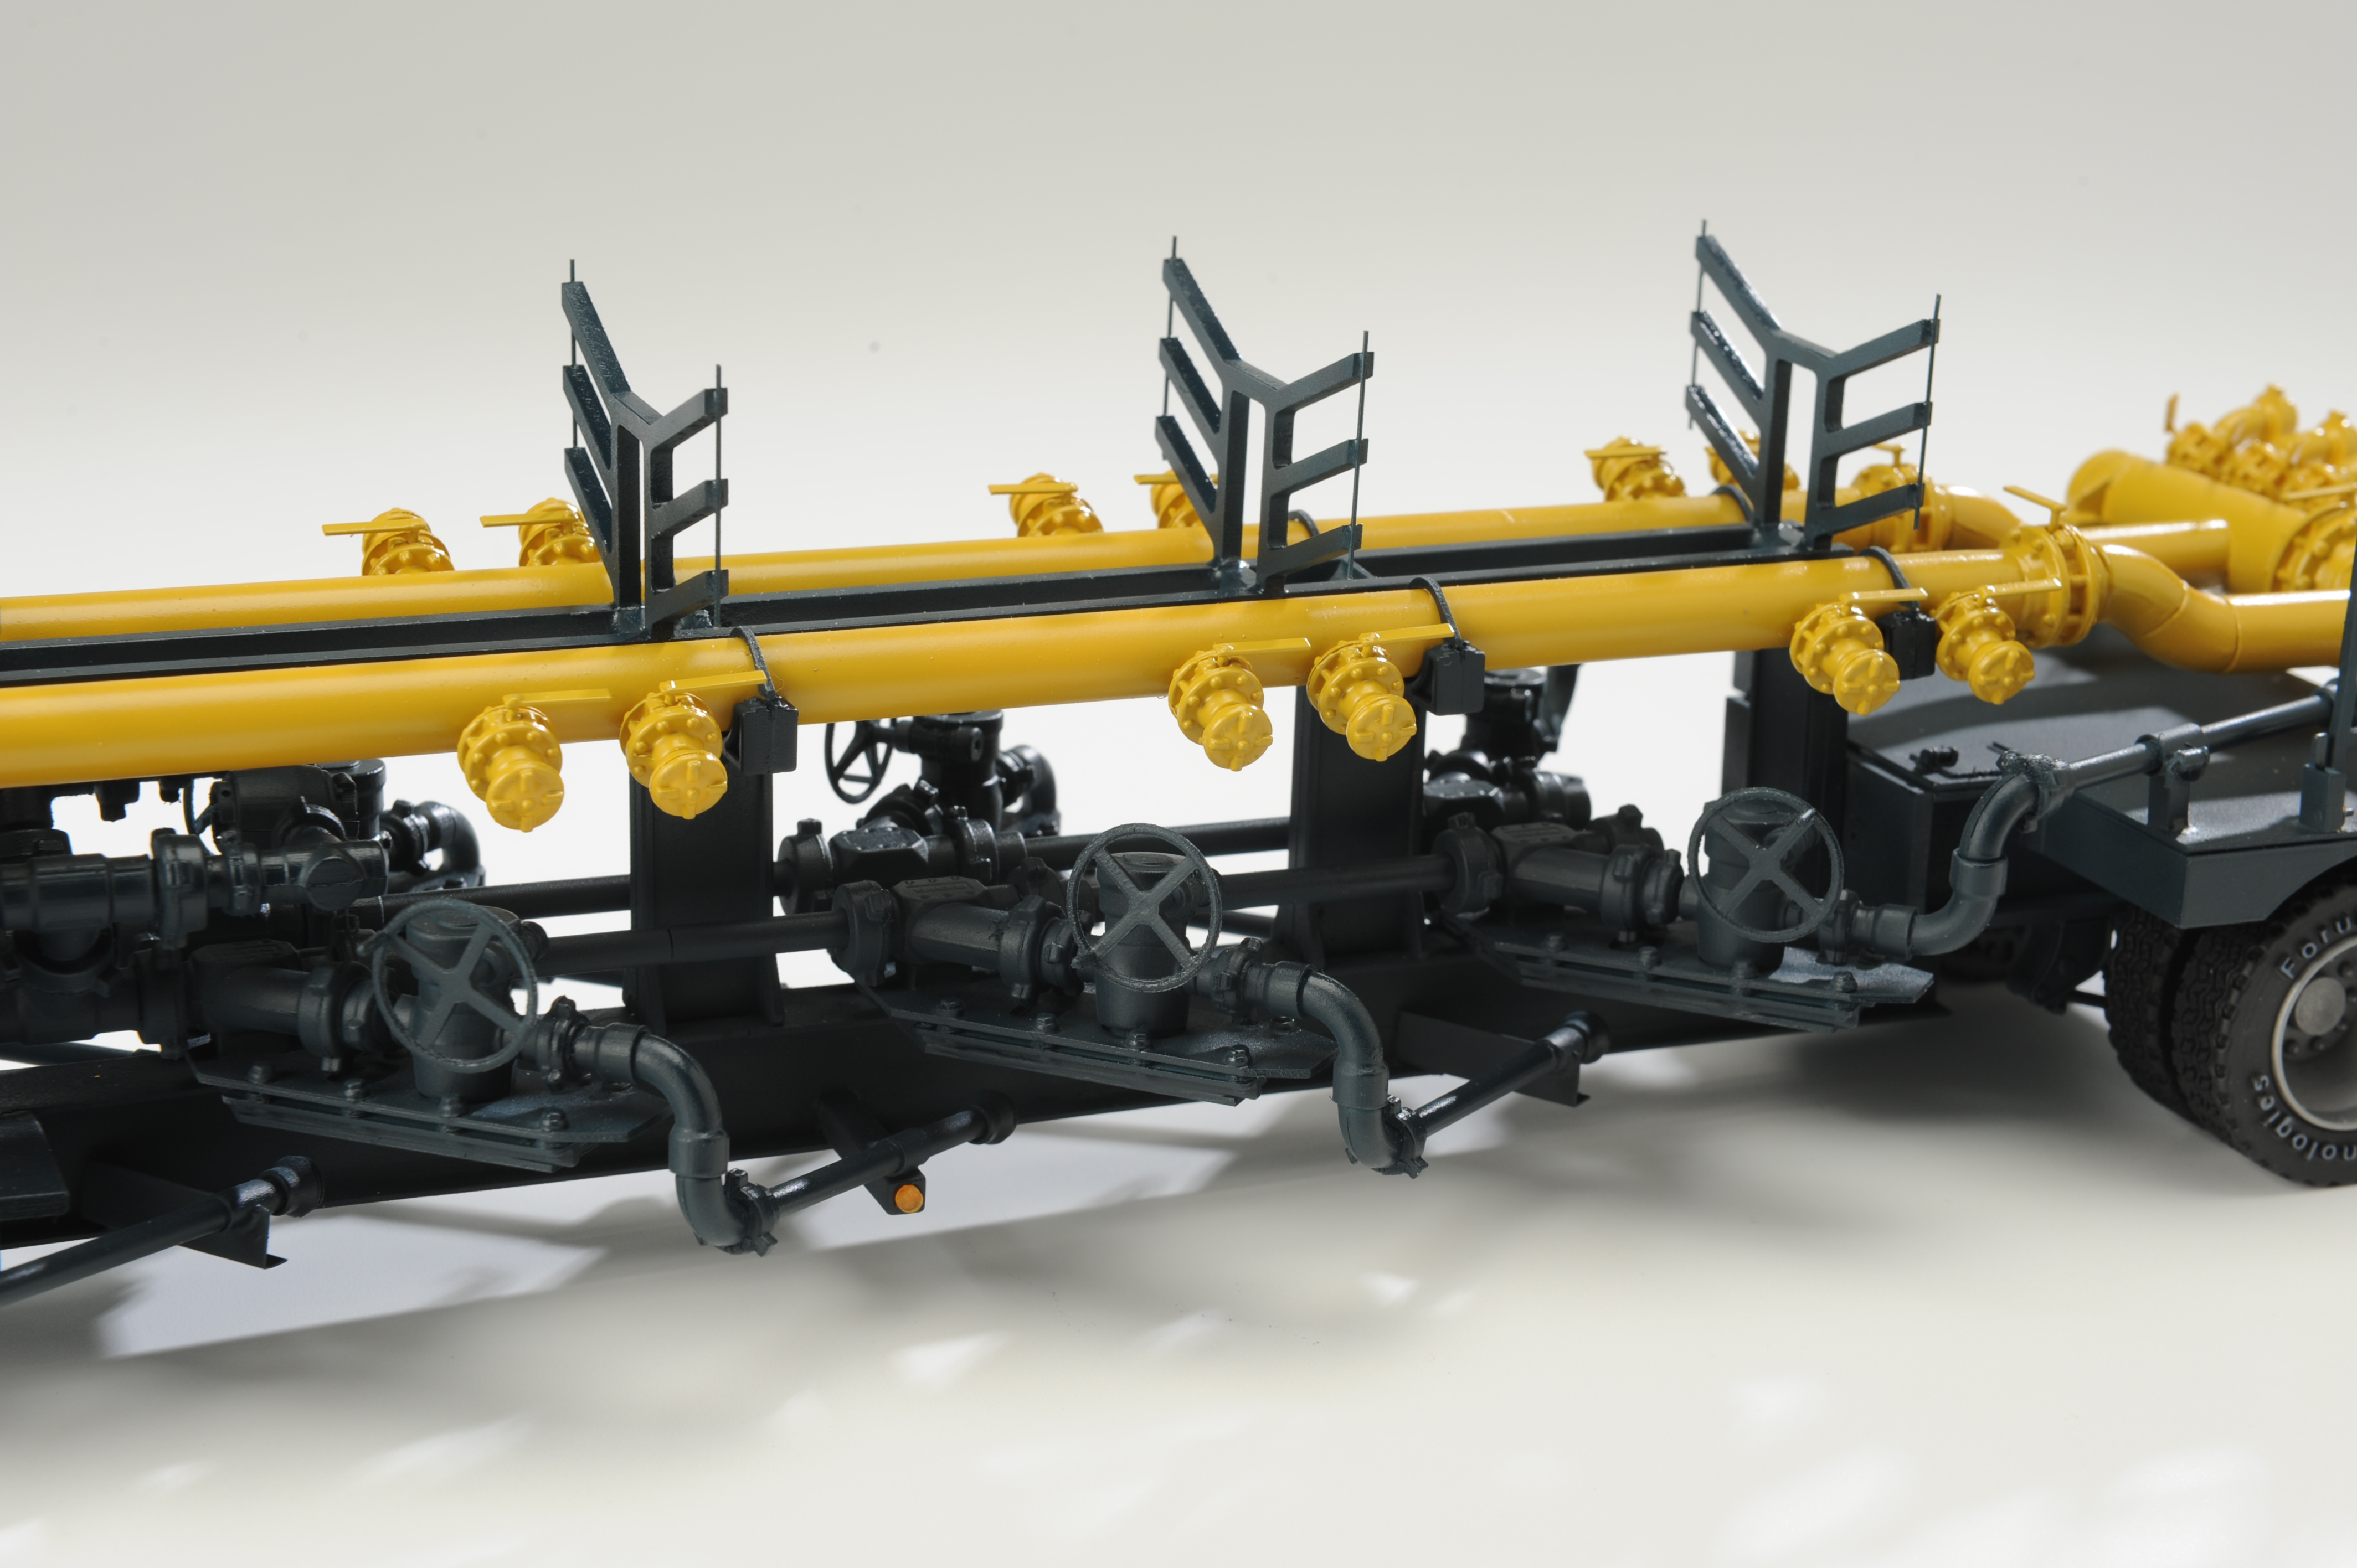
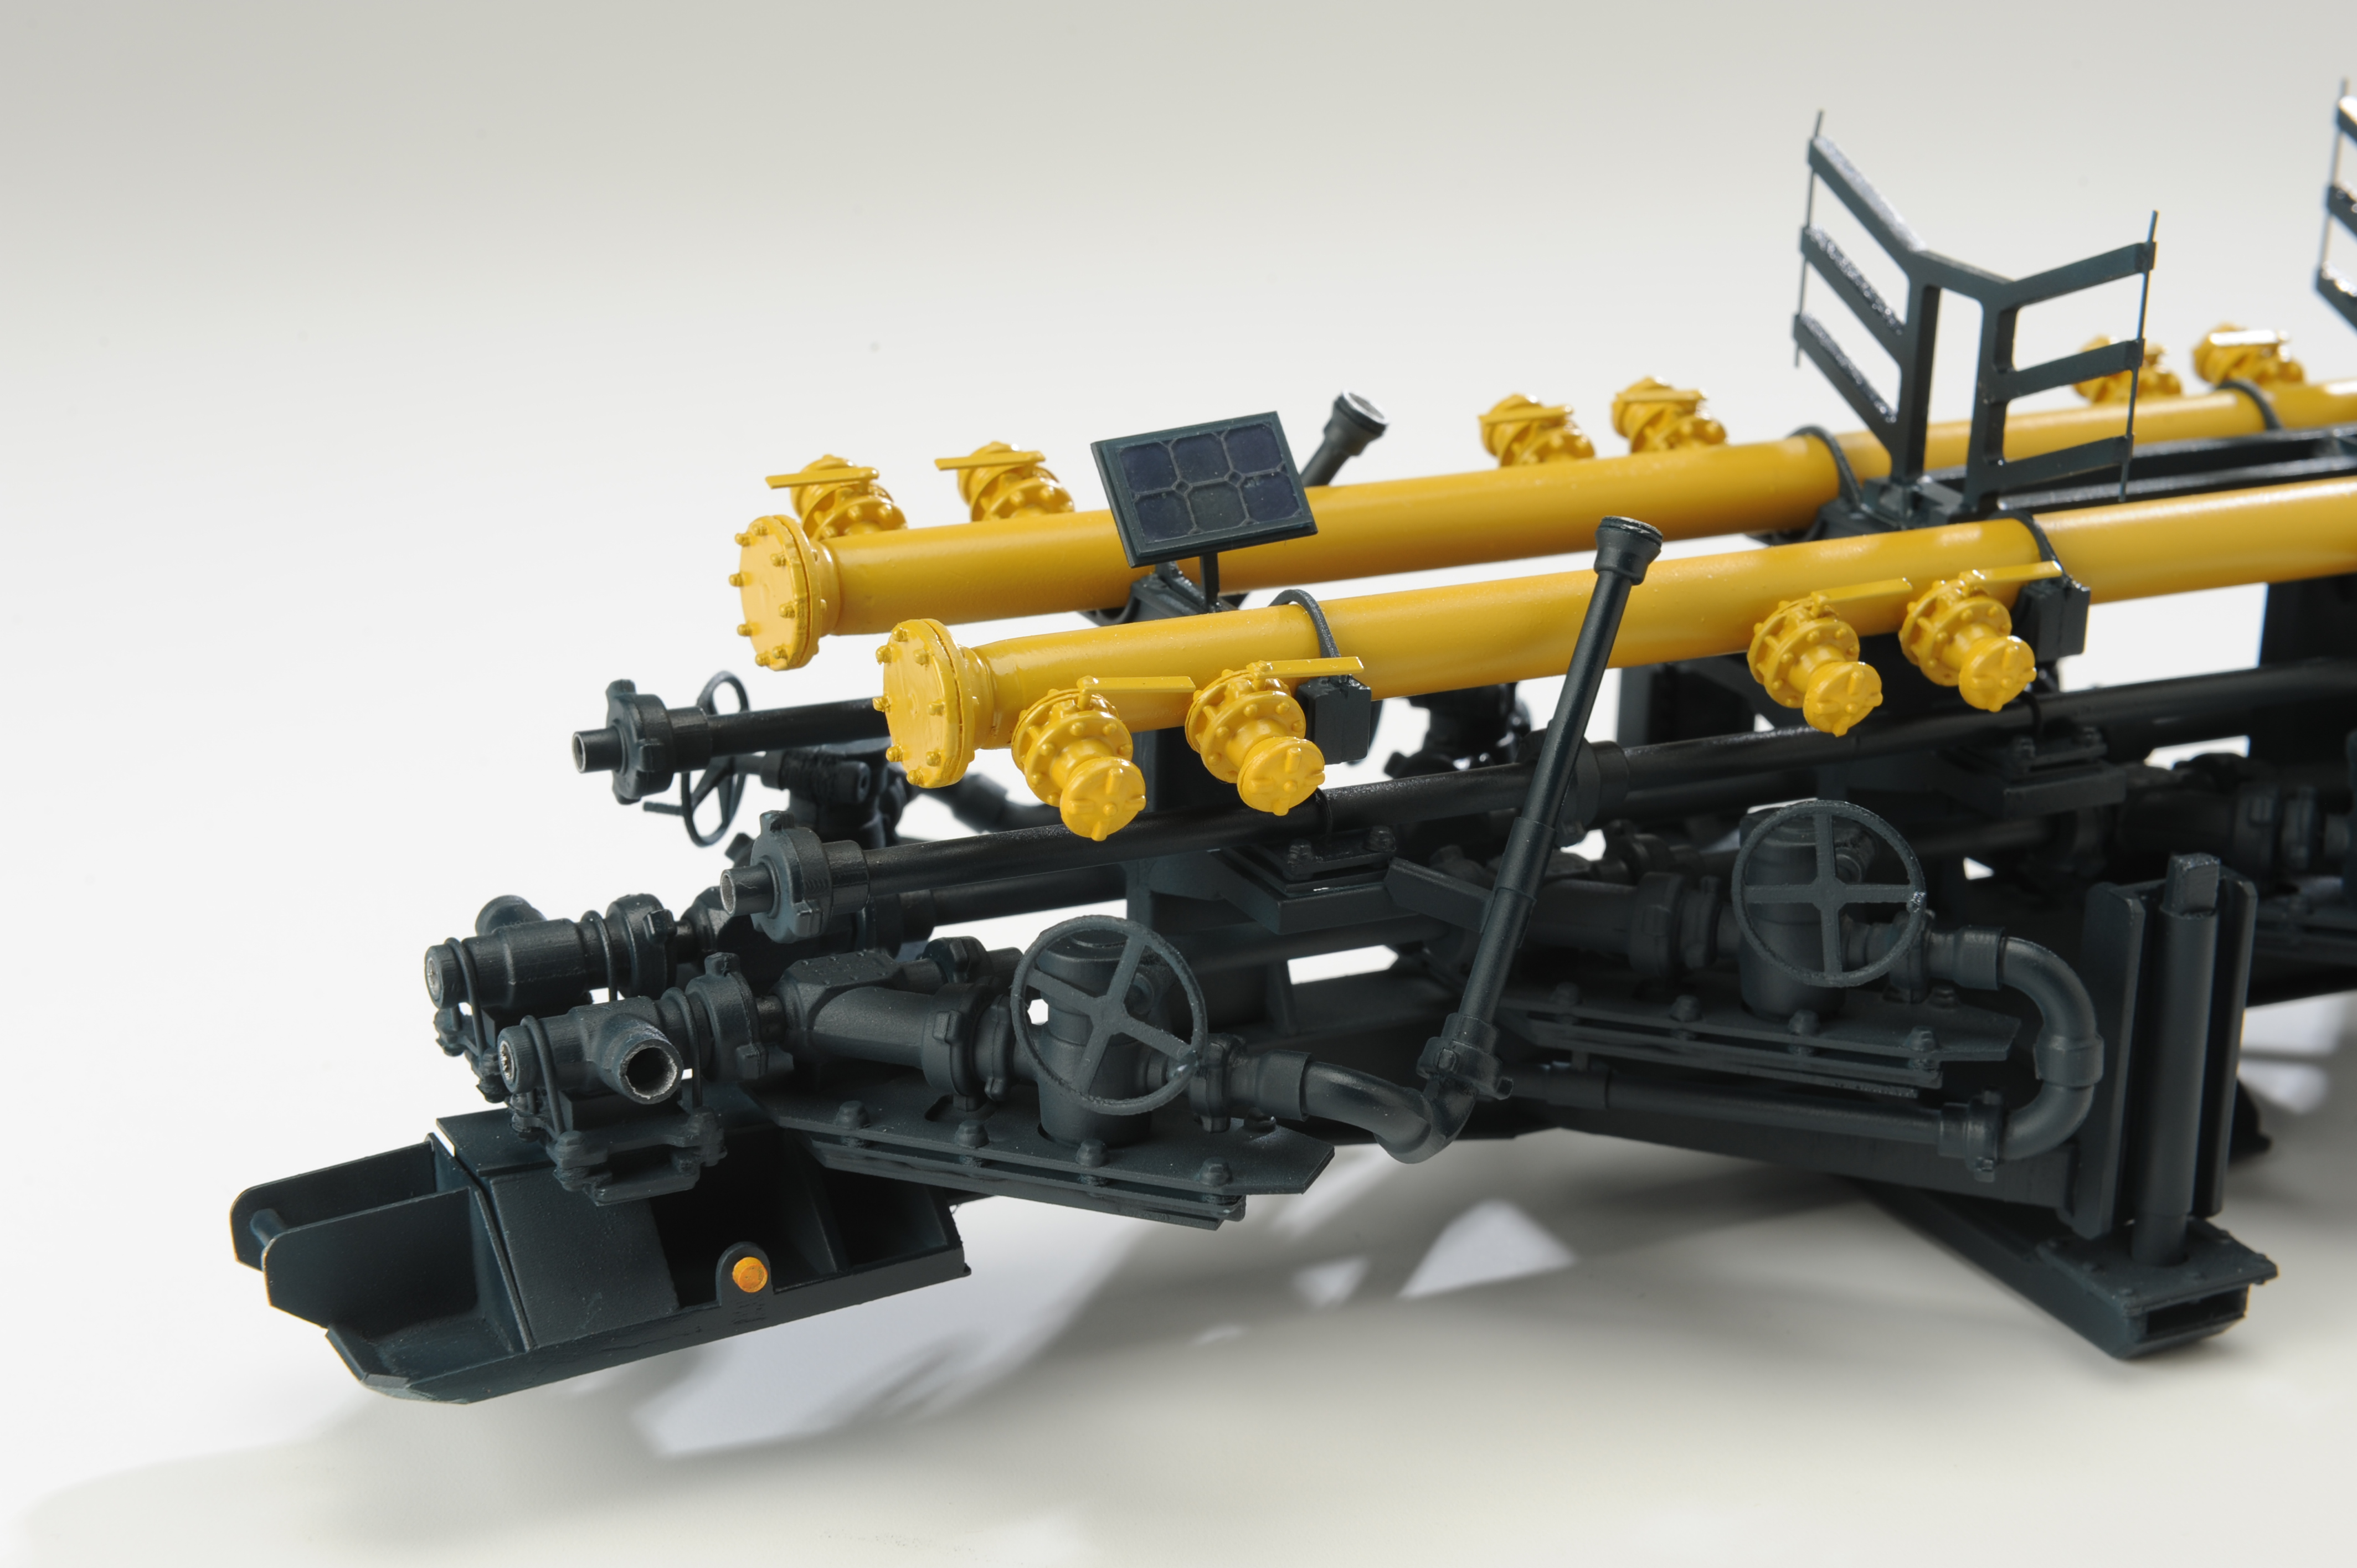
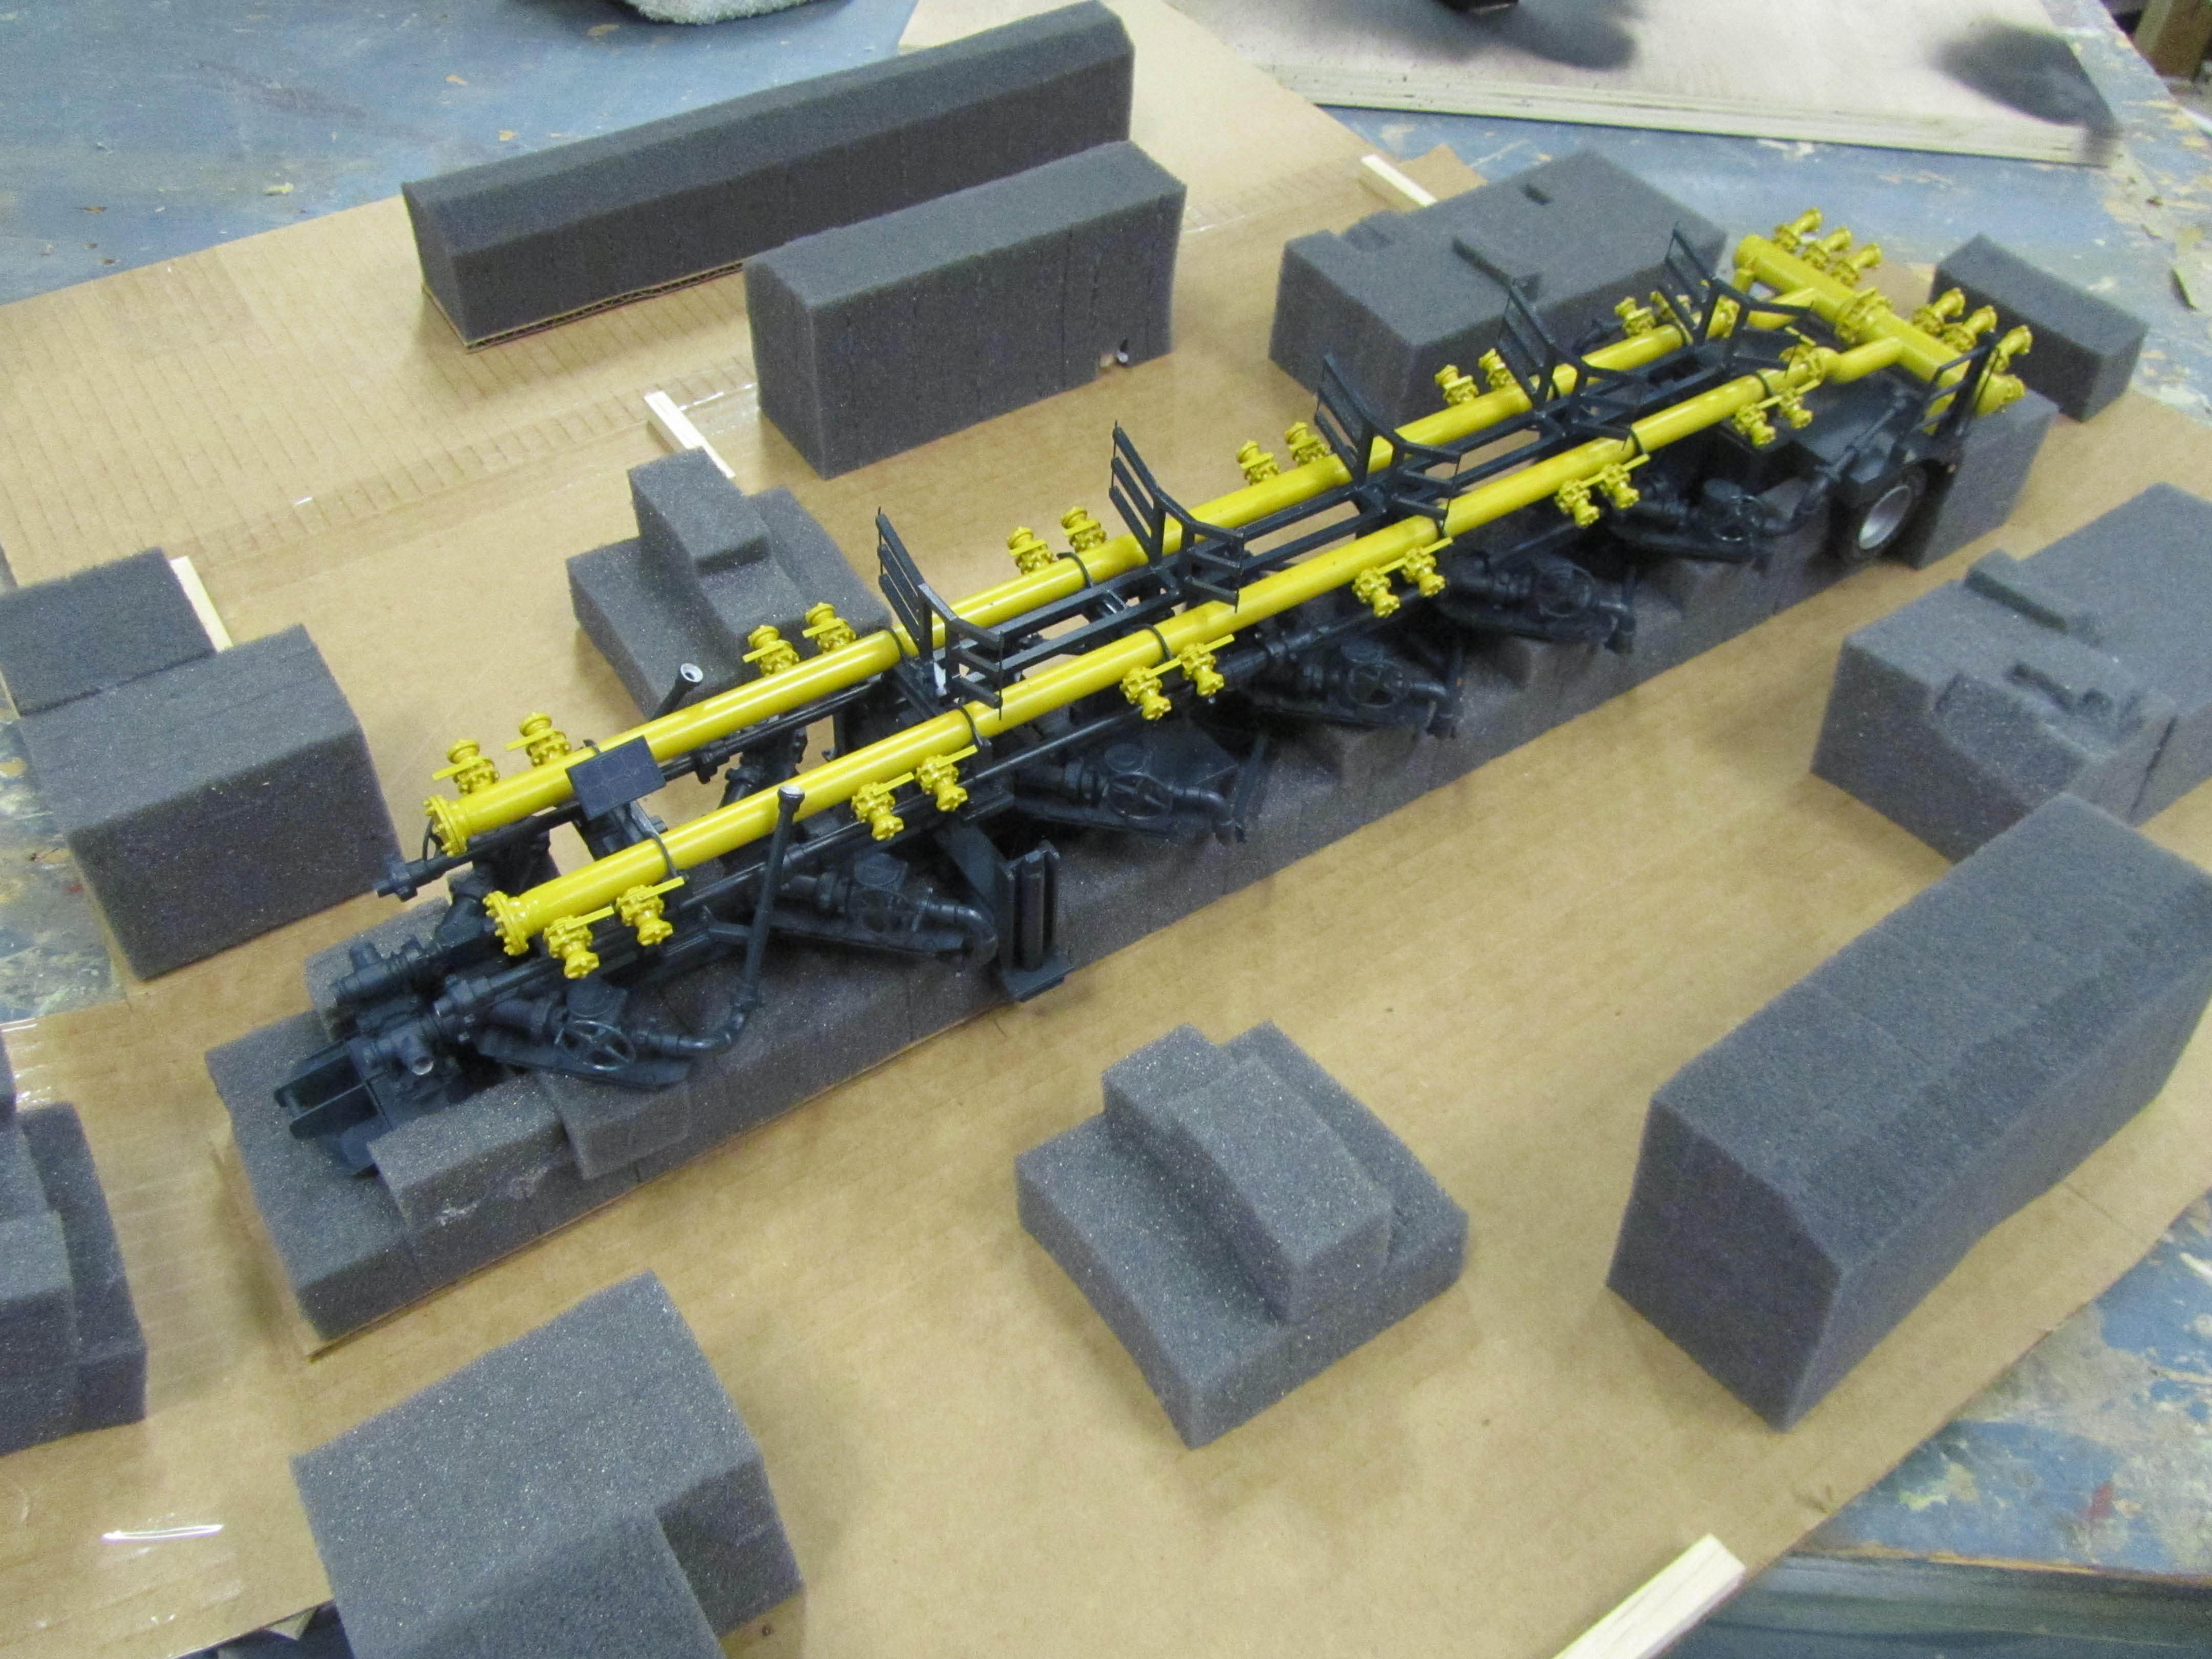
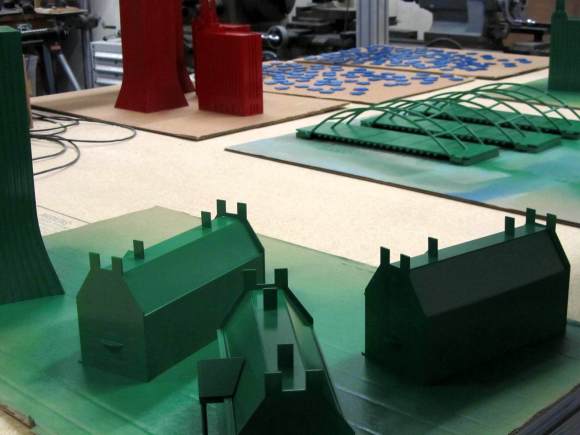
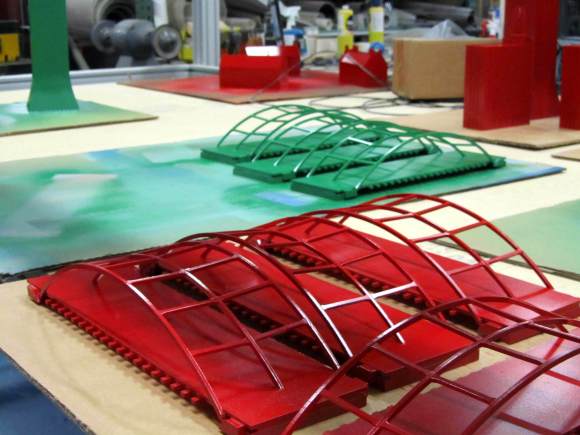
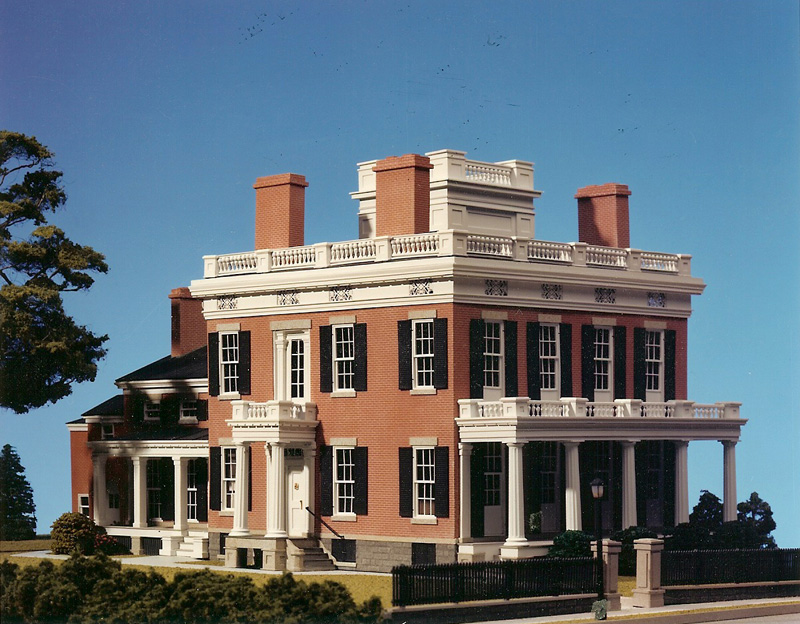
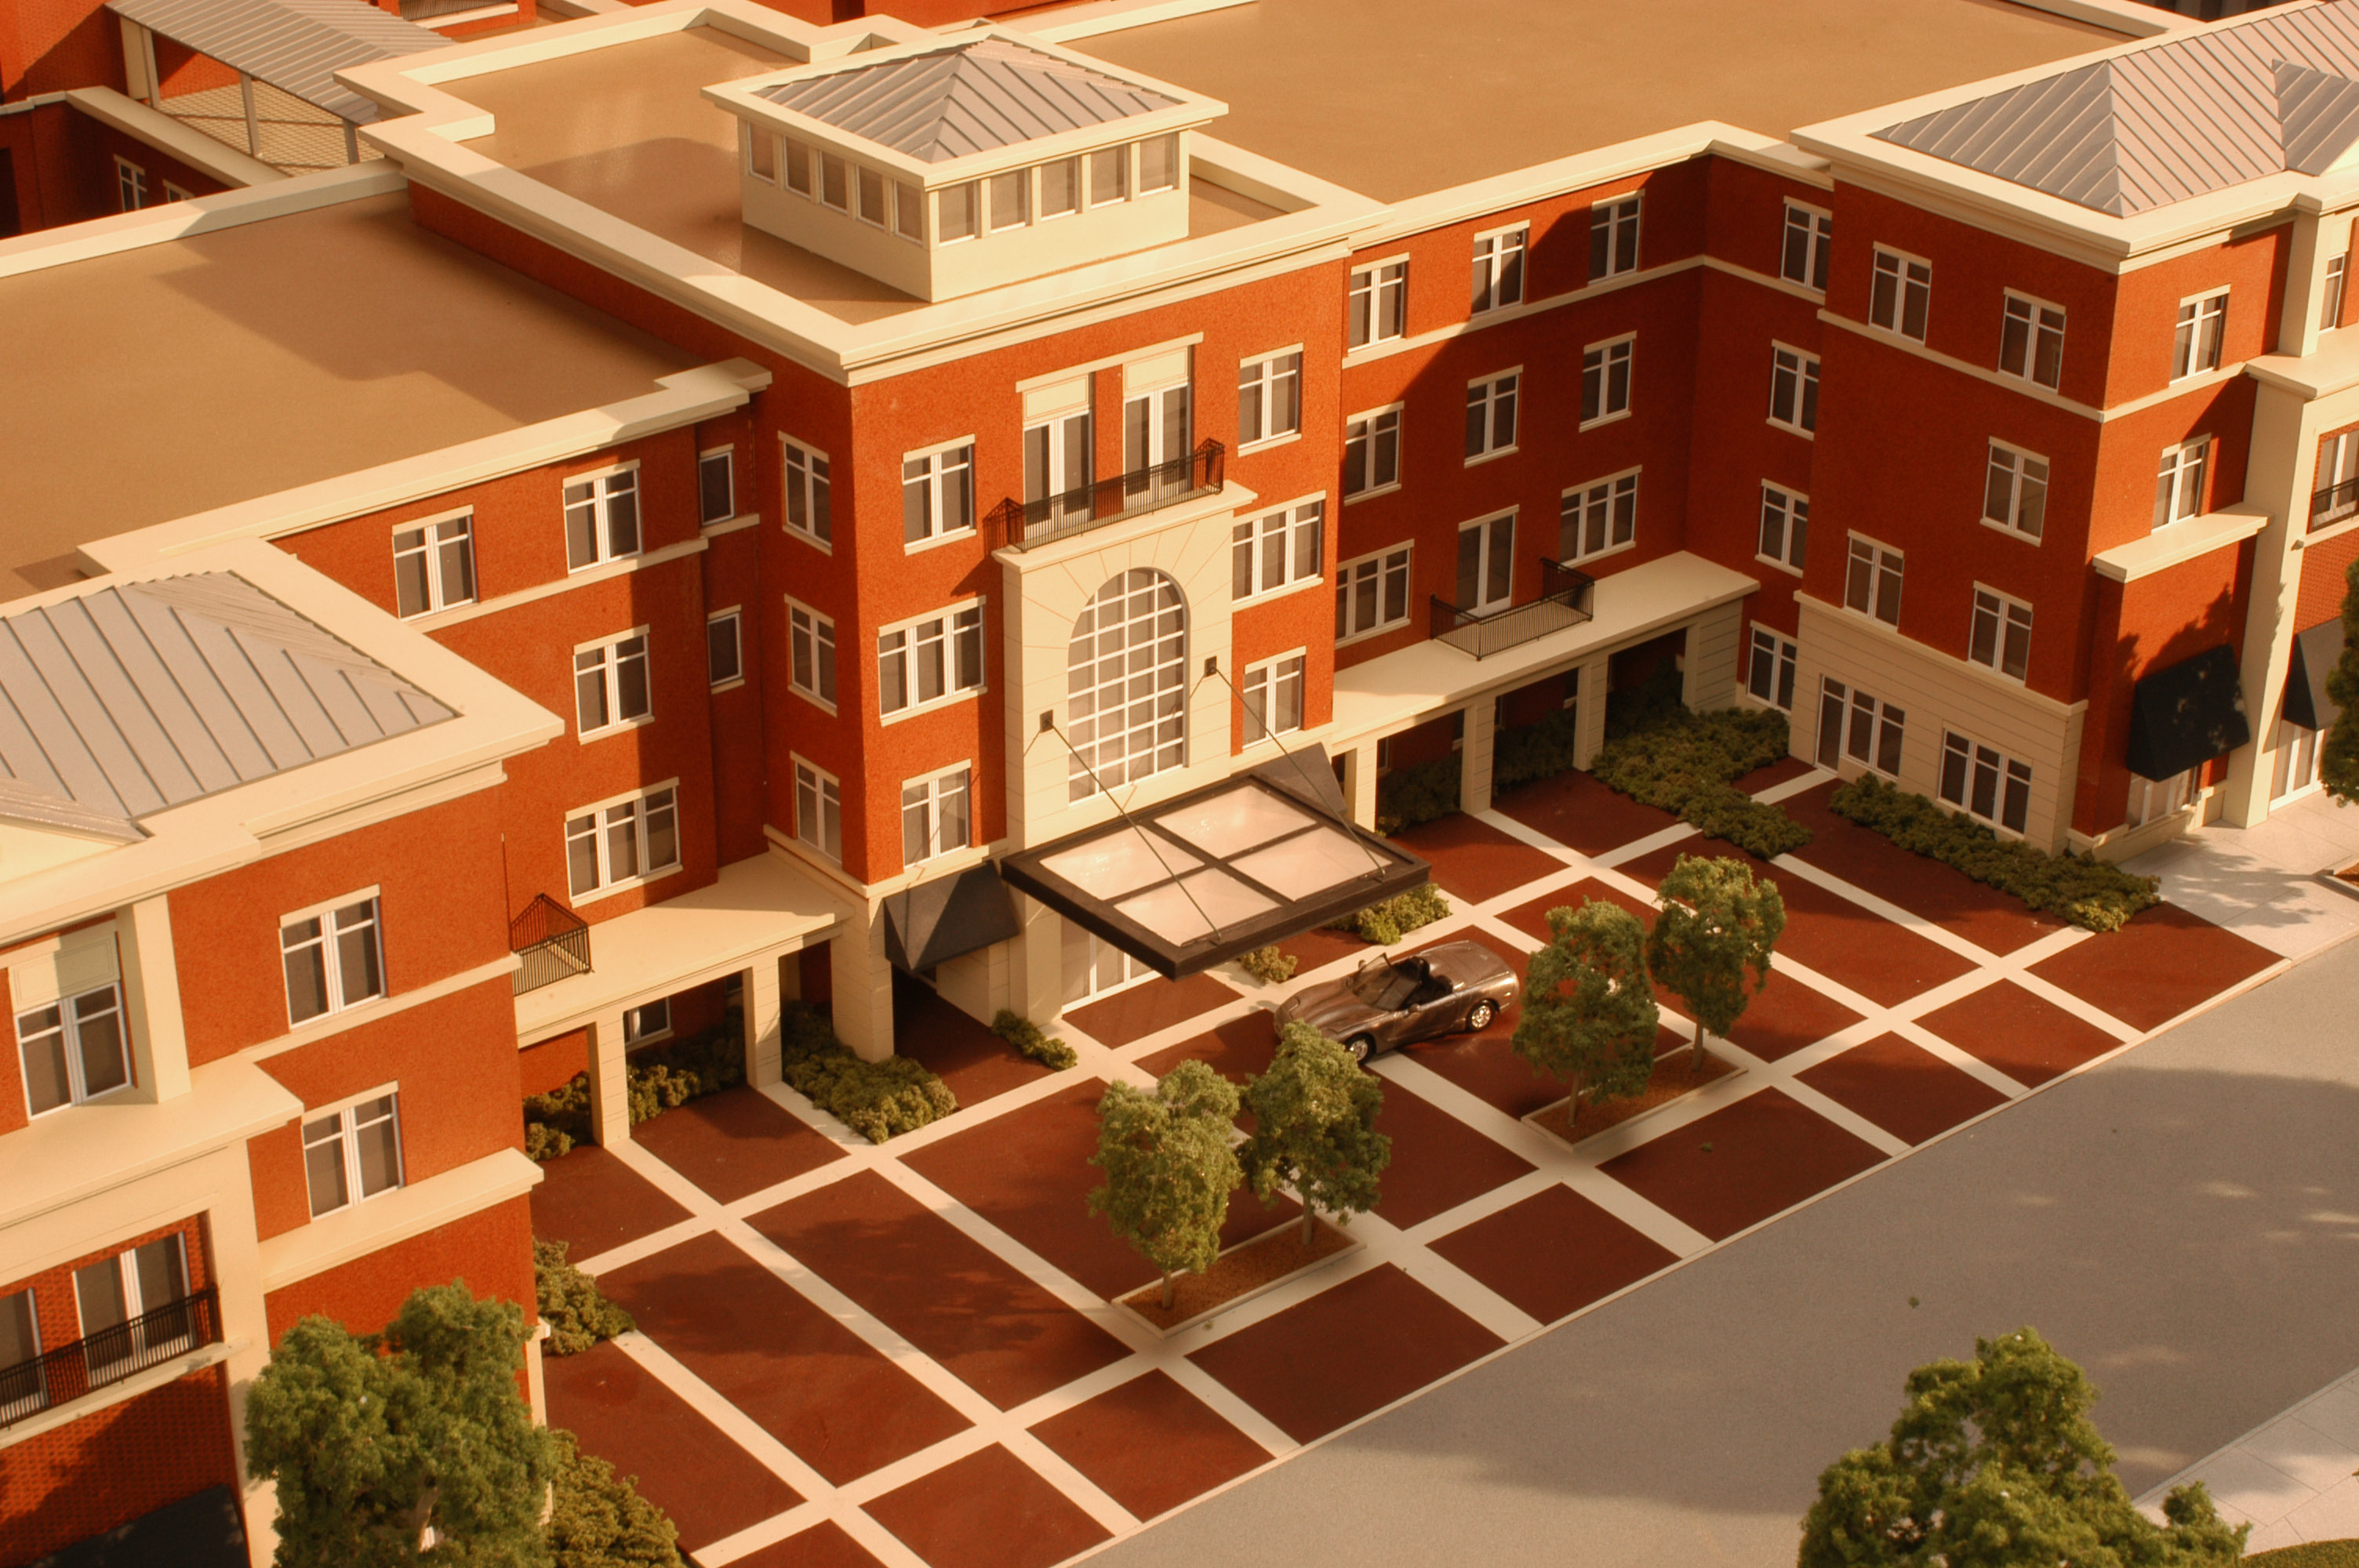
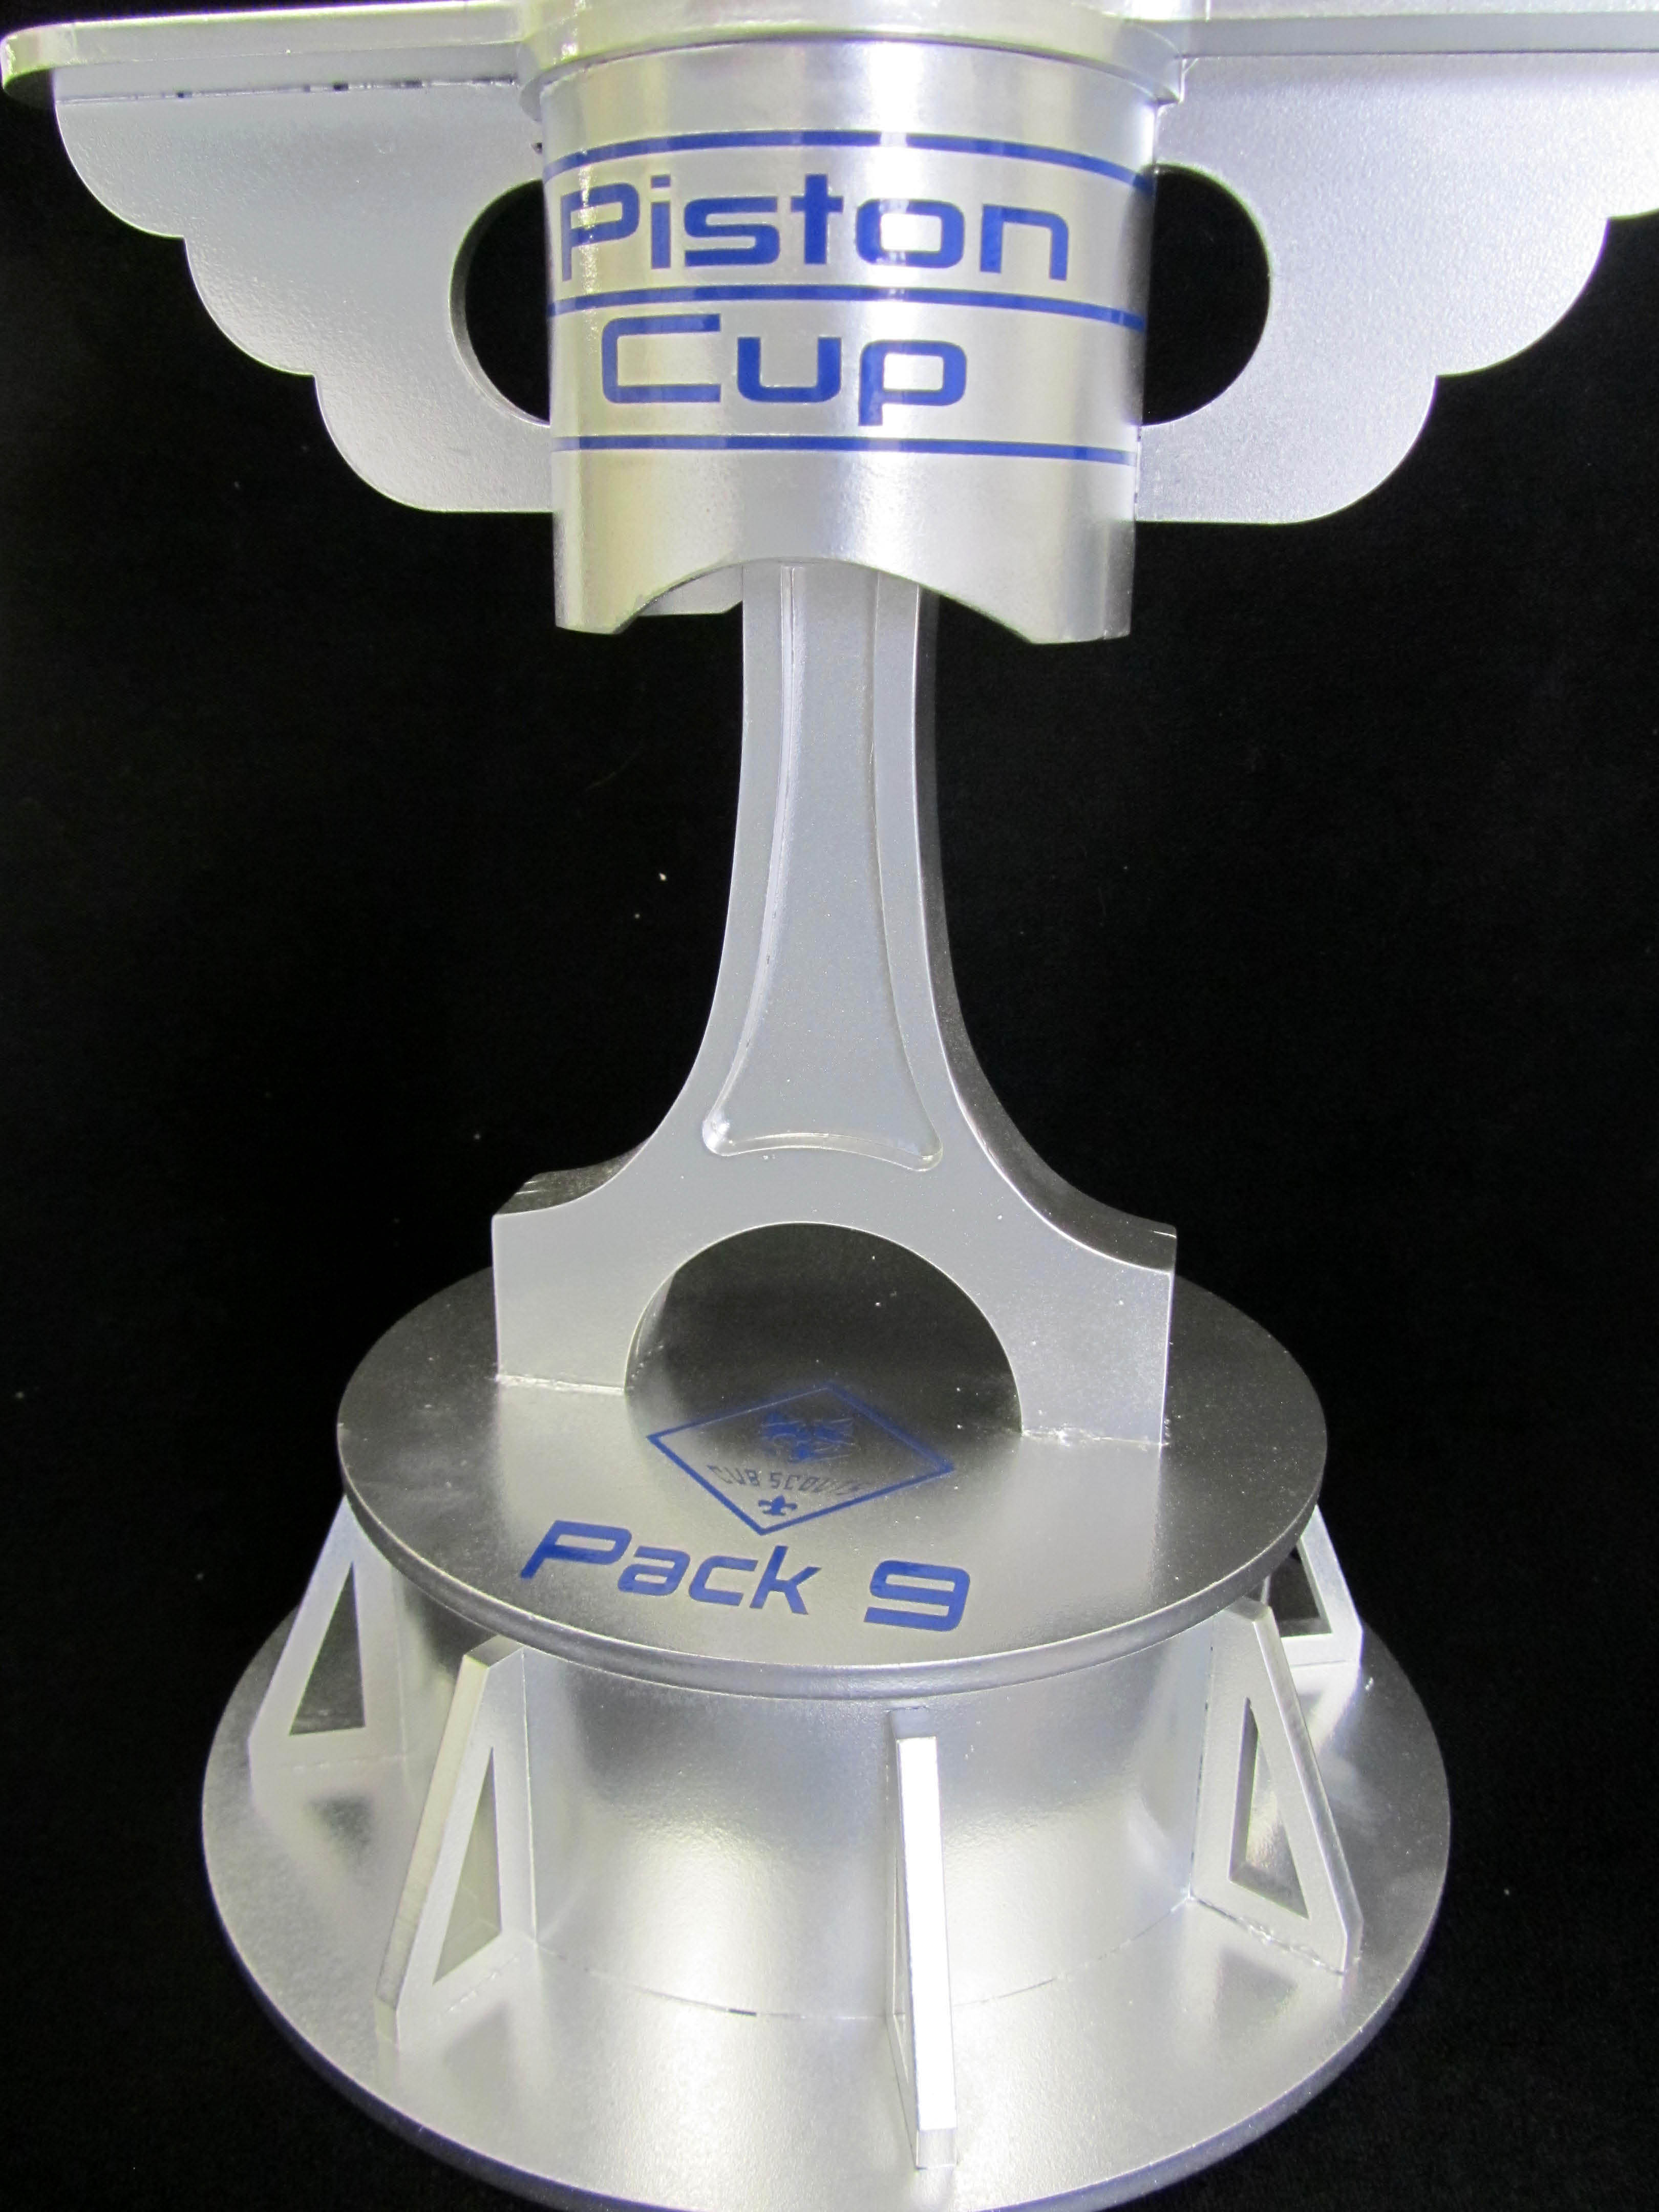
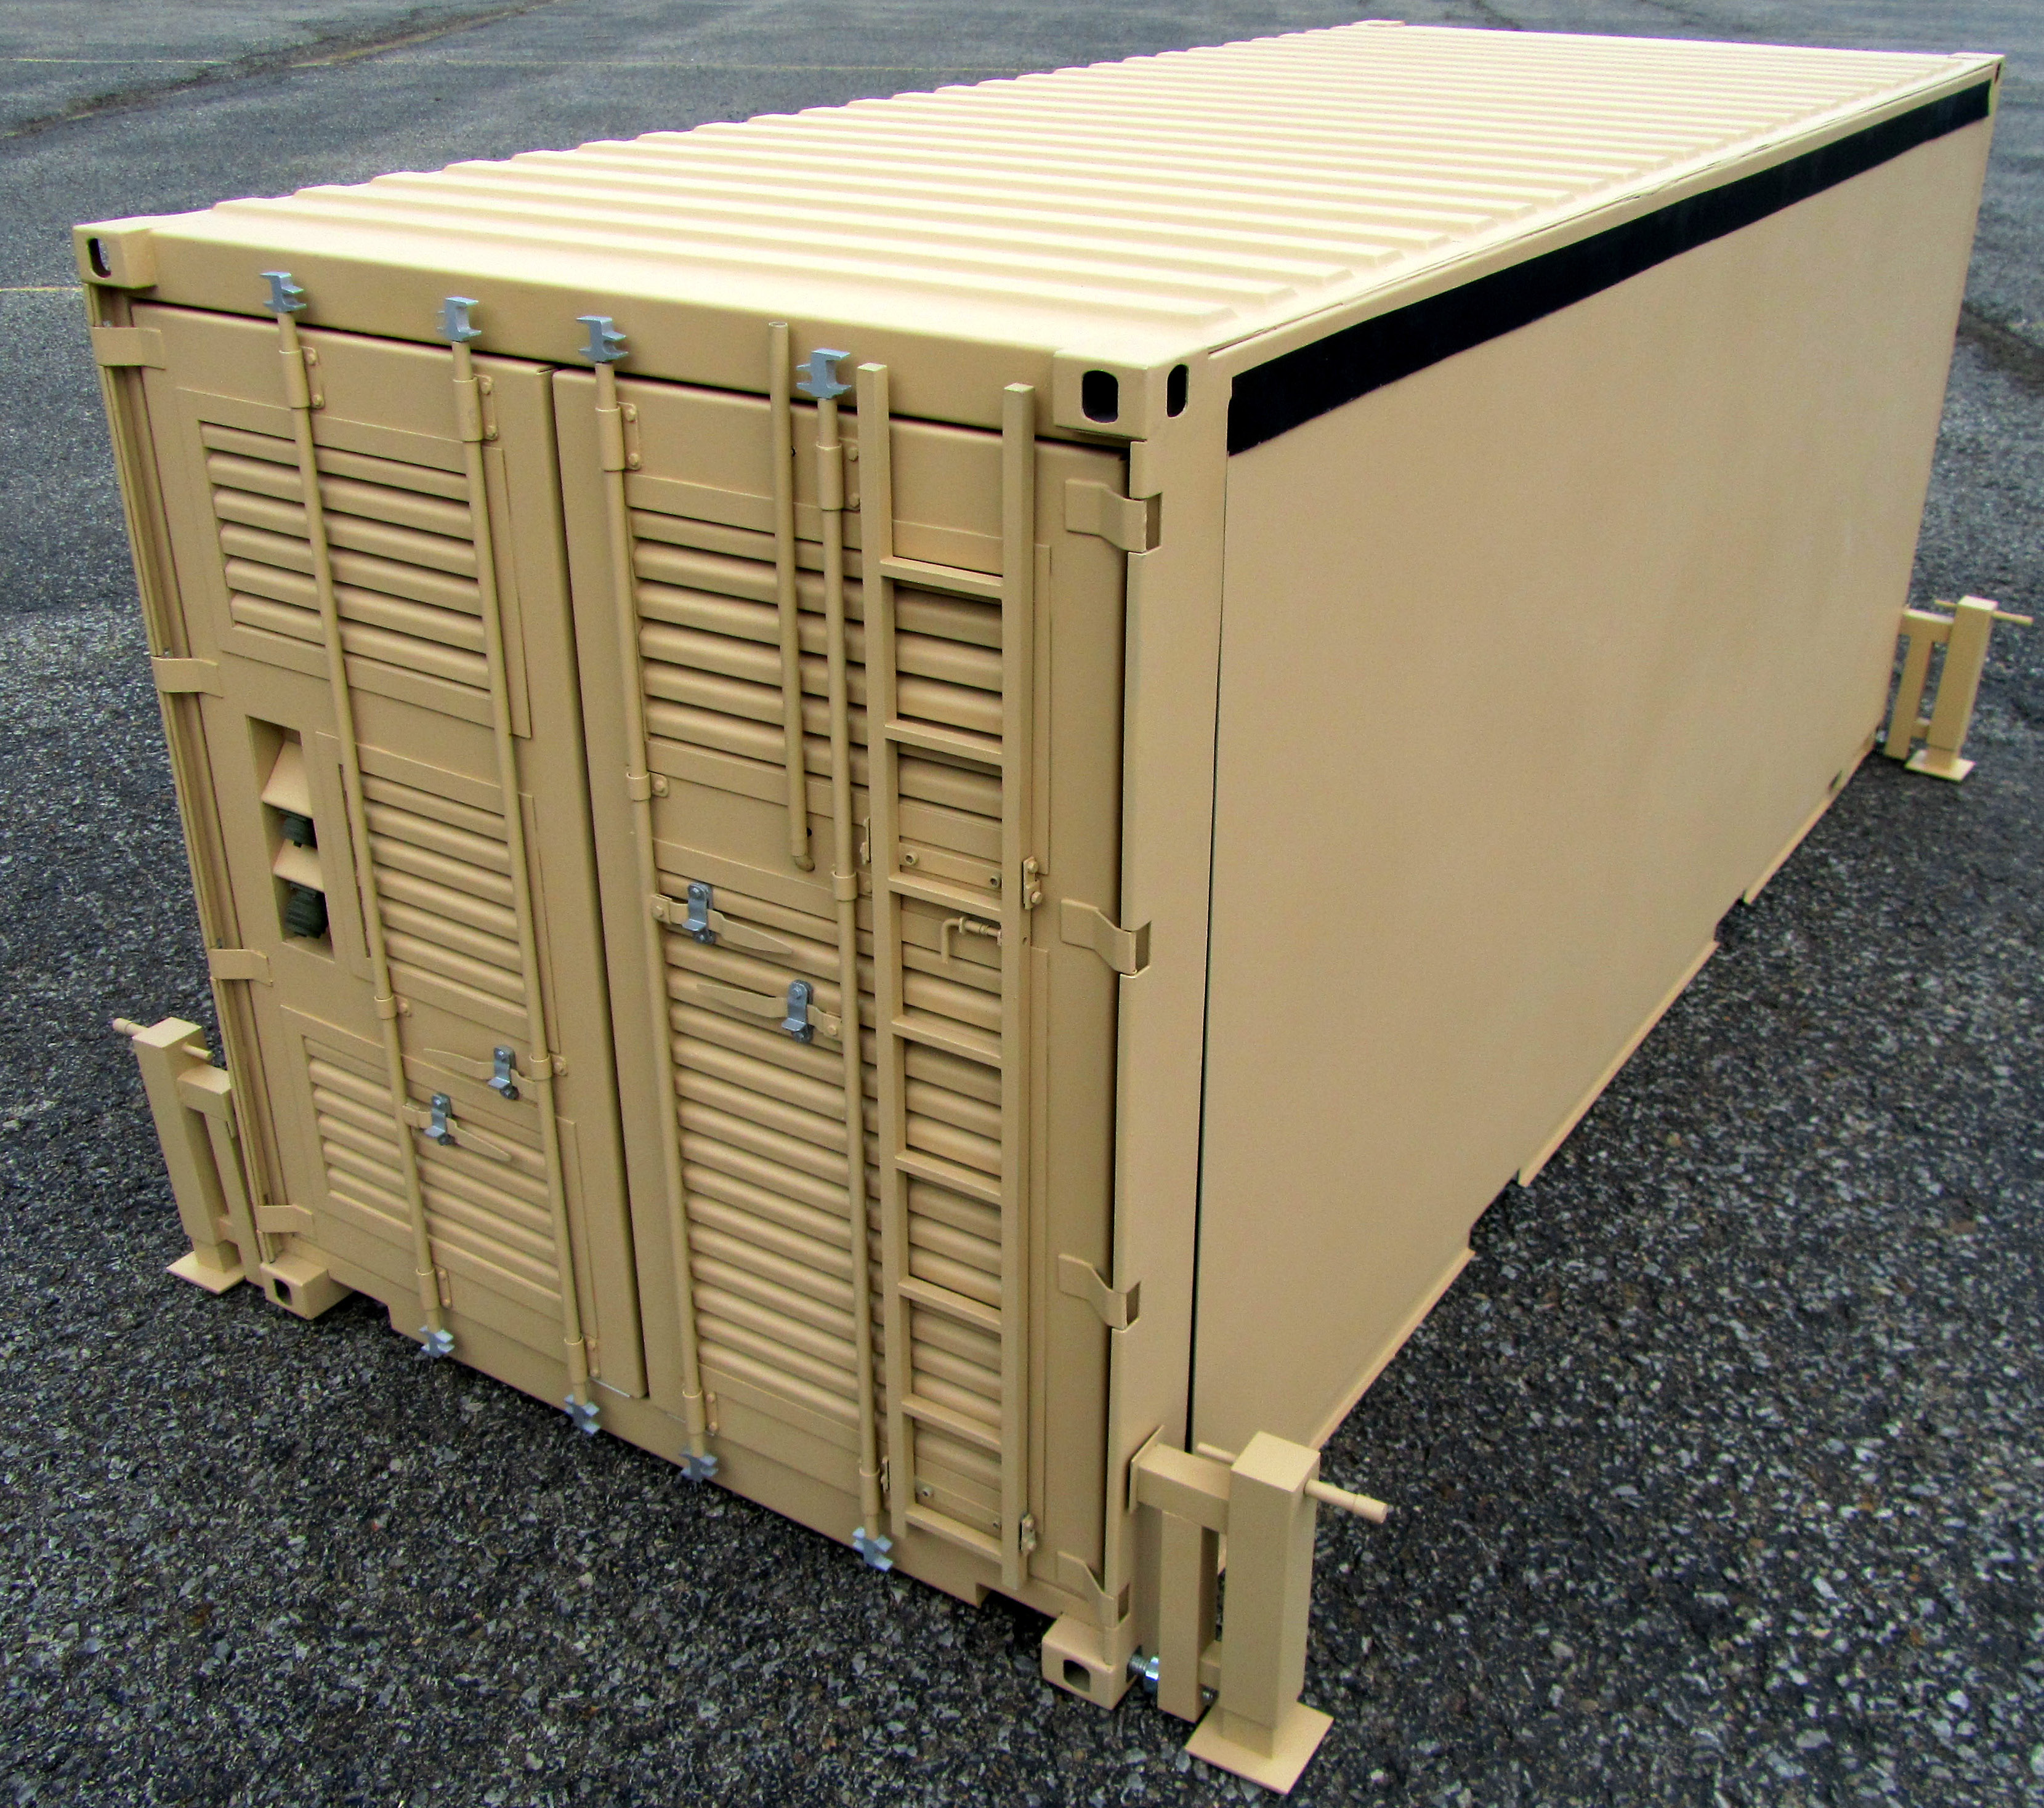
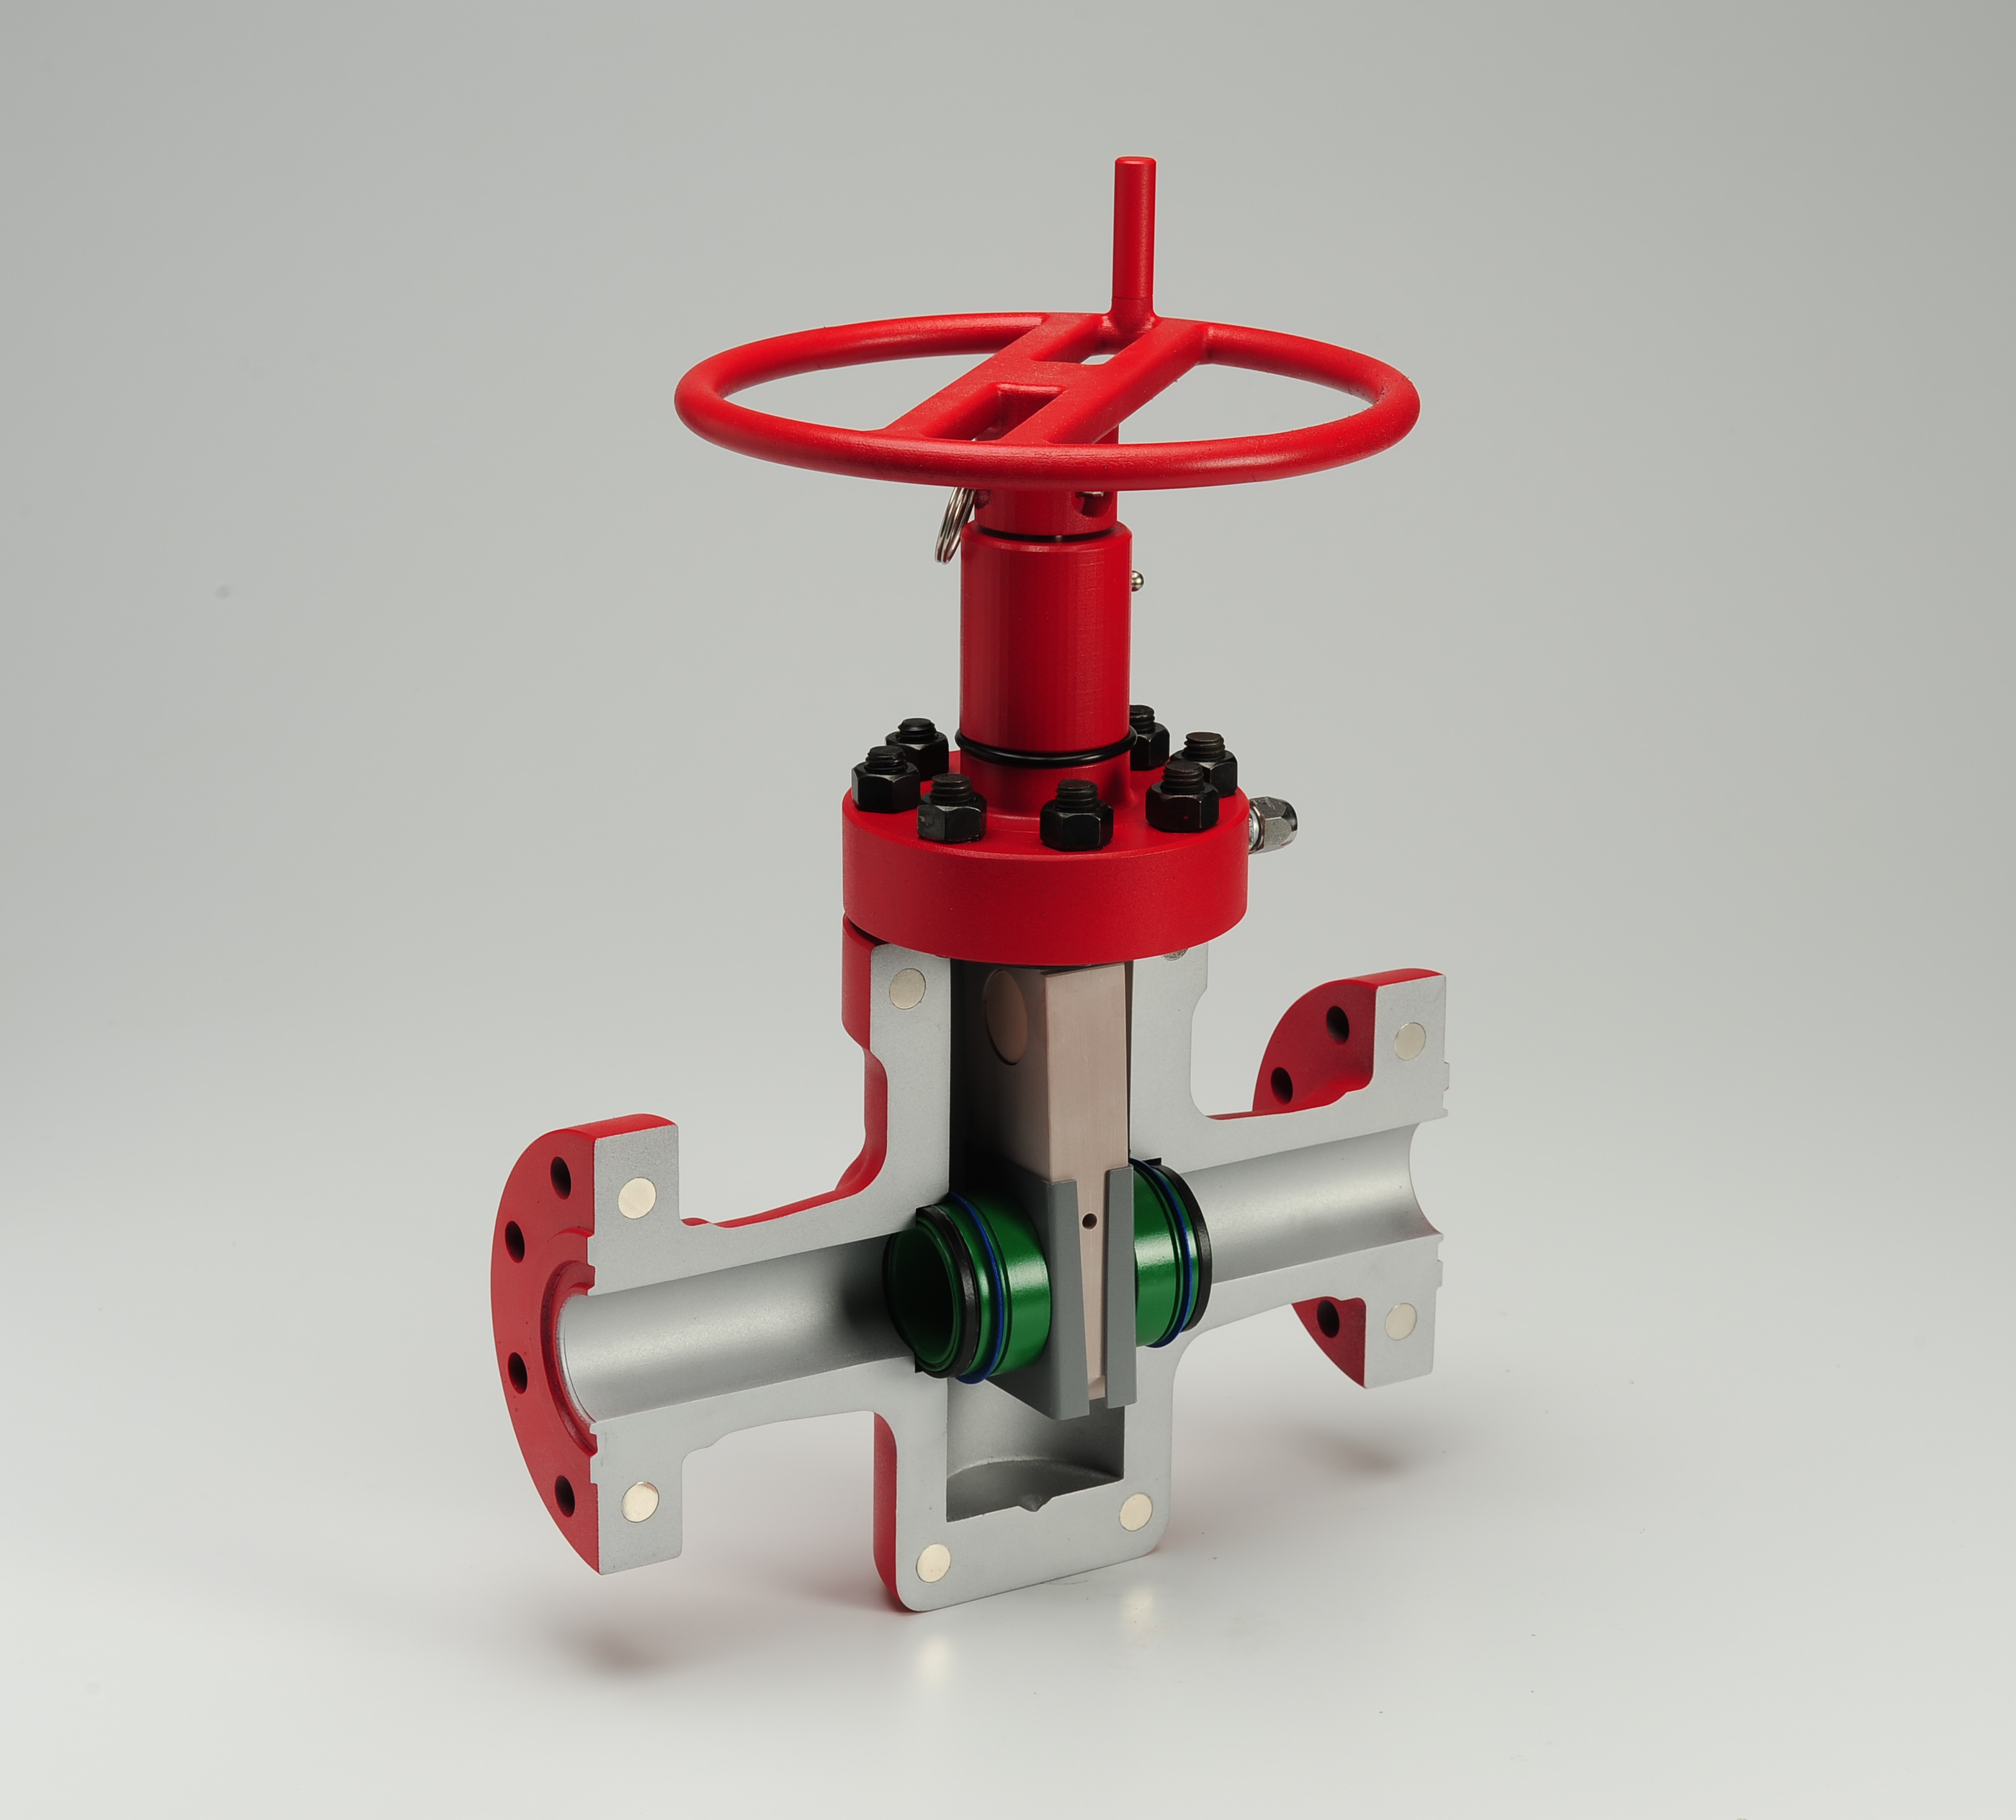
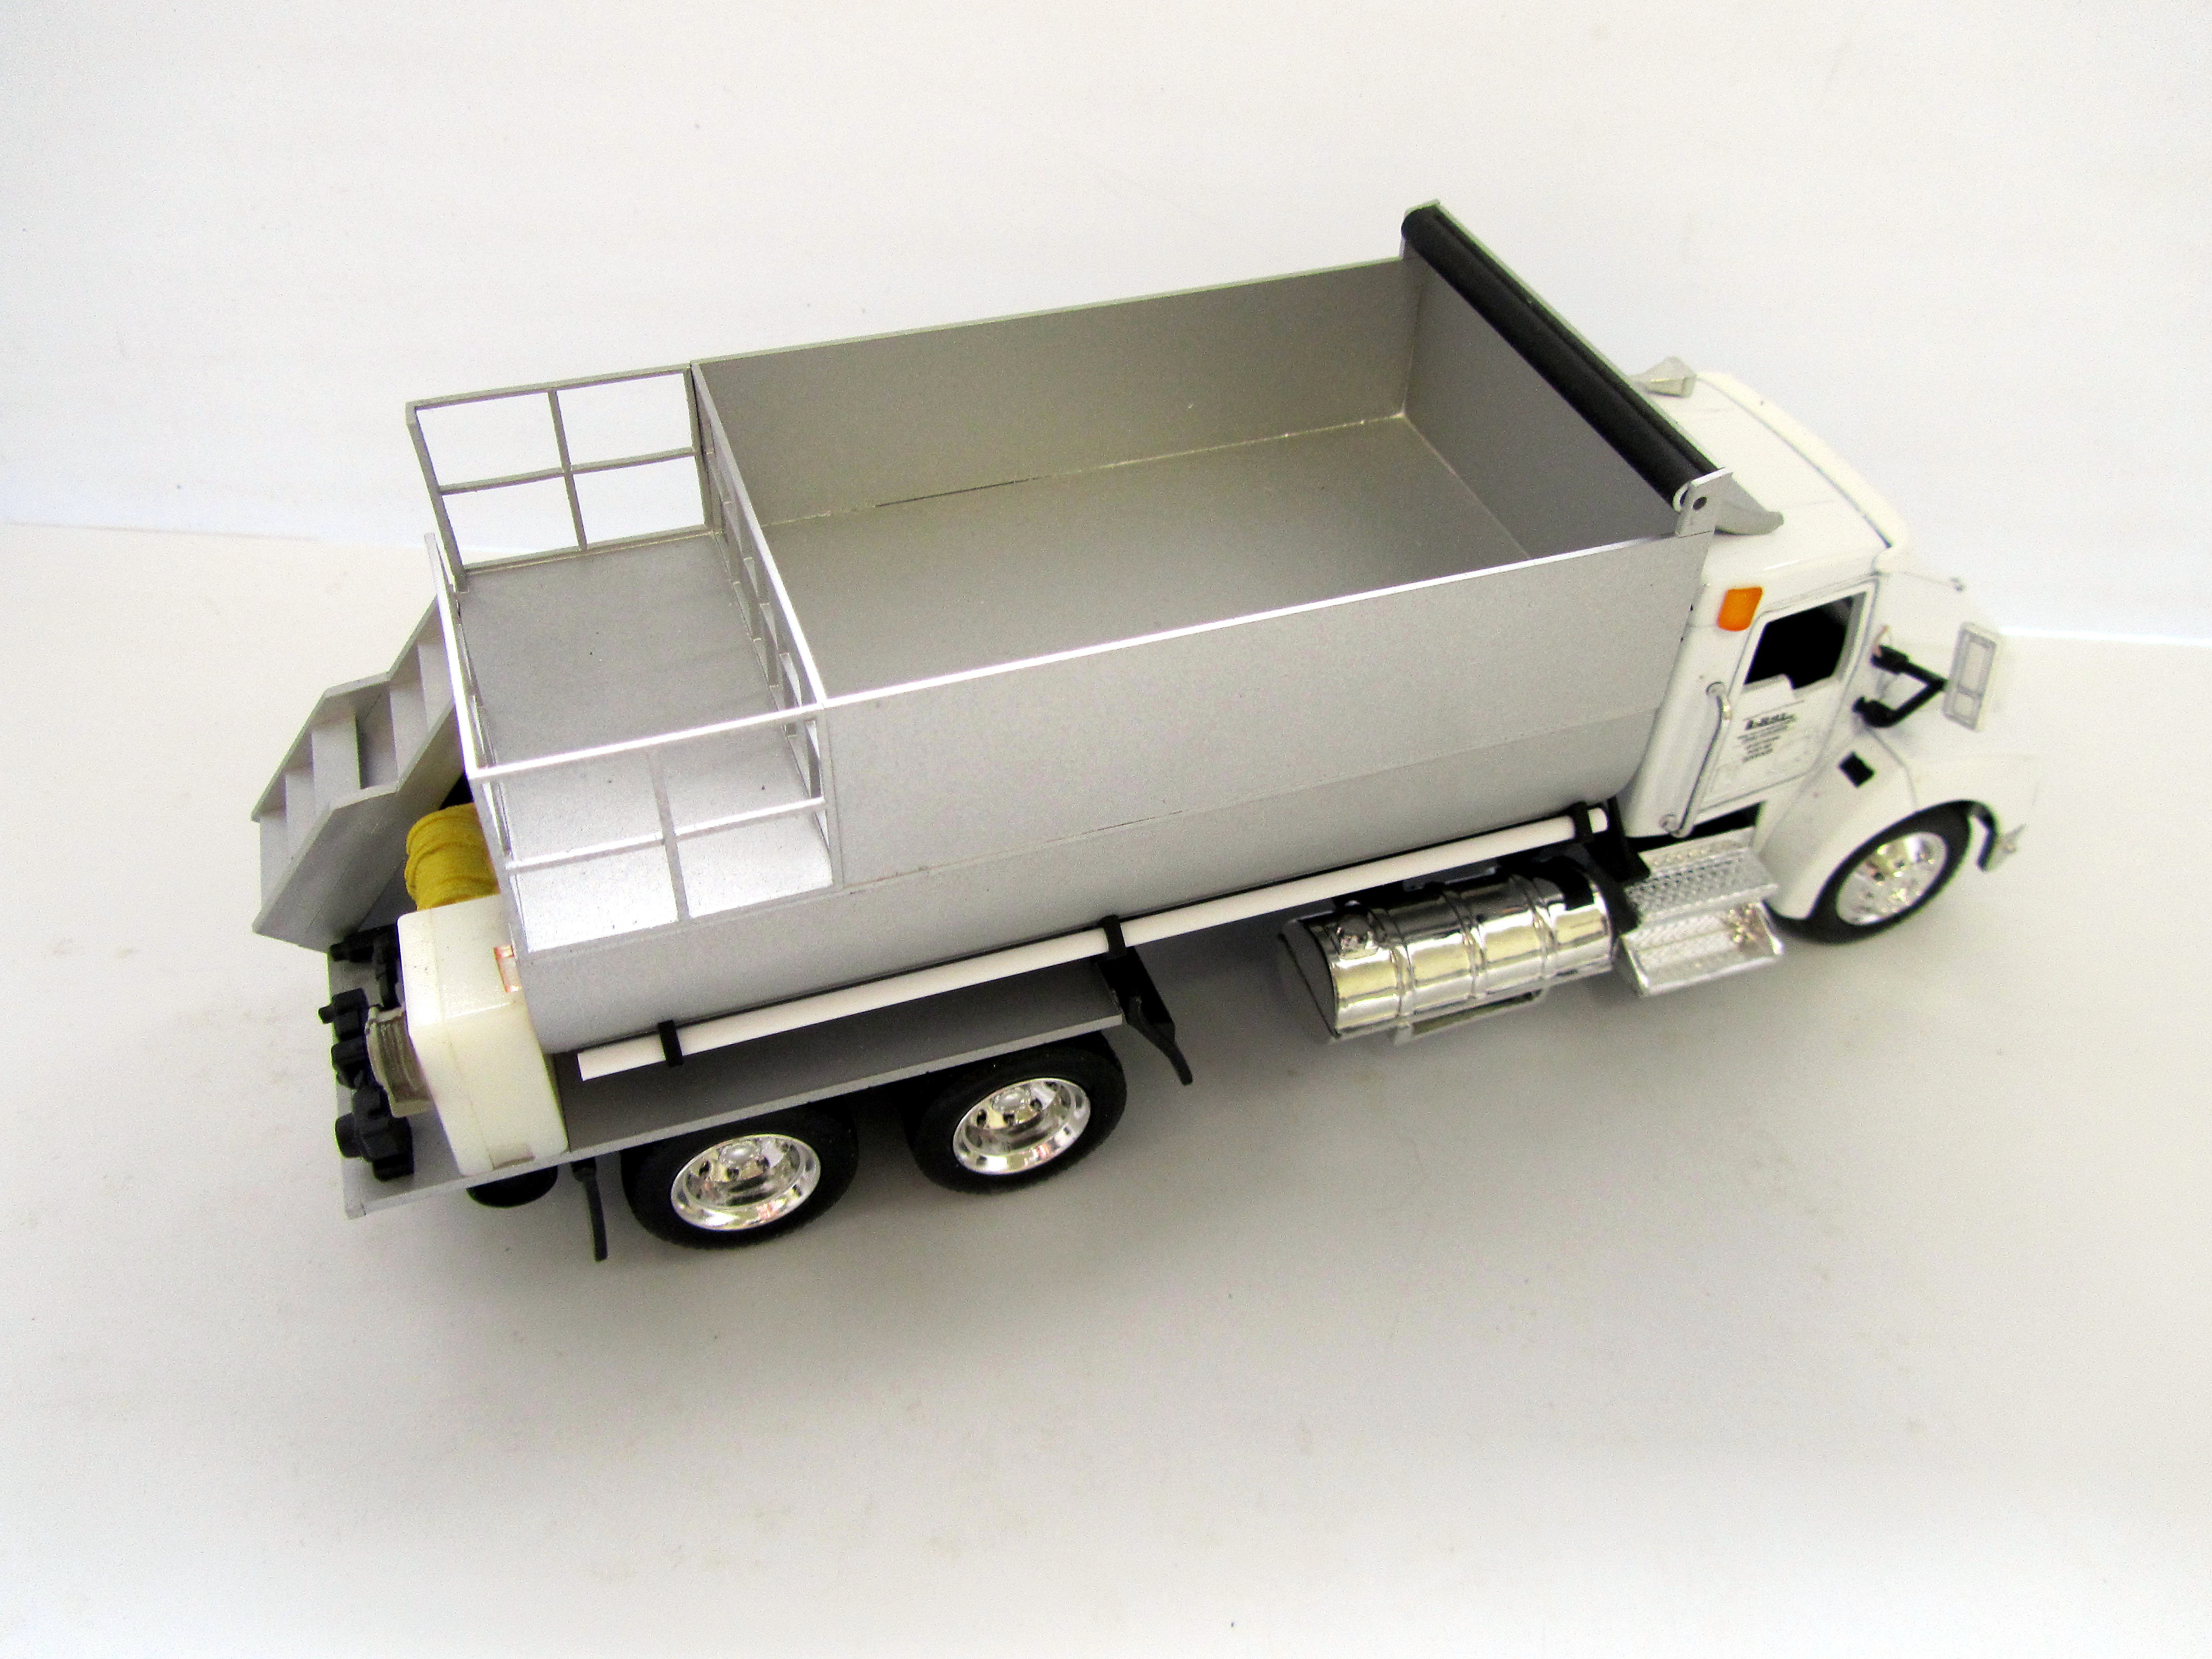
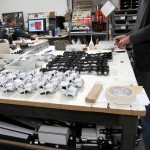
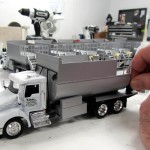
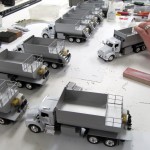
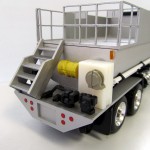
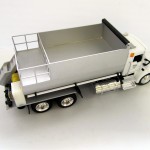
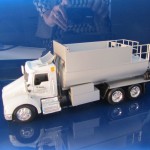
Once the part is cleaned, it needs to be primed, painted, and usually assembled with other parts to make a whole model.  We don’t often – if ever – print a model in its entirety.  The over all complexity and sophistication of most of our scale models demands greater levels of detail. They are nice supplemental parts to have, and free our model makers up to add the human artistry that gives our models their custom look.

3D printed parts for model maker

A 3D printer does not replace a model maker, as fun as it is to joke around with the notion.  The added technology requires our model makers to be better trained in 3D drafting: drawing, reading and fixing 3D computer files. It ‘s another fabrication choice, and hones the critical thinking skills that determine what parts will be printed, CNC machined, hand-built or crafted in yet another method. This blend of artistry, engineering and technology is making the model making field such an exciting place to be right now.

Architectural Models Communicate.

architectural model

Architecture is probably the most frequently modeled item other than modes of transportation (trains, planes, boats and vehicles). Most people have encountered a scale model of a building, house, interior space or community at some point in their lives. Virtual 3D walk-throughs of structures are available with new technology, but nothing has replaced the usefulness, the appeal and the impact of a physical representation.

architectural model

Architectural models, like most scale representations, are used as a communication tool.  A quality scale model should deliver a highly effective message. The key to an outstanding architectural model, and satisfied clients, is first understanding the purpose the model is going to serve.  What do you want your model to say? What will it be used for? Architectural models are used for a variety of circumstances including:

  • Fundraising
  • Sales
  • Evaluating a design
  • Permit / Application approval
  • Planning and development
  • Display
  • Education / Training

There are sub-categories within these architectural model uses, as well as overlapping purposes. It’s up to the professional model maker to extract from the client the essence of what needs to be communicated with the project. This helps drive the type of architectural model that will be built, along with what scale to use.

Types of  architectural models vary just as their purposes do:

There are simple massing models where monochrome cubes or blocks might be used to represent buildings, emphasizing placement of structures and their context. Detail level on models of this type is typically minimal to accentuate the physical space in relationship to its surroundings.

architectural model

Site models depict buildings and the areas around them, such as roads, parking lots, landscaping and cars.

site model

site model

site model

site model

site model

Architectural models used for display are often very detailed and  include such things as lush landscaping, lighting, and other highly realistic features. A museum quality architectural model is expected to last generations, be made of the finest available materials and represent a master model maker’s most meticulous work.

architectural model

Interior models show exactly that – what’s inside a space. They may involve lift off roofs or side cut aways for viewing. They might have very detailed furniture, finishes and miniaturized accessories, or be a simple design that emphasizes lay out and flow of rooms.

architectural model

architectural model

   architectural model

Urban models typically depict larger areas, whether it be city blocks, part of a town or a whole community. Detail can vary greatly on these as well and is usually determined by the scale that was chosen for the project.

Landscape architecture models emphasise the trees, plantings, grasses as well as any structures, bodies of water and unique terrain features that might be included in the area depicted.

site model

Architectural dioramas attempt to tell a story visually. They include all the elements necessary to represent a place or moment in time. They may not be completely to scale, but depict objects in the background purposefully smaller in order to give the illusion of depth or distance.

museum model

museum model

Topographic models show the elevations, shapes and features of a particular land surface.

military model

There are other types of architectural models but the importance lies in matching the purpose of the model with its design.

Similarly, scale is chosen by determining what the model needs to convey. Two main questions need to be answered when determining the scale of an architectural model. How much area needs to be covered and how much detail needs to be shown?

When a large area is being depicted, such as a site map, the scale is usually smaller. This way more area can be displayed without the over all dimensions of the model becoming too unwieldy. Detail level may be lower, in part because things are less visible at a smaller scale.

If only one building is being depicted, the scale is usually larger. Detail on a larger scale model is much more noticeable and will have a greater visual impact.

architectural model

architectural model

When a model maker communicates well with a client, and exhibits superior model making skills, the resulting architectural model conveys the message that was intended. This is the outcome both model maker and customer strive for.

Non-Disclosure Agreements in Model Making

NDA form - model making

Often times in the model making business we are asked to sign a Non Disclosure Agreement (NDA) with a client. NDA’s are legal agreements that give protection and reassurance that the information exchanged during a model build will not be shared, or disclosed, with a third-party. The document is usually initiated, or provided by the client (although we have our own generic version we offer) and is often the first step in the quote solicitation process.

Detailed diagrams, CAD drawings, measurements, blue prints, photographs, descriptions and other data are being given to our model makers in order to facilitate the fabrication of a highly accurate and realistic replication of a product or idea. It is important that our clients feel certain that the exchange of information be used for the sole purpose of providing a quality model that meets or exceeds their specific requirements.

Non-disclosure agreements, sometimes referred to as confidentiality agreements, can cover a wide variety of items that are to be kept confidential and may include such things as customer lists, business practices and financial information, along with the more typical documents that are shared with model shops in order to complete a scale model project. The document also specifies the disclosure period to be covered, the length of time the agreement is binding and the exclusions to what needs to be kept confidential. Exclusions usually refer to information that is publicly available and that which has been obtained through other sources.

Another common portion of an NDA is the need to exercise reasonable efforts to keep the shared information secure and to limit its exposure only to those people who need to know it in order to complete the job.

The reasons for NDA’s are as varied as the terms covered in their pages. An  obvious circumstance is when we make a prototype of someone’s patented idea. Often we suggest the NDA ourselves with inventors, knowing that this is an important first step in the process of discussing their innovation.

Frequently our model shop deals with military clients who require additional levels of security. ITAR is a group of government regulations pertaining to defense-related information, services and material. For national security purposes ITAR controlled projects cannot be shared with non-U.S. citizens. Sometimes the engineering information of the project is ITAR controlled, but the end product is not, which means we can share, for instance, a picture of the finished model on our website.

Beyond NDA’s and ITAR controlled projects, there are clients who simply ask us not to share the finished model or the fabrication process on our website, blog or other promotional materials. Often it is simply a matter of timing. Some client wants to keep a new product private until it is officially unveiled at a particular sales event. Another example would be a prop or scale model that we have provided for an exhibit firm, where the design rights reside with them.

In lieu of a formal agreement, KiwiMill has a general policy of not sharing a finished product until it has been shipped and received by our client. Also, if the model is to be unveiled at a trade show, or introduced at a particular sales event, we wait until that event has passed before we publicly post it. While many clients welcome the publicity, and understand the need for self-promotion, we understand that there are a myriad of reasons we may be asked not to divulge finished work.

Model Maker’s How-To: Molding and Casting Model Hands

model hand

Model Maker Joe recently shared the process by which he created a total of 300 model hands for a client in the medical field:

We had a customer contact us with the need of a class room training aid to use in a practical exercise, measuring gout build-up on a hand. I was initially tasked the job to produce 100 realistic hands with gout build-up at designated locations, using particular dimensions for the bumps.

First we set out choosing a hand model. Then I brushed on a platinum-cure silicone rubber (hardness: 10A, tear strength 102 ply, 1000% elongation at break to guarantee a stretchy, nearly untearable glove) over the model’s hand in thin (this rubber is very thick and traps bubbles) layers.

After achieving a desirable thickness, I shelled the mold with plaster cloth while still on the model’s hand. I made this exo-shell in two halves (palm and back) so that I could pull the mold out.

creating hand mold

After the plaster cloth was dry it was time to separate the two halves of the shell and release the model’s hand from the silicone glove.

molde maker hand mold

The next thing for me to do was pour a master by putting the glove original in its shell and banding the two halves together. After putting the unit in a standing base (resting on its finger tips, wrist up), I poured a polyurethane casting plastic (hardness: 70D, tear strength 3000 ply, 7.5% elongation at break) with some black tint and put it under pressure.

casting model hand

When the plastic was cured, I peeled the mold back to reveal the master. It revealed many small nodules around the finger tips and palm (most likely do to sweat) that I cleaned off. After the master was cleaned up a bit, another member of the team built up specific (height, width, length) gout swells out of Bondo, per the customer’s request, at particular locations on the hand.

casting model hand

After the art work was done I repeated the same steps above to make three working molds, but this time the polyurethane plastic was tinted with a flesh color.

We shipped the client an initial quantity of 20, and upon their review, found the hands too hard and life-like for their studies. We needed to re-tool and come up with a new game plan – a softer plastic or a fast curing rubber.

molde hands

I came up with the idea of a two part silicone mold. A hand cast out of a softer material might not hold up to being pulled out of a glove mold and the cast piece would have to be fully cured (no short cuts).

mold for model hands

Meanwhile another team member was preparing a new master cast by brushing some blackened polyurethane plastic over one of the previous working casts, to even out the skin texture. After that cured, he fine-tuned the gout buildup back to customer specifications and tolerances.

When he was done, I built three two-part molds (fingertips down, wrist up) and begin production casting of my next 80 pieces. This time I used a polyurethane casting plastic (hardness: 80A/30D, tear strength 2264 ply, 233% elongation at break) with the same flesh tint.

pressurized pot for casting

This plastic had a 90 minute demold time, but with the two-part design I was able to turn the mold (pull the product and pour the next piece)  in 60 minutes. These pieces came out of the mold with no flash and very little seam line.

casting hands

The customer was very impressed and the molded hands did what they needed to do. The client ordered 200 more castings.

molded and cast model hands

Pinewood Derby Trophy Model!


Those of you who have spent any time with the Boy Scouts of America will be familiar with the Pinewood Derby race. This much-anticipated event takes place annually within the Cub Scouts community and is usually hosted by individual packs.

A child and his parent are given a block of wood, wheels and nails and asked to design and build their own car for the race. The car has weight and length restrictions and must be able to run on the track used by that particular scout pack.

An employee’s son belongs to Pack 9 Of Penfield, NY, and KiwiMill was asked to create an award for this year’s race. We were happy to supply the winning trophy model for this community event.

Congrats to Max – the winner of this year’s Pack 9 Pinewood Derby race.

Shipping Containers Find New Uses Worldwide

trade show model

Shipping containers are one of those items you take for granted in life. The intermodal container or “sea can” is a reusable steel box with standard measurements that transports all types of goods around the world. Their universal appeal comes from the ability to transfer from sea to rail to road without having to take the contents out along the way.

There are tens of millions of these containers world-wide. Most of the containers are 8 ft wide by 8 ft high. Lengths vary from 20 footers to 56 feet long, with corrugated steel walls and a door at one end. They can be stacked on top of each other – all 8 corners have fasteners – and can carry over 20 tons of product each. Each container is marked with a BIC code to identify ownership.

Because of their relative ubiquitousness, and the fact that it takes so much energy to melt down 8,000 pounds of steel, these containers are being given second lives. An entire industry has sprung up with creative ways to reuse these containers that would otherwise be languishing in shipyards at the end of their useful shipping lives. Twenty footers in particular are in plentiful supply, as shippers have moved on to larger sizes over the years.

The most obvious second use for a shipping container is housing. Many architects have created eye-catching, unique urban designs  with the 20 foot container as their building block of choice. Other companies are focusing on 3 bedroom, 2.5 bath designs for USA consumers who find the reusable aspect appealing & want lots of square footage. Even more practical is the use of one or two containers to make reasonably sized homes for places and people around the world who need or prefer a smaller footprint.

The use of shipping containers as modular units in the building process is seen as an upcycling of materials. Not only does it cost less to adapt these units than it does to melt them down for materials, but leaving the units in their original state provides a stronger structure than conventional housing frames. Not just limited to housing, containers are being used for office space, retail buildings, museums and even works of art.

An off shoot of the intermodal shipping container is the expandable shelter concept. These modular units are used for deployment to situations world-wide that can benefit from ready-made, pop open, adaptable shelters. Shipped just like an intermodal container, these spaces then open up, or expand, to offer support services in the event of natural disasters or other types of emergencies. An excellent example of this are the ESS units offered by SAIC.

Intermodal containers are increasingly the focus of businesses looking to create a unique shelter out of a familiar design. Their modular shape, inherent portability, structural soundness and availability make these containers an intriguing concept to design from and build with.

Click Here for an interesting pictorial of shipping containers that are lost at sea.

Cutaway Scale Model for Training

cutaway model

Our client, FMC Technologies, requested a working model of a gate valve that would assist with maintenance training. Talking with model maker, Scott, it was determined that the best way to serve this purpose would be with a 1/2 scale cutaway model that would pull apart and reveal interior components that could be manipulated. Once the general concept was agreed upon, our team discussed the build in general, and the associated costs and time frame, and a detailed quote was written up.

cutaway model

Once the job was awarded, model makers Mike, Dean and Scott came up with a plan of action including a list of materials, fabrication techniques and assemblies, along with a break down of each task and its associated steps. The over all design of the model would include an exterior shell opening and closing with the use of magnets, a working wheel that would move the gate up and down, and numerous interior pieces that could be assembled and reassembled.

cutaway model

FMC provided 3D geometry which was used to create the various parts of the model. Some parts were 3D printed.

3D printed model part

Others were formed from  machined  tooling board. An aluminum rod with threads was created on the CNC lathe. Metal gate sleeves were formed on a press brake, and some off-the-shelf hardware was added as well. As parts were formed, they were attached to each other as required. Magnets were imbedded in the outer shell.

model making

model maker

Most of the parts were then primed and painted. Various bright colors were used for the individual parts to enhance the training process.

scale model

The whole model was assembled and disassembled multiple times to assure its functionality and durability. The wheel was tested to make sure it moved the gate up and down on the rod correctly. The model was taken for professional photography, then carefully packed and shipped to Canada to our esteemed client.

Click Here for a slideshow of the model build on YouTube.cutaway model

Giveaway Truck Models

Recently KiwiMill was asked to make reasonably priced multiples of a truck model to be used as giveaway premiums for special clients. The trucks are used to spray weed control substance on railway beds. The trucks actually ride on the rails in order to do so.

In order to keep costs down, our model makers used two different types of off-the-shelf die-cast truck models that were then “kit bashed” or disassembled for parts. The chassis was taken off one truck and the cab off another.

Custom parts were  3D printed, laser cut and machined out of resin. Each truck model was then hand-built and painted to resemble the Rumble Spray Truck.